You avoid hurting your dog during a nail trim by cutting much smaller pieces than feel necessary, stopping well before the quick, and keeping every session short enough that the dog stays calm. Two things go wrong in most trims: the clippers meet the quick, the blood-and-nerve supply inside the nail, or the dog panics and a struggle turns a two-minute job into a fight. Both are avoidable.
A calm trim on a cooperative dog takes five minutes. A frightened dog can take two weeks of short practice sessions before you cut anything at all, and that is the normal pace for that dog. This guide covers the tools, the step-by-step method, the difference between light and black nails, and the point where you should stop and let a vet or groomer take over.
Nails still need trimming when they grow past the paw pad. Overgrown nails force the toes to splay, the dog loses grip on floors, and the longer the nail runs, the more strain sits on the toe tendons. Most dogs need a trim every three to six weeks, but walking on hard floors wears nails down faster than you would expect.
Table of Contents
- 1What You Need
- 2How to Choose Between Clippers and a Grinder
- 3Preparing Your Dog and the Workspace
- 4Step-by-Step: How to Trim a Dog’s Nails Without Hurting Them
- 5Step 1: Get Your Dog Comfortable
- 6Step 2: Find the Quick in Each Nail
- 7Step 3: Trim Small Pieces Without Hurting Them
- 8Step 4: Smooth and Check the Nails
- 9Step 5: Reward and Finish
- 10What to Do If You Cut the Quick
- 11When Not to Trim at Home
- 12Common Mistakes
- 13Frequently Asked Questions
- 14What if I accidentally cut my dog’s quick?
- 15How do I trim a dog’s nails when they won’t let me?
- 16Is it better to cut or grind dog nails?
- 17How can I cut dog nails without clippers?
- 18How often should I trim my dog’s nails?
- 19Why do dogs get scared when you cut their nails?
- 20Conclusion
What You Need
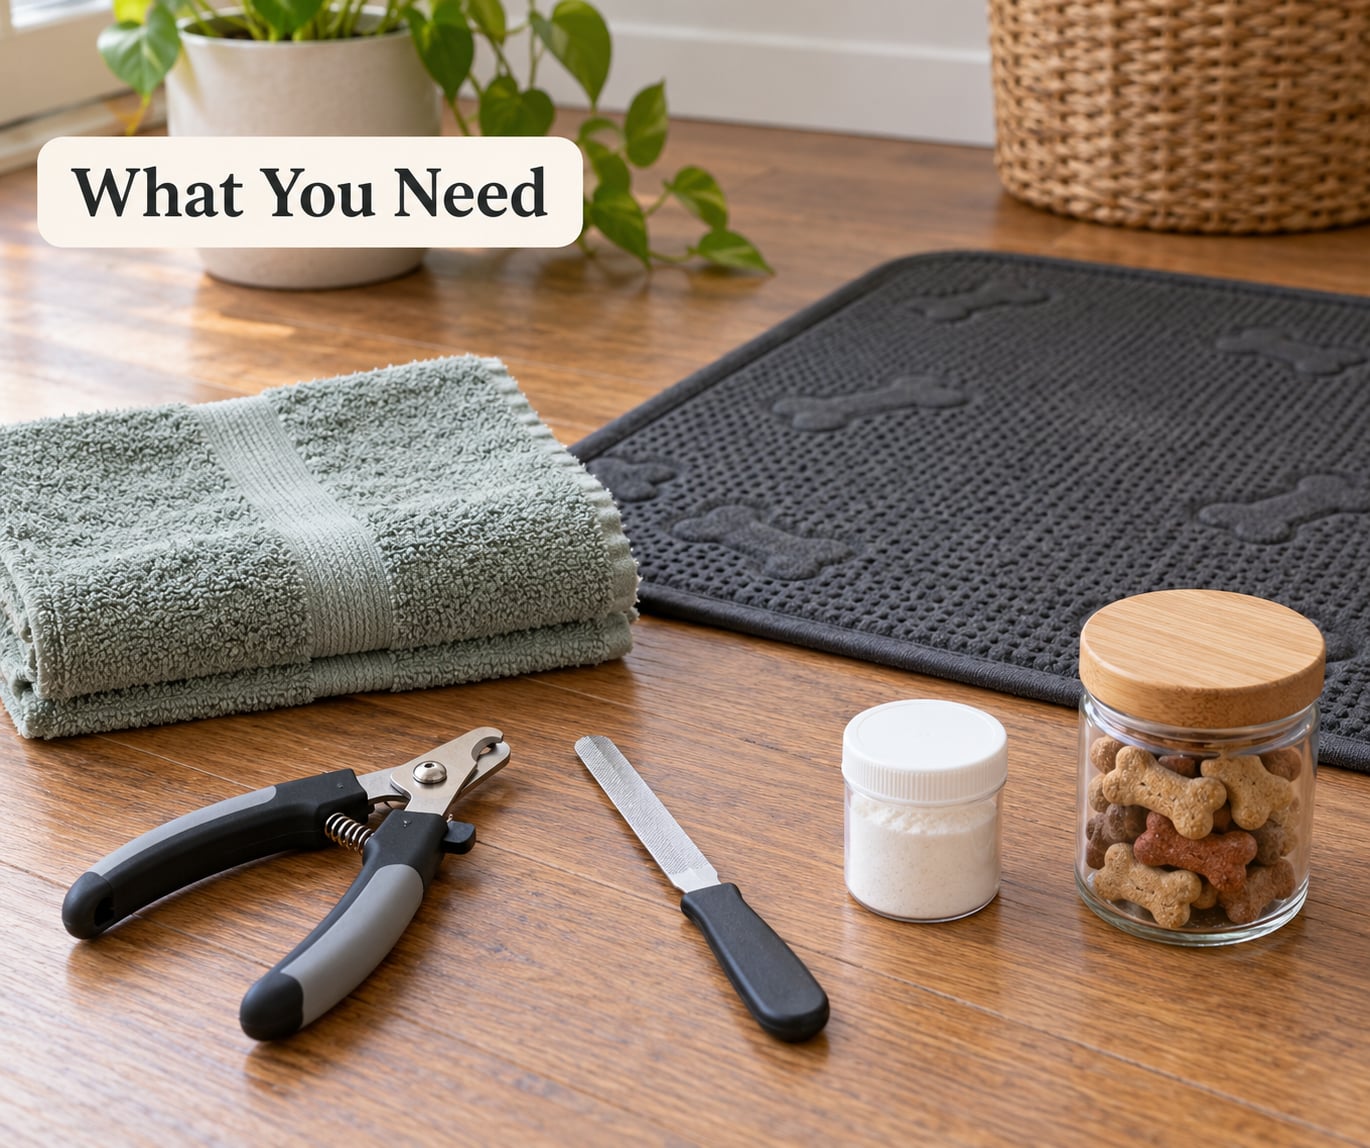
Everything here is cheap and most of it you can find in a pet aisle or a hardware drawer. The point of setting up in advance is that hunting for styptic powder while a dog is bleeding is how a small nick turns into a panic.
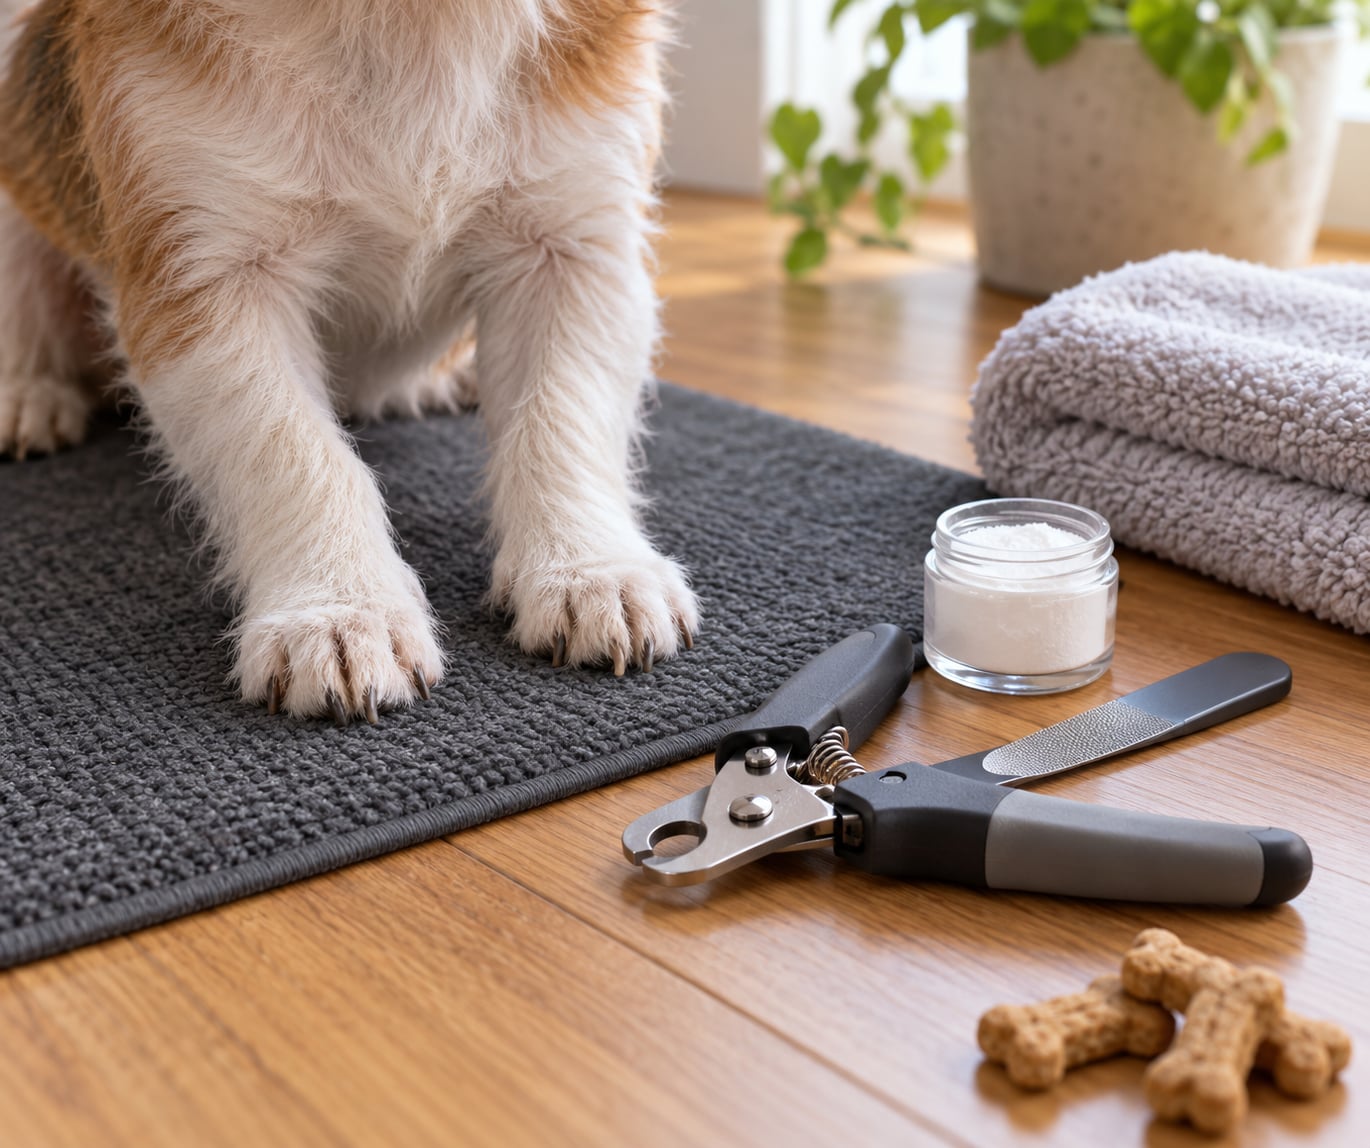
- Sharp dog-specific clippers. Scissor-style or plier-style, sized for your dog. Guillotine-style clippers crush and split the nail instead of cutting it, and human nail clippers will not cut a dog’s nail cleanly at all.
- Styptic powder. Cornstarch or plain flour works in a pinch, but styptic powder is designed for the job and sits within reach on the table.
- High-value treats. The good ones, not training biscuits. This session has to end well or the next one starts badly.
- A non-slip mat or folded towel. A dog who slips on tile loses trust in the whole process.
- Optional: a nail grinder and a file or emery board. A grinder takes tiny slices off and works well on black nails. A coarse nail file is the emergency backup for a nail you cannot safely clip.
- Optional: a second pair of hands. Genuinely useful for a large or wiggly dog, and the only safe restraint for many.
How to Choose Between Clippers and a Grinder
Clippers are faster and give you a hard edge you can see. Grinders are slower, quieter for dogs who dislike the snip sound, and easier on nervous dogs because there is no sudden crack, but they need steady hands and the risk of heat is real if you linger on one spot. Many people use both: clippers to take off the bulk, grinder or file to smooth the edge at the end.
Preparing Your Dog and the Workspace
Pick a time when your dog is sleepy, after a walk, not right before bed or during chaos. Do a bath the day before if you can; water softens the keratin a little and makes a hard nail less hard. Long hair around the nail hides the quick and gets caught in the clipper, so trim or brush the fur back from each toe first.
Stand your dog on the mat, or have them sit with their back to a wall rather than on a slippery table. Good light matters more than anything else on black nails, so set a lamp where you can see the cut surface clearly.
Step-by-Step: How to Trim a Dog’s Nails Without Hurting Them
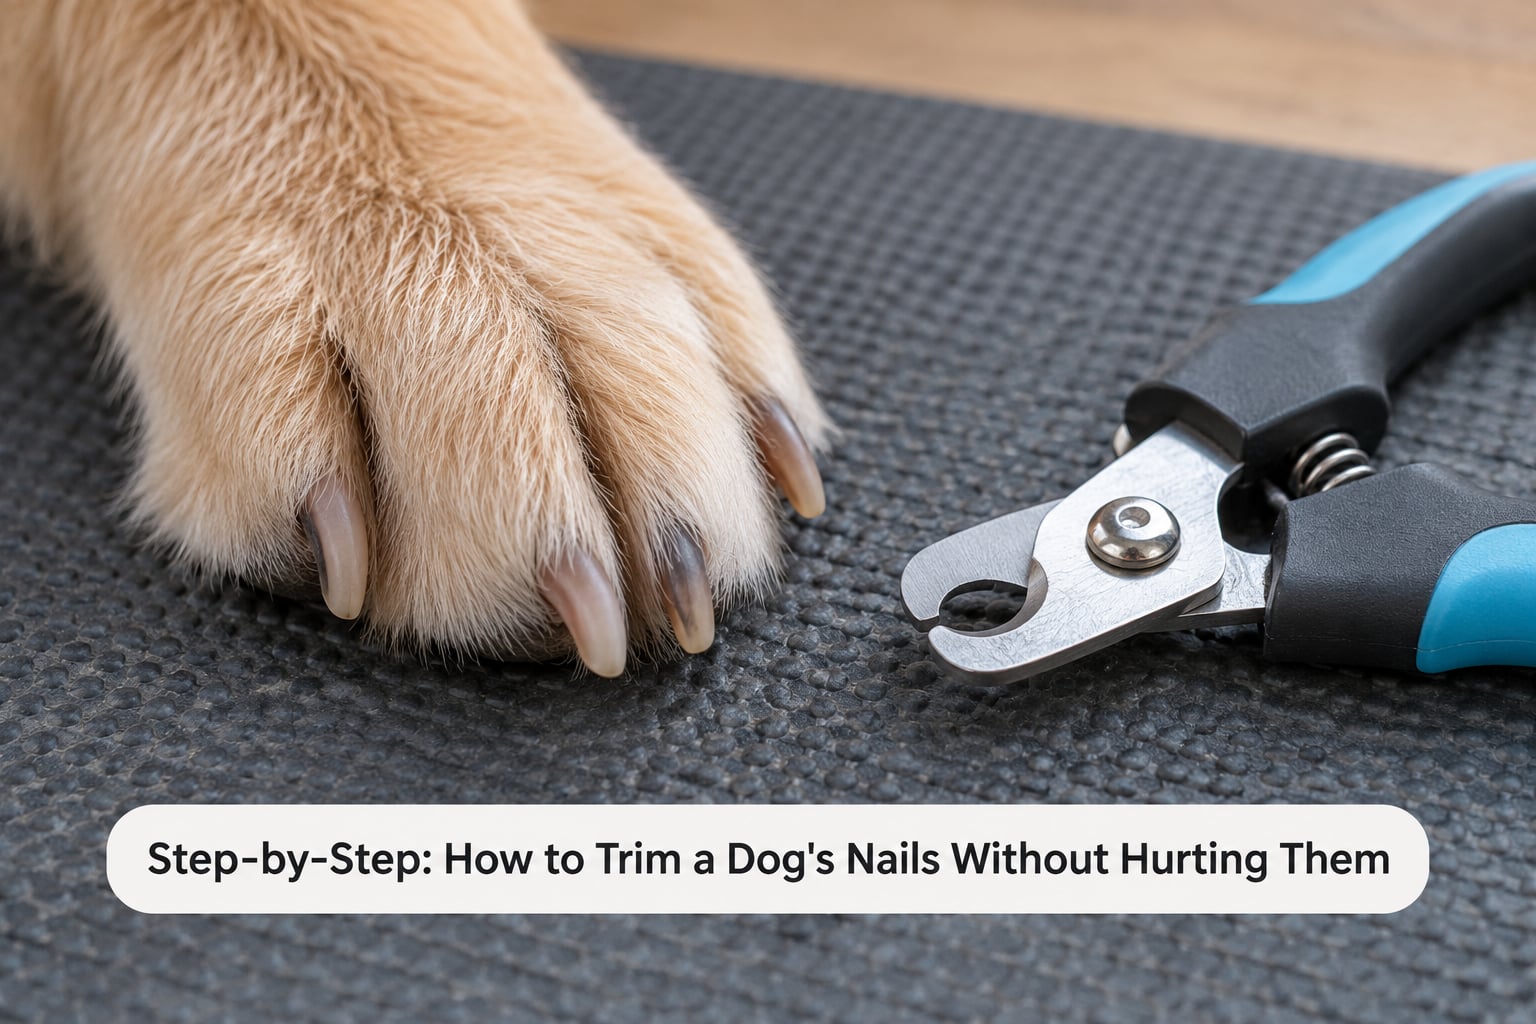
Work from the least interesting nail to the most interesting one, not the other way around, because you will hit a problem somewhere in this sequence and you do not want it to be a front nail. If your dog pulls away at any point, put the paw down, stop, and take a break. A paw that is released quickly teaches more than a nail that is finished.
Step 1: Get Your Dog Comfortable
Do not open a nail trim with clippers in your hand. That is the single thing that creates most of the fear I see in dogs who panic at the sight of trimmers, and one bad start can take months to undo.
Build up over about a week instead. On day one, touch the feet and toes briefly, then reward. Day two, reward them for looking at the clippers. Day three, let them sniff the closed clippers while you reward, then open the blades once near a treat. Day four, clip an empty palm of your hand while they eat. Day five, rest the open blades on the paw with no cutting. Day six, clip once in the air near the nail, then take a treat. Day seven, cut one nail. Teach a shake first and use it as the signal that a paw is about to be handled.
Keep sessions short even when you are making progress. Thirty seconds of calm beats five minutes of wriggling, because the dog remembers how it ended rather than how many nails you got.
One trick that helps a lot with dogs who hate having a paw lifted: lift one foot and trim the nails on the foot that stays on the ground. It is easier for the dog to balance and harder for you to see, so it suits a dog whose fear is worse than your need for a perfect angle.
Step 2: Find the Quick in Each Nail
The nail is a hard outer sheath of keratin over a softer pale interior called the horn, with the quick running down the centre, holding blood vessels and nerves. Trim only the sheath and the horn, and you feel no pain. Reach the quick and you hit something that hurts and bleeds heavily.
On a light or clear nail, hold the toe between finger and thumb, press the pad forward, and the nail extends. The quick shows as a pink or grey triangle a few millimetres back from the tip. Stop well short of it and take off thin slices.
On a black nail you cannot see the quick at all, so you read the cut surface instead. The outer sheath grows out farther than the horn, so every slice removes dark keratin first. Keep cutting tiny slivers until the cut face shows dry, chalky white horn in a circle. Keep going one sliver at a time until a small dark or grey dot appears in the centre of that white circle. That dot is the quick seen end-on. Stop.
A rough heuristic groomers use is that the quick roughly ends where the nail starts to curve under, though nail length, breed and individual anatomy all shift that. If a foot has both light and black nails, trim a clear one first; it shows you where the quick ends on that toe, which gives you a margin to work to on its neighbour. Dewclaws sit higher on the leg than the other nails, which means the quick sits higher too, so trim them shorter than feels sensible and treat them as the nail most likely to bleed.
Step 3: Trim Small Pieces Without Hurting Them
Hold the paw firmly but gently, one finger behind the nail as a guard so a slip has somewhere to go, then push the pad up so the nail extends straight out. Cut small slices straight across the tip, not angled down into the toe. If the nail curves, take two small angled finishing cuts, one from above and one from the side of the existing cut, to blunt the edges rather than reshaping the whole nail.
Cut as little as feels silly. A person who cannot tell how far the quick is should assume it is closer than it looks, and every bit of nail removed takes weeks of growth to replace. Let go of the paw the instant your dog pulls or twists. That movement is information about how the dog feels, not an obstacle to work around.
Nails that are already too long or curled under the pad cannot be cut safely, because the clipper blade ends up right where the quick is. File or grind them down first, in short passes across several days, until the nail is short and straight enough that a clipper blade fits across it without reaching the quick. Rushing this is how a nail splits down the middle and hangs there.
Step 4: Smooth and Check the Nails
A finished nail is level with the front of the paw pad, or just a hair above it. That is the length you are aiming for, and you can check it by looking from the side of the foot while standing the dog normally.
Use a file, an emery board or a grinder to take the rough edge off the cut. For a grinder, start on the lowest speed, use a coarse sanding bit, and move it in two-second passes along the outside curve of the nail rather than pressing the bit into the top of it. Lift away after every pass and check the cut surface. Stop when you see the white horn, and stop entirely at the dark dot, the same signal you use with clippers.
Grinding one spot continuously heats the nail and hurts just as much as a cut. Keep the bit moving, keep it off the quick, and take a break every few nails so the dog can shake out a paw that gets hot. Grinders leave a smooth, blunt edge, which many dogs tolerate better than the hard cut edge a clipper leaves behind.
Step 5: Reward and Finish
Reward after every single nail, not just at the end. When your dog gets tired, whines, snaps or shakes hard, stop the session, even with three nails left to do. Two nails on a happy dog is a good result, and owners who quit mid-session on a relaxed dog usually get the next session to go better.
End while your dog is still calm, with praise and a treat, then put the clippers away out of sight. Do not save the remaining nails for later in the same sitting; a trim that ends on a good note is worth more than a trim that gets finished. Most dogs settle into a two to four week rhythm once the fear is gone, with calm sessions in between and the actual cutting every couple of weeks.
What to Do If You Cut the Quick
A quick nick is common, especially on black nails and dewclaws, and it looks far worse than it is. Work through these steps in order rather than improvising.
- Hold pressure. Press a clean cloth or gauze pad firmly over the tip for two to three minutes without peeking. Most bleeding stops here on its own.
- Add a clotting aid. Pack styptic powder, cornstarch or plain flour onto the tip and press it on for another minute. The blood is what the powder sticks to, so hold it in place rather than dusting and letting go.
- Stop licking. Ten minutes of licking undoes the whole job. Distract your dog rather than reaching for anything numbing, since anything a human can safely swallow is not meant for a dog’s mouth anyway.
- Let it heal. A cut quick often bleeds again the next time the nail is trimmed because it has not fully sealed. Trim that nail shorter than you would the others for a month or so.
The quick does recede and shorten when trimmed regularly, so a dog who bled every month tends to stop bleeding after a few months of careful maintenance. Nails that already grow with the quick close to the tip, often called quick nippers, tend to regrow darker after a bleed because the damaged tissue grows back pigmented. That is a reason to cut less on that nail, not more.
Call your vet the same day if bleeding runs down the toe, will not stop after ten minutes of firm pressure and styptic powder, if the toe looks deformed, or if your dog seems genuinely painful when you touch the foot afterwards. A nail that split down the middle with a piece hanging off is a vet job, not a home job.
When Not to Trim at Home
Some jobs should go to a vet, a vet tech or a groomer, and pushing through at home helps nobody. Put the clippers down when nails are so overgrown they curl under the pad and press into the skin, when a dewclaw is torn rather than nicked, when a toe is swollen or infected, when your dog panics, growls or snaps, or when you cannot tell where the quick is and you are guessing on every nail.
There are three realistic routes for those dogs. A groomer or vet tech appointment is quick, cheap compared with a clinic and usually includes a lesson on where your dog’s own quick sits, which makes every later trim easier. A veterinary visit with pre-visit medication from your vet is the option owners of severely anxious dogs ask about, and it is worth raising rather than struggling. A cooperative approach at home, where your dog lies on a mat or in a grooming hammock and you work one nail at a time while they eat, suits many dogs who cannot stand being held down but do fine when they are not restrained.
One visit that teaches you your own dog’s nails beats a year of uncertain practice. Owners regularly say the first appointment is the moment trims stopped being a fight at home.
Common Mistakes
Almost every mistake here is the same error in a different costume: taking too much, or pushing past the point where the dog is comfortable.
- Cutting a big piece instead of slices. Fix: take slices the thickness of a coin, then check the cut face before taking another.
- Using guillotine-style clippers. Fix: switch to scissor or plier style. The sliding blade crushes and splits the nail, which is painful and makes the dog afraid of the next trim.
- Reaching for human nail clippers on a big dog. Fix: use dog clippers sized for the nail. Human clippers either will not cut it or will crack it.
- Clipping over long fur. Fix: brush or trim the hair around the toe first so you can see the nail and the clipper.
- Forgetting the quick on black nails. Fix: use the white horn and dark dot cross-section signals, and cut less on every black nail than you did on the light ones.
- Pushing through a frightened dog. Fix: stop and go back to the desensitization ladder. A forced full trim teaches the dog to run away next time.
- Grinding in one spot. Fix: short passes, bit moving, paw lifted often. Heat hurts as much as a cut.
- Starting with a curled or overgrown nail. Fix: file or grind it down over several sessions first.
- Wrapping a large or strong dog up. Fix: restraint has a limit. A struggling dog can injure itself or injure you, so use a second person or a grooming hammock, and stop if the dog is panicking.
Two safety rules to keep. Never give a dog any human painkiller or human nail medicine, and never use a hot nail drill, which is for large animals and will scald a dog. If a nail splits, a dewclaw is torn rather than nicked, bleeding will not slow down with pressure and styptic powder, or nails have curled badly enough to injure the pad, that is a veterinary job rather than a home job. Some owners also ask their vet about pre-visit medication for dogs whose anxiety makes any handling impossible; that conversation belongs with your vet, never with a supply shelf.
Frequently Asked Questions
What if I accidentally cut my dog’s quick?
Most quick nicks look far worse than they are. Hold steady pressure with a gauze pad or clean cloth for a few minutes, then press styptic powder, cornstarch or flour into the tip to help it clot. Keep your dog from licking it. The nail usually stops within ten minutes and looks normal again in a few days. Call your vet if bleeding runs down the toe or will not stop after ten minutes of firm pressure, or if the nail split lengthwise.
How do I trim a dog’s nails when they won’t let me?
You do not trim them yet, you train first. For about a week, touch the feet and reward, then let them sniff the clippers, then open the blades near a treat, then rest the blades on the paw. Keep sessions under a minute. Many owners get further lifting one foot and trimming the foot that stays on the ground. If your dog panics or snaps, stop and go back a step. Ask your vet about pre-visit medication if handling is impossible.
Is it better to cut or grind dog nails?
Clippers are faster and give you a clear cut surface to read, which makes them better on black nails where you are watching for the white horn and the dark dot. Grinders are quieter, leave a smooth blunt edge, and suit dogs who fear the snip, but they take longer and heat the nail if you linger. A common approach is clippers for the bulk and a grinder or file to finish and smooth the edge.
How can I cut dog nails without clippers?
Use a coarse nail file or an emery board and work on each nail from the tip toward the toe in short strokes, checking after every few strokes the way you would check a clipped nail. On clear nails stop when you approach the pink triangle. On dark nails stop the moment the surface turns chalky. Slower, absolutely safe, and a good emergency option when a nail is already too long or curled to clip.
How often should I trim my dog’s nails?
Every three to six weeks for most dogs, and check weekly. Nails that touch the floor before the paw does are too long. Dogs on hard surfaces wear nails down faster, and senior dogs often need more frequent trims because the quick grows closer to the tip with age. Trim a little every week and you will rarely have to take off much at once, which is the safest routine of all.
Why do dogs get scared when you cut their nails?
Usually because of how the trim ended, not the clippers themselves. A nail that split, a quick that bled, or a session where the dog could not escape all teach the same lesson, and most dogs remember it for years. Fear then shows up as pulling away, biting, or freezing. The cure is a week or two of short, reward-based sessions where nothing gets cut, followed by one nail at a time.
Conclusion
Start where the risk is lowest: short, positive sessions where you only touch feet and reward, and when you do cut, take pieces smaller than you think you need. On light nails stop before the pink triangle. On black nails stop at the first dark dot in the centre of the white horn. Release the paw the moment your dog pulls away.
Stop the session and get professional help when the dog is frightened, when you cannot tell where the quick is, when a nail is badly overgrown or curled, when bleeding will not stop after ten minutes of firm pressure and styptic powder, or when a nail splits lengthwise. A vet tech or groomer can usually show you your own dog’s quick in one short appointment, which is often faster than a month of practice at home.