You can build a recognizable Halloween costume in a single day if you pick the character first, base it on clothes you already own, and add just two or three signature details. Plan eight to ten hours of work, start in the morning, and leave the evening for makeup and a full dress rehearsal. No sewing machine, no specialty store, no panic.
The failure I see most often is picking a character that needs foam work, a wig install and a painted bodysuit. That is a three-day project wearing a one-day costume. This plan is built to avoid exactly that.
Table of Contents
- 1What You Need
- 2Base clothing you likely already own
- 3Craft materials
- 4Optional tools
- 5Safety items
- 6How to Make a Halloween Costume in One Day: Step-by-Step
- 7How to Make a Halloween Costume in One Day: Choose a Fast-to-Build Character
- 8Set a Costume Deadline and Check What You Already Own
- 9Build the Costume Base From Existing Clothes
- 10Add Recognizable Details With Quick Techniques
- 11Create Makeup and Hair That Match the Character
- 12Do a Full Dress Rehearsal and Fix Weak Points
- 13Pack Emergency Repairs for Trick-or-Treating
- 14Common Mistakes
- 15Frequently Asked Questions
- 16Can I make a Halloween costume in one day without sewing?
- 17What is the best Halloween costume to make with things I already own?
- 18How can I create a character look without a full face of makeup?
- 19How do I keep a DIY Halloween costume comfortable and cool at night?
- 20Is it safe for children to make a last-minute costume with scissors and hot glue?
- 21Conclusion
What You Need
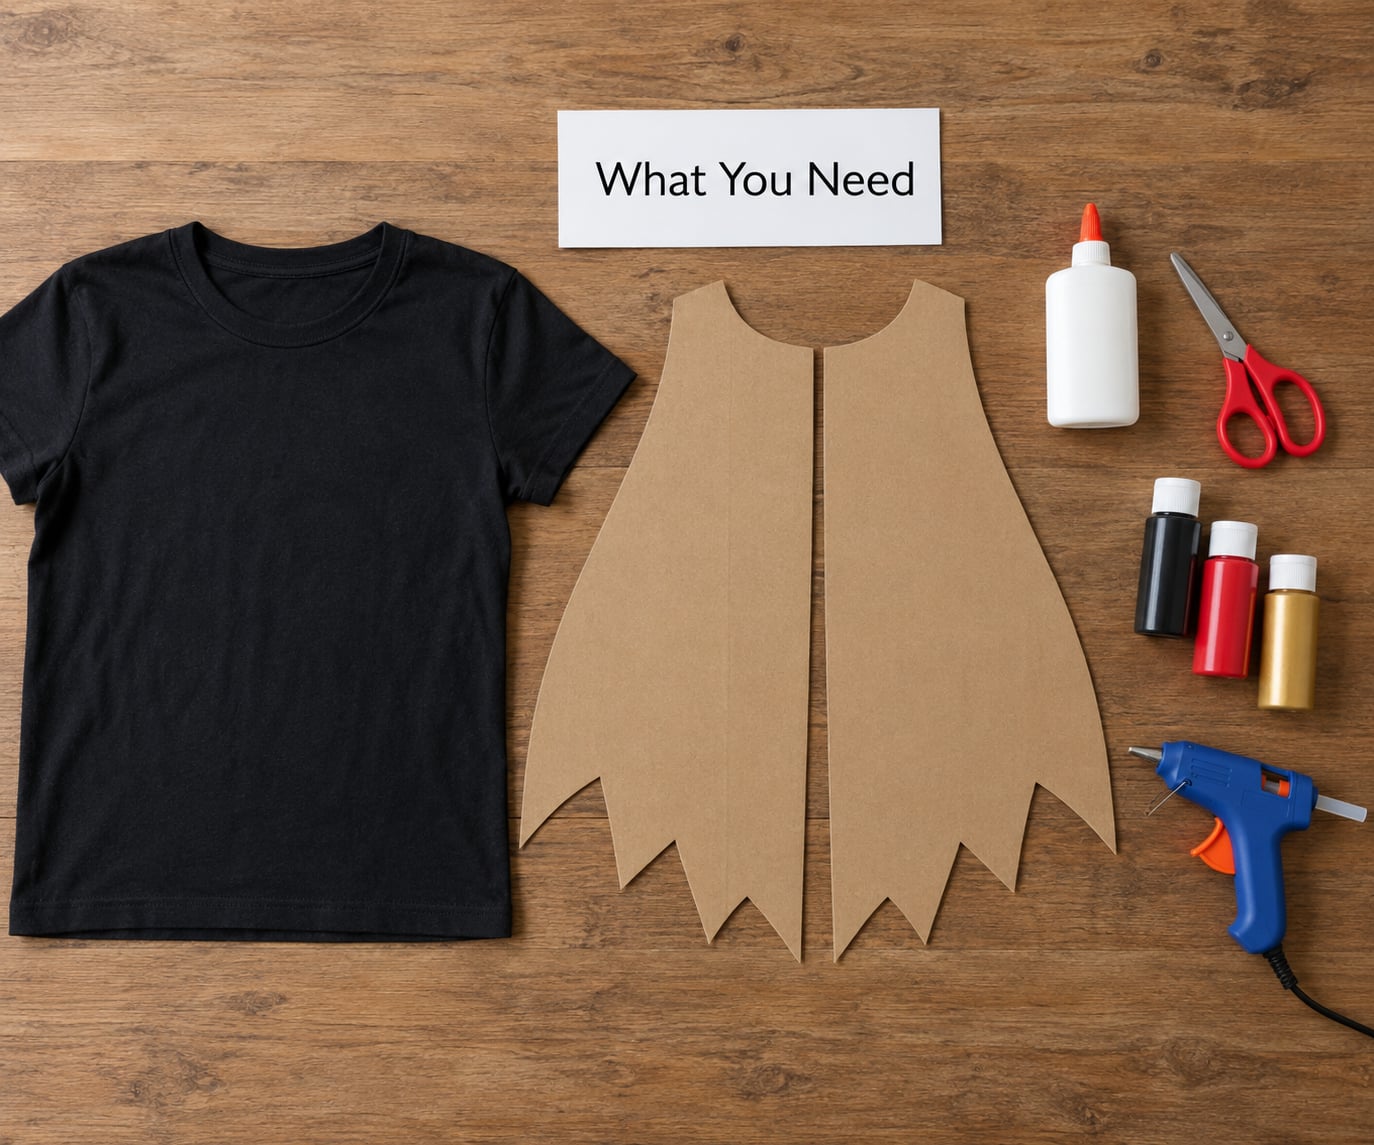
Gather everything before you start cutting anything. Most one-day costumes run on three groups: base clothing, craft supplies and safety gear.
Base clothing you likely already own
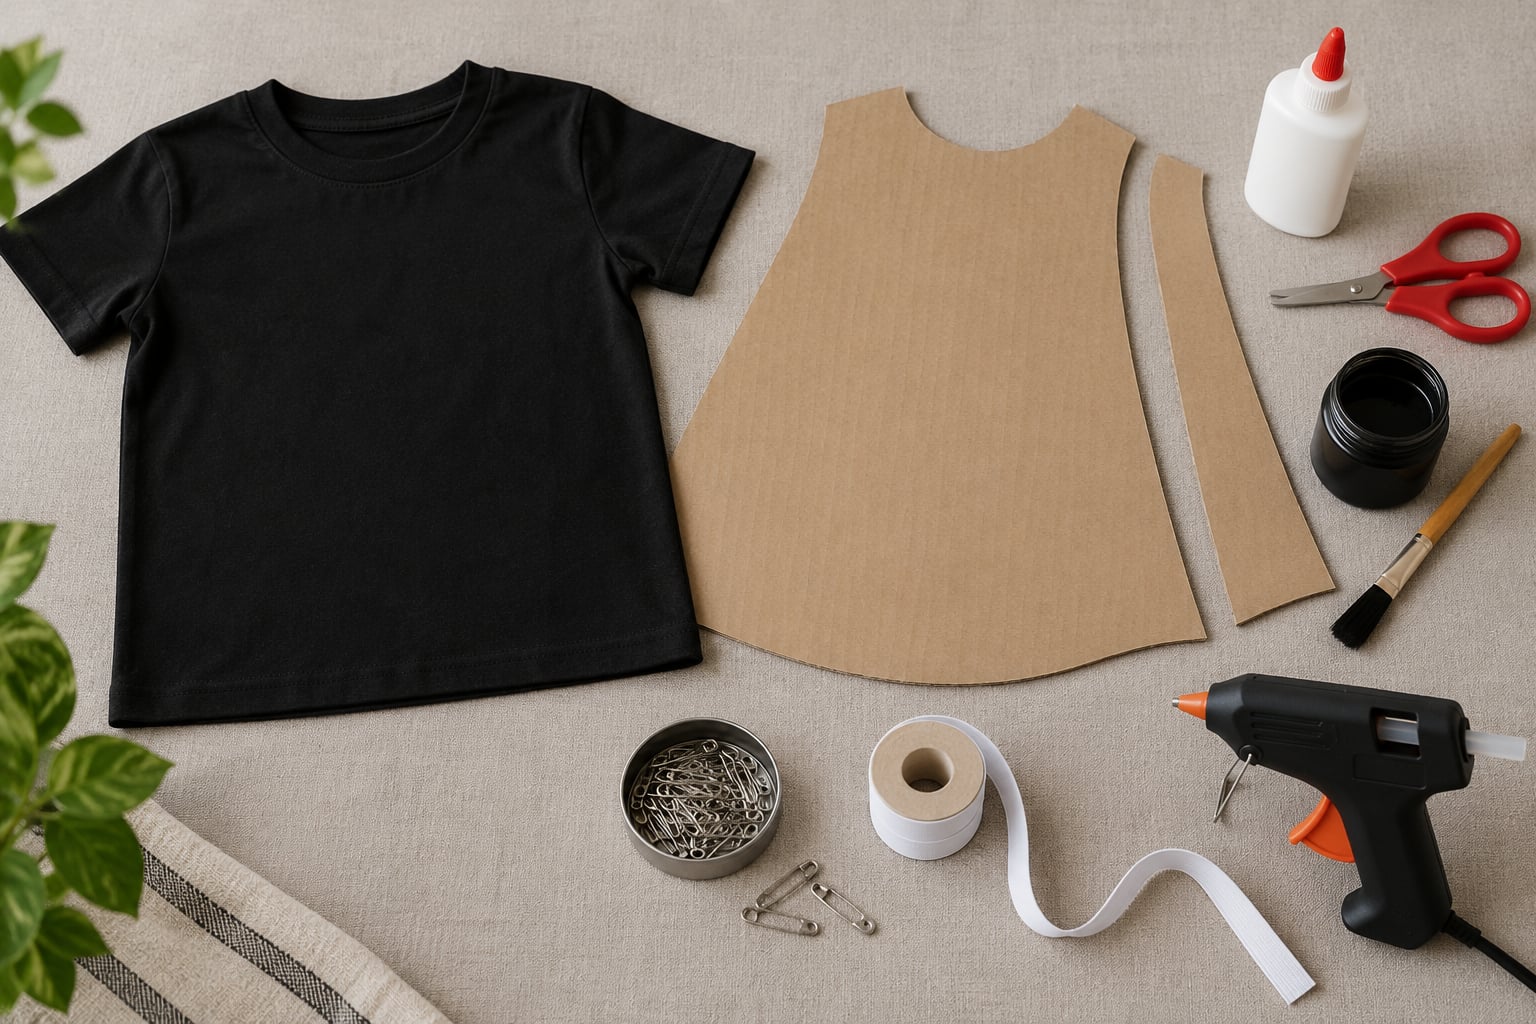
- A plain T-shirt, sweatshirt or button-up shirt in a neutral color
- Black leggings, jeans or sweatpants
- An oversized shirt or a hoodie with a hood you can shape
- A jacket, vest or blazer for a character who wears layers
- One pair of shoes and socks you are happy to walk two miles in
A single white or black T-shirt is the most useful thing in this whole list. Almost every costume idea below starts with one.
Craft materials
- Cardboard, cereal boxes and foam board
- Hot glue gun with glue sticks
- Fabric glue and tape
- Safety pins and a stapler
- Acrylic craft paint, brushes and a foam or cardboard palette
- Scissors, a craft knife and a cutting mat
- Wire, elastic cord and a few zip ties
- Iron-on transfers or fabric markers
Cheap substitutions work fine. Painter’s tape from the hardware aisle does the job of masking tape, and a butter knife scores cardboard nearly as well as a craft knife for shallow cuts. Skip specialty foam and go with cereal boxes flattened and layered, which hold paint well and cost nothing.
Optional tools
A stapler handles thick cardboard in seconds. A hair dryer set low speeds up drying paint on cardboard so you are not waiting an hour between coats. A sewing machine is not needed, though a needle and thread handle a quick hem in about two minutes.
Safety items
- Reflective tape for the costume and the trick-or-treating bag
- A headlamp or small flashlight, plus spare batteries
- Bandages and blister pads in case new shoes rub
- Hand sanitizer and disinfectant wipes for shared face paint brushes
If your costume sits near candles, a fireplace, a grill or any open flame, choose materials rated as flame retardant and keep natural fibers, feathers and loose paper away from heat. Test any paint or glue on a scrap of the same fabric first, because hot glue can melt synthetics and bleed dye through to the other side.
How to Make a Halloween Costume in One Day: Step-by-Step
Here is the full process. Work through the steps in order and you will finish with a wearable costume rather than a pile of parts.
How to Make a Halloween Costume in One Day: Choose a Fast-to-Build Character
Pick a character you can build from what you already own, then check it against three questions.
Compare four concepts before you commit. A vampire needs only a black base, pale makeup, a red collar and fake blood at the mouth. A scarecrow needs a flannel shirt, straw, black face paint and loose stuffing at the cuffs. A plague doctor needs a long black coat, a wide-brimmed hat and a beak built from cardboard and tape. A fairy needs a solid-colored dress, wings from wired tulle and glitter glue.
The character is ready to proceed when you can name its three most recognizable features without hesitating. Vampire: black clothing, pale face, red at the mouth. Scarecrow: flannel, straw, dark stitched-on smile. If you cannot name three, that character is too vague for one day, so pick a different one.
Also check the clock honestly. A costume that needs drying time, a wig install and a bodysuit paint job is not a one-day costume. Every extra hour of drying is an hour you did not budget for.
Set a Costume Deadline and Check What You Already Own
Write the schedule down before you pick up scissors. Deadlines without times are wishes.
- 9:00 a.m. decide the character, inventory the closet
- 10:30 a.m. finish any shopping and stop buying
- 11:30 a.m. start building the base
- 3:00 p.m. paint and add cardboard details
- 5:30 p.m. hair and makeup practice run
- 7:00 p.m. full dress rehearsal
- 8:00 p.m. repairs, then stop
Mark the plan as workable when all essential supplies are at home before construction begins. If a material is missing at noon, change the design rather than the deadline. Substituting a cereal box for foam board takes ten minutes. Hunting for the right foam board at three stores takes two hours you do not have.
Build the Costume Base From Existing Clothes
Assemble a wearable foundation and do not alter the fit unless it helps. Most people make a costume uncomfortable by making it too tight, then complaining about it at the door.
Choose the base by body shape and comfort. A T-shirt plus leggings works for almost anything. An oversized shirt worn as a tunic handles characters who wear robes or dresses. A jumpsuit saves you from fussing with a waistband all night.
Check three things before you build anything on top. The base should be comfortable, secure and easy to remove, ideally over the head or with as few zippers and hooks as possible. If you cannot get out of it in under thirty seconds, bathroom access is going to be a problem between doorbells.
Add Recognizable Details With Quick Techniques
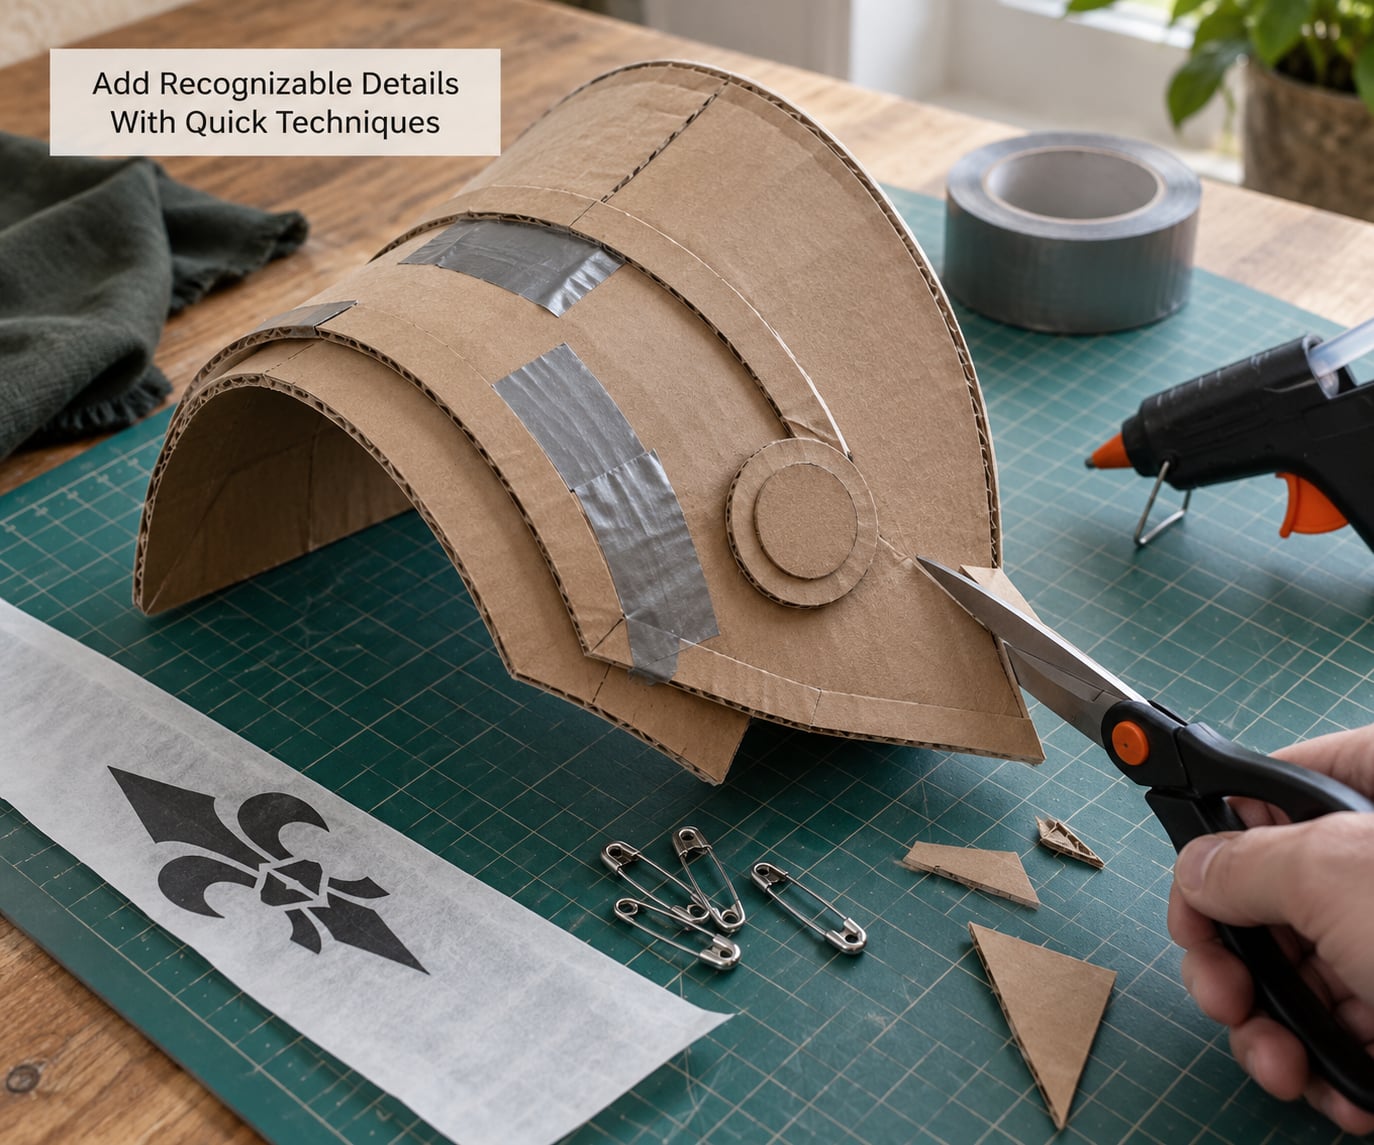
Details carry the whole costume. The base is just clothing; two strong details turn it into a character. Choose techniques that set fast and hold.
- Cardboard capes and shoulder armor: cut to shape, paint, then attach at the shoulder seam with fabric glue plus two safety pins. The pins take the load so the glue can set slowly.
- Wings: bend two wire hangers into frames, stretch tulle or tissue paper over them, and twist the wire ends into the hair or collar.
- Stripes and symbols: iron-on transfers take about fifteen seconds each and outlast anything painted. Fabric markers work if the fabric is dark.
- Masks: cut cardstock, elastic or a headband mount. Leave an open nose and mouth so breathing and eating stay easy.
- Badges and belts: heavy cardstock, foil, or a few bottle caps sprayed and pinned on.
The detail is successful when the silhouette immediately suggests the character from across a street. Test it by holding the piece up against the base and stepping back three meters. If the shape reads from there, it will read at night.
Create Makeup and Hair That Match the Character
Makeup takes thirty to forty-five minutes in practice and gets faster once you know the order. Work light to dark, and set it with powder last.
- Pale undead: white face paint base, grey shadow under the eyes and cheekbones, dark lips, a thin line of blood at the mouth corner.
- Stitched scarecrow: dark brown or black face paint, then draw short irregular lines radiating from the mouth.
- Bruises and scrapes: a dab of dark red paint, a smaller spot of black inside it, blended with a damp sponge.
- Old or dusty look: stipple beige or grey paint over foundation with a sponge, dabbing rather than rubbing.
For hair, teased volume, a braid wrapped with colored strips, or a simple synthetic wig pinned at the crown all work in minutes. Skip colored contact lenses unless you have inserted them before; a botched lens on a dark porch is a genuinely bad evening. Confirm the look can be reproduced in a practice run, which is why the schedule puts one there.
Do a Full Dress Rehearsal and Fix Weak Points
Put the entire costume on, including makeup, and walk around your home for ten minutes. This step catches nearly every problem you would otherwise discover at someone’s front door.
Take photos from the front, both sides and the back. Looking at yourself in a phone screen is far better than guessing in a hallway mirror, and it shows instantly what is loose, crooked or missing.
Test the two things people forget. Turn your head fully in the mask and check you can see out of the side. Then walk up and down stairs and sit down. If the costume rides up, add safety pins at the waistband. If the hem drags, shorten it rather than planning around it.
Run through a written checklist before you finish: all fasteners closed, accessories attached, footwear comfortable, no exposed pins or staples, nothing scraping the neck, and bathroom access quick.
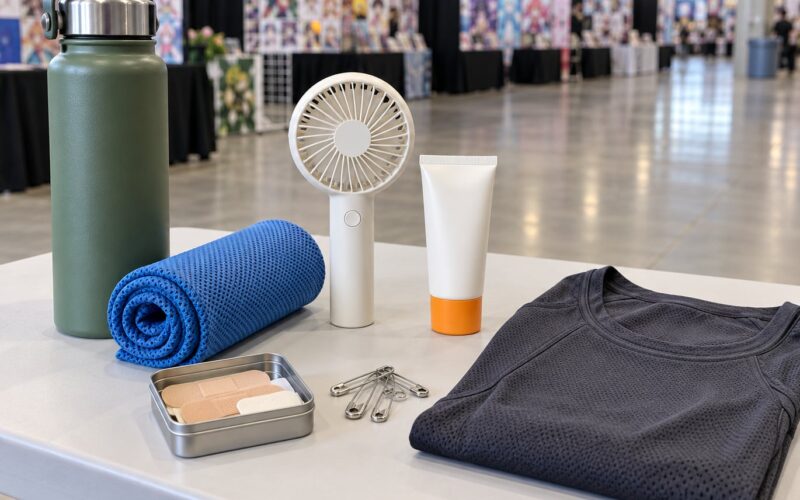
Pack Emergency Repairs for Trick-or-Treating
Something will come loose. The costume is ready when it survives a short practice walk with the repair kit in your pocket.
- Safety pins in a small tin
- A glue stick or travel-size fabric glue
- Spare face paint in a coin-sized container with a sponge
- Hair ties, a comb and a couple of bobby pins
- Bandages and blister pads
- Two spare batteries for the flashlight
- A small rubbish bag for wet layers if rain is possible
Let someone else carry the kit if you are driving, so your hands stay free for doors and gates. Test your flashlight before you leave rather than discovering a dead battery at the end of the block.
Common Mistakes
Almost every rushed costume fails the same ways, and every one has a same-day correction.
- Choosing the character too late. You spent the morning debating instead of building. Fix: pick now, write down three recognizable features, and give yourself fifteen minutes maximum.
- Overcomplicating the build. You added an extra prop that needed foam and paint. Fix: strip it back to the three signature details and stop.
- Untested makeup. The look looked fine in daylight and disappeared under porch lights. Fix: practice it once in a dim room and photograph it there.
- Bad footwear. New shoes plus three miles equals blisters by the third block. Fix: wear shoes you have already broken in and add layers inside them.
- Loose accessories. A cape or badge dragging on the pavement gets abandoned after two blocks. Fix: reattach everything with safety pins, not glue alone.
- Too few layers. You planned a costume and forgot the temperature dropped after sunset. Fix: add a thin long-sleeve base and leggings under everything, which also stops complaints about cold skin.
- No repair kit. One snapped strap ends the night. Fix: build the tin before you leave the house.
If you have thirty minutes left, spend them on three things in order: fixing loose pieces, testing visibility, and making sure the makeup photograph works. Nothing added in the final half hour is worth the risk of breaking what already works.
Troubleshoot the failure, not the fantasy. People who build a costume in one day in 2026 are not aiming for a contest entry. They are aiming to be recognizable at the door and comfortable for three hours, and that is a much easier target.
Frequently Asked Questions
Can I make a Halloween costume in one day without sewing?
Yes. Most one-day costumes need no sewing at all. Fabric glue handles capes, trim and appliqué, safety pins take the load on shoulder pieces, and iron-on transfers cover stripes and symbols in about fifteen seconds each. Hand sewing is optional and only useful for a quick hem. If a design calls for sewing, look for a cardstock, felt or duct tape version built from the same template instead.
What is the best Halloween costume to make with things I already own?
A vampire, a scarecrow or a mummy. All three come from ordinary clothes plus small details. A vampire needs a black base, pale makeup and a red collar. A scarecrow needs a flannel shirt, straw and a stitched-on painted smile. A mummy needs light fabric strips or white athletic tape and dark eye sockets. Each reads clearly at night with no building supplies beyond glue and paint.
How can I create a character look without a full face of makeup?
Skip the full face and change one dominant feature instead. Heavy black eye shapes, a single scar, a bold lip, white brows or dark lips around a bare face all read from a few meters away and take under twenty minutes. Prosthetic wounds, beard transfers and textured scars also work alone. Keep the costume details strong so the face does not have to carry the character by itself.
How do I keep a DIY Halloween costume comfortable and cool at night?
Build from loose layers rather than one thick layer, and stick to breathable cotton. Cardboard armor attached at the shoulders sits above the body instead of across it, and a cape with arm slits lets your arms move and air circulate. Wear a thin moisture-wicking shirt underneath, add reflective tape rather than bulky lighting, and check that the costume does not rub at the neck, elbows or waistband before the night starts.
Is it safe for children to make a last-minute costume with scissors and hot glue?
An adult should handle the sharp and hot tools. Children can cut cardstock with blunt scissors while an adult cuts hot glue strings and runs the glue gun, ideally on a heatproof mat with the glue gun standing upright in a jar. Keep loose ties and long cords away from young children, use non-toxic face paint and patch-test it on the inner arm first, and check any costume near flames for flame-retardant labeling.
Conclusion
Pick the character right now and write down its three most recognizable features. Inventory the closet and the craft drawer, gather everything before cutting, and build the base from clothes that already fit. Add details with glue, pins, cardboard and iron-on transfers rather than sewing, then stop while you still have time for makeup practice and a full dress rehearsal at home. That rehearsal, plus a repair kit in your pocket, is what separates a costume that survives the night from one that comes apart at the third house.