To style a wig for a costume, you prep it on a wig head, shape the silhouette with combs, steam or low heat, then lock the result in with pins, elastics and a strong spray. Most first-timers get it wrong in one of two places: they use too much heat on fiber that cannot take it, or they build volume with a plastic brush and end up with a frizzy helmet.
Budget an hour for a simple look and closer to two if you are cutting, curling and attaching pieces. The tools cost less than most people expect, and cheap drugstore wigs can carry a look that reads clearly from across a convention hall.
Table of Contents
- 1What You Need
- 2Step-by-Step: How to Style a Wig for a Costume, Start to Finish
- 3How to Prep the Wig Before Styling
- 4How to Create the Character’s Main Shape
- 5How to Add Volume, Curls, Waves, or Braids
- 6How to Secure and Finish the Costume Wig
- 7Common Mistakes
- 8How to Make the Style Last for an Event
- 9Frequently Asked Questions
- 10Can I style a synthetic wig for a costume?
- 11What heat tools are safe for costume wigs?
- 12How do I make a costume wig look less like a wig?
- 13Can I cut a wig to create a character hairstyle?
- 14How do I keep a styled costume wig in place?
- 15Conclusion
What You Need
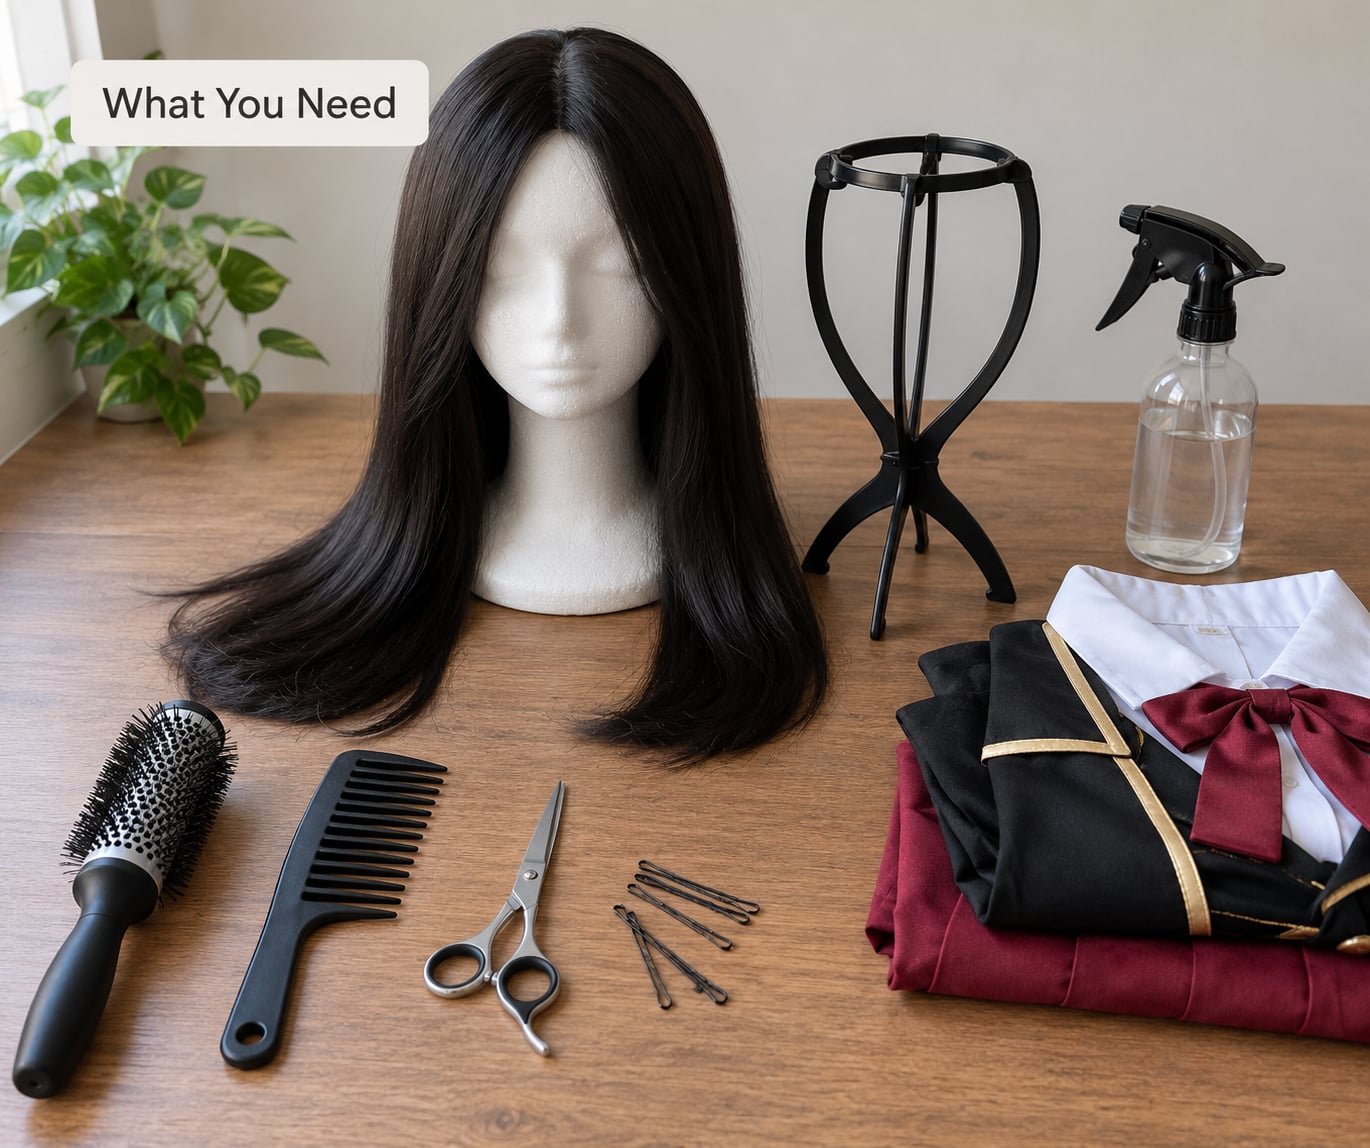
The core kit is small, and every item earns its place. Buy the cheap version of anything unfamiliar, because a damaged test wig costs less than a bad tool decision.
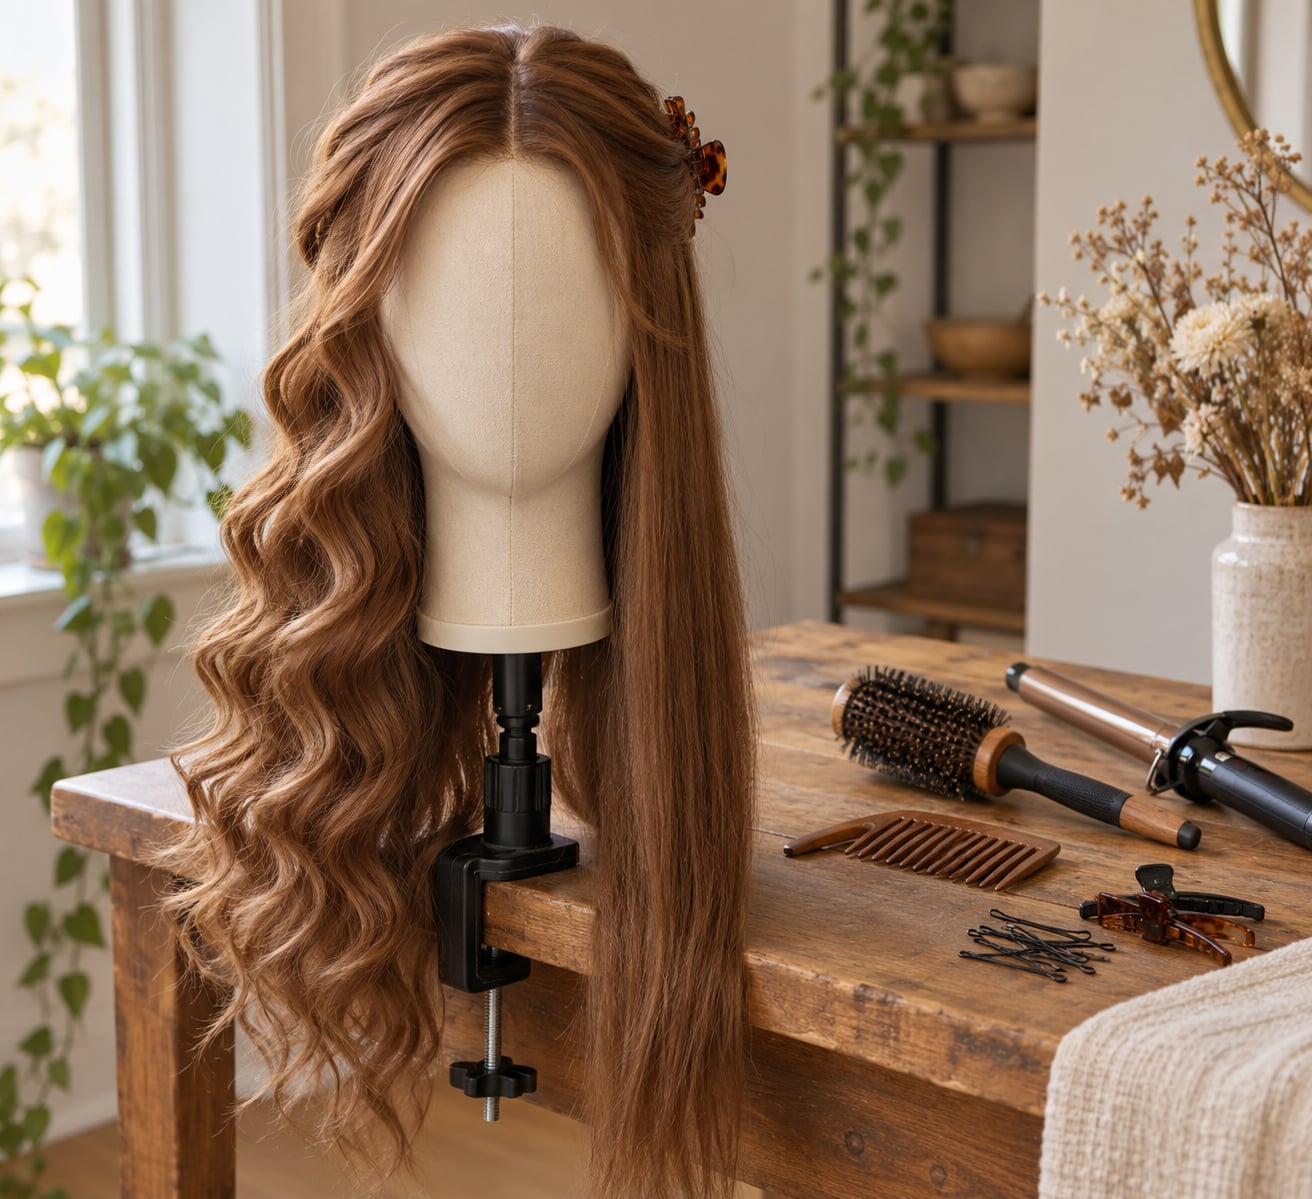
- A wig head or stand. A foam head form held by a clamp stand keeps the wig at a workable height and stops you juggling it in your lap. A styrofoam head works fine for pinning heavy styles that would droop on your own head.
- Wide-tooth comb and a metal pet brush. The wide comb detangles synthetic fiber without dragging it off the wefts. Metal detangling brushes beat plastic ones, which catch and create static on low-shine strands.
- Paddle brush and a round brush. Paddle for smoothing and blow-dry passes, round for tension when you blow dry a straight style smooth.
- Heat protectant spray. Essential for any heat work, even on fiber labeled heat-resistant.
- A curling iron, flat iron or garment steamer. Steam is the safe default on an unlabelled wig because heat passes through without direct contact.
- Scissors, plus thinning shears if you own them. Regular shears for clean cuts, thinning shears to soften a blunt fringe so it does not read as a helmet edge.
- Bobby pins, elastics and hair wax or edge control. Wax or glue-type gel gives spiky anime shapes something to hold onto.
- Hairspray, a wig cap and optional wig grip bands. Strong spray sets the style, the cap flattens your own hair, and grip bands are what keep a wig from sliding during a long day.
- Spray bottle, dry shampoo and a fine mist of water. Dry shampoo knocks down shine in photos, and the spray bottle resets a style that has gone limp.
Two substitutions cover most beginners. If you have no wig head, a foam pool noodle block or an inverted cap on a bottle works for simple work. If you have no steamer, a damp towel warmed in the dryer and wrapped around the section gives you a gentler version of the same effect.
Step-by-Step: How to Style a Wig for a Costume, Start to Finish
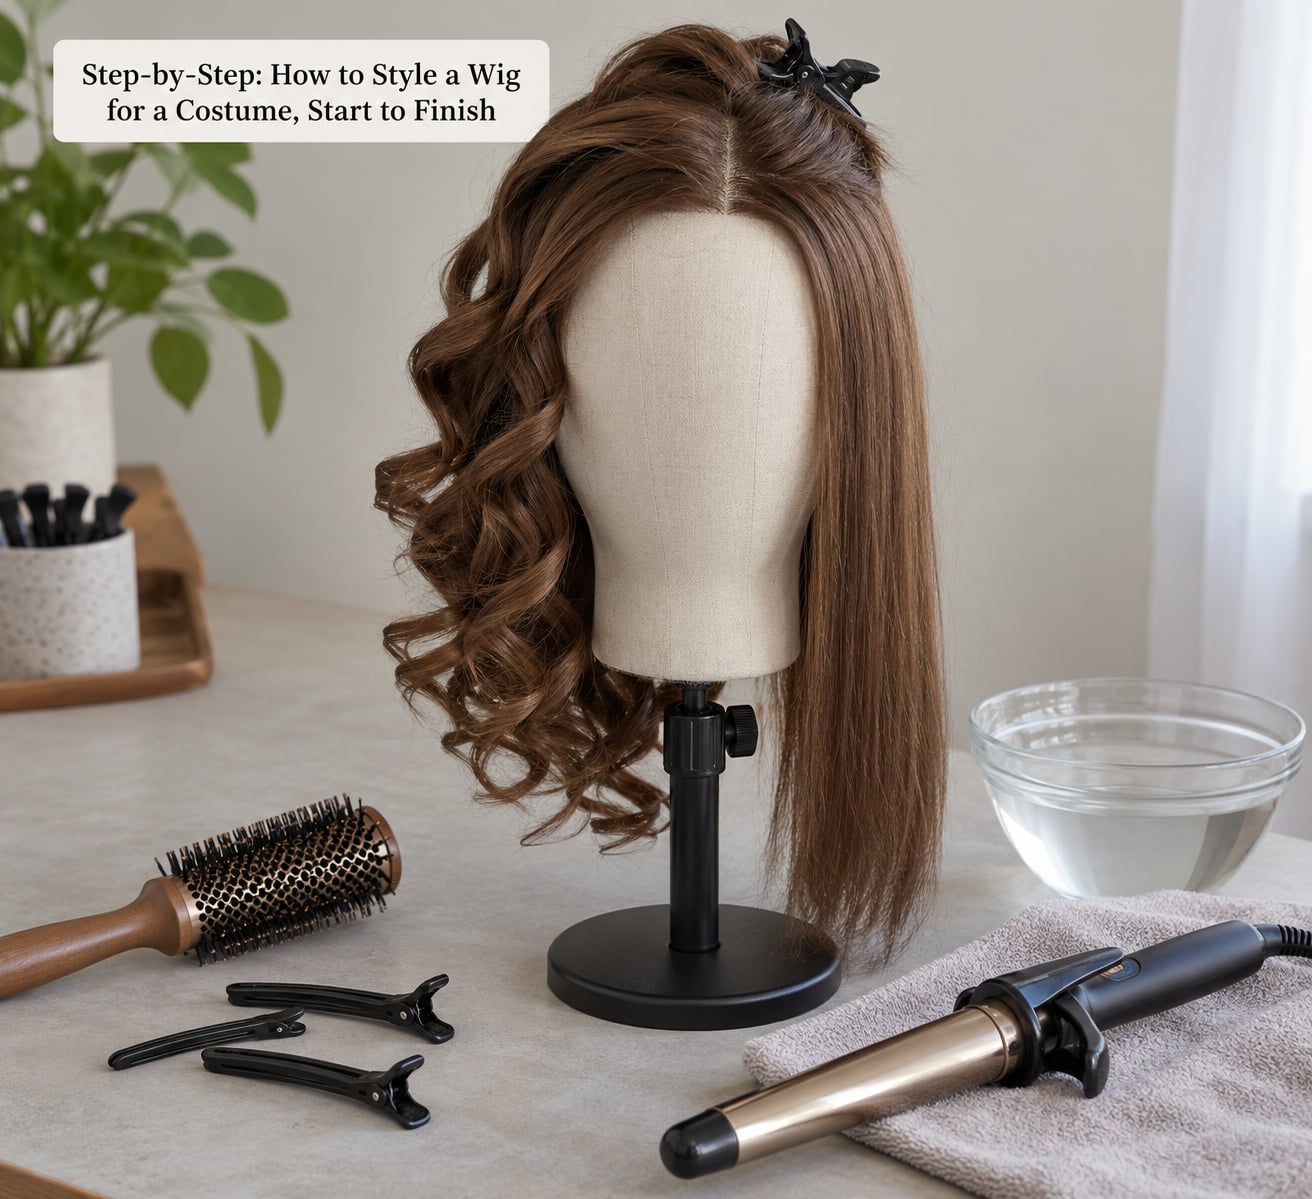
Six stages, in this order: pick the look, prep the fibers, build the silhouette, add texture and detail, secure everything, then shake it out and test it. Skipping straight to stage four is why most wigs end up looking like a wig.
How to Prep the Wig Before Styling
Identify the fiber before you touch anything with heat. Most costume wigs are synthetic, and standard synthetic fiber softens and melts into plastic strands if it sits on a hot tool too long. Heat-resistant synthetic and human hair handle styling tools normally, but the fiber still benefits from protectant.
Run a strand test on any wig with an unclear label. Take a hidden strand from the nape, secure it to a piece of cardboard, and touch it with the iron at your normal setting. Pull the strand: it stretches and springs back on high-temperature fiber, stays smooth on standard synthetic, and goes stiff or beads into a nub if you have gone too hot. Ten seconds of testing saves the whole wig.
Detangle before you style, working in small sections from the ends upward with the wide-tooth comb. Hold the section above the tangle and comb down so the pull comes from the hand, not the root. Any knot you force through here will reappear as a snag in the finished style.
Mount the wig on the head form and put it on a wig cap if the style needs a smooth, controlled base. Work with the wig on the stand rather than your own head, because tension on your head is uneven and you cannot see the back properly.
How to Create the Character’s Main Shape
Build the silhouette first, then worry about texture. Decide what the character’s hair does from a distance: hangs long and straight, spikes upward, puffs wide at the sides, or gathers into a high ponytail. Those four shapes cover most anime, fantasy, historical and modern costumes, and each one has a straightforward method.
For straight styles, brush down section by section with a paddle brush and use a blow dryer on cool with light tension. Round-brush the front pieces for a slight bend at the ends so the hair does not look like a flat sheet.
For waves, set the hair in large loose bends with a curling iron or let the hair dry in a braid, then shake it out. Wide, shallow bends read as relaxed hair; tight pin curls read as a costume wig in about two seconds.
For big shapes, tease the back and crown lightly with a teasing brush or the comb, working in small strokes from mid-length to root so you do not create a matted pad. Keep volume where gravity would not naturally put it and leave the sides closer to the head.
Cutting is where characters get recognized. Wet the hair, comb it flat, mark the length with a finger, and cut in one steady motion with sharp scissors. Never cut dry hair in guesswork increments; synthetic fiber does not move the way wet hair does and it will creep.
How to Add Volume, Curls, Waves, or Braids
Section the wig into four parts at the back, crown and two sides, and clip the top section out of the way. Work from the back forward so the sections you finish stay clean while you handle the front.
Set each curl to the size of the character’s hair, not the size you can manage. Curl from about a hand’s width from the scalp, because starting at the root creates bumps at the scalp that no amount of product will smooth. Leave the last inch near the scalp untouched.
Let each section cool completely before you pin or brush it. Cooling is what makes a curl hold; releasing it warm lets it drop out fast. For a spike or gravity-defying shape, work a small amount of wax or glue gel into the section, twist it into the shape you want, and hold it until it dries completely before moving on.
Braids work best when the hair is slightly damp and the sections are even. Three equal braids give a fuller, more symmetrical result than one thick braid, and the parting pattern should match the character’s actual hair.
When the shape is done, brush out only what the character wears loose. Shake the wig gently, then look at it from three feet away. If it reads as a smooth wig from that distance, it reads as hair in a photograph.
How to Secure and Finish the Costume Wig
Work from the weakest points outward. Anchor first at the nape and the two points above your ears, then build toward the crown, because the crown layer is what covers the pins underneath it.
Cross bobby pins rather than driving them straight in, and push pins into the wig cap structure where possible so the tip has something to grip. Elastics belong at the base of a ponytail or bun, snug enough to hold under movement but not tight enough to stretch the weft.
Hairspray goes on from about a foot away in light, even passes. A soaking spray can make synthetic fiber stiff and chalky, which shows badly in bright light. For shine that photographs poorly, a small amount of dry shampoo worked through the lengths knocks the gloss back without leaving a visible residue.
Check the result the way other people will see it. Look at the hairline from the front, both sides and the back, and look for gaps where the wig cap shows through, loose pieces near the part, and pins poking out. Fix those before you put the wig on, because fixing them on your head is far harder.
Common Mistakes
Nearly every disaster traces back to one of these five.
- Too much heat. The fiber dulls, then goes shiny, then melts into a hardened bead that no brush will move. Fix it by testing a hidden strand first, staying at or below the fiber’s rated temperature, and keeping the tool moving rather than resting in one spot.
- Brushing a wet or tangled wig. You will pull strands out of the wefts and create knots that reappear later. Fix it by combing from the ends up in small sections, with the wide-tooth comb, on dry hair.
- Cutting without measuring. Synthetic hair creeps after it dries, so short cuts get shorter. Fix it by marking the length with a clip, cutting slightly long, then doing a second pass once the hair is dry.
- Over-weighting the style. A heavy updo or a full head of foam curlers looks good on the stand and collapses two hours into the day. Fix it by using fewer, lighter attachments and securing each one close to the head.
- Skipping the movement test. A style that looks fine while still can slip, snag or shed once you walk, sit and turn your head. Fix it by wearing the wig for ten minutes and moving around before you call it finished.
Tangling during a long day is usually a storage problem rather than a styling problem. A light mist of water and a wide-tooth comb passed through the lengths during a break will get you through a few more hours without starting over.
How to Make the Style Last for an Event
Decide the day before whether you are styling at night or on the morning of the event. Anything involving heat or tight pin sets goes on at night. Spray, braid wraps and shape adjustments go on in the morning, because they are the parts that get disturbed by sleeping and travel.
Transport the styled wig on a head form inside a box or a large box lined with tissue, and carry it in a rigid container rather than a bag. A wig compressed into a tote for a two-hour drive comes out flattened and tangled, no matter how well it was set.
Pack a touch-up kit: a travel-size spray bottle, a small wide-tooth comb, bobby pins, wax or gel, and strong hairspray. A few drops of water and a scrunch at the crown fixes most sagging; a re-pin fixes most slipping.
Humidity and sweat loosen spray faster than most people expect. Blot the hairline rather than rubbing it, and avoid repeatedly wetting and drying the same area, which makes synthetic fiber frizzy over time.
Remove the wig by taking out pins from the crown down, supporting the weight in one hand as you lift it off, then laying it flat rather than hanging it. Store it on the stand with the style arranged loosely, in a bag away from direct light and dust.
To reuse the style, mist it lightly, reshape the pieces with your fingers, and let it dry on the stand. Most pinned and sprayed styles come back after one session of this; curls that have been folded or bagged may need a full re-set.
Frequently Asked Questions
Can I style a synthetic wig for a costume?
Yes, and synthetic is the most common costume wig fiber. You can cut, brush, pin, spray and set it with wax or gel, and use a steamer for shaping. Skip direct high heat unless the fiber is labeled heat-resistant, and test a hidden strand with your tool before you start. Steam gives you most of the same shaping as an iron with far less risk.
What heat tools are safe for costume wigs?
A garment steamer is the safest option because heat passes through the fiber without touching it. A curling iron or flat iron on a low setting works on high-temperature synthetic fiber and human hair, provided you use heat protectant and keep the tool moving. Standard synthetic fiber softens and melts, so do a strand test on the nape before you style the whole wig.
How do I make a costume wig look less like a wig?
Break up the shine first, since gloss reads as plastic under bright light. Add flyaways with a light mist, vary the parting so it does not sit dead center, and blend the hairline into your own with a tinted powder or concealer. Small irregularities help more than perfect volume, and styling only part of the hair leaves believable movement.
Can I cut a wig to create a character hairstyle?
Cutting is normal practice on costume wigs, but work on a wig head and measure before each pass. Mark the length with a clip, cut slightly longer than you want, then check again once the hair is dry because synthetic fiber creeps shorter. Use sharp scissors and keep scissors flat so you do not chop through the weft underneath.
How do I keep a styled costume wig in place?
Flatten your natural hair under a wig cap or wear braided sections so there is no bulk to catch on the wig edges. Use crossed bobby pins anchored into the cap structure, add a wig grip band for long days, and finish with strong hairspray from a foot away. Re-pin at the nape and above the ears first, since those points carry most of the weight.
Conclusion
Styling a costume wig well is a sequence, not a pile of tricks: know the fiber, detangle it dry, build the silhouette before the texture, set details away from the scalp, and pin from the strongest points outward. Style heat work the night before and keep spray and reshaping for event morning.
Start with two things today. Check the fiber label or run the strand test, then pick the single hairstyle your character is most recognized by, since matching that one detail does more for a costume than perfecting the rest.