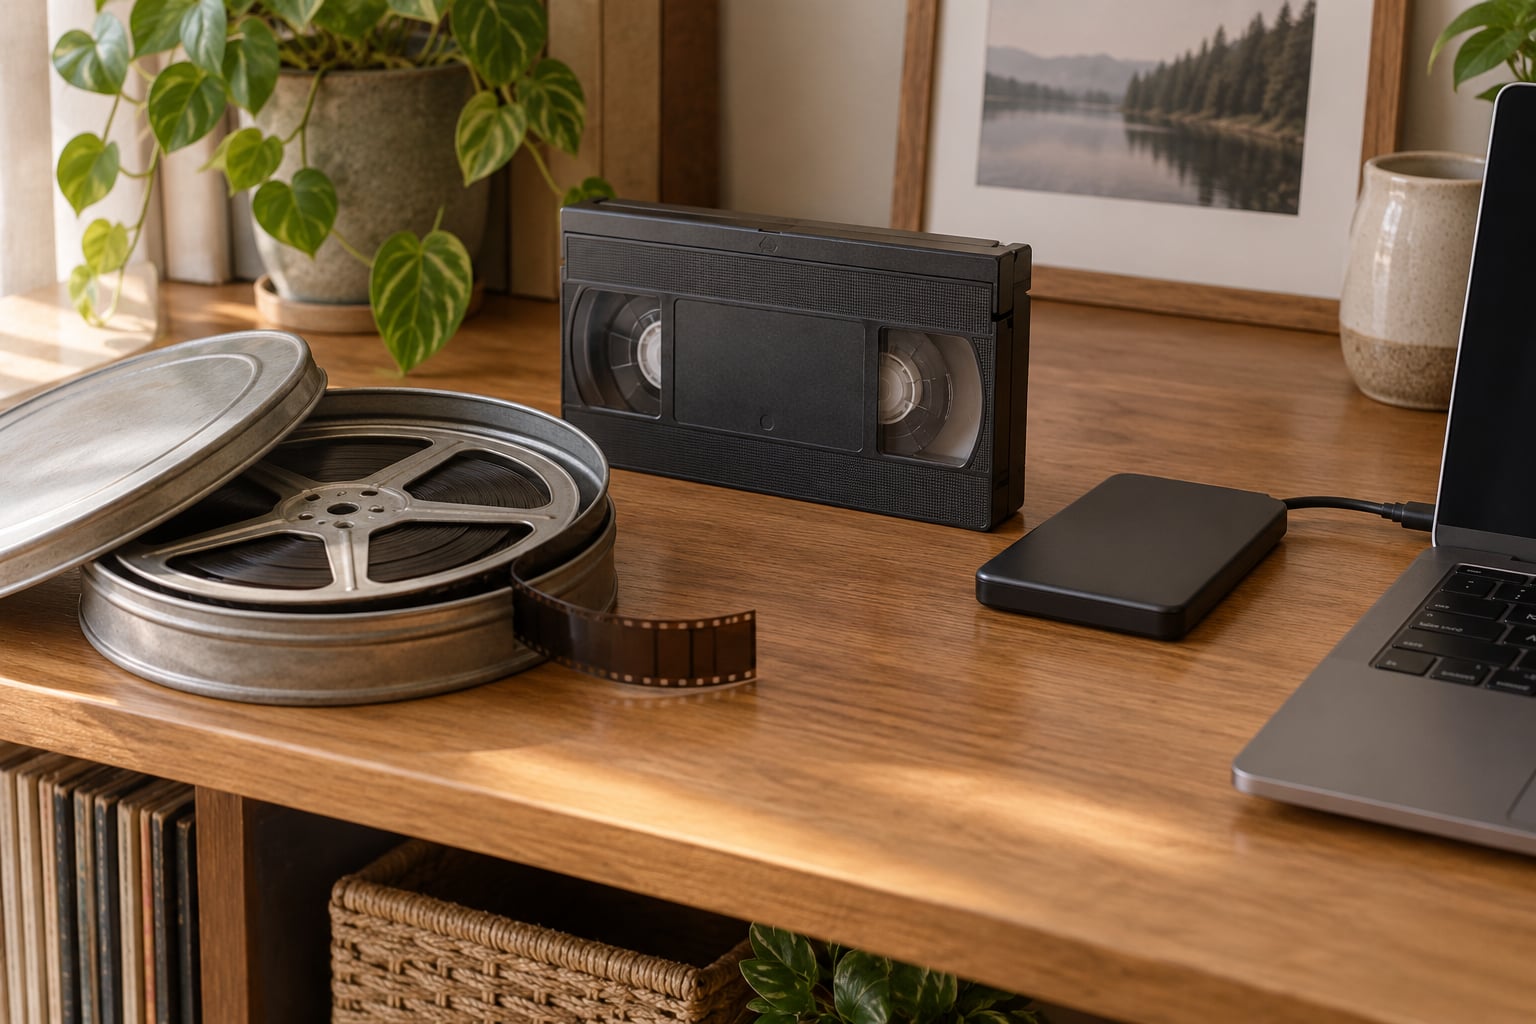
You can digitize old home movies two ways: send the tapes or film reels to a professional transfer service, or do it yourself with a working player, a USB capture device, and free software. The DIY route costs less once you have more than a handful of tapes, and your originals never leave the house. The catch is time. Playback and recording happen in real time, so budget about an hour of attention for every hour of footage.
A shoebox of unlabeled VHS tapes, a drawer of MiniDV cassettes, or a tin can of 8mm film all feel overwhelming until you realize most of the work is identical. Find a player that reads the format, run an analog signal into a computer, record it, and save the file. This guide walks through that process for every common format and covers what to do when a tape is moldy, sticky, or jammed.
If you only have a handful of tapes and no working player at all, a mail-in service is the lower-friction option. If you have dozens, the setup pays for itself quickly.
Table of Contents
- 1What You Need to Digitize Old Home Movies
- 2Match the Player to the Format First
- 3What a Time Base Corrector Does and Why It Matters
- 4How to Digitize Old Home Movies Step by Step
- 51. Identify the Format and Condition of Every Reel
- 62. Prepare and Clean the Film and Tape
- 73. How to Digitize Old Home Movies by Media Type
- 84. Connect and Set Up the Capture Equipment
- 95. Capture the Footage in Real Time
- 106. Edit and Save the Digital Movie
- 117. Back Up and Organize the Files
- 12Common Mistakes
- 13Frequently Asked Questions
- 14Do I need a VCR to digitize old home movies?
- 15Can I digitize 8mm film at home?
- 16What resolution and file format should I save?
- 17Why does my VHS transfer have no audio?
- 18Is a professional transfer service better than doing it myself?
- 19Where should I store my digitized home movies long term?
- 20Conclusion
What You Need to Digitize Old Home Movies
Start by matching your equipment to the media you actually own. Buying a converter for a format you do not have is the most common early mistake, and it is an easy one to make when a box of mixed tapes turns up in a closet.
- A player that reads your format. VHS and S-VHS need a VCR, Hi8 and Video8 need a Hi8-capable deck or camcorder, MiniDV and Digital8 need a camcorder, and film reels need a projector or scanner. Combo DVD/VCR decks are cheap and easy to find, but they produce noticeably worse pictures than a dedicated 4-head VCR.
- A USB video capture device. This is the box that converts the analog signal from the player into something your computer understands. A composite-to-USB converter handles RCA video and audio. If your player has S-Video out, an S-Video-capable unit gives a cleaner picture.
- AV cables. You need RCA or S-Video leads between the player and the capture device, plus whatever cable the capture device uses to reach the computer.
- A computer with free capture software. OBS Studio is the default choice because it is free and records cleanly on both Windows and Mac. VLC also records, and VHS-Decode produces better quality if you are willing to do a more technical setup.
- Cleaning supplies. Isopropyl alcohol and cotton swabs for the VCR heads, plus a soft brush. Clean the heads before your first tape and roughly every dozen tapes after that.
- Backup storage. An external hard drive for the masters plus somewhere off-site. A few gigabytes per hour of tape is typical.
Match the Player to the Format First
Before you buy anything, sort your collection into what it is. Most homes end up with three or four formats mixed together, and each one routes to a different setup.
| Format | What you need | Difficulty |
|---|---|---|
| VHS, S-VHS | 4-head VCR with S-Video out, USB capture device, computer | Easy |
| Hi8, Video8 | Hi8-capable deck or camcorder, capture device | Easy |
| MiniDV, Digital8 | Matching camcorder in playback mode, FireWire/i.LINK cable or capture device | Easy |
| VHS-C | VHS-C adapter sleeve in a standard VCR, capture device | Moderate |
| 8mm, Super 8, 16mm | Frame-by-frame film scanner, or a lab that handles film | Hard at home |
| DVD home movies | A computer with a disc drive, or any player plus a capture device | Easiest |
| Audio cassettes | Cassette deck with a line or headphone out, capture device | Easy |
Digital8, MiniDV, and DVCAM cassettes all carry the same underlying DV data; only the shell differs. That is good news, because one camcorder can often play two of those formats if it is equipped for both.
What a Time Base Corrector Does and Why It Matters
A time base corrector, or TBC, stabilizes the timing of an analog signal so scan lines stop tearing, drifting, and jumping sideways on your TV. Without one, tapes often look worse on a computer screen than they ever did on a television, because computer displays show the noise more harshly.
There are two types, and they work at different moments. A line TBC lives inside the player and cleans the image during playback. An external full-frame TBC corrects frame-level sync afterward, once the signal has left the deck. Experienced users on digitalFAQ insist the line TBC in the playback deck is the one that matters most, and they add a useful warning: a VCR’s internal TBC only runs while a tape is playing, so it cannot be borrowed as a separate external unit.
If you own a decent 4-head deck with a line TBC, that covers most of what you need. If your player is a DVD/VCR combo, it usually has no meaningful correction at all.
How to Digitize Old Home Movies Step by Step
Work in small batches and check the results as you go. Recording twenty tapes before verifying the first one is a painful way to discover a wrong input selection.
1. Identify the Format and Condition of Every Reel
Label every tape or can before you touch it. Write the format, an approximate year, and any names on the shell with a fine marker. Five minutes of labeling now saves hours of guessing later.
Then look at the media itself. Film tells you its format on the canister, and the film edge code tells you the stock type if you hold it to the light. Video tapes give themselves away through the shell shape, though VHS-C cartridges are the exception since they need an adapter sleeve.
Condition matters more than people expect. Shrinkage is the first warning on old film, where the reel sits loosely in the can and the film looks slightly narrow. Brittle film cracks and snaps instead of bending. Vinegar syndrome shows up as a sharp chemical smell and a slightly gummy surface. Mold looks like grey or white fuzz on the spool or canister wall. On videotape, sticky shed leaves a brown or gummy residue, and shedding means the tape leaves debris on your fingers and the transport.
Decide honestly which reels you can handle. Brittle film, anything actively moldy, and severely shrunk film belong with a lab that scans film properly. Pulling a split splice through a transport risks tearing the reel and losing everything on it.
2. Prepare and Clean the Film and Tape
Work in a clean, dry room with good light. Lay out a soft surface so nothing hits the floor.
Do not open a film can in a closed room, especially if you smell anything sharp. Vinegar syndrome releases acetic acid, and mold spores go everywhere the moment a can is unsealed. Open it outdoors or in a well-ventilated space, ideally wearing a mask.
Rewind film the correct way. Most 8mm and Super 8 canisters are wound with the film end on the outside, but some are reversed, and forcing a mis-wound reel will crease every frame you transfer. Check the canister or the film manufacturer’s markings rather than guessing.
For videotape, open the deck and wipe the heads and capstan with a cotton swab dampened with isopropyl alcohol. Grit on the head drum is the usual cause of the horizontal tearing lines people blame on their tapes.
Keep household cleaners, sprays, and solvents away from all of it. Never spray anything directly onto film, a tape shell, or a player mechanism.
3. How to Digitize Old Home Movies by Media Type
The general workflow is the same for videotape, but the starting point changes depending on what you are holding.
VHS and S-VHS. Play the tape in a VCR and capture the output. Use S-Video over RCA composite when the deck offers both, since S-Video keeps color and detail cleaner. A wide horizontal band of noise across the bottom of the frame is head-switching noise; it means the deck needs a better head or a fresh cleaning, not new software.
Hi8 and Video8. These need a Hi8-capable deck or a camcorder that plays them. Plugging Video8 into a standard VCR does nothing at all. Digital8 tapes play in most MiniDV-era camcorders, and the same deck usually handles both.
MiniDV and Digital8. This is the cheapest route available, because the footage is already digital. Put the camcorder into playback or VCR mode, connect with FireWire/i.LINK or a capture device, and copy files directly. Nothing is re-encoded, so the quality is exactly what was recorded. The camcorder’s LCD screen can act as a monitor if you need to check framing.
8mm, Super 8, and 16mm. Film is genuinely different. A projector throws light through the frame, and capturing that light gives you flicker, soft contrast, and unstable timing. The better route is a frame-by-frame film scanner, which pulls each frame through a gate and holds it steady for the exposure. Brands like Wolverine and Kodak sell scanners aimed at this job, and mail-in labs handle film as a core service. Film hobbyists on r/8mm generally recommend buying a scanner, transferring, and reselling the gear rather than sending a personal collection out by mail.
DVD home movies. A disc is already digital, so this is the easy case. Rip it with any disc-copying software, or if the disc will not read cleanly, play it in any DVD player and capture the output like a VHS.
Audio cassettes. Run the deck output into the same capture device. Watch the level meter and keep peaks below the red, because an overloaded analog recording clips permanently.
4. Connect and Set Up the Capture Equipment
The signal chain is short and worth saying plainly: player, then capture device, then computer. Nothing else goes in between, and there is no network sharing involved.
- Plug the player output into the capture device input. Match RCA to RCA, or S-Video to S-Video.
- Plug the capture device into the computer with its USB cable.
- Open the capture software. In OBS Studio, add a Video Capture Device source and select your converter by name, then add an Audio Input Capture source and pick the matching audio device.
- Set the capture resolution to the player’s native output rather than a lower number. Compressing later is easy; adding detail back is not.
- Play a few seconds of tape and watch the preview. If you see black, check the input selection on the capture device first, then the cable.
Play the tape and record it at the same time. That single sentence explains the whole process, and the preview window tells you immediately whether audio and video are both arriving.
One confusion worth clearing up: S-VHS is a tape format recorded at higher resolution, while S-Video is a cable type. If your tapes are S-VHS, you need an S-VHS player, and the S-Video cable helps only once the tape is playing.
5. Capture the Footage in Real Time
Hit record, press play on the player, and let it run. A 60-minute tape takes close to an hour, and you cannot skip ahead, because the analog signal only exists as the tape passes the head.
Keep an eye on the preview for the first minute. Check that color looks natural rather than orange or green, that the audio is present and clear, and that the picture is steady. If audio drifts out of sync as the tape runs, stop and switch the capture to a lossless or high-bit-rate setting; redoing a full tape to fix drift is miserable.
Capture a single reel end to end if the tape allows it. Stopping and restarting mid-tape is fine, but keep the same settings for every file so the collection is consistent.
Order of operations matters here. Work through the most important tapes first: weddings, birthdays, the years with people in them. If your collection is large enough that you will not finish, this order means the footage that matters most is already safe.
Older Mac users sometimes hit a flickering import preview or a disabled record button in iMovie, which is a known software conflict rather than a problem with the tape. OBS Studio avoids it entirely, and VLC is another reliable fallback.
6. Edit and Save the Digital Movie
Save one high-quality master file per tape before touching anything. Trim dead leader, cut a broken section, or rotate a sideways clip at this stage, and keep the untouched capture safe on the drive.
Stick with MP4 or MKV in a widely supported codec. Both open on a new computer years from now, which is the whole point of doing this. Avoid formats tied to a single piece of editing software.
If you add titles or music, pull the music from sources you have the right to use. Captions and on-screen text baked into the original footage are worth keeping: readers frequently complain about losing them, and that is unrecoverable once a tape degrades further.
Some services offer automated color and frame repair on analog footage. That can rescue a badly faded tape, but it is an enhancement, not a restoration of lost detail, and it is one more reason to keep the original file.
7. Back Up and Organize the Files
One copy is not a backup. A single drive fails eventually, and the failure rate climbs once the drive is a few years old.
Name files so they make sense to someone who has never met you. A pattern like 1987-Smith-Reunion-tape1.mp4 beats Movie1.mp4 every time, and it makes finding the right reel a search rather than an archaeology project.
Keep three copies: the working drive, a separate external drive stored somewhere else, and one off-site copy in cloud storage. Space is cheap enough that a full second drive is the cheapest insurance in this whole process.
Then write the name of a box, a reel number, and a contact on the original can. A digital file that nobody can locate is close to a file that was never transferred.
Common Mistakes
Almost every bad transfer traces back to one of a handful of causes. Here is what each symptom actually means.
| Symptom | Cause | Fix |
|---|---|---|
| No audio on the finished file | Wrong input selected on the capture device, or mono RCA audio not routed | Cycle the audio input in your capture software, then confirm the RCA audio cables are seated at both ends |
| Audio drifts out of sync as the tape runs | Lossy capture re-encoding and dropping sync over time | Capture to a lossless or high-bit-rate setting and stop the software from transcoding on the fly |
| Horizontal tearing lines at the bottom of the frame | Head-switching noise from a tired or dirty deck head | Clean the heads, and treat it as a reason to find a better deck |
| Dropped frames, ghosting, or mushy color | A low-quality capture device that cannot sync the analog signal | Replace the converter with a better one, and confirm the output resolution is not set higher than the player provides |
| Flickering or superimposed frames in the import preview | An iMovie and macOS capture conflict | Record with OBS Studio or VLC instead of importing through iMovie |
| Everything looks worse on the computer than on the TV | No time base correction, or a combo deck without one | Capture through a 4-head deck with a line TBC |
| Tape jams, stretches, or breaks | Sticky shed, a damaged splice, or a dirty transport | Stop. Clean the path, and let a repair shop handle anything torn or heavily degraded |
| Film frames look soft, flicker, or drift | A projector was used instead of a film scanner | Use a frame-by-frame scanner, or a lab that scans film |
Two habits prevent most of the table above. Clean the transport before you start and roughly every dozen tapes, and always record a short test section before committing to a full reel.
Frequently Asked Questions
Do I need a VCR to digitize old home movies?
For VHS and S-VHS, yes, you need something that physically plays the tape, and that means a working VCR. Some converters bundle a player, but they still contain the same transport, so the requirement never really goes away. If your tape is MiniDV or Digital8, a matching camcorder replaces the VCR. Film reels need a scanner or a projector. For a small collection, a mail-in service removes the equipment question entirely.
Can I digitize 8mm film at home?
Yes, but not with a projector and a capture card. Projecting film and filming the image produces flicker, soft contrast, and unstable timing. A frame-by-frame film scanner pulls each frame through a gate and holds it still for the exposure, which is why scanners from brands like Wolverine and Kodak exist for this job. Expect to work in short batches by hand. Brittle, moldy, or badly shrunk film is a job for a lab.
What resolution and file format should I save?
Capture at the full resolution your player actually outputs rather than downscaling on the way in, then save an MP4 or MKV file with a widely supported codec. Both open on a computer you do not own yet, which matters more than any format advantage. A high-quality transfer of a couple of hours of VHS usually lands in the low gigabytes, so storage is rarely the constraint. Compress later if you need to, never during capture.
Why does my VHS transfer have no audio?
In most cases the video input is right and the audio input is not. Open your capture software and select the audio input that matches the converter you plugged in, rather than a system default. Then check the RCA audio cables at both ends of the chain, since a loose push-fit plug is common. If audio is present but drifts out of sync as the tape plays, switch to a lossless or high-bit-rate capture setting and disable on-the-fly transcoding.
Is a professional transfer service better than doing it myself?
For ten tapes or fewer, a mail-in service is often the calmer choice. You order a kit, send the media, and receive digital files, with no hunting for a working deck. Beyond that, DIY costs less and keeps you in control of quality and naming. Check whether a service returns the originals, whether it delivers uncompressed masters rather than small web-ready files, and what its per-tape price includes before you send anything irreplaceable.
Where should I store my digitized home movies long term?
Keep at least three copies: your working drive, a second external drive stored somewhere else, and one copy off-site in cloud storage. Cloud alone is a poor archive because a forgotten password locks you out permanently, and one drive alone fails eventually. Periodically open a few random files to confirm they still play. Keep the original tapes too, since they remain the only master until the film and tape stock itself becomes unplayable.
Conclusion
Start by sorting your tapes and reels into formats and labeling each one. Then find a player that matches the most common format in the pile, since that determines everything else you buy.
Record a short test section first and check the audio before you run a full reel in real time. Once the files are saved, keep three copies and leave the originals in your hands, because knowing how to digitize old home movies only helps if the source material survives the trip.