You can build a genuinely good home theater on a tight budget by fixing the room first, buying the display second, and putting most of your money into sound third. The plan below walks through that order step by step, so you can start with gear you already own and add pieces as the budget grows. Most first-time builders go wrong the same way, spending everything on a big screen and having nothing left for speakers.
The honest version of how to build a home theater on a budget looks like this: a modest display, a real speaker setup with a subwoofer, seating that puts your eyes at the right height, dimmable lighting, and cables that stay out of the way. None of that requires a contractor, and most of it costs very little compared with the hardware.
Table of Contents
- 1What You Need
- 2Step-by-Step: How to Build a Home Theater on a Budget
- 31. Set a realistic budget and choose the main viewing experience
- 42. Plan the room and viewing distances
- 53. Choose an affordable television or projector
- 64. Pick the best sound system for the room
- 75. Connect the streaming devices and game consoles
- 86. Arrange speakers, furniture, and cable paths
- 97. Calibrate the picture and sound
- 108. Add low-cost comfort and decor upgrades
- 11Common Mistakes
- 12Frequently Asked Questions
- 13How much should a budget home theater cost?
- 14Is a projector better than a television for a home theater?
- 15Do I need to hire someone to install a home theater?
- 16Can I build a home theater in a rental or small room?
- 17What is the most important upgrade for a budget home theater?
- 18Conclusion
What You Need
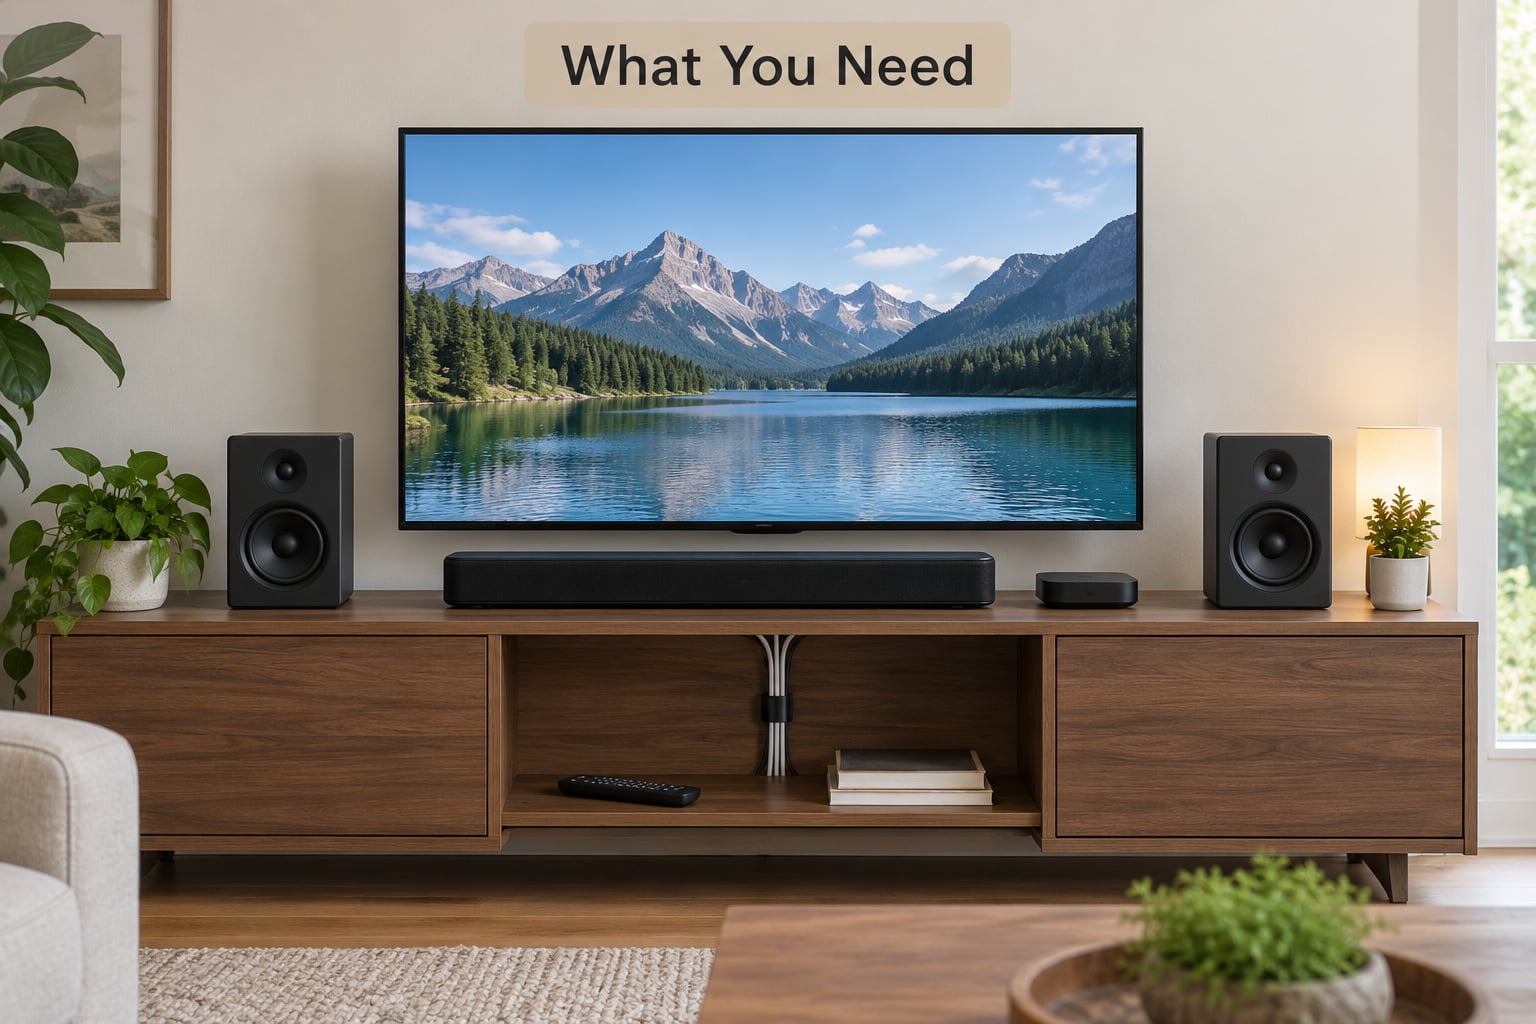
The list is shorter than most catalogs suggest. You need a display, something to watch on it, something to hear it with, and a way to keep the cables alive.
Essentials:
- A display: a television you own, a secondhand set, or a budget projector with a screen or a painted wall.
- A source: a streaming stick or box, a game console, a Blu-ray player, or a tuner.
- Audio: at minimum a soundbar with its own wireless subwoofer. Better is a set of powered speakers plus a subwoofer and an AV receiver.
- At least two HDMI cables, one for the source to the display and one for the source to the receiver or soundbar.
- A surge protector with enough outlets for everything, plugged directly into the wall rather than a cheap extension strip.
- Blackout curtains or blinds for windows, and a dimmer switch or smart bulbs.
Nice to have once the basics work: a second subwoofer, surround speakers, a wall-mounted display bracket, throw pillows and a blanket, cable raceways, and a small media shelf to keep the discs and remotes off the floor.
Where beginners waste money is on accessories that solve a problem they do not have yet. Skip the motorized screen, the tactile switch plate, and the popcorn machine until the picture, sound and seating are good. One thing worth buying early is decent speaker wire, usually 16-gauge, because cheap pre-cut wire with flat connectors is the part of the system you will want to replace eventually.
If you want a separate track on gear sourcing, the used market is where budget home theater builds actually happen. Community advice on r/hometheater and r/BudgetHomeTheater repeats the same formula: buy the receiver and front speakers, buy them used, and put the saved money into the subwoofer.
Step-by-Step: How to Build a Home Theater on a Budget
1. Set a realistic budget and choose the main viewing experience
Decide what this room is for before you spend a dollar, because a room built for sports watch parties and a room built for movies want different gear. A sports room needs a bright, large display and clear dialogue. A movie room needs darkness, a modest screen and heavy low-frequency sound.
Then split your total across six buckets so nothing eats everything: display, audio, source hardware, seating, cables and electrical, and acoustic or lighting fixes. A workable split puts roughly a third into audio, a third into the display, and the rest spread across the other four. Audio gets that share for a reason, because sound is what viewers consistently notice and remember.
Pick one priority and let the others be basic. If your priority is movies, the speakers matter more than a bigger screen. If it is sports, the display and the seating sightlines matter more. Trying to buy everything at once is how people end up with a large television, two thin speakers and no subwoofer, which is the least cinematic outcome possible.
Write your total down and divide it by four. If the display you want costs more than that number, the build will not balance, and you should decide now whether to wait, buy secondhand, or pick a smaller set. Buyers who skip this step are the ones who end up with an oversized screen, a cheap soundbar, and no money for blackout curtains.
2. Plan the room and viewing distances
Measure the room before you shop, and write down three numbers: the width of the wall where the display will go, the depth of the room, and the distance from the screen to where the back row will sit. Those three numbers decide your screen size, whether a projector is realistic, and how many rows you can fit.
For a television, a good rule is that the screen width should land between a third and a half of your viewing distance. Sit about 10 feet back and a 65 to 75 inch screen fills the view comfortably. Under about 8 feet, drop to 55 inches rather than straining at a bigger panel.
For a projector, you need the opposite trade. Projectors only look good in a dark room, and they get dimmer in a space with windows. Check the throw ratio before buying: that number tells you how far back the unit must sit to fill your wall. A long-throw projector needs a deep room, a short-throw unit works close to the wall, and ceiling height becomes the limit in a low-ceilinged basement. One owner-builder quoted in the planning research used a 20 by 13 foot room as an ideal target size, which is a good number to measure against rather than assume.
For seating distance, plan for roughly three times the screen height from the eye to the screen for a comfortable, immersive feel, and no less than two times for a standard setup. In a small room, one row of comfortable seats beats two rows of cramped ones, every time.
Noise and light decide the room as much as size does. Pick a space you can darken and where sound will not carry into a bedroom or a neighbor’s wall. A basement, garage, spare bedroom, den, or even a backyard works. Renters should assume no construction: a portable projector, a soundbar, adhesive cable covers, and a blackout shade hung on tension rods gets you most of the effect with nothing drilled into the wall.
Outdoor setups need a different plan. Put the screen on a wall, fence, or a tautly hung sheet on a frame, place the projector on a stable table, and use a weather-rated extension cord in a covered route. Start after sunset, bring warm layers, and set volume lower than you would indoors, since sound carries far further than people expect.
3. Choose an affordable television or projector
The display is where the money disappears, so buy the smallest screen that still feels impressive from your seats. A television is the practical choice for most rooms because it is bright, instant, and needs no screen surface. A projector is the cinematic choice if you can darken the room and have the throw distance to fill a wall.
Use a television when the room is bright, the seating is close, or you only have a wall and no screen. Aim for 4K resolution, but do not chase a huge panel. Turn on any showroom mode you can find and switch it off immediately, because retailers ship most sets in a vivid, bluish picture mode that looks awful at home.
Use a projector when the room can go fully dark and the depth allows it. Two numbers matter more than resolution: lumens, which decide whether you can see the picture with some light in the room, and lamp life in hours, which decides when you replace the light source. If you are buying secondhand, ask for the lamp hours first, then check whether the HDMI ports support the resolution and refresh rate you want. A used projector with 3,000 lamp hours left is a different purchase from one with 300.
For the screen, you have three options. A painted or taped wall in a dark matte paint works and costs almost nothing. A DIY screen built from blackout cloth stretched over a wooden frame with black felt tape around the edges looks surprisingly close to a commercial one. A purchased screen is worth it if you want a smooth surface and a proper black border, and worth skipping if the wall is already flat and dark.
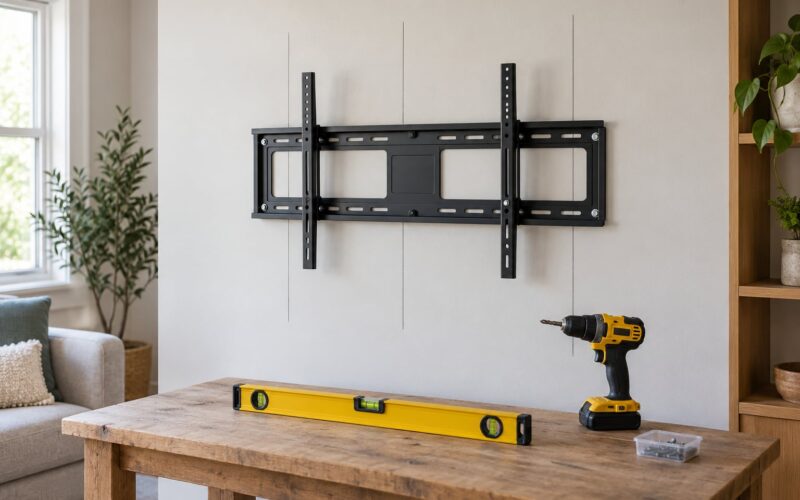
Mount the display at the correct height while you are setting up, because this is the most common and most fixable mistake. A seated viewer should look slightly upward, with the center of the screen at or just above eye level. Mounting it higher to clear a console is the reason so many people finish a theater with neck pain after one movie.
4. Pick the best sound system for the room
Audio deserves the largest share of the budget after the display, and it is the cheapest place to hear a dramatic improvement. Start with what your room can actually support.
A soundbar with a wireless subwoofer is the fastest, simplest route and takes almost no floor space. It is the right call in an apartment, a small bedroom, or any room where running speaker wire is not practical.
Powered bookshelf speakers plus a subwoofer is the step up, and it is where most budget builds should land. Add an AV receiver when you want to grow into surrounds later, because the receiver is the piece that lets you add channels without replacing everything else. Buy the receiver and the front speakers first, and add surrounds as money allows.
A packaged all-in-one 5.1 bundle is the option to be careful with. The consensus across the home theater communities is that a soundbar plus a real subwoofer beats a cheap five-speaker bundle in almost every case, because the bundle spends its budget on five mediocre drivers instead of one good subwoofer and three good front channels.
Room size sets the ceiling. In a small room, a full 7.1 system with large surrounds can sound worse, not better, because the rear channels crowd the listeners and the reflections come back off nearby walls. Most of the time 3.0 or 3.1 is the right number of channels, with a properly placed subwoofer doing the heavy lifting.
Five channels means the center channel carries dialogue, the two front channels carry most effects, and the subwoofer handles bass. A 5.1 layout adds two surrounds behind or beside the seating. Whatever the count, get the subwoofer right: place it near a front corner, start with the crossover at 80 Hz, and raise the level slowly. Too much bass overwhelms dialogue and gets old fast.
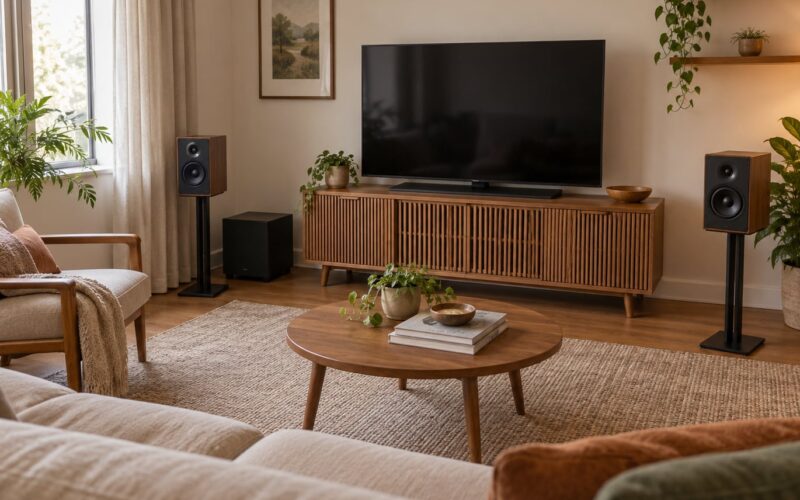
Layout in plain text, facing the screen: center speaker on or just below the screen, front left and front right speakers angled toward the seats and spaced about as wide as the screen, subwoofer near a front corner, and surrounds behind or just to the side of the listening position. If the ceiling allows, running the surrounds at ear height beats putting them on the floor, where floor vibration smears the effect.
If you buy used speakers or a used receiver, check the impedance rating on the back of each speaker and match it to what the receiver supports, ask whether the HDMI ports are version 2.0 or 2.1 if you plan 4K gaming at high refresh rates, and turn everything on at low volume first to listen for crackling.
5. Connect the streaming devices and game consoles
Work in one direction so signals have a single path: sources into the receiver if you have one, receiver into the display, display to the screen. If you are running a soundbar, the source goes into the soundbar and the soundbar into the display.
Label both ends of every cable as you plug it in. When something stops working in month eight, you will thank yourself for a roll of tape and two minutes of setup.
You need one HDMI cable per connection, and you do not need a specialty brand. A certified high-speed cable is the requirement, not an expensive one. If you care about 4K video at high refresh rates for gaming, make sure the cable and the ports on both ends support HDMI 2.1 rather than 2.0, and check the same spec on the console, the receiver and the display.
A streaming stick or box covers most of what people watch. Buy one new if you can, since used streaming hardware sometimes arrives with outdated firmware, storage nearly full, or an account still signed in to someone else. Sign out, update the software, and clear the storage before you set it up.
Then add the extras: a game console on the same HDMI input list, a Blu-ray player if you still rent discs, and a surge protector sized for all of it plus the receiver. Plug the receiver and the display into the surge protector, and route the cords so they are not stretched across a walkway or pinched behind furniture, because a pinched cable is a failure waiting for an evening.
6. Arrange speakers, furniture, and cable paths
Put the display on the wall where everyone can see it without craning, with the center channel directly beneath or above it. Push the seating back far enough that the whole screen is visible from the front row, then angle the front speakers inward toward the listening position so the sound arrives evenly rather than from two directions.
Keep the walkway clear between the door and the seats, and keep at least a few inches behind the receiver and any device with a fan. Blocking ventilation is one of those free mistakes that shortens equipment life, and it is easy to do when everything is stacked neatly in one cabinet.
Decide where cables run before you move furniture. If the walls are still open or unpainted, run them now, because pulling cable after drywall goes up means opening a finished wall. If the room is already finished, use adhesive raceways along baseboards, a cord cover under the rug line, and a mount with a cable channel on the display bracket. Bundle with reusable hook-and-loop ties, never with tight zip ties, and leave slack at both ends so you can service a connection.
For a second row, a low platform with a standard riser material is the simplest fix. It costs less than a contractor and it works: the front row loses its view, the back row gains a proper sightline, and everyone stops craning.
7. Calibrate the picture and sound
Calibration is where a cheap system starts to look expensive, and most of it is a menu setting rather than a piece of equipment. In the display’s picture menu, turn off motion smoothing, drop the sharpness to the middle or below, and set the picture mode to the neutral option, which is usually called movie, cinema, or filmmaker.
Leave vivid mode, eco brightness, and any dynamic contrast or automatic picture adjustment off once you have the room dark. Those features exist to fight showroom lighting, and at home they shift the picture as the room changes.
On a projector, set the color temperature to match the room, and fix the image by moving the unit or adjusting the lens rather than relying on digital keystone, which permanently throws away detail. Center the image by hand and leave the digital correction alone.
For sound, use the receiver’s automatic calibration with the included microphone if it has one, and set the subwoofer crossover to 80 Hz. Then listen to a film you know well and adjust three things only: overall level, the subwoofer level, and the center channel. If dialogue still gets lost during action scenes, nudge the center up before touching anything else.
Professional calibration is worth it in exactly one situation: when you have already paid for a good display and a real speaker system and the picture is still wrong. Under a budget build, spending that money on a better subwoofer or a second subwoofer pays off more than a calibration visit.
8. Add low-cost comfort and decor upgrades
These are the changes that make a room feel like a theater rather than a room with a television in it, and none of them require remodeling.
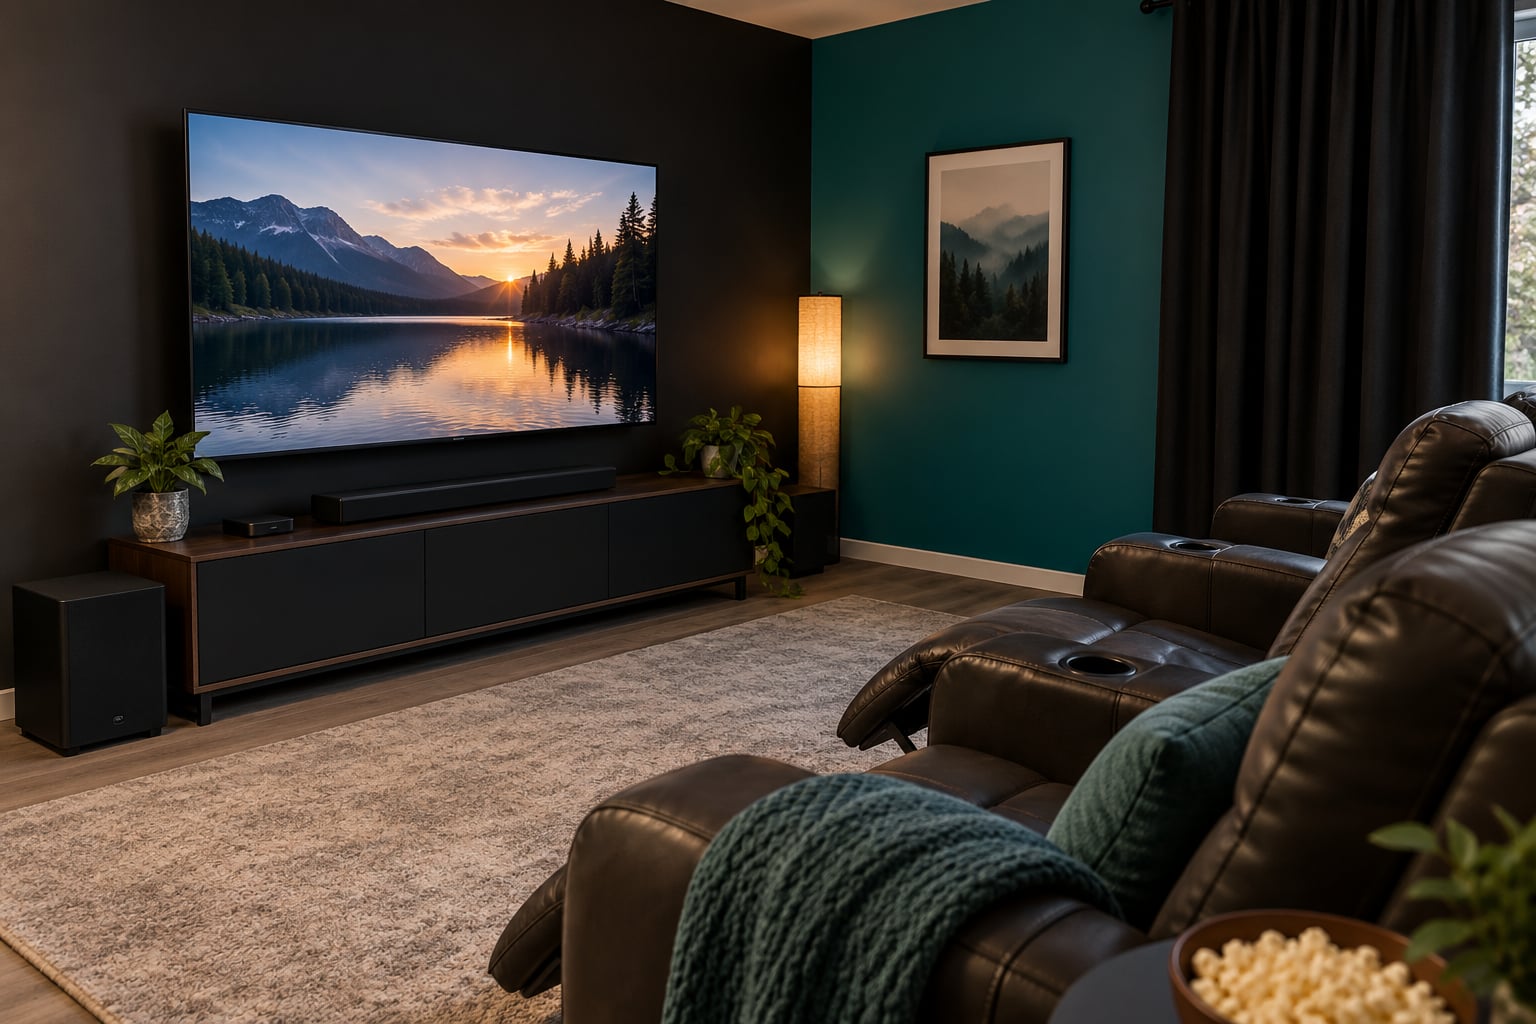
- Blackout curtains: hang them outside the window frame on tension rods if you rent, and overlap the panels in the middle so no light leaks around the edge.
- Dimmable lighting: a dimmer switch on a warm bulb, or smart bulbs on a low setting, lets you watch with some light without washing out the picture.
- Bias lighting: a cheap LED strip behind the display softens the contrast between the dark room and the bright screen, which reduces eye strain.
- Acoustic panels: community builders routinely make these from rigid board, rockwool or glass wool, and breathable fabric stretched over the front, wrapped in the other three sides. Thick curtains and a rug on bare floor help more than most people expect.
- Seating comfort: a throw, a footstool, and a side table within reach remove most of the reasons people get up mid-film.
- Storage and cable covers: a low shelf beside the seat keeps remotes, media and the console off the floor.
One free upgrade nobody mentions: keep the snacks somewhere other than directly beside the electronics. Greasy fingers and dust are the fastest way to make an expensive setup look cheap.
Common Mistakes
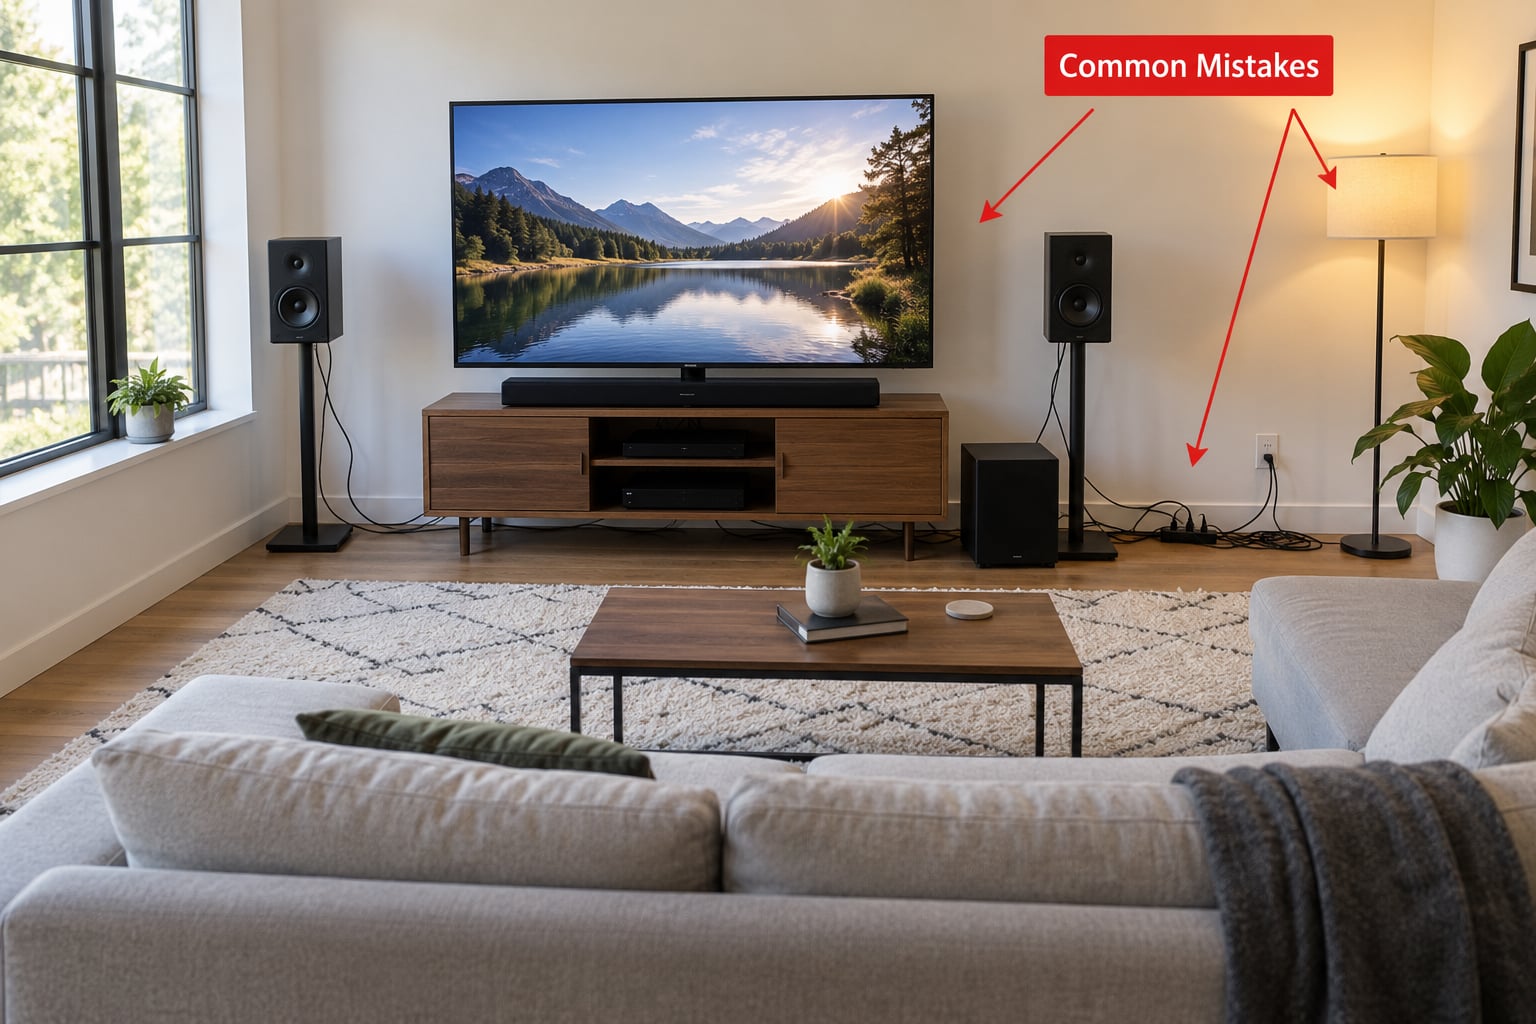
Overspending on the picture. The largest television in the catalog is the most common budget mistake, and it leaves no money for the part that carries the experience. Buy the screen that fits the seating distance, not the one that looks best in the store.
Cheaping out on sound. A soundbar without a subwoofer, or a bundle of five small speakers with no subwoofer at all, is the second most common. Bass is what makes a trailer feel powerful, and it is where the cheapest upgrades pay off fastest.
Overpowering a small room. Big surrounds in a tight space bounce off close walls and muddy everything. Fewer, better-placed channels beat more channels, which is why 3.1 is a common finishing point for budget builds.
Mounting the display too high. Clearing the furniture is not worth the neck pain. Center the screen at or just above eye level for seated viewers.
Running cables after the walls are closed. Decide the cable paths before drywall or paint. In a finished room, use raceways and cord covers instead of opening a wall for a single cable.
Skipping the surge protector, or daisy-chaining strips. Plug equipment into one properly rated protector connected straight to the outlet. This is the cheapest insurance in the build.
Ignoring the room. A bright window, a bare white wall, and a reflective floor will make a good system look like a bad one. Curtains, matte dark paint, and a rug are cheaper than any upgrade you can add later.
Adding features before the basics work. Get the picture, the sound and the seating right, then spend what is left. A finished room with a mediocre display and good acoustics beats the reverse every time.
Skipping sound discipline in an apartment. Bass travels through walls. A subwoofer turned down a few notches, a late-night schedule, and rugs and curtains underfoot do more for neighbors than any build change does.
Frequently Asked Questions
How much should a budget home theater cost?
A starter setup usually reuses gear you already own and adds a display, a soundbar or 3.1 setup, cabling and a surge protector, so the new spend is modest. A balanced room puts a few thousand dollars into a display, real front speakers, a subwoofer and seating. A dedicated built-out room adds construction and wiring, which is where labor dominates. Equipment prices vary by region and change over time, so check current listings rather than trusting a figure from a guide.
Is a projector better than a television for a home theater?
A projector wins in a room that can go fully dark and is deep enough for the throw distance, because it gives you a large, soft image with no visible pixels. A television wins in a bright room, a small room, or anywhere you want to watch without pulling blinds. If any daylight can reach the screen, a bright television is the better buy. A secondhand projector also carries lamp-hour risk that a television does not.
Do I need to hire someone to install a home theater?
Most of the work is safe to do yourself: mounting a display, running visible cable, placing speakers, hanging curtains and calibrating menus. Hire a licensed electrician for any new circuit, for in-wall or in-ceiling wiring, and for anything that touches structural framing. Check the manufacturer’s instructions, and expect to open a finished wall later if you skip the wiring stage now.
Can I build a home theater in a rental or small room?
Yes, and reversible options work well. Use a portable projector or a television on a stand, a soundbar with a wireless subwoofer, blackout shades on tension rods, adhesive cable covers along the baseboards, and movable seating. If the room is small, skip surrounds entirely and put the money into a better subwoofer and tight speaker placement. Do not drill, patch, or run anything into the walls.
What is the most important upgrade for a budget home theater?
Sound, almost every time. A modest display with good front speakers, a receiver and a properly placed subwoofer makes a bigger difference than a larger screen with built-in speakers. Second on the list is controlling the room, since blackout curtains and dimmable lighting cost little and make an otherwise average system look like a theater. Picture upgrades come last.
Conclusion
Start with a tape measure, not a shopping cart. Pick the room, work out your screen size from the viewing distance, and decide whether sound or picture is your priority. Then buy in this order: source and display, front speakers and subwoofer, lighting and blackout control, seating, and finally surrounds and treatment. A room that follows that order ends up feeling like a theater even on a small budget, while a room that skips ahead spends double and feels worse.