The safest way to clean a laptop keyboard is to shut the machine down completely, unplug the charger, and work with a cloth or cotton swab lightly dampened with 70% isopropyl alcohol. Never spray anything straight onto the keys, and use a can of compressed air held upright to lift dust and crumbs out from between them. The whole routine takes about ten minutes once the laptop is off.
Most keyboard damage I see discussed on tech support forums comes from three things: liquid sprayed directly onto the deck, household glass cleaner, and keycaps pried off with a screwdriver. All three are avoidable, and most of them come from skipping the basics of how to clean a laptop keyboard safely. Start with what your laptop’s own manual allows, since some thin laptops are far more fragile than a chunky business notebook.
Table of Contents
- 1What You Need for How to Clean a Laptop Keyboard Safely
- 2Step-by-Step: How to Clean a Laptop Keyboard Safely
- 3Step 1: Shut Down and Inspect the Keyboard
- 4Step 2: Remove Loose Dust and Crumbs
- 5Step 3: Clean Between and Around the Keys
- 6Step 4: Disinfect the Keyboard Surface
- 7Step 5: Let It Dry and Test the Keys
- 8Common Mistakes and How to Fix Them
- 9Frequently Asked Questions
- 10Are alcohol wipes safe for laptop keyboards?
- 11What is the gunk that builds up on my keyboard?
- 12Can you pull keys off a laptop keyboard?
- 13Can you use Windex on a computer keyboard?
- 14What should I do if I spill sticky liquid on my laptop keyboard?
- 15How long should a laptop keyboard dry after cleaning?
- 16Does WD-40 clean keyboards?
- 17Conclusion
What You Need for How to Clean a Laptop Keyboard Safely
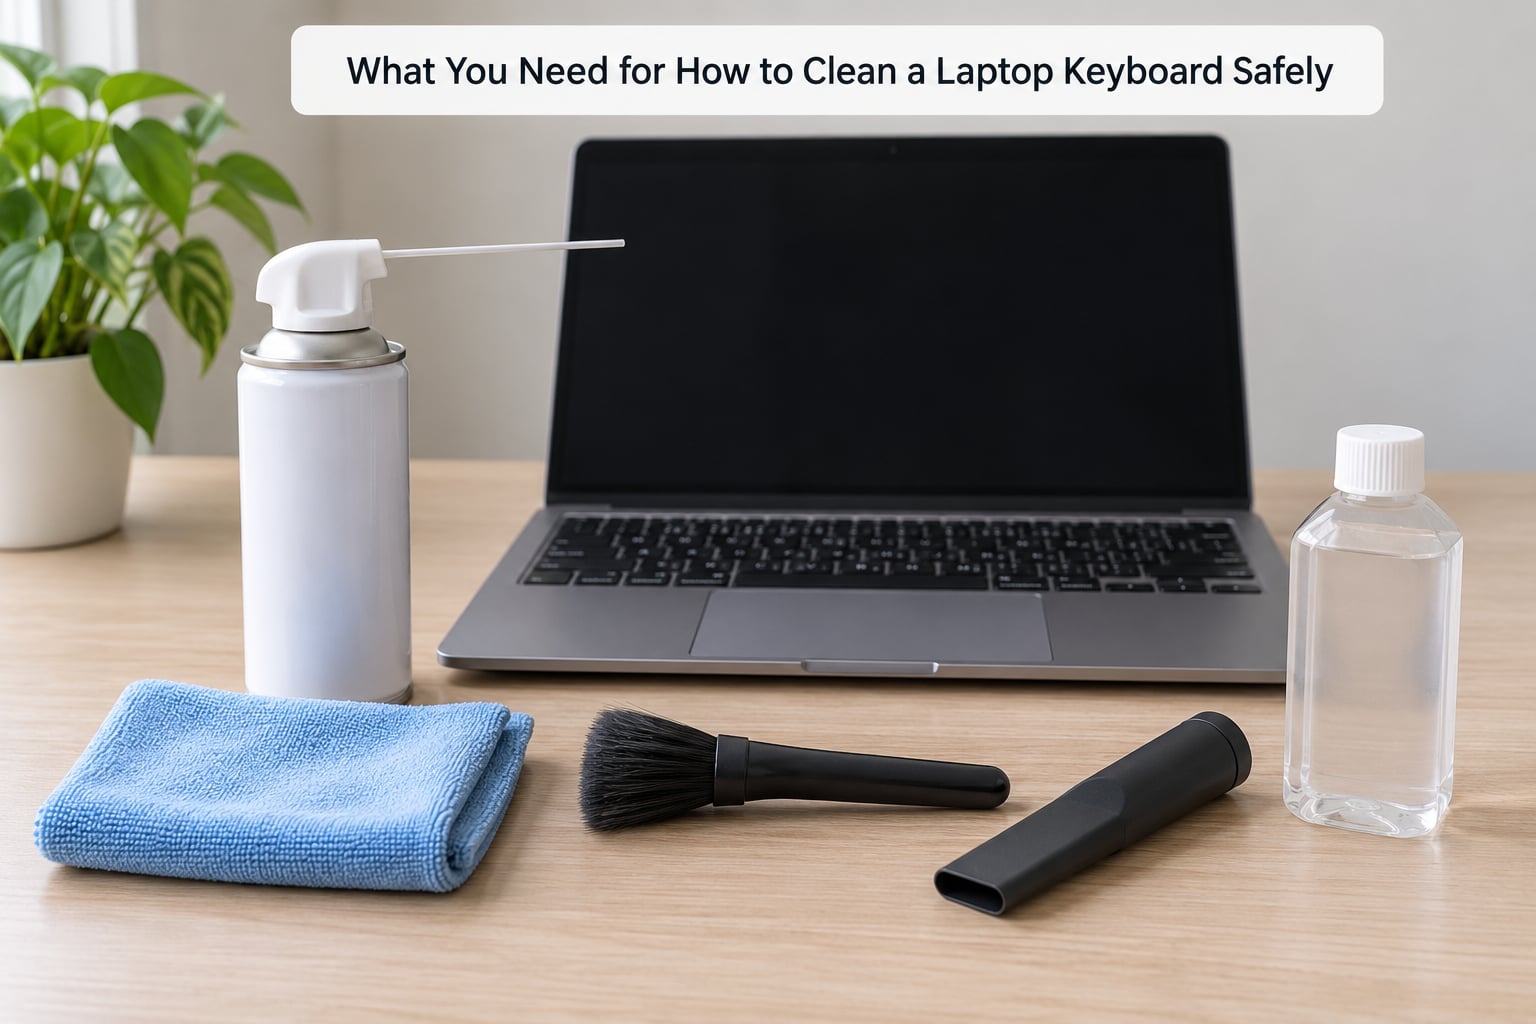
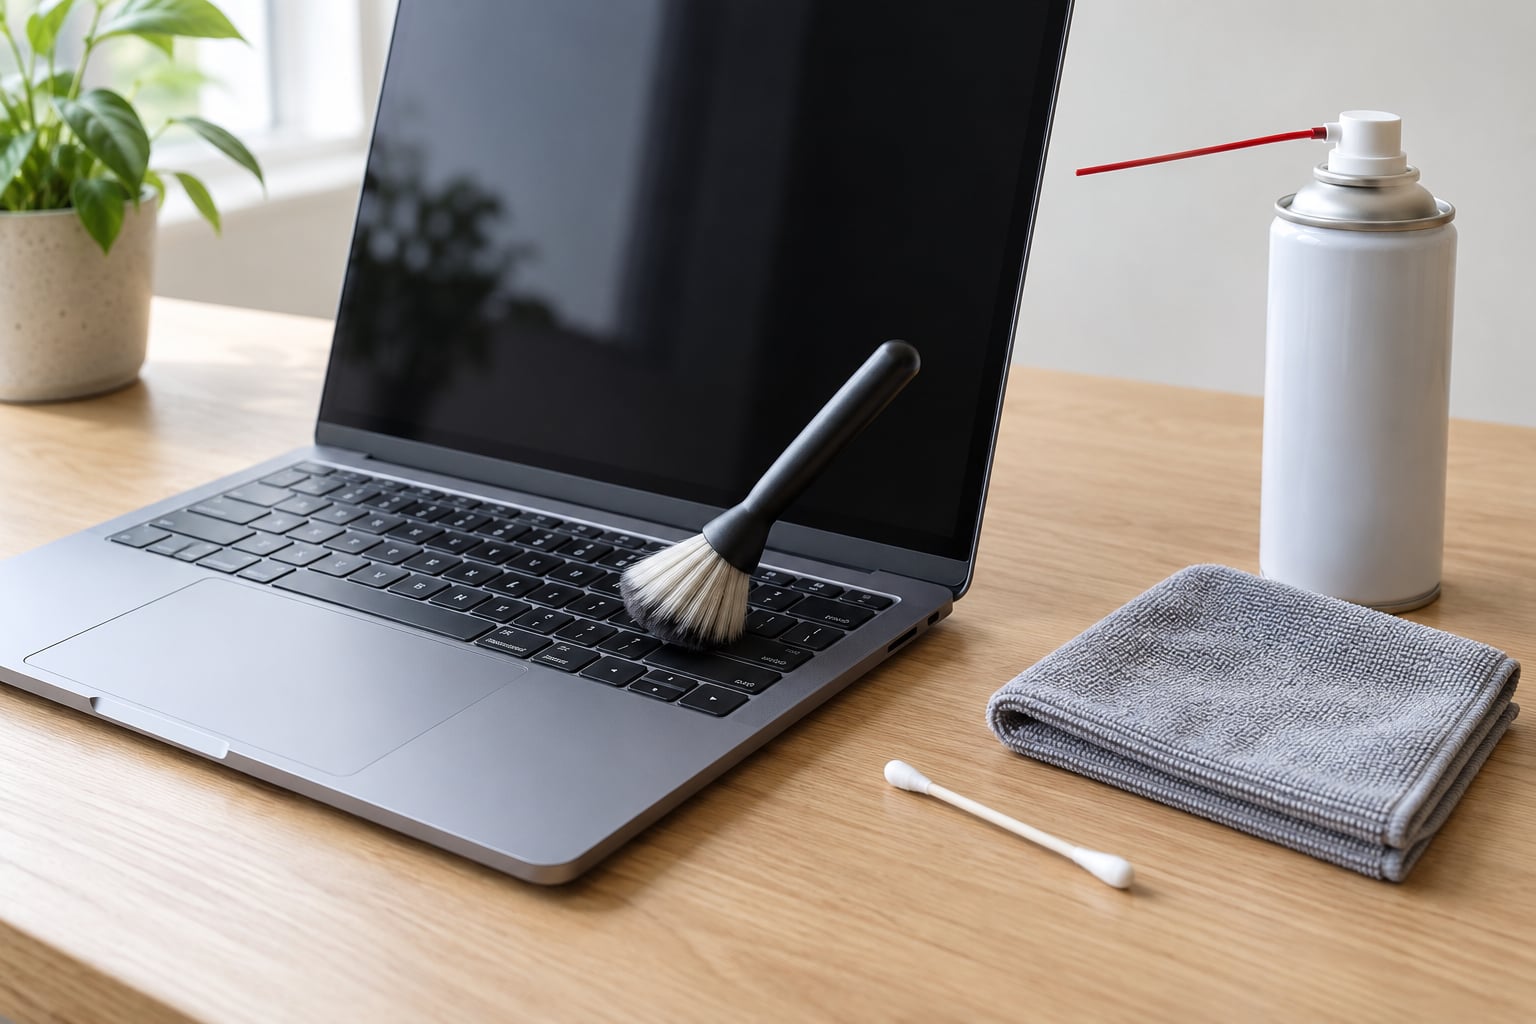
You need less than most people expect. Gather these five items first, lay them on a towel, and only start once everything is within reach.
- 70% isopropyl alcohol — the standard cleaner for electronics surfaces. Higher concentrations work for internal deep cleaning, but 70% is the safe everyday pick.
- Microfiber cloth — for the keycaps and palm rest. Paper towels scratch the matte coating.
- Cotton swabs — for the gaps between keys and along the edges of the keyboard.
- Soft-bristled brush — an old paintbrush or a clean, soft toothbrush works.
- Compressed air can — hold it upright, never upside down, so no liquid propellant escapes.
A small flat screwdriver or plastic spudger is the only tool you should consider for keycap work, and most laptops are better off without it. More on that below.
Alcohol wipes are fine in moderation, which surprises people. Pre-moistened 70% alcohol wipes are widely recommended by manufacturer support pages for keyboard surfaces, but check your specific model’s care instructions first, because some plastics and coatings dislike repeated alcohol contact.
Step-by-Step: How to Clean a Laptop Keyboard Safely
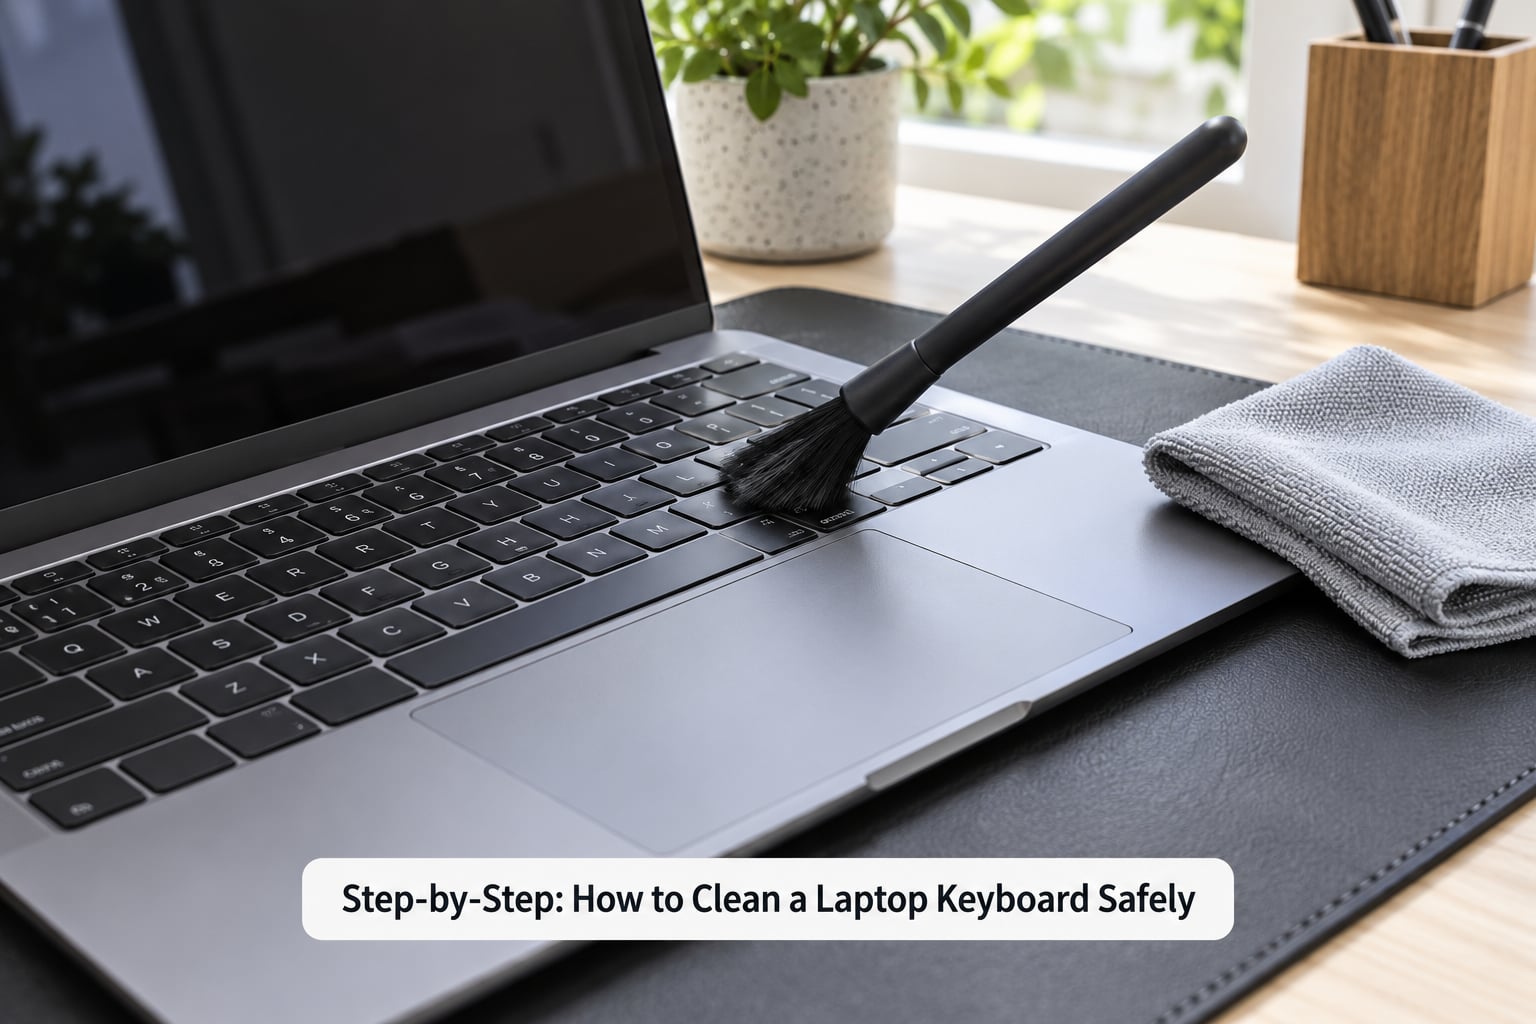
Work through these five steps in order. Skipping ahead to the damp cloth while the laptop is still awake is how liquid reaches the board.
Step 1: Shut Down and Inspect the Keyboard
Save your work, then shut the laptop down rather than closing the lid or putting it to sleep. Sleep keeps power on the board, and a powered board plus liquid is how you get a repair bill. Unplug the charger and pull any USB, HDMI or docking cable out.
With the machine off, look at the keyboard in a good light. Check for visible moisture, sticky patches, swollen keycaps or crumbs packed under a key. If you see liquid sitting on the deck, blot it with a dry cloth and let the laptop sit open for several hours before you go further.
Before any of this, open your laptop’s manual or the manufacturer’s support page. HP, Microsoft, Lenovo and Apple all publish care instructions, and they disagree in places about alcohol concentration and keycap removal.
Step 2: Remove Loose Dust and Crumbs
Turn the laptop upside down over a towel and give it a gentle shake. Tilt it to roughly a 45-degree angle and tap the back edge lightly so debris slides out from between the keys instead of settling deeper.
Hold the compressed air can upright and blow short bursts across the keyboard from about 15 to 20 cm away. Keep sweeping to reach every row, including the gap above the function keys and around the trackpad. An upside-down can can spit liquid propellant, and that is precisely how compressed air earns its reputation for causing problems.
Follow the air with the soft brush, working key row by row to pull out what the air only dislodged. Owners on r/Asustuf describe this combination — paintbrush for the dust, microfiber for the surfaces — as the routine that actually keeps their keyboards clean between deep cleans.
Step 3: Clean Between and Around the Keys
Dampen a cotton swab with 70% isopropyl alcohol. It should be damp, not wet. Squeeze out excess so nothing drips when you touch it to the swab.
Run the swab along the seams between keys in one direction, turning it after every few keys so you are not pushing dirty residue into the next gap. Work around the edges of the keyboard, the power button, speaker grilles and any indicator lights. Keep every drop on the swab or cloth, never on the laptop itself.
This is the step that fixes sticky keys. Alcohol dissolves the grease and sugar film that make a key drag, then evaporates without leaving a film of its own, which is why water alone often just spreads the problem around.
Step 4: Disinfect the Keyboard Surface
Put a small amount of 70% isopropyl alcohol on the microfiber cloth, never on the keyboard. The cloth should be barely damp — if you can wring a drop out of it, it is too wet.
Wipe each keycap in turn, then the palm rest, the trackpad and the bezel around the screen. On RGB and backlit gaming keyboards, go gently over the light guides around the keys, since those plastic parts are thin and printed legends can fade with repeated alcohol contact.
Wipe the screen with the dry side of the cloth or a second damp cloth. Disinfectant wipes with bleach should be kept off the keyboard; plain alcohol is the safer option on a coated display.
Step 5: Let It Dry and Test the Keys
Leave the laptop open and powered off for at least 10 to 15 minutes, longer if you used a wet cloth or worked on a sticky spill. This drying window comes straight from Microsoft’s own Surface cleaning guidance, and skipping it is the most common cause of a keyboard that works briefly and then stops.
Before powering on, check for visible moisture or residue with a dry cotton swab run through a few gaps. If the swab comes back wet or tacky, wait longer and wipe again.
Power up, and test several keys including the ones you cleaned. Type a short paragraph and check that every key registers. If a key stays unresponsive after a full dry cycle, stop repeating the cleaning and see the spill advice below — at that point the problem is usually under the keycap.
Common Mistakes and How to Fix Them
Pouring or spraying liquid directly onto the keyboard. Liquid runs between the keys and under the membrane, where it corrodes traces and shorts the board. Dampen the cloth or swab instead, and keep the bottle out of the process entirely.
Using Windex, glass cleaner or household spray. These contain ammonia or surfactants that haze plastic and can damage anti-glare coatings on some laptop displays. If you have already used one, wipe the surface again with a cloth dampened with 70% isopropyl alcohol. Whether Windex is safe for keyboards deserves a flat no.
Using WD-40 on a sticky key. WD-40 is a lubricant and solvent, not a cleaner. It will not dissolve the grease and sugar residue that causes stickiness, and it leaves an oily film that attracts more dust. It belongs on hinges, if anywhere.
Blasting compressed air too hard or holding the can upside down. Excessive pressure can force debris deeper into the mechanism, and an inverted can can release liquid. Use short bursts, keep the can upright, and stay about 20 cm back.
Prying off keycaps. Technicians say a light flat screwdriver can pop keycaps on some keyboards, but laptop keycap clips break easily and are hard to reseat. Some laptops are built for it; Apple laptops and most thin ultraportables are not. If a key is only sticky, clean around it with swabs instead of pulling it.
Cleaning while the laptop is plugged in or asleep. Sleep is not off. Always shut down fully and disconnect power before a damp cloth comes anywhere near the deck.
Using a household vacuum. The nozzle can catch a keycap or press debris against the membrane. A vacuum attachment on the lowest suction setting is acceptable for loose dust; anything stronger is not.
A few habits stop this from becoming a recurring job. Eat away from the keyboard rather than over it, run the brush and air blast once a month, and do the full alcohol wipe-down every few weeks. Users report that a full keycap-removal clean takes three hours or more, which is exactly why most people should stick to the no-removal routine and save deep cleaning for once a year.
If you have already had a spill, the timeline matters more than the method. Do not power the laptop back on to see whether it works. Shut it down, unplug it, invert it so liquid drains away from the board, blot the surface, and let it air dry for at least 24 hours before attempting a boot. Sugar residue wicks back under the membrane, which is why sticky keys sometimes return weeks after a sweet drink. Cleaning them again with alcohol while powered off fixes many cases; a keyboard that still misbehaves afterwards is usually a keyboard replacement job rather than a cleaning job.
Frequently Asked Questions
Are alcohol wipes safe for laptop keyboards?
Yes, pre-moistened wipes with 70% isopropyl alcohol are generally safe for keycaps, the palm rest and the trackpad, and several manufacturer support pages recommend them. Skip any wipes containing bleach, ammonia or acetone, and check your laptop’s care instructions because some matte coatings dislike repeated alcohol contact. Wring the wipe out first, wipe rather than scrub, and give the surface a few minutes to dry before powering on.
What is the gunk that builds up on my keyboard?
It is a mix of sebum from your skin, sweat, skin cells, dust and, very often, sugar residue from food or drinks. Skin oils coat the keycaps and make them feel greasy, while sugar residue forms a sticky film that seeps under keycaps and grips the mechanism. Isopropyl alcohol dissolves both and evaporates cleanly, which is why it works where a damp cloth with water just spreads the film around.
Can you pull keys off a laptop keyboard?
On some business and gaming laptops with mechanical or scissor-switch keyboards, yes, and the manual usually shows how. On most thin ultraportables and on Apple laptops, the clips are fragile and a snapped keycap often means replacing the whole keyboard assembly. Check the manual for your model before pulling anything. If the reason for cleaning is stickiness, swabs and a damp cloth usually solve it without removal, and full keycap work runs three hours or more.
Can you use Windex on a computer keyboard?
No. Windex contains ammonia and surfactants that can haze plastic keycaps and permanently damage anti-glare coatings on some laptop screens. Once liquid has been sprayed, it also runs under the keycaps toward the membrane, which is the fastest way to create a real fault. If you already used it, wipe the surfaces again with a microfiber cloth lightly dampened with 70% isopropyl alcohol and let everything dry fully.
What should I do if I spill sticky liquid on my laptop keyboard?
Shut the laptop down immediately rather than sleeping it, unplug the charger and every cable, then invert it so liquid drains away from the board. Blot the surface with a dry cloth, do not wipe it around. Leave it open and powered off for at least 24 hours. Once dry, clean the keys with a cotton swab lightly dampened with 70% isopropyl alcohol. Sugar residue often causes stickiness that returns weeks later, so expect to repeat the swab clean a second time.
How long should a laptop keyboard dry after cleaning?
Give it at least 10 to 15 minutes after a routine alcohol wipe, which matches the drying window in Microsoft’s Surface cleaning guidance. After a spill, wait a full 24 hours before powering on. Test with a dry cotton swab pushed into a few key gaps first. If the swab comes back damp or tacky, keep waiting. Powering on too early is the most common reason a keyboard works for a few minutes and then dies.
Does WD-40 clean keyboards?
No. WD-40 is a lubricant designed to free stiff hinges and protect metal from corrosion. It does not dissolve skin oils or sugar residue, which are the actual causes of sticky keys, and it leaves an oily film that attracts more dust. Use 70% isopropyl alcohol for grime, and reserve WD-40 for hinges and other moving metal parts on the chassis.
Conclusion
Shut the laptop down, unplug it and blow out the loose debris first. That single sequence takes a couple of minutes and removes the two causes of almost every keyboard complaint: dust packed under the keys and powered-on electronics sitting under a damp cloth.
Keep moisture on the cloth or swab and never on the keyboard, stay with 70% isopropyl alcohol, hold the compressed air can upright, and check your manufacturer’s care instructions before prying at anything. If liquid has already reached the interior, stop cleaning, give the machine a full 24 hours dry, and get it looked at rather than powering it back on to test the keys.