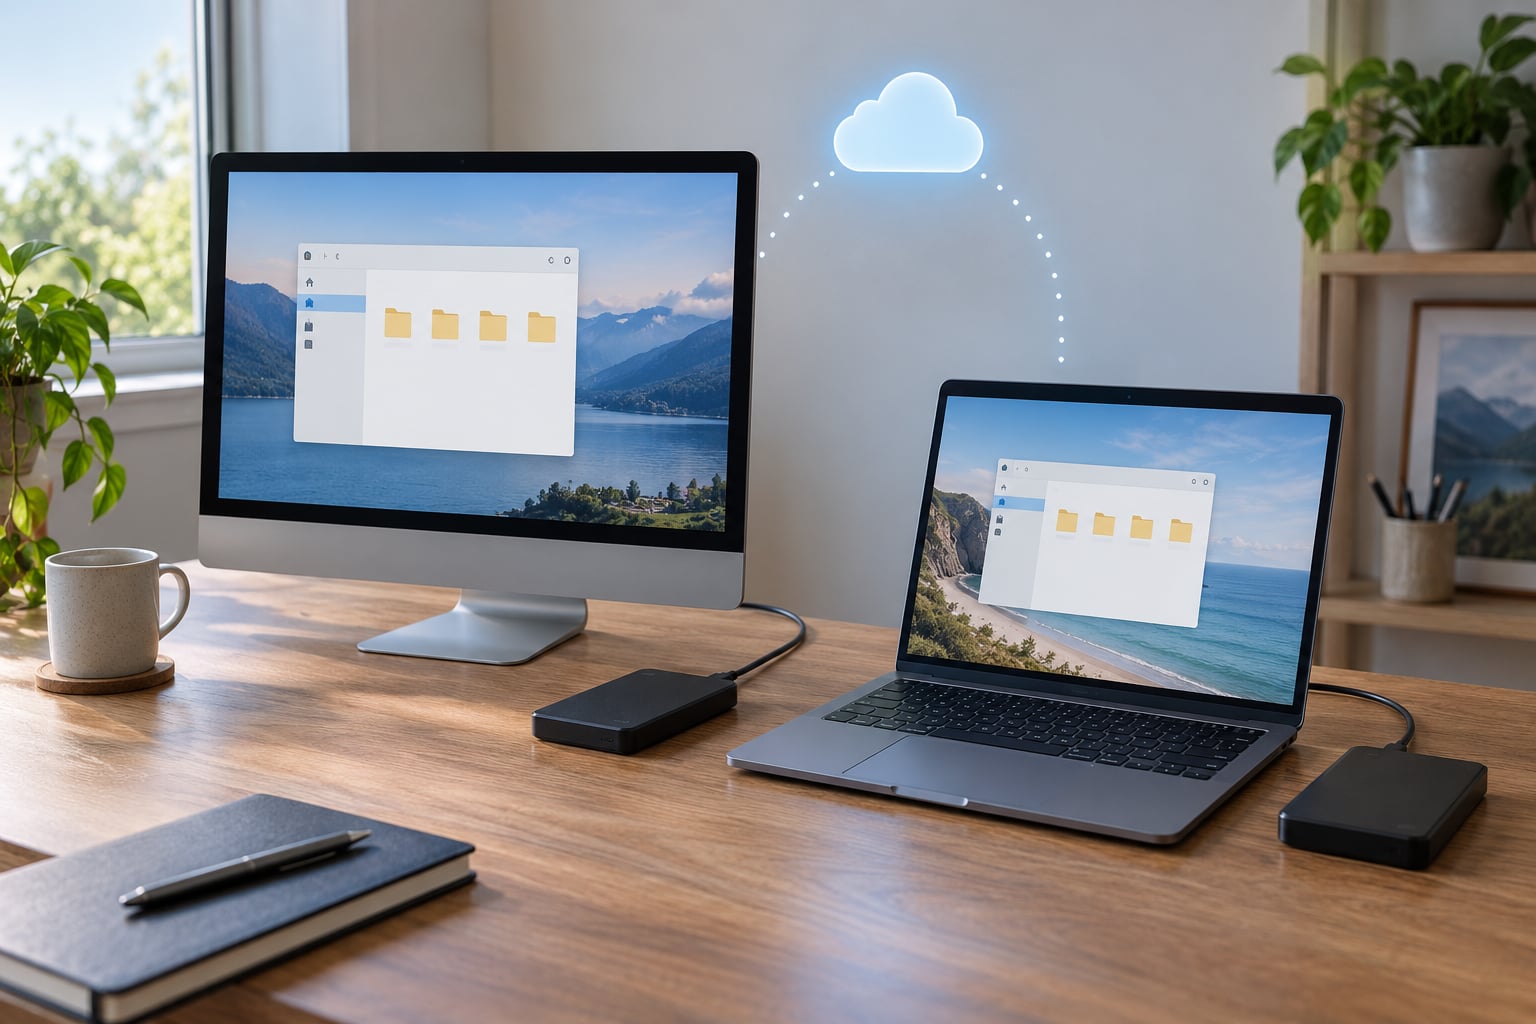
How to back up your computer files comes down to one habit: keep a second, restorable copy of your documents, photos and app data somewhere other than your main drive, and open a file from that copy now and then to confirm it works. Windows 11 handles this with File History, Macs handle it with Time Machine, and both can point at an external drive or a cloud service. The first pass takes about half an hour. After that, it is roughly ten minutes a week.
The fastest way to answer “what is the best way to back up my entire computer?” is this: use the backup tool your operating system already ships with, set it to run automatically to an external drive, then add a cloud folder as a second, off-site copy. Skip anything that only copies files to another folder on the same disk.
Here is the short version of the whole process.
- Write down what you cannot replace: Documents, Desktop, Downloads, Pictures, and any custom folders where you keep work, tax records or family videos.
- Pick a destination. An external hard drive is the simplest choice; a network drive or a second internal drive works too. Pick something that is not part of your C: drive.
- Plug it in and turn on automatic backups. On Windows 11 that is Settings, then System, then Storage, then Advanced storage settings, then Backup options. On a Mac it is System Settings, then General, then Time Machine.
- Add a cloud folder as the off-site copy. OneDrive, iCloud Drive and Google Drive all do this for you once their desktop folder backup is switched on.
- Test a restore. Open one photo and one document from the backup location before you trust it with anything important.
Table of Contents
- 1What You Need
- 2Step-by-Step: How to Back Up Your Computer Files
- 3How to Back Up Your Computer Files on Windows 11
- 4How to Back Up Your Computer Files on a Mac
- 5Common Mistakes
- 6Frequently Asked Questions
- 7How often should I back up my computer files?
- 8Are cloud storage services backups?
- 9What files should I back up first?
- 10Should I use an external hard drive or cloud storage?
- 11Can I recover files after ransomware encrypts my computer?
- 12How do I know whether my backup actually worked?
- 13Conclusion
What You Need
Start by finding your files. On Windows, everything personal lives under C:UsersYourName, usually split across Documents, Desktop, Downloads, Pictures, Music and Videos, plus whatever folders you created yourself. On a Mac, look in your Home folder for Documents, Desktop, Downloads and Pictures, which sync into iCloud Drive if you use it.
Two sets of files catch people out. The first is app data: game saves, mail archives, finance files, browser bookmarks and passwords. Windows hides much of this inside AppData inside your user folder, which File History copies for you whether you know it is there or not. The second is anything living outside your home folder, such as files saved to the root of the C: drive, which almost no backup tool will pick up.
For your destination, an external hard drive or external SSD is the workhorse choice. Buy one with roughly twice the capacity of the data you are protecting, so a full backup plus older versions both fit comfortably. A cheap USB flash drive is fine for a single folder of documents, but not for a whole machine.
Cloud storage handles the off-site copy without you remembering to plug anything in. iCloud Drive, Google Drive, OneDrive and Dropbox all mirror your folders. Keep in mind what they are: mirrors, not backups. More on that shortly.
A network attached storage box is the enthusiast option that a lot of home setups land on, and a second internal drive is the fastest option if the machine has room for one. Either works, and both need the same verification step later.
| Destination | Off-site copy? | Keeps old versions? | Best for |
|---|---|---|---|
| External hard drive or SSD | No, unless you store it elsewhere | Yes, if you rotate the drive | Most people; cheap, fast, one-time cost |
| Cloud folder (OneDrive, iCloud, Google Drive) | Yes | Some, depending on plan | Files you open on more than one device |
| Network attached storage | No, unless you replicate it | Yes, with snapshots enabled | Several computers in one house |
| Second internal drive | No | Rarely | Fast local copies and quick restores |
How much space you need is easy to check. Right-click your C: drive, choose Properties, and note the Used space. Your backup drive should be at least that size again, and double it if you want older versions kept for a month or two.
Step-by-Step: How to Back Up Your Computer Files
The workflow is the same on any machine. Six steps: inventory your data, choose and connect a destination, switch on automatic backups, add an off-site copy, check that the first run actually captured everything, then set a schedule you will keep.
Before step one, plug the drive in and confirm the computer sees it. A drive that has never been formatted will show up in File Explorer on Windows or on the desktop of a Mac, and the backup tools will not list it until you give it a filesystem. On Windows, right-click the drive in This PC and choose Format, pick exFAT if you want to move it between a PC and a Mac later, and give it a plain name like Backup. On a Mac, use Disk Utility and pick Mac OS Extended if the drive stays with the Mac, or exFAT if it moves between machines.
How to Back Up Your Computer Files on Windows 11
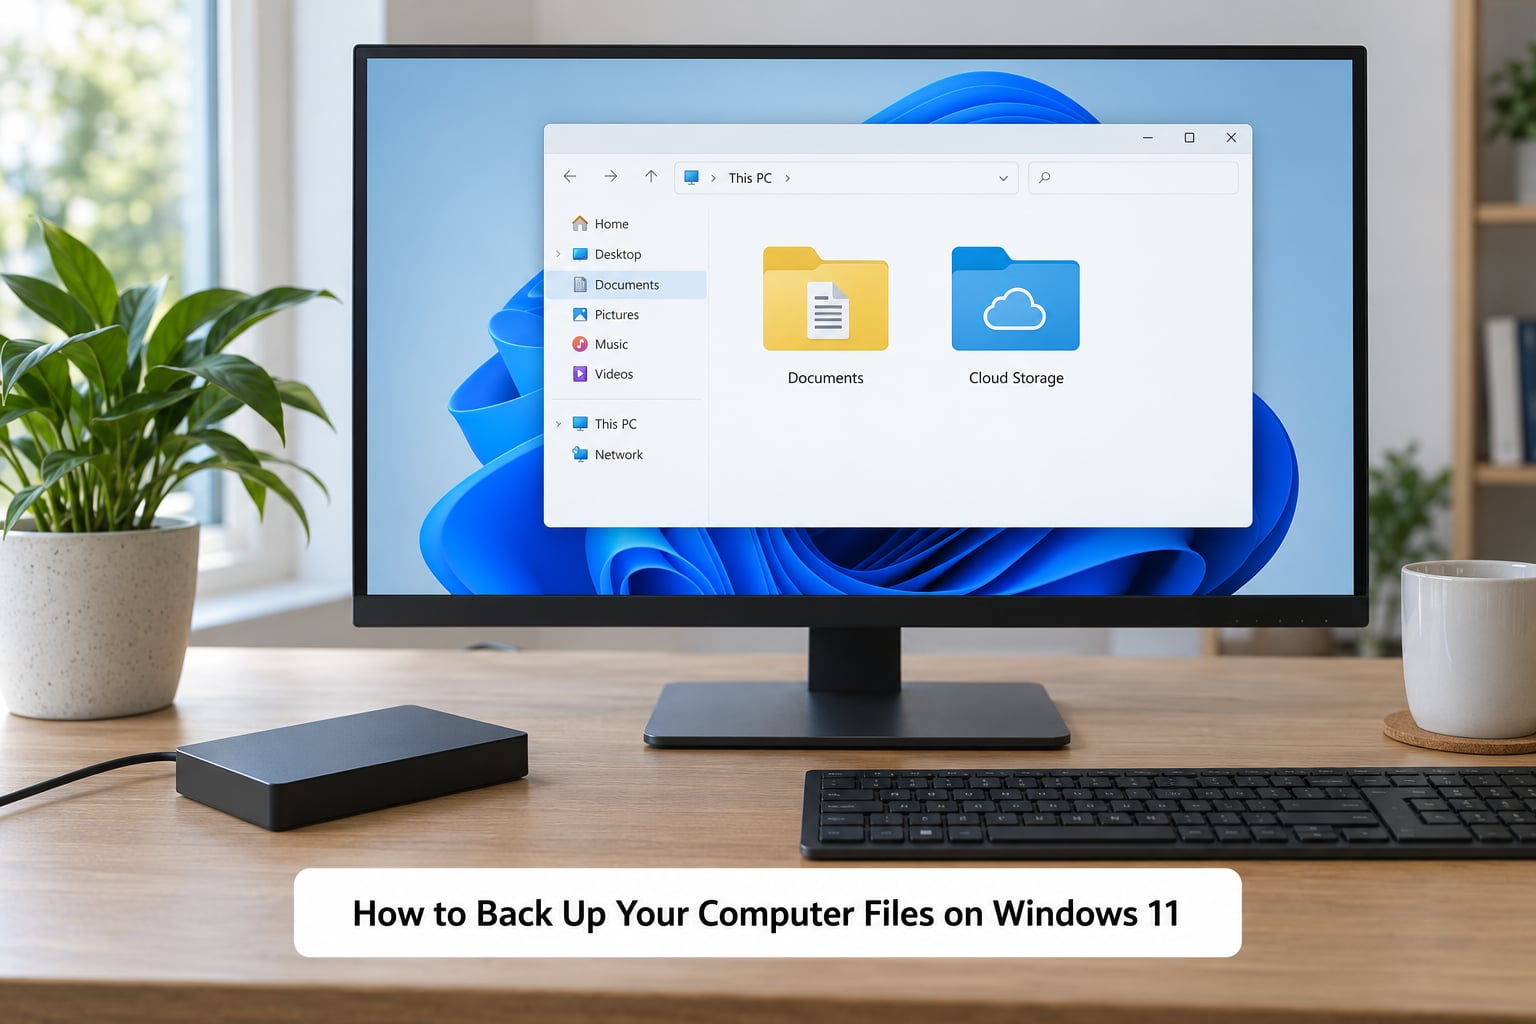
Windows 11 has three built-in options. File History is the one you want for everyday file backups. Backup and Restore (Windows 7) is a legacy tool that makes a full system image, useful before a big upgrade or a drive swap. OneDrive folder backup handles the off-site copy. None of them is complicated once you know where the menus moved.
Set up File History in Windows 11
- Connect the external drive and open Settings from the Start menu.
- Go to System, then Storage, then Advanced storage settings, then Backup options.
- Choose Back up files to add a drive. Your formatted backup drive appears in the list; select it.
- Click Back up now for an immediate first run, or leave it and let the schedule handle it.
- Select the drive, then choose File History options to set how often it runs: every hour, every 6 hours, every 12 hours, daily or weekly.
- On the same page, set Clean up old versions. Choose Keep old versions if your drive is large enough to hold months of history, or Save new versions as they are created if space is tight.
Here is the limit worth knowing: File History watches your libraries and your AppData, which covers Documents, Desktop, Pictures, Music, Videos and application settings. It does not follow you into a second internal drive. Anything you have deliberately moved to D: or E: has to be copied by hand or handled by a second File History job.
Where do the copies go? Inside the drive’s FileHistoryYOUR-COMPUTER-NAMEData folder, structured by user profile and then by date. Open it in File Explorer and you can browse your backed-up documents exactly as you would the originals, with a time machine interface built in.
Make a system image before an upgrade
- Press Windows key plus R, type
sdclt, and press Enter. That opens Backup and Restore (Windows 7), which Windows 11 still ships. - Choose Create a system image on the left.
- Pick the external drive, tick Include a system image in the backup, and follow the prompts.
- Leave the schedule on, or change it in Schedule this backup. The default is Sunday evening, which is fine if you also run File History daily.
Turn on OneDrive folder backup
- Sign in to OneDrive from the cloud icon in your taskbar.
- Open Settings from the menu, then Accounts, then Back up and sync, then Manage backup.
- Switch on Desktop, Documents and Pictures, or choose Choose folders for anything else.
To confirm new versions are appearing, open File History on the drive and press the Play button in the time machine bar. If the timeline is populated with today’s date and you can browse yesterday’s folder, the job is running. If the folder is empty, the drive was formatted after the backup was set up, or File History was pointed at a drive that has since been renamed.
How to Back Up Your Computer Files on a Mac
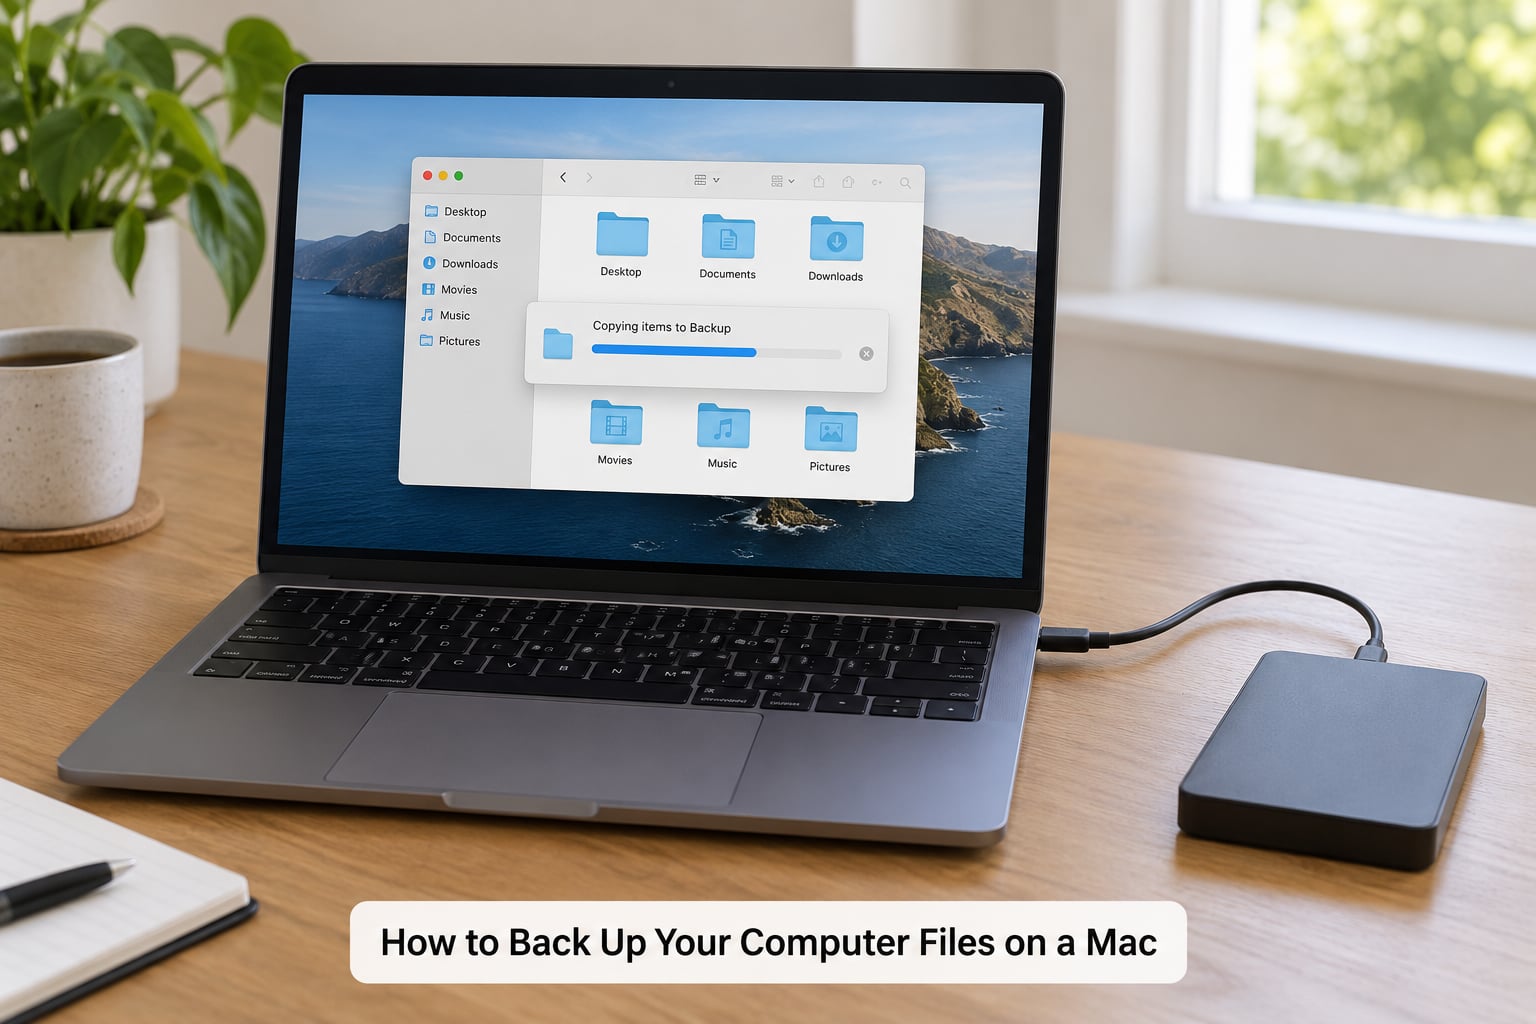
Macs get short shrift in most backup guides, which is odd, because the built-in tool is the easiest one anywhere. Time Machine handles everything: it backs up your whole user folder, keeps hourly, daily and weekly versions, and makes restoring a single file a two-click job.
For a one-off copy of a few folders, you can skip all of that. Open Finder, click Go in the menu bar and choose Home. Select the folders you want, copy them with Command and C, open your external drive in a second Finder window, and paste. Straight copy, no scheduling, and you know exactly what you have.
Set up Time Machine
- Connect the external drive. If it is not formatted as a Mac drive, macOS offers to erase and set it up for you; accept that, because Time Machine needs the whole disk.
- Open System Settings, then General, then Time Machine.
- Click Add a Backup Disk and select the drive.
- Turn on Back Up Automatically. The first backup starts within about an hour and can run for a long time, so leave the Mac plugged in and let it finish.
- Turn on Encrypt Backups if you want your files unreadable if the drive is ever lost. Write the password down somewhere safe, because macOS will not recover it for you.
- Leave the drive plugged in, or set the option to ask before ejecting so the backup completes first.
Where are the backup files? Time Machine stores them in a hidden folder called Backups.backupdb on the drive, and it expects you to restore from it rather than browse it. To see what is inside, press Command and Shift and then a period, which toggles hidden files in Finder.
To check that the backup completed, open System Settings, General, Time Machine. The line under the disk name shows the most recent backup time and the next scheduled one. If the timestamp is stale, the drive was probably ejected mid-run or the machine was asleep. Connecting the drive and waiting for the icon in the menu bar is usually enough.
To restore a single file, open the folder you want in Finder, click the Time Machine icon in the menu bar, and use the timeline on the right to travel back to a date. To restore an entire Mac, you can erase the internal drive and choose Restore from Time Machine during macOS setup. That last path works even if the Mac will not boot normally.
Step five is the one everybody skips. Once the first backup finishes, open one file you care about from the backup location and check that it opens and is not empty. A folder full of zero-byte files is a failed backup that still reports success.
Step six is the habit. Weekly for most people, the same evening, taking a few minutes. If your work changes daily, run File History or Time Machine hourly and leave the destination handled automatically.
Common Mistakes
Keeping the only copy on the same computer. A second folder or partition on the same drive does not protect you against the drive dying, which is one of the most common ways people lose everything. The copy has to live on separate hardware.
Treating sync as backup. Sync mirrors changes in both directions. Delete a folder of photos on your laptop and the deletion travels to your cloud copy. Open a folder while ransomware is encrypting files and it happily uploads the encrypted versions. A real backup keeps previous versions, so a mistake can be undone.
Leaving the external drive permanently attached. This one comes up constantly in forums, and the concern is fair. A drive that is always plugged in gets encrypted, deleted or reformatted in the same event that took out your main drive. Disconnect it between backups. File History needs it present during the run, not the rest of the month.
Ignoring hidden folders and app data. Windows hides AppData and Mac hides Library. App settings, mail archives, browser profiles and game saves often live there, and reinstalling an app does not bring them back. Windows File History and Time Machine both cover this; a manual copy through File Explorer usually does not, unless you turn on hidden file viewing first.
Running out of drive space. Once an external drive fills, the backup either fails silently or stops keeping old versions. Check free space every couple of months and either rotate the drive or prune old versions. This is the single most common reason people discover their backup stopped running a year ago.
Never testing a restore. A backup you have never opened is an assumption. Once every few months, pick a photo or a document, open it from the backup, and confirm it is intact. It takes two minutes and it is the only way to know whether the thing you are relying on actually works.
Copying caches and junk into the archive. Temporary files, downloaded installers and application caches can turn a 60 GB library into 400 GB of noise. Skip anything you can redownload, and keep the backup focused on files you would be upset to lose.
Frequently Asked Questions
How often should I back up my computer files?
For most people, once a week is enough, and daily is better if your work changes constantly. What matters more than the interval is that the backup runs without you thinking about it and that you check it occasionally. Set File History or Time Machine to run automatically, leave it on a schedule, and review the backup date every few months so you notice when it stops.
Are cloud storage services backups?
Not by themselves. OneDrive, Google Drive, iCloud Drive and Dropbox are sync services: they mirror your folders, so a deletion or a ransomware encryption on your computer propagates straight to the cloud copy. A backup keeps previous versions and is separate from the live folder. Cloud works well as the off-site half of a plan, paired with versioning or a second destination.
What files should I back up first?
Start with Documents, Desktop, Downloads and Pictures, then add any folder holding work, tax records, contracts or family videos. After that, app data: browser bookmarks, mail archives, game saves and finance files. Windows hides much of this in AppData inside your user folder. Files you can redownload or reinstall, such as programs and installers, can be skipped.
Should I use an external hard drive or cloud storage?
Most people need both, and they cover different risks. An external drive is fast, cheap and holds as much as you want, but it sits in the same house as the computer it protects. Cloud storage is off-site and restores from anywhere, but it costs money every month and rarely keeps long version history. Use the drive as the primary and the cloud folder as the second copy.
Can I recover files after ransomware encrypts my computer?
Yes, if a clean copy of your files exists somewhere the malware could not reach. Disconnecting an external drive before it runs, or relying on a cloud folder that keeps version history, is often the difference between paying a ransom and restoring yourself. This is exactly why backups should hold previous versions and why one copy should never be permanently attached to the machine.
How do I know whether my backup actually worked?
Check the timestamp your backup tool reports, then open a real file from the backup location. On Windows, open File History on the drive and use the timeline to browse an older version. On a Mac, System Settings, General and Time Machine shows the date of the last completed backup. Do this once every few months rather than assuming the software has everything covered.
Conclusion
The setup that holds up is simple: two copies of your data, on two different devices, with one of them somewhere other than your computer. Run the tool your system already has, File History on Windows 11 or Time Machine on a Mac, and let it schedule itself. Add a cloud folder for the off-site copy, disconnect the drive between runs, and open a file from the backup every few months so you know it works.
Start today by copying your Documents, Desktop, Downloads and Pictures folders to an external drive, then switching on automatic backups before you close the laptop. Paths and menus were checked on current Windows 11 and current macOS in 2026; older guides for Windows 10 or Windows 7 send you to menus that no longer exist.