To find a water leak in your house, shut off every tap and appliance, then watch the water meter: if the leak indicator dial or the numbers keep moving after 15 to 30 minutes, water is escaping somewhere you cannot see. Most hidden leaks are found this way in under an hour, and it costs nothing.
That is the first move whether you spotted a stain, heard water running in a quiet house, or just opened a bill that made you wince. The steps below go from what you can see to what only a meter will tell you, and they end with a clear line between what a homeowner can reasonably sort out and what needs a plumber with a thermal camera.
One thing before you start: know where your main shut-off valve is. It usually sits on the front wall of the house, in a garage, in a crawl space, or behind an access panel in a closet. If water is actively coming down a wall right now, close that valve first and read this later.
Table of Contents
- 1What You Need
- 2Step-by-Step: How to Find a Water Leak in Your House
- 31. Look for water damage and changing moisture
- 42. Check plumbing fixtures and visible connections
- 53. Turn off the water and watch for changes
- 64. Use your home’s water meter to test for a hidden leak
- 75. Check toilets, irrigation lines, and outdoor connections
- 86. Use a moisture meter in suspicious areas
- 97. Isolate the area and monitor the suspected source
- 108. Know when to call a plumber to find a leak in your house
- 11Common Mistakes
- 12Frequently Asked Questions
- 13How do I find a water leak that is not visible?
- 14How do plumbers detect hidden leaks?
- 15Why is my water bill so high with no visible leaks?
- 16Can a plumber find a leak if I have no evidence of one?
- 17How long can a water leak go unnoticed before real damage starts?
- 18What to Do First
What You Need
Most of this list is stuff already in a junk drawer. The optional tools save time rather than making the test possible.
Essential:
- A flashlight, ideally a headlamp so both hands stay free
- Paper towels or a few old rags
- Food coloring, or a blue dye tablet from a hardware store
- A notebook and pen to record readings and times
- A wrench for fixture shutoff valves, if you want to isolate one tap at a time
Optional, and honest about what they add:
- Moisture meter turns a guess into a number and is the most useful cheap upgrade you can buy. It screens suspect drywall and subfloor. It does not tell you what is leaking.
- Thermal imaging camera reveals the temperature difference a wet patch leaves behind. Worth renting when you already suspect one specific wall.
- Acoustic listening device or an inexpensive electronic stethoscope picks up the noise of water moving through a pipe or dripping behind a wall. Not needed if your meter is moving.
You can absolutely skip all three optional tools. Plenty of leaks get found with a flashlight and a dye tablet.
Step-by-Step: How to Find a Water Leak in Your House
1. Look for water damage and changing moisture
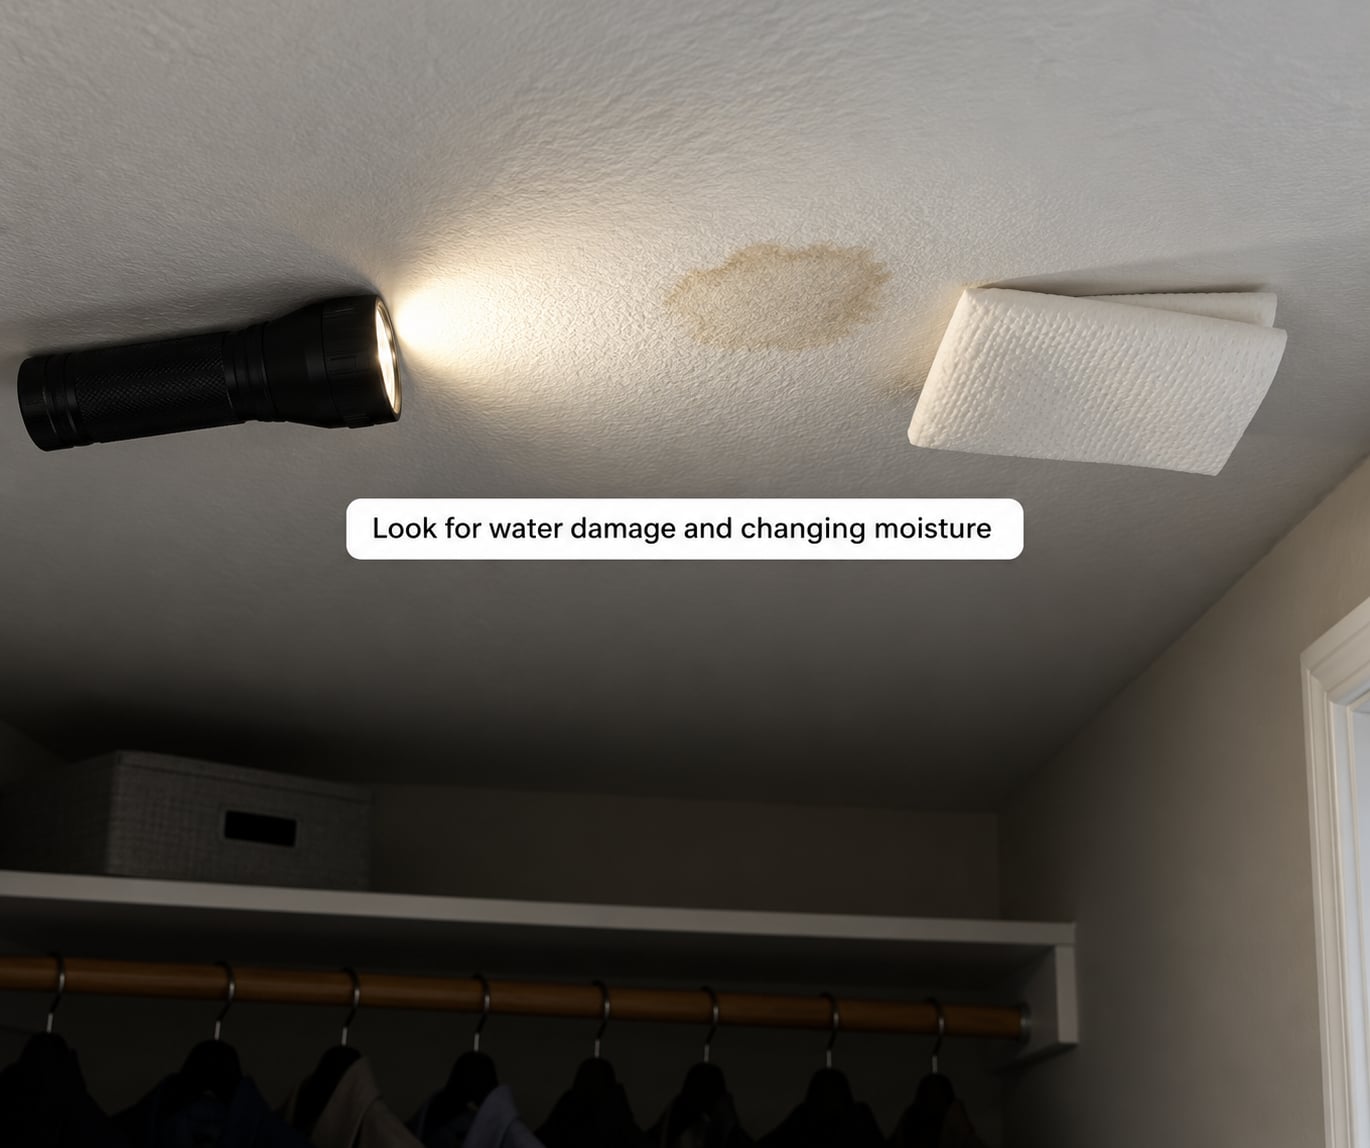
Walk the house with the lights off and the flashlight at a low angle. Grazing light makes bumps in drywall and paint stand out in a way that overhead light hides completely.
Look for:
- Discolored or tea-stained patches on ceilings, usually with a defined edge
- Paint that bubbles, blisters, or peels away from drywall in flakes
- Wallpaper or baseboards that have swollen or come loose
- Cabinet toe-kicks that feel soft or bow outward
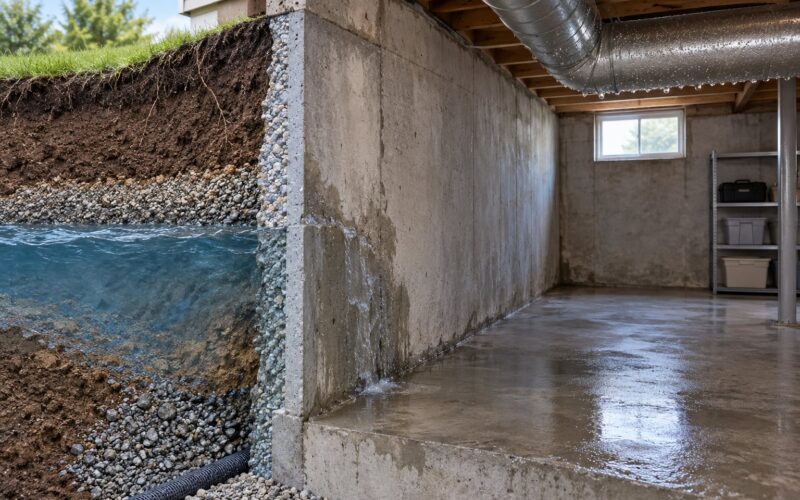
- Crumbling efflorescence, the white chalky mineral crust on concrete or brick
- Damp carpet that is cool to the touch or darkens underfoot
Press your hand flat against suspicious drywall. Dry but slightly cool is worth watching. Cool and soft means water is right behind it.
To confirm a leak is active, mark the edge of the stain with a pencil and write the date next to it. Check it again in two days. A growing edge means water is still arriving, and that matters because the stain is almost never directly under the source.
Water follows framing members and joists, then exits at the lowest point it can reach. A stain in a second-floor bathroom ceiling can come from a supply line in the wall six feet to the side, or from a toilet flange two rooms over.
2. Check plumbing fixtures and visible connections
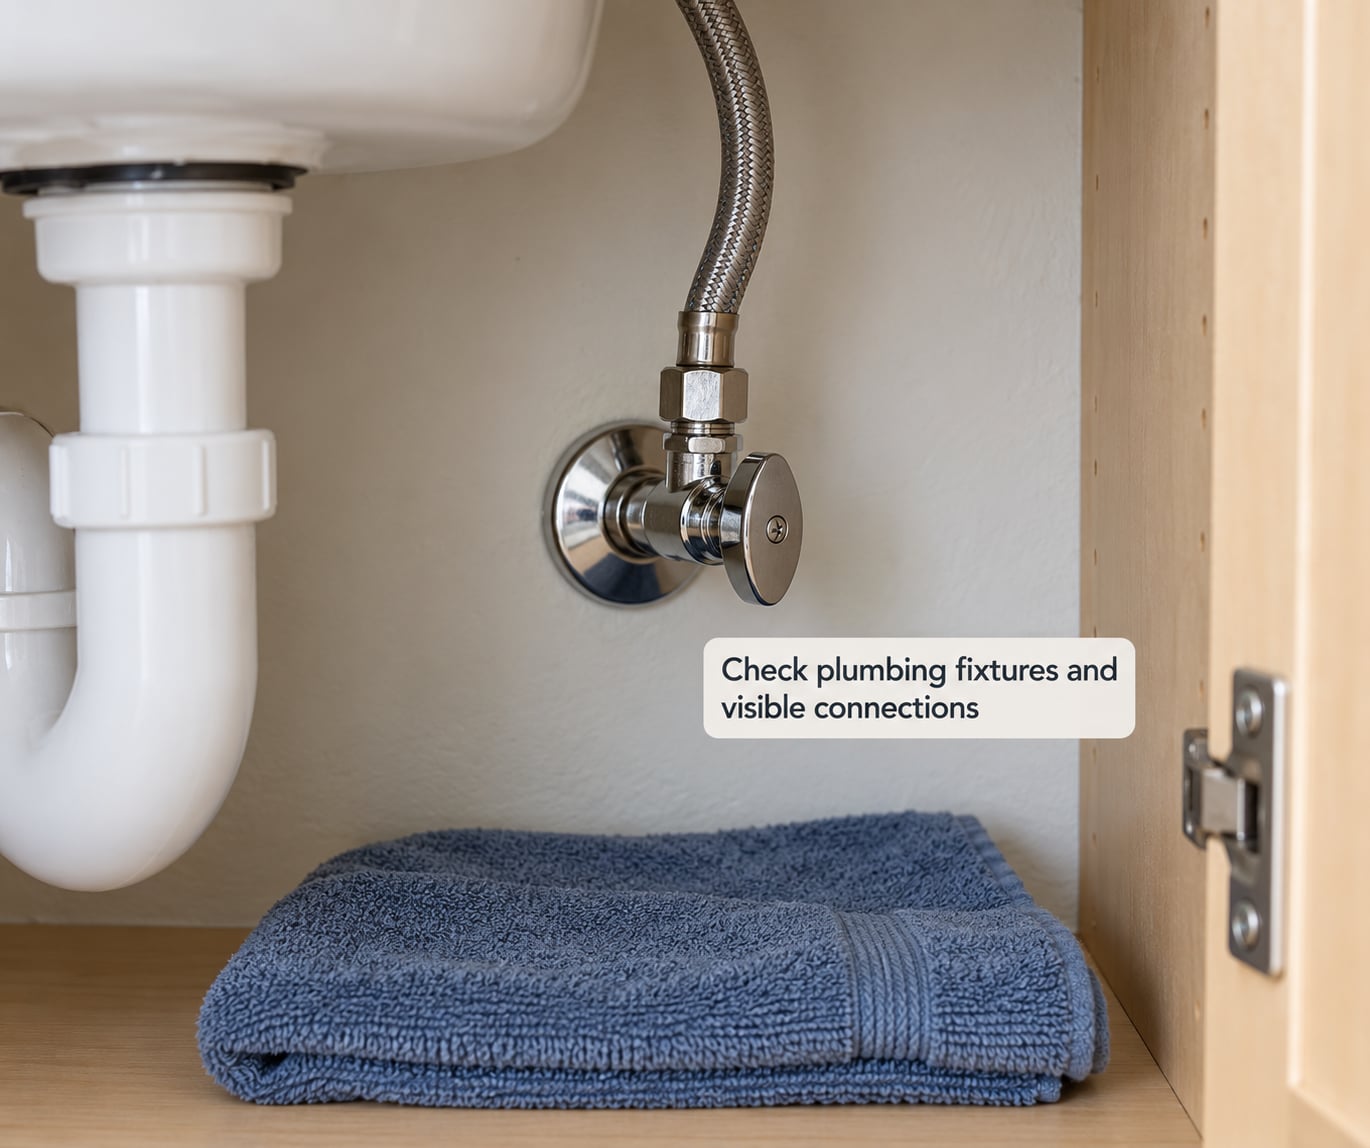
Put a towel down, open the cabinets, and look at the pipes while you run each fixture for a minute. Water finds the lowest point in the cabinet, so a slow drip from a supply line will pool in the back corner where you rarely look.
Work through them in order:
- Under every sink: supply lines, the P-trap, and the cabinet base
- Toilet supply valves and the base of the bowl for seepage
- Shower and tub valve stems, and the grout lines around them
- Water heater connections, and the floor beneath the tank
- Washing machine hoses, especially the hot water line
- Dishwasher supply and drain connections
- Outdoor hose bibs, particularly in spring after a hard winter
Flexible braided connectors are the weakest link in most homes. Bulging, rust staining, or a wet mark on the nut means replace it, not that you found your hidden leak.
Run every faucet hot and cold and listen. A faucet that hisses or drips at the spout, or a shower that falls apart into two streams, is a leak too, just an obvious one. Run the dishwasher and washer through a full cycle while you watch the supply lines.
3. Turn off the water and watch for changes
This is the isolation test, and it is more useful than most people expect. Close the main shut-off valve, then reopen faucets one at a time and watch for drips or new wetness at any stain.
If you have an active drip from a fixture or supply line, closing the main valve and then slowly reopening it one fixture at a time tells you exactly which one is guilty. The fixture that changes behavior is your answer.
Leave the main valve closed for the meter test in the next step. Do not reopen it until the meter test is finished.
4. Use your home’s water meter to test for a hidden leak
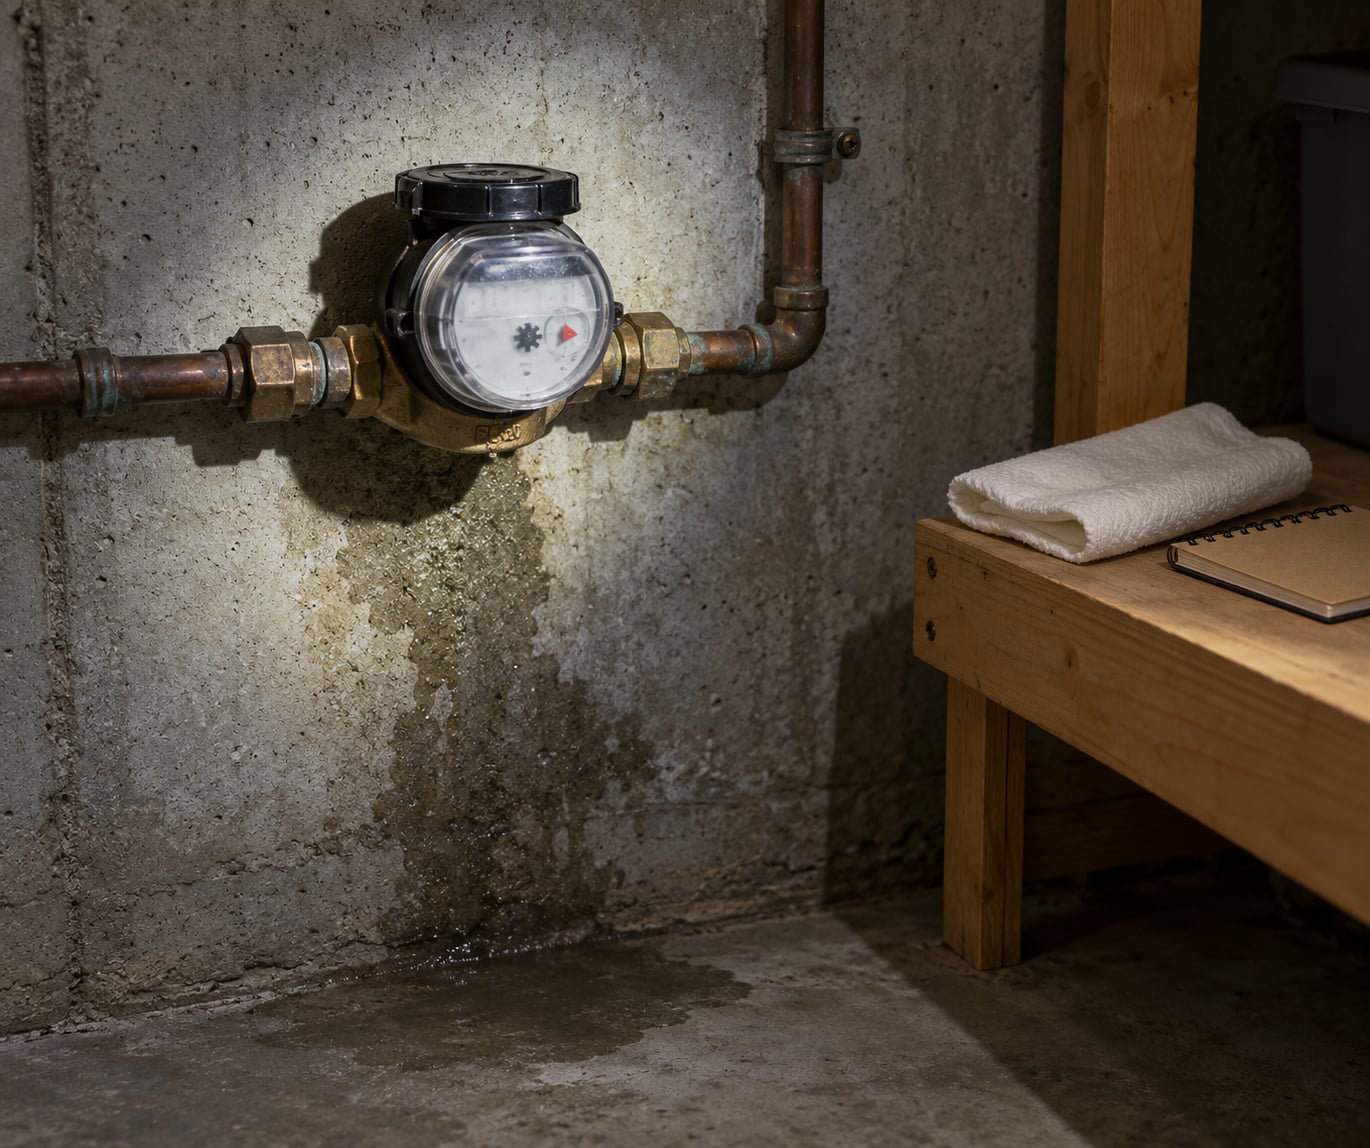
The meter test is the definitive DIY answer to finding a hidden water leak, and municipal water utilities publish it for exactly this reason. Here is the sequence:
- Turn off every faucet, shower, hose bib, and appliance
- Turn off the irrigation controller and confirm the zones are not running
- Shut off the water heater’s cold supply or at least note nobody is drawing water
- Read the meter and write down the last digits
- Wait 15 to 30 minutes
- Read the meter again
Most meters have a small triangular, arrow, or gear-shaped leak indicator that spins with very low flow. Any movement at all, dial or numbers, means water is moving through the house with nothing open.
Then isolate where. Shut off nothing new, just note the result: if the meter is running, the leak is somewhere on your side of the meter. If you want to split inside from outside, close the main shut-off valve and walk away for 20 minutes. If the meter stops, the leak is inside the house. If it keeps running, the leak is between the meter and the house, on the buried service line.
For a better read, do it overnight. Read the meter before bed, again first thing in the morning, with nothing else running. A toilet flapper weeping at one drip per second wastes roughly 3,000 gallons a day, which on most meters is obvious even on a slow dial.
If the meter moved and you still cannot see anything, you are not stuck. Water can be escaping into a wall cavity, under a slab, into a crawl space, into irrigation or a pool line, or behind the toilet’s wax ring with the flooring hiding it. Skip to steps 6 and 7 rather than opening walls.
5. Check toilets, irrigation lines, and outdoor connections
Toilets fail quietly and account for a surprising share of household water waste. Drop a squirt of food coloring, or a blue dye tablet, into the tank and wait 10 to 15 minutes without flushing. If color appears in the bowl, the flapper valve is leaking. Dye in the bowl only after flushing points at the flush valve or the overflow tube instead.
To isolate which toilet in the house is guilty, put dye in one tank at a time and go to bed. In the morning, look at the bowls you did not dye. Nobody has to be home for this, which makes it the easiest overnight test there is.
A toilet that leaks at the base, seeping around the wax ring, shows up as a damp floor and a floor that stays damp after mopping with the fan running. That one needs a plumber, not a dye test.
For yard water:
- Walk the full length of every irrigation zone looking for wet patches or oddly green grass
- Turn each zone on one at a time and watch house-wide water pressure; a drop that hits the whole house points at the active zone
- Check outdoor spigots, especially hose bibs that were not winterized
For slab homes, walk the floor barefoot. A warm spot, a constantly damp or cool patch, and a buckled floor plank usually mean a line under the concrete is leaking. So does an unexplained water bill in a house with no visible damage anywhere.
6. Use a moisture meter in suspicious areas
A moisture meter is a screening tool, not a diagnosis. It tells you how wet the material is right now so you can compare regions and decide where to look first.
- Measure several unaffected areas of the same material first for a baseline
- Take readings in a grid across the suspect wall, floor, or cabinet
- Compare left to right, top to bottom, and against the baseline
- Recheck the highest readings 24 hours later
Rising readings mean active water. An elevated but stable reading means old damage that dried out. Where the meter shows a sharp jump between two adjacent spots, the source is usually near that boundary, which is often more useful than the reading itself.
Note the location and reading for each spot. Plumbers ask for exactly this, and it saves them from exploratory drilling in the wrong wall.
7. Isolate the area and monitor the suspected source
Once you have a narrowed location, your job shifts from hunting to proving, and proving takes less effort than most people expect.
Keep everyone out of a room with standing water, and especially away from any electrical outlet, panel, or appliance near standing water. Kill power to that circuit if it is within reach of the water, and never step into a flooded room with a plugged-in appliance in it.
Set a paper towel or absorbent pad under the suspect drip and mark it with a pencil. Check it on a schedule you write down: twice a day for a few days gives you a rate and a pattern. A drip that runs constant is a supply line. A drip that only runs when a toilet flushes or an irrigation zone starts is a different animal entirely, and that clue is worth a lot.
Photograph everything with dates. Wide shots of the room, then close-ups of the stain edge, then the towel markings. Insurance claims succeed on documentation, not on memory, and this is the moment to start.
Do not cut drywall, pull up flooring, or dig in the yard yet. This is the most expensive habit in this entire process, and there is a reason for it: plumbers who cut three holes in a ceiling and find nothing have now charged you for three holes. You need more information before anyone opens a wall.
8. Know when to call a plumber to find a leak in your house
Hand it over to a licensed plumber when any of these are true:
- The leak is inside a wall, ceiling, or concrete slab and you have not located the source
- The meter keeps moving every night with nothing visible anywhere
- You see sewage, gray water, or anything that smells like a drain
- There is standing water, sagging drywall, or floors that are buckling
- A pipe has frozen and burst, or you hear water running in an empty house
- Water is anywhere near electrical equipment
For leaks under a slab, in a wall cavity, or on a buried service line, ask specifically for a plumber who does leak detection and has a thermal camera and an acoustic device. That is a different job from a repair, and some shops will quote a repair before finding the source, which is exactly what you do not want.
Renters: report it in writing to your landlord or property manager the day you find evidence, take photos, and do not attempt repairs to fixtures or supply lines that are not yours. It protects you and it starts the clock on their responsibility.
Common Mistakes
Ignoring a small leak because it is only a puddle. A dripping connection wets the subfloor and the framing behind it where nothing dries out, and mold starts in about 48 hours in damp conditions. Fix the drip while it is still one fitting.
Not shutting off the main valve. Turning a fixture valve off and assuming the house is dry is how small leaks become flooded rooms. When water is moving, the main valve is the only control that matters.
Using a moisture meter without comparing readings. A single number tells you almost nothing, because drywall, subfloor, and carpet all read differently dry and wet. You need a baseline in the same material, plus a second reading a day later.
Assuming the meter is the leak. A running meter means water is being used somewhere. It is not the leak. Close the main valve to split inside from the service line before you go further.
Making destructive repairs before locating the source. Drilling exploratory holes, jackhammering a slab, or replacing walls first means paying twice and finding the leak last.
Testing after everyone used the toilet. Half the internet is toilet dye advice given without the important caveat: do not flush while the dye test runs, or you will convince yourself you have a leak you do not have.
Skipping the irrigation check in warm weather. In summer, an irrigation zone or a pool fill line can account for a large share of a high bill, and inside the house you will find nothing at all.
Frequently Asked Questions
How do I find a water leak that is not visible?
Turn off every faucet, appliance and irrigation zone, then watch the water meter for 15 to 30 minutes. Any movement of the leak indicator dial or numbers means water is escaping unseen. Close the main shut-off valve and wait 20 minutes: if the meter stops, the leak is inside; if it keeps moving, it is between the meter and the house. Then use a moisture meter, dye-test the toilets, and check under appliances, cabinets and slab floors.
How do plumbers detect hidden leaks?
Plumbers start with non-destructive tests: the meter test to confirm a leak exists, dye in the toilet tanks to check flappers, and a moisture meter to map wet materials. For leaks inside walls or under slabs they use an infrared thermal camera to spot the temperature difference a wet patch creates, and an acoustic listening device or ground microphone to hear water moving through a pipe. Only after the location is narrowed do they open a wall.
Why is my water bill so high with no visible leaks?
The most common causes are a running toilet flapper, a dripping faucet, a leaking water heater T and P relief valve, and irrigation or pool fill lines running on a schedule. A softener or humidifier refill cycle can also add usage without any sign of a leak. Run the overnight meter test first, because usage that climbs while nobody is home points to a plumbing leak rather than normal use.
Can a plumber find a leak if I have no evidence of one?
Yes. A moving meter with no visible water is exactly the situation leak detection is built for. Ask for a plumber with a thermal camera and an acoustic device, and hand over your meter readings, moisture readings and dated photos so they can start where you stopped. In the meantime, keep taking meter reads overnight so you can tell them whether the loss is constant or intermittent.
How long can a water leak go unnoticed before real damage starts?
It depends on volume and where the water lands. A toilet flapper can waste thousands of gallons a day for months without visible damage, since it usually runs into a drain. A pipe leaking into a wall cavity can begin growing mold within about 48 hours because the cavity never dries. Slab leaks often go months, sometimes years, because the water stays under the concrete until the flooring fails.
What to Do First
Find your main shut-off valve tonight, before you need it. Then, this week, put dye in every toilet tank and read your water meter first thing in the morning. If it moved while the house slept, you have your answer and a short list to work from. If it did not move, you have just ruled out the most expensive kind of leak, and you can take your time with the rest of the checks.
This guide covers homeowner diagnostics for 2026. Anything behind a wall, under a slab, or on a buried service line belongs to a licensed plumber, and so does anything near electricity.