Yes, you can paint kitchen cabinets without sanding. Clean off the grease, wipe on a deglosser (often sold as liquid sandpaper), then roll on a bonding primer or an all-in-one cabinet paint that grips the old glossy finish on its own. Most doors take a weekend, and the dust stays in the garage instead of your kitchen.
The reason sanding works is simple: it creates a rough tooth for paint to bite into. A deglosser does the same job chemically, dulling the shine so the new coating has something to hold onto. Do that properly and you skip the sander entirely.
What you cannot skip is the unglamorous part. Every one of those doors has been handling cooking oil, steam and hand grease for years, and that film is the real reason cabinet paint peels off within a few months.
Table of Contents
- 1What You Need
- 2Step-by-Step: How to Paint Kitchen Cabinets Without Sanding
- 31. Remove Hardware and Protect the Kitchen
- 42. Clean the Cabinets Thoroughly
- 53. Fill Holes and Repair Imperfections
- 64. Degloss the Existing Finish
- 75. Apply Primer Only Where Needed
- 86. Paint the Cabinets in Thin Coats
- 97. Let the Paint Cure and Reassemble
- 10Common Mistakes and How to Fix Them
- 11Frequently Asked Questions
- 12Can you paint over kitchen cabinets without sanding?
- 13What happens if you don’t sand before painting cabinets?
- 14What is the best bonding primer for kitchen cabinets?
- 15How long after liquid sandpaper can I paint?
- 16Do I need primer if I use an all-in-one cabinet paint?
- 17How long does cabinet paint last when you skip sanding?
- 18Conclusion
What You Need
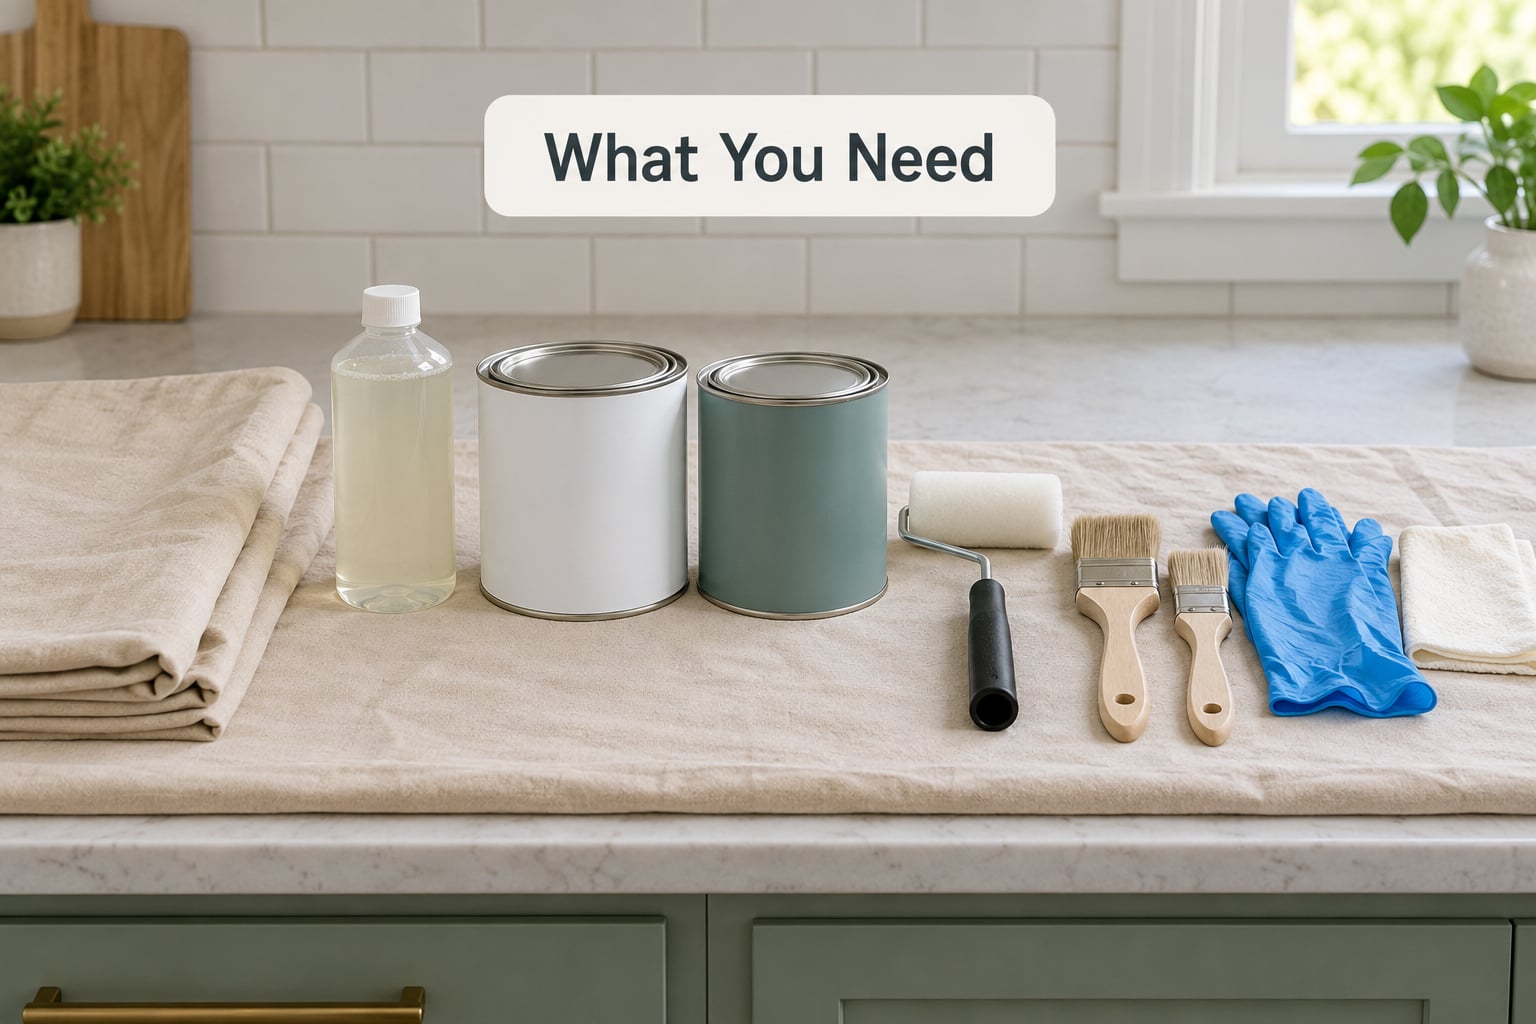
Gather everything before you start, because mid-coat you cannot afford to be hunting for a brush. Most of this list costs less than a takeaway order, and you will use the roller and brush again on the next project.
- Degreaser or TSP substitute for the film on the doors and drawer fronts
- Deglosser / liquid sandpaper to etch the existing gloss
- Bonding primer if the old finish is glossy, stained or unknown
- All-in-one cabinet paint as the alternative to primer plus separate paint
- Cabinet enamel or acrylic latex paint in satin or semi-gloss
- High-density foam roller plus a small foam roller for edges
- China-bristle or quality synthetic brush for molding and tight corners
- Tack cloth and a lint-free rag
- Drop cloth, painter’s tape, plastic sheeting
- Rubber gloves, eye protection and a respirator for the deglosser
- Cabinet filler or wood filler for holes and chips
Two approaches work, and you only need one of them. Approach A is a dedicated bonding primer followed by two coats of cabinet paint. Approach B is a single all-in-one kitchen-and-bath paint that contains both the primer and the finish, so you apply it as two or three coats and stop.
Approach B is faster and my default for a lived-in kitchen. Approach A gives you more control over colour, because the primer and topcoats are separate products, and it is the safer route if you are going from dark to light.
Step-by-Step: How to Paint Kitchen Cabinets Without Sanding
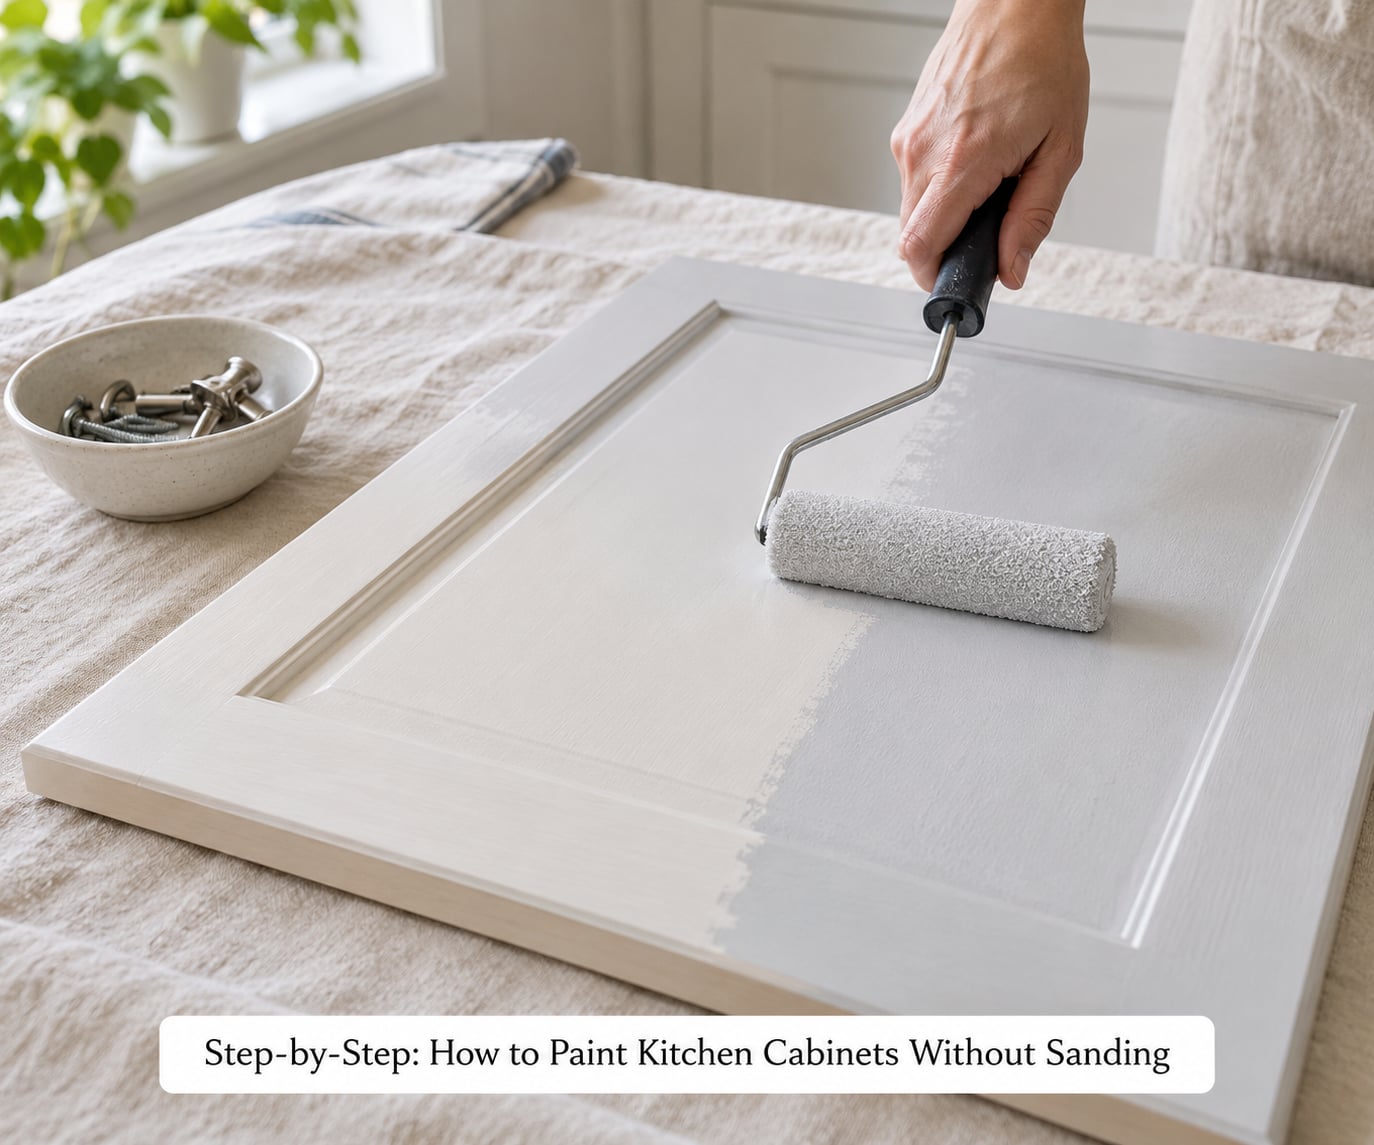
1. Remove Hardware and Protect the Kitchen
Take the doors, drawer fronts and hardware off. It is faster than it sounds, it gives you a flat surface to work on, and it stops paint from getting into hinge cups and drawer slides, which is the most common way a job gets ruined.
Number each door and drawer with a pencil on the hinge side or the back, and bag the hardware for its piece. When you hang them back a week later you will not be guessing.
You can paint the cabinet boxes in place, but clear and cover the counters, tape along the wall and the backsplash, and drape the floor. Open a window and run a fan. Deglossers and alkyd primers have a real smell, and ventilation is the whole difference between a tolerable Saturday and a headache.
2. Clean the Cabinets Thoroughly
Mix a degreaser or TSP substitute with warm water according to the label, then wipe every face, edge and cabinet box interior. Pay attention to the areas near the range and the sink, and to the pulls where hands rest.
Rinse with a clean damp cloth and follow it with a dry one. Then wait. Painting over a surface that only looks dry is how you get bubbles and peeling a year later, especially on MDF, which drinks moisture and swells.
How do you know it is clean? Run a clean white paper towel firmly across a flat surface after it has dried. If the towel picks up grease, go around again.
3. Fill Holes and Repair Imperfections
Most of your “no sanding” project should still involve a little spot work. Push a dab of cabinet filler into screw holes, chips and dents, let it dry, then knock the high spots flat with a sanding sponge or a piece of 180-grit on a block. You are smoothing one small spot, not scuffing the whole door.
Watch the edges. Those are the spots homeowners miss, and they are exactly where new paint chips first, usually within a year of use.
4. Degloss the Existing Finish
This is the step that replaces the sander. A deglosser is an acidic or solvent-based cleaner that etches the shiny varnish, lacquer or polyurethane into a dull, slightly textured surface. Read the label, apply it generously with a lint-free pad or cloth, and leave it on for the stated dwell time, usually 15 to 30 minutes.
Do not let it dry on the surface. Wipe off the residue with a clean cloth, and if it leaves a white haze, go over it again with a damp cloth until the haze goes. The surface should feel matte to your hand, not slick.
Timing for the whole job runs like this:
- After cleaning: wait until the cabinets are completely dry before deglossing, several hours at least
- After deglosser: paint or prime as soon as the surface is dry and matte, usually within a few hours and always within 24
- After primer: follow the can, typically 1 to 4 hours before topcoating
- Between coats: 4 to 6 hours for most cabinet enamels, longer in a cool or humid room
- Before re-hanging doors: at least 24 to 48 hours, and several days before a hard knock from a vacuum cleaner or a broom
Before you degloss the entire kitchen, do a swipe test. Apply your exact deglosser, primer and paint combination to a hidden inside corner of one door, let it dry fully, then scratch it with a key and rub a finger across it. If it flakes, you need sanding after all. It costs ten minutes and saves a weekend.
5. Apply Primer Only Where Needed
Primer is not optional everywhere, and skipping it on the wrong surface is the fastest route to a peeling door. The cabinet material decides how much prep you need.
- Already painted cabinets: clean well, degloss, then a bonding primer if the old paint is glossy. Long-time homeowners report plain paint over a well-cleaned painted surface holding up for a decade, but gloss still needs etching.
- MDF cabinet boxes: degloss, then a stain-blocking primer. MDF is the most forgiving substrate, and the main risk is water-based primer swelling it.
- Solid wood: degloss plus a stain-blocking or bonding primer, especially going from dark walnut to white. Tannins and old stains bleed through light colours if you do not seal them.
- Laminate or melamine: degloss thoroughly, then a bonding primer or all-in-one paint. These are factory-finished surfaces with almost nothing to grip, and they need the strongest adhesion chemistry you can get.
- Thermofoil or thermofoil-wrapped doors: the highest-risk case. Thin film over composite board peels if moisture gets underneath, so use a bonding primer and keep coats thin.
- Peeling laminate or loose veneer: no chemical shortcut will save this. Sand the loose areas back to sound material and feather the edge before you prime. Painters call this the one place where a deglosser is not enough.
Apply one or two thin primer coats. Shellac-based primers such as pigmented stain blockers dry fast and flat, which helps you avoid brush marks; water-based bonding primers are lower odor and easier to clean up out of brushes.
Do you need to sand after priming? No. If you let the primer cure fully and it feels smooth, roll or brush the topcoat straight over it. Sanding after priming only makes sense if you used a textured or sandable filler and the surface is visibly lumpy.
6. Paint the Cabinets in Thin Coats
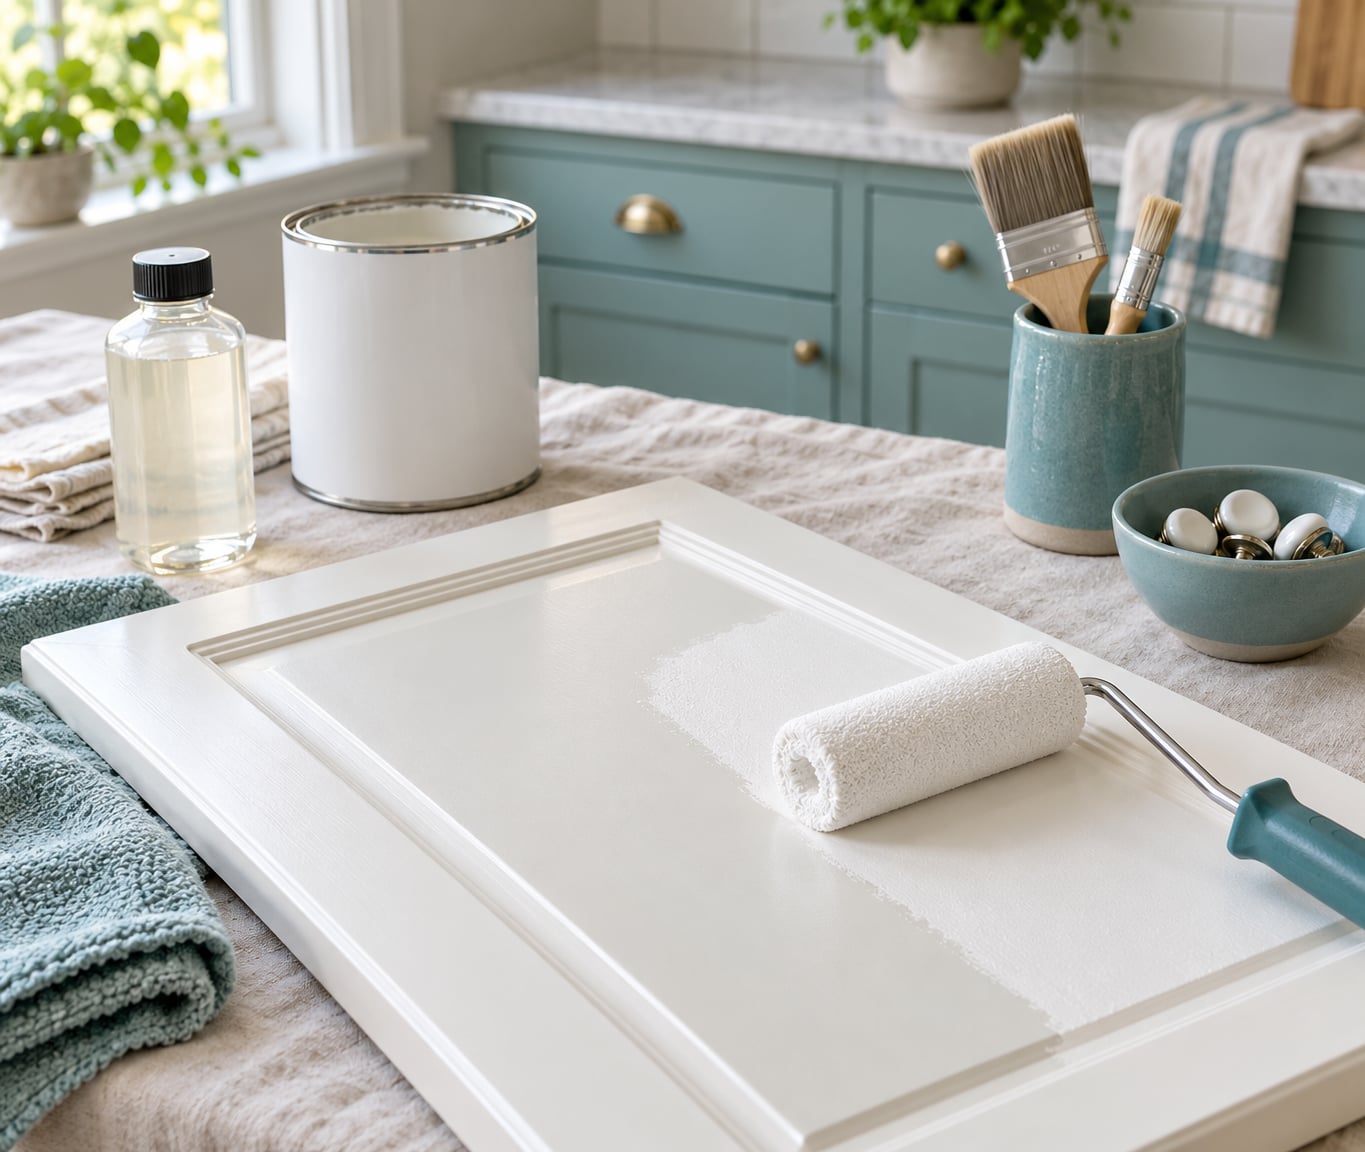
Load a high-density foam roller lightly. If paint is dripping off the end, you have too much. Roll the flat faces in the direction of the grain, then roll again across them to spread the paint evenly before it starts to dry.
Switch to the brush for moldings, edges and the tight inside corners of drawer fronts. Work from the back of the door to the front, then tip off by dragging a nearly dry brush lightly across the wet edge. That single pass is what removes brush marks.
Keep a wet edge moving. Start at the top of the door and work down, and never go back over an area that has started to set. Paint that has been open for ten minutes will grab and drag.
Signs the coat is right: it looks even, the colour is uniform, and you cannot see the old colour or a dark halo showing through. If you see either, let it dry and add another coat rather than fixing it while it is wet.
7. Let the Paint Cure and Reassemble
Dry to the touch and cured are different things. Paint feels dry after a few hours but stays soft for days, which is why a freshly painted cabinet can still show a dent from a broom or a knuckle in the first week.
Leave the doors flat or on your sawhorses for at least 24 to 48 hours, and give them several days before they go back into a busy kitchen. Handle them by the edges. When you reinstall the hardware, tighten screws by hand first so you do not drive a screw into wet paint and drag it.
Later on, touch-ups stay easy. Clean the chip, feather the bare edge lightly, and apply the same paint and primer combo you used originally. No full sanding, no re-deglossing of the whole door.
Common Mistakes and How to Fix Them
Skipping the degrease. This is the number one cause of peeling cabinets. Oil sits under the primer and the paint has nothing to bond to, and it will lift within months. Fix: clean twice, and use the white paper towel test.
Painting over silicone or caulk. Nothing bonds to cured silicone. Fix: cut it out with a knife and a tool, and never bridge the gap with paint.
Rushing the dry time. Painting a door before the primer has flashed off traps solvent under the topcoat and causes blisters and lifting. Fix: follow the can, and add time in a cool kitchen.
Going dark to light in one coat. Old colour bleeds through as a shadow around the edges. Fix: a pigmented stain-blocking primer and at least two full topcoats.
Blotchy or lap-marked paint. Usually a roller loaded too heavily or a slow painter. Fix: thinner coats, a wet edge, and tip off the brush stroke before it sets.
Paint in the hinges and drawer slides. Fix: mask with tape before you remove the hardware, or clean the slides with a solvent wipe and a needle before painting.
Gloss paint over a deglossed surface that was never rinsed well. The white residue film is enough to kill adhesion. Fix: wipe again with a clean damp cloth until your hand comes away clean.
On durability, be realistic. A well-prepped no-sand job on MDF or previously painted cabinets can hold up for many years in a normal kitchen. The weak spots are edges, drawer fronts that take knocks, and doors that get wet hands and harsh cleaners every day. A satin or semi-gloss cabinet enamel gives you more scrub resistance than flat, and a final water-based topcoat adds insurance.
If the cabinets are swelling, delaminating or structurally loose, painting is a temporary fix. Refacing or replacing is the better spend when the boxes are failing, because a new finish will not fix substrate that is already moving.
Frequently Asked Questions
Can you paint over kitchen cabinets without sanding?
Yes, for most cabinets. Clean off all grease, apply a deglosser or liquid sandpaper to kill the gloss, then use a bonding primer followed by cabinet paint, or an all-in-one kitchen-and-bath paint on its own. The exceptions are peeling laminate and loose veneer, where you still have to sand the damaged areas back to sound material.
What happens if you don’t sand before painting cabinets?
On a glossy surface, nothing much happens at first, which is the trap. The paint sits on top without a bond, and weeks or months later it peels, blisters or rubs off with a cloth. On matte, already-painted or previously sanded cabinets you can usually skip sanding safely once the surface is clean and deglossed.
What is the best bonding primer for kitchen cabinets?
Look for a primer labelled for bonding to glossy, laminate or hard-to-stick surfaces. Shellac-based stain blockers dry fastest and stay flat, water-based bonding primers are lower odor and clean up with soap. Pair either with a stain-blocking primer when you are going from dark cabinets to a light colour and tannins can bleed through.
How long after liquid sandpaper can I paint?
As soon as the surface is dry and matte, which is usually within a few hours, and always inside 24 hours. Liquid sandpaper works by etching the surface, and if you leave it sitting for days it can lose the grip it just created. Wipe off any white residue first, then prime or paint while the dull finish is still there.
Do I need primer if I use an all-in-one cabinet paint?
All-in-one kitchen-and-bath paint contains its own bonding primer, so a separate primer is optional on sound, previously painted or MDF cabinets. You still have to clean and degloss first. On laminate, melamine or thermofoil surfaces, or when painting dark oak or walnut white, a separate stain-blocking primer is still the safer call.
How long does cabinet paint last when you skip sanding?
On clean, previously painted or MDF cabinets with proper deglossing and priming, a well-done no-sand job commonly lasts many years, and plenty of homeowners report a decade before the first touch-up. Expect the finish to fail sooner on edges, high-touch drawer fronts and any surface that was not degreased, or on laminate and veneer that was already loose.
Conclusion
Painting kitchen cabinets without sanding comes down to four things: clean every surface until a white towel comes away clean, repair holes locally, degloss the old finish, and use a coating system that bonds to it, whether that is a bonding primer plus cabinet enamel or an all-in-one cabinet paint.
Then give it time. Thin coats, real dry time between them, and a few days of curing before the doors go back up are what separate a finish that lasts from one that peels by Christmas. Start with a small hidden test patch, and if that holds, take the doors down and work through the steps.