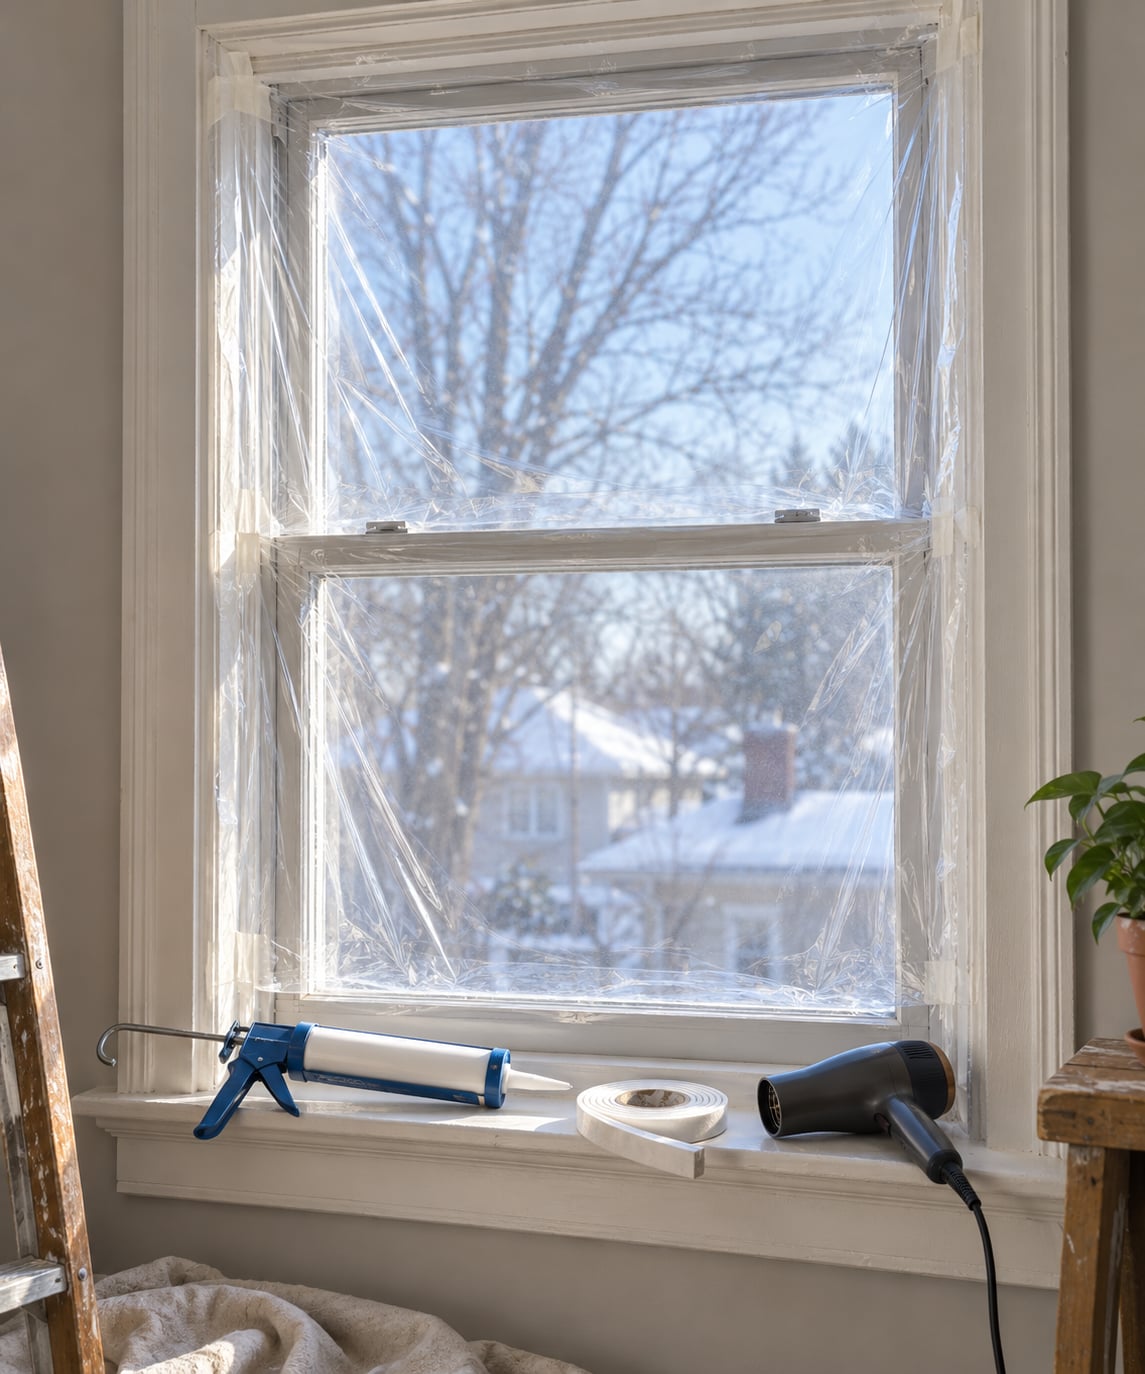
To seal windows for winter, you close the air gaps around and through each window with three tools: caulk for static cracks, weatherstripping for the moving sash, and clear plastic shrink film over the glass. Most drafty windows need two of the three, and a whole room takes an afternoon.
Windows are usually the biggest source of heat loss in a house, so this is the cheapest repair to make before the heating goes on for good. The order below matters more than the product you pick.
Table of Contents
- 1What You Need
- 2How to Seal Windows for Winter Step by Step
- 31. Find the Drafts and Leaks
- 42. Clean and Dry the Sealing Area
- 53. Choose the Right Sealing Method
- 64. Seal Gaps and Edges
- 75. Add Weatherstripping Where Needed
- 86. Test the Repair
- 9Common Mistakes and Fixes
- 10Frequently Asked Questions
- 11What can I put on my windows to keep the cold out?
- 12Does putting plastic over windows in winter cause condensation or mould?
- 13Which is better for sealing windows, silicone or acrylic caulk?
- 14How can a renter seal a drafty window without making damage worse?
- 15How often should windows be resealed?
- 16Conclusion
What You Need

Gather everything before you climb on the ladder. Sealant cures for hours, and stopping halfway to fetch a caulk gun is how a bead ends up lumpy.
- Utility knife for cutting film and lifting old caulk
- D-handle caulk gun for exterior and interior acrylic or siliconized acrylic caulk
- Putty knife or screwdriver to dig out hardened old sealant
- Rag, dish soap, water and rubbing alcohol for cleaning
- Low setting hair dryer to shrink film; a heat gun on low works too, if you have one
- Painters tape for straight guide lines and for holding film before you shrink it
- Aviation snips or scissors to size weatherstripping and film
- Small flashlight and a tissue or a lit match to find drafts
Add a humidity meter if you have never checked your indoor readings, and a cheap hygrometer is the only way to know whether sealing made moisture worse. Renters should skip caulk entirely and buy low-tack tape, removable caulk and film. Everything in this list peels off or washes off in spring.
How to Seal Windows for Winter Step by Step
1. Find the Drafts and Leaks
Close the window and hold a lit match or a thin ribbon of smoke along the frame edges, then along the top, sides and meeting rail. Air moving at the flame means you found a leak. A damp hand held near the joint works in daylight, and a tissue held against a closed sash will show you where it flutters.
One-sided condensation is the clue people miss. If the outside of the glass fogs up on a cold day while the inside stays clear, cold air is leaking past that pane. Note which side leaks and mark it on painters tape before you climb down.
2. Clean and Dry the Sealing Area
Scrape out loose and hardened caulk with the putty knife, working along the joint to avoid gouging the trim. Wash the frame with soapy water, then wipe it with rubbing alcohol to lift grease and remaining residue.
Let the frame dry completely. New caulk will not bond to a damp surface, and moisture trapped under a bead is exactly how you get mold inside the frame a year later. On older painted windows, test a hidden spot first, since old trim paint can peel where you scrape.
3. Choose the Right Sealing Method
Match the method to the gap. This is the choice that decides whether the job works.
| Method | Best for | Gap it handles | Removable | Skill |
|---|---|---|---|---|
| Acrylic or siliconized acrylic caulk | Static cracks in the frame, trim joints, outside and inside | Up to 1/4 inch | No, unless you use removable caulk | Easy |
| Exterior silicone caulk | Wet or exposed exterior joints, painted or bare trim | Up to 1/4 inch | No | Easy |
| Expanding foam | Deep holes in the jamb or rotted sill pockets | 1/4 inch and up | No | Moderate |
| Felt or foam tape weatherstripping | Sash edges and meeting rail gaps | Under 1/8 inch | Yes, pulls off | Easy |
| V-strip or tension seal | Doubled or worn gasketing on a window you still open | Under 1/8 inch | Yes, pulls off | Easy |
| Shrink film and double-sided tape | Single-pane glass and drafty sashes left shut all winter | The whole pane | Yes, peels off | Easy |
| Draft stopper or sash lock | The gap under a closed window | Under 1 inch | Yes | Easy |
Silicone outruns acrylic outside because it shrugs off rain and UV, but it will not take paint and it costs more. Inside, painted trim takes acrylic or siliconized acrylic without a primer. Never caulk a joint that has to flex, and never caulk across a weep hole at the bottom of the frame, because that is where the frame drains.
4. Seal Gaps and Edges
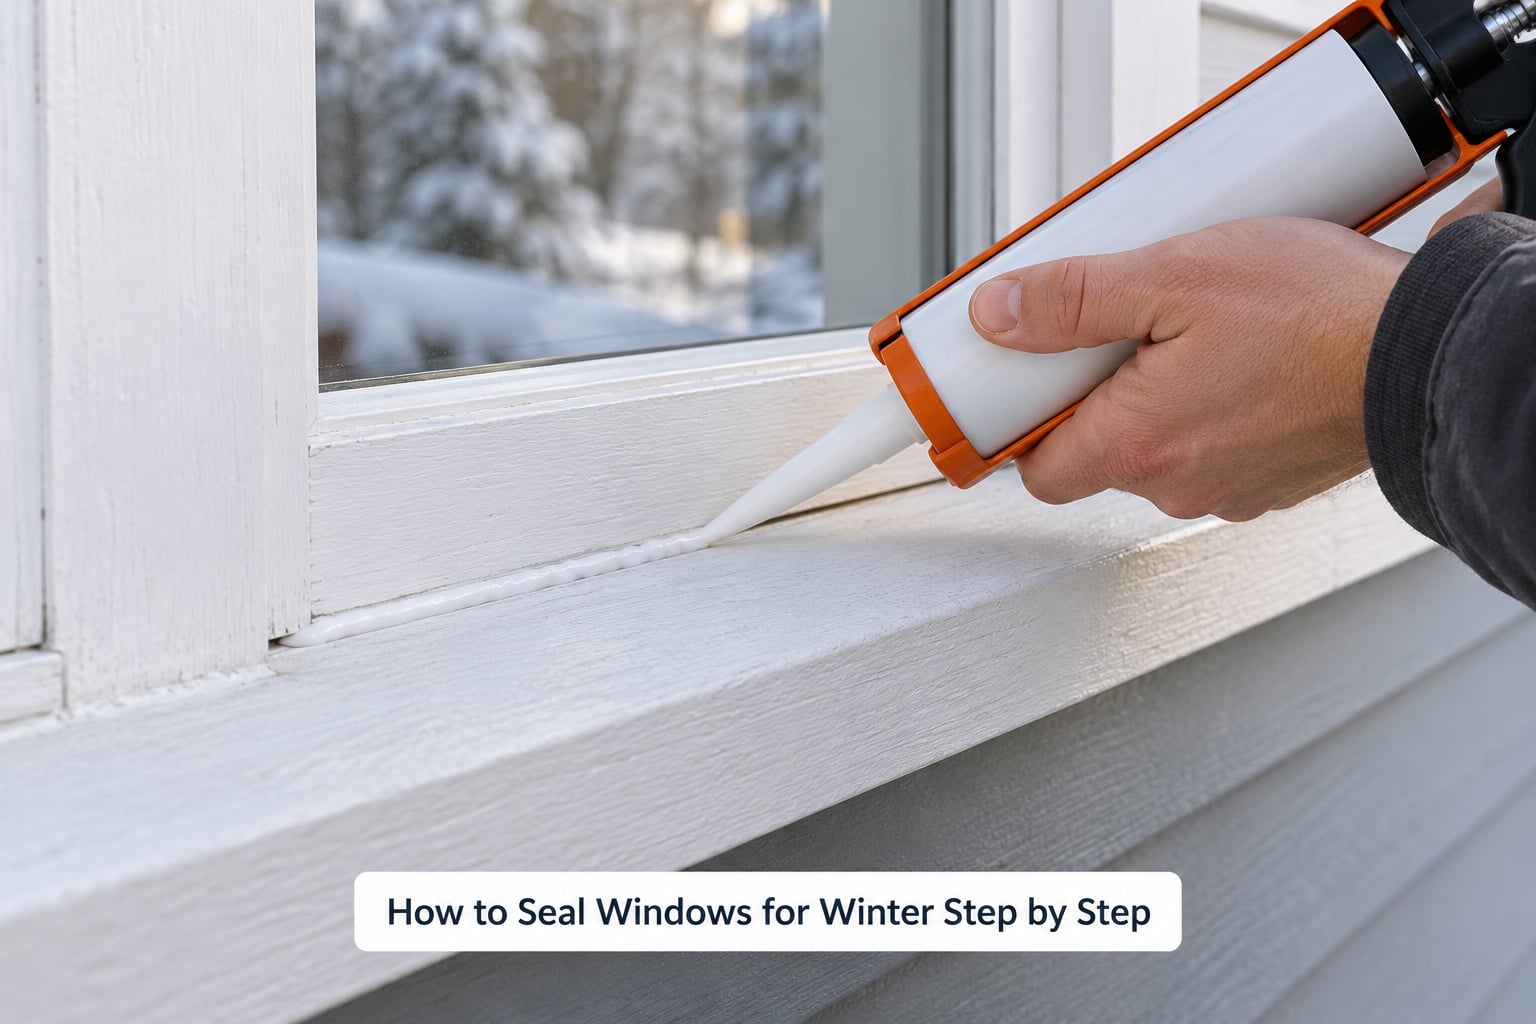
Run a bead of tape along both sides of the joint to give yourself a straight edge, then pull the nozzle off the old bead, push it into the gap and cut the tip about a quarter inch smaller than the joint. Hold the gun at about a 45 degree angle and squeeze slowly so the sealant pushes into the gap instead of sitting on top of it.
Drag the nozzle along the joint in one steady pass. Pull the painters tape off while the bead is still wet, then let the window stay closed until the sealant has cured to the time printed on the tube. Do not close the sash on a fresh bead, and do not paint over it early; both crush or skin the seal.
Work outside first, then inside. Sealing only one side still leaves an air path along the other face of the frame, and two sealed faces slow the incoming air the most.
5. Add Weatherstripping Where Needed
Weatherstripping belongs on the fixed frame side, against the closing edge of the sash, never on the moving part. Cut each strip one piece longer than the run so the ends meet tight, miter the corners for a double-hung window, and press it down with your thumb along the whole length.
Felt strip handles small even gaps and costs little, but it compresses and goes flat. Foam tape compresses more and is the better pick for an uneven gap. On a double-hung, seal the meeting rail where the two sashes close. Close the window and check that the new strip grips without forcing the sash, and leave the lock engaged, which pulls the sashes tight against it.
Remove the screen while you work. In cold weather a screen left in place bows and blocks the sash from closing fully, which is why people conclude the seal failed.
6. Test the Repair
Run the match or the tissue test again on every seam you worked. Any place the flame leans or the tissue moves is a gap you missed, and the fix is usually just a second bead of caulk or a longer strip of weatherstripping.
Open and close the window several times, then look at the beads for cracks, sagging or a gap at the ends. Give the sealant the full cure time on the tube before you judge it. Once it is firm, put a humidity meter on the sill and check back in a week to see whether the glass is holding condensation.
Common Mistakes and Fixes
Sealing a damp or dirty surface. The bead looks fine on day one and peels off in February. Clean, dry and re-do the joint.
Using interior acrylic caulk on an exterior joint. It soaks up water and washes out. Use exterior silicone there.
Over-filling with expanding foam. It keeps expanding after it leaves the can and can bow a jamb or lift a sash out of square. Cut it off flush once it cures.
Caulking a moving part or a drain. Seal the sash-to-frame gap with weatherstripping instead, and leave the weep holes at the bottom of the frame open.
Trusting a thin installer bead. Homeowners running the match test on brand-new windows often find the original bead is a few thousandths of an inch. A second bead fixes most of it.
Sealing every window in a room. Keep one window that opens, or a sash that releases, so the room stays a usable escape route.
Relying on a temporary patch all season. Duct tape and cloth stuffed in the gap hold for a cold snap, then fail. Use rope caulk or removable tape if the window opens, and reserve plastic film for windows that stay shut.
Frequently Asked Questions
What can I put on my windows to keep the cold out?
Clear plastic shrink film taped to the frame with double-sided tape does the most for a drafty pane, because it adds a still air layer right against the glass. Combine it with caulk on static cracks and weatherstripping on the sash for the best result. Film works best on windows you will not open between now and spring, and it peels off cleanly in warmer weather.
Does putting plastic over windows in winter cause condensation or mould?
It can, if you trap moisture between two layers. Wipe the glass dry first, leave the film slightly slack rather than stretched tight, and check indoor humidity. Keeping relative humidity between 30 and 40 percent, running a bathroom exhaust fan after showers, and wiping standing condensation off the sill each morning will stop mold growth. If the frame stays damp, remove the film.
Which is better for sealing windows, silicone or acrylic caulk?
Inside, use painted acrylic or siliconized acrylic, which takes paint and needs no primer. Outside, use exterior silicone, which lasts longer and holds up to rain and sun but cannot be painted. Neither works on a joint that flexes, and neither belongs on a moving sash. For gaps larger than a quarter inch, use expanding foam or backer rod instead of caulk.
How can a renter seal a drafty window without making damage worse?
Stick to reversible methods: removable rope caulk along the interior cracks, low-tack weatherstripping tape on the sash edges, and shrink film on any window you will not open. Trim the weatherstripping to fit rather than wrapping it around the whole frame, and photograph the sill before you start so you can show the landlord nothing changed in spring.
How often should windows be resealed?
Check them every autumn before the first frost, and reseal whenever the match or tissue test shows air movement or a bead has cracked. Weatherstripping that has gone flat usually needs replacing every few seasons, and removable film or rope caulk comes off and goes back on each winter. Permanent exterior caulk on a sound joint can stay for many years.
Conclusion
Start by finding the largest draft rather than sealing the first window you walk past, then match the method to the gap: caulk for cracks up to a quarter inch, weatherstripping for the sash, film for the glass. Seal the outside first, keep one window openable per room, and check your indoor humidity once the work is done.