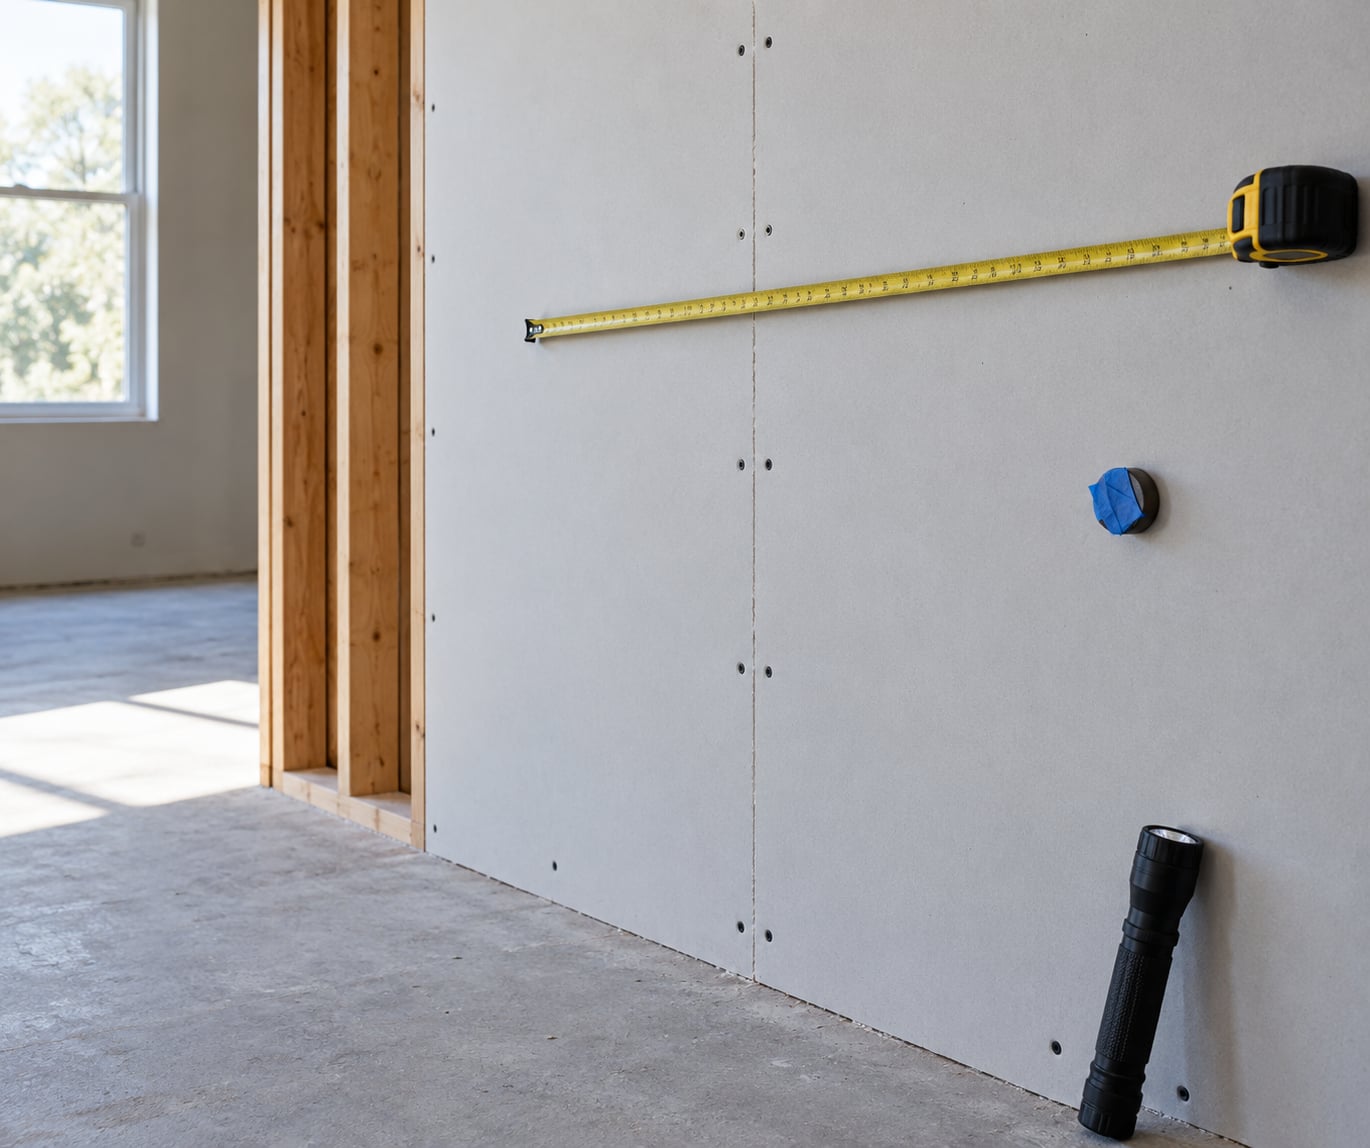
Hanging a shelf or a mirror comes down to one question: where is the wood behind the drywall? You can find it without a stud finder by measuring 16 inches on center from an outlet box or a corner, knocking across the wall to hear the solid thud over a hollow bay, and confirming with a strong magnet that sticks to the drywall screws. The whole job takes about ten minutes.
Drywall by itself will not hold much. A mirror anchored only into the board can rip a sheet loose and leave you with a hole bigger than the one you started with, and patching that hole is far more work than finding the stud in the first place.
The five methods below cover almost every wall. Use more than one — the whole point is that each one catches something the others miss.
- Measure from a known point. Tape out 16 inches on center from an outlet, a corner or a door casing, and mark every candidate position.
- Knock on the wall. A hollow space between studs sounds flat; the stud itself answers with a dull, solid thud.
- Drag a strong magnet. A refrigerator magnet or a rare-earth magnet grabs the drywall screws and nails that hold the board to the framing.
- Rake a flashlight across the surface. A penlight held at a shallow angle makes drywall compound dimples and screw heads cast a small shadow.
- Probe with a thin finish nail. A few careful taps at your marked positions tell you what is really back there.
Table of Contents
- 1What You Need to Find a Stud in a Wall Without a Stud Finder
- 2Step-by-Step: How to Find a Stud in a Wall Without a Stud Finder
- 31. Inspect the wall for visible stud clues
- 42. Estimate the location from standard 16-inch stud spacing
- 53. Test the wall by knocking and listening
- 64. Use a strong magnet as a stud-finder substitute
- 75. Check seams, outlets and wall edges to find a stud in a wall without a stud finder
- 86. Mark and verify the stud center
- 9Common Mistakes to Avoid When Locating Studs by Hand
- 10Frequently Asked Questions
- 11Can I use my phone as a stud finder?
- 12Can a fridge magnet find a stud?
- 13How far apart are wall studs?
- 14Can you knock on a wall to find a stud?
- 15Why does my stud finder give a false reading on old walls?
- 16Conclusion
What You Need to Find a Stud in a Wall Without a Stud Finder
None of this requires an electronic tool. What it requires is a handful of things most homes already have, plus the judgment to use two methods before you commit a screw.
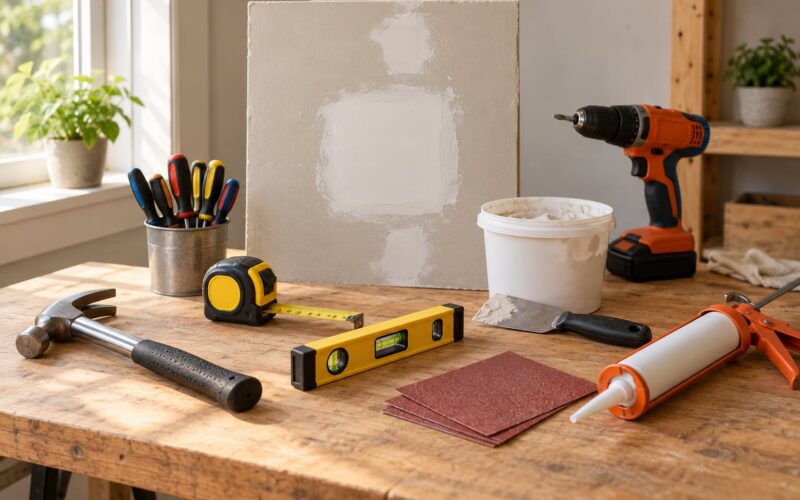
A tape measure is the most useful item, because spacing is arithmetic and not guesswork. A pencil or a sharpie marks candidate lines. Painter’s tape is better than a pencil on textured or dark walls because you can peel it off without leaving a mark, and a strip of tape stuck to a magnet makes a handle that will not chip the paint.
A flashlight or penlight covers the raking-light method, and a flashlight is also the one safety tool worth carrying. A coin, a key or your knuckle is enough for the knock test. A straightedge or a small spirit level helps you mark a vertical centerline rather than a leaning guess.
For the magnet, a plain souvenir magnet from the fridge is usually too weak. A rare-earth magnet, or the strong magnet out of an old hard drive, has the pull to find a drywall screw through paint and compound.
Which method suits your wall depends on the finish. Smooth painted drywall rewards the flashlight and the magnet. Popcorn or heavily textured walls hide seams and screw dimples, so lean on the tape measure and the knock test. Plaster and lath rewards the magnet and the knock test and frustrates everything else.
| Method | Tools needed | Accuracy | Best wall type |
|---|---|---|---|
| Measure 16 inches on center | Tape measure, pencil | Good, needs confirmation | Any |
| Knock and listen | Knuckle or coin | Fair to good | Uninsulated drywall |
| Magnet drag | Strong magnet, tape | Excellent | Drywall, plaster and lath |
| Raking flashlight | Penlight or flashlight | Good on flat walls | Smooth painted drywall |
| Finish nail probe | Thin nail, spackle | Confirming only | Any, with care |
| Outlet or switch box | Tape measure | Excellent as a starting point | Any |
Step-by-Step: How to Find a Stud in a Wall Without a Stud Finder
Work in a fixed order. Inspect the wall first for anything visible, establish where studs should be based on spacing, test your candidates with sound and with a magnet, then mark and verify before you drill. Skipping straight to drilling is how people put holes in drywall.
1. Inspect the wall for visible stud clues
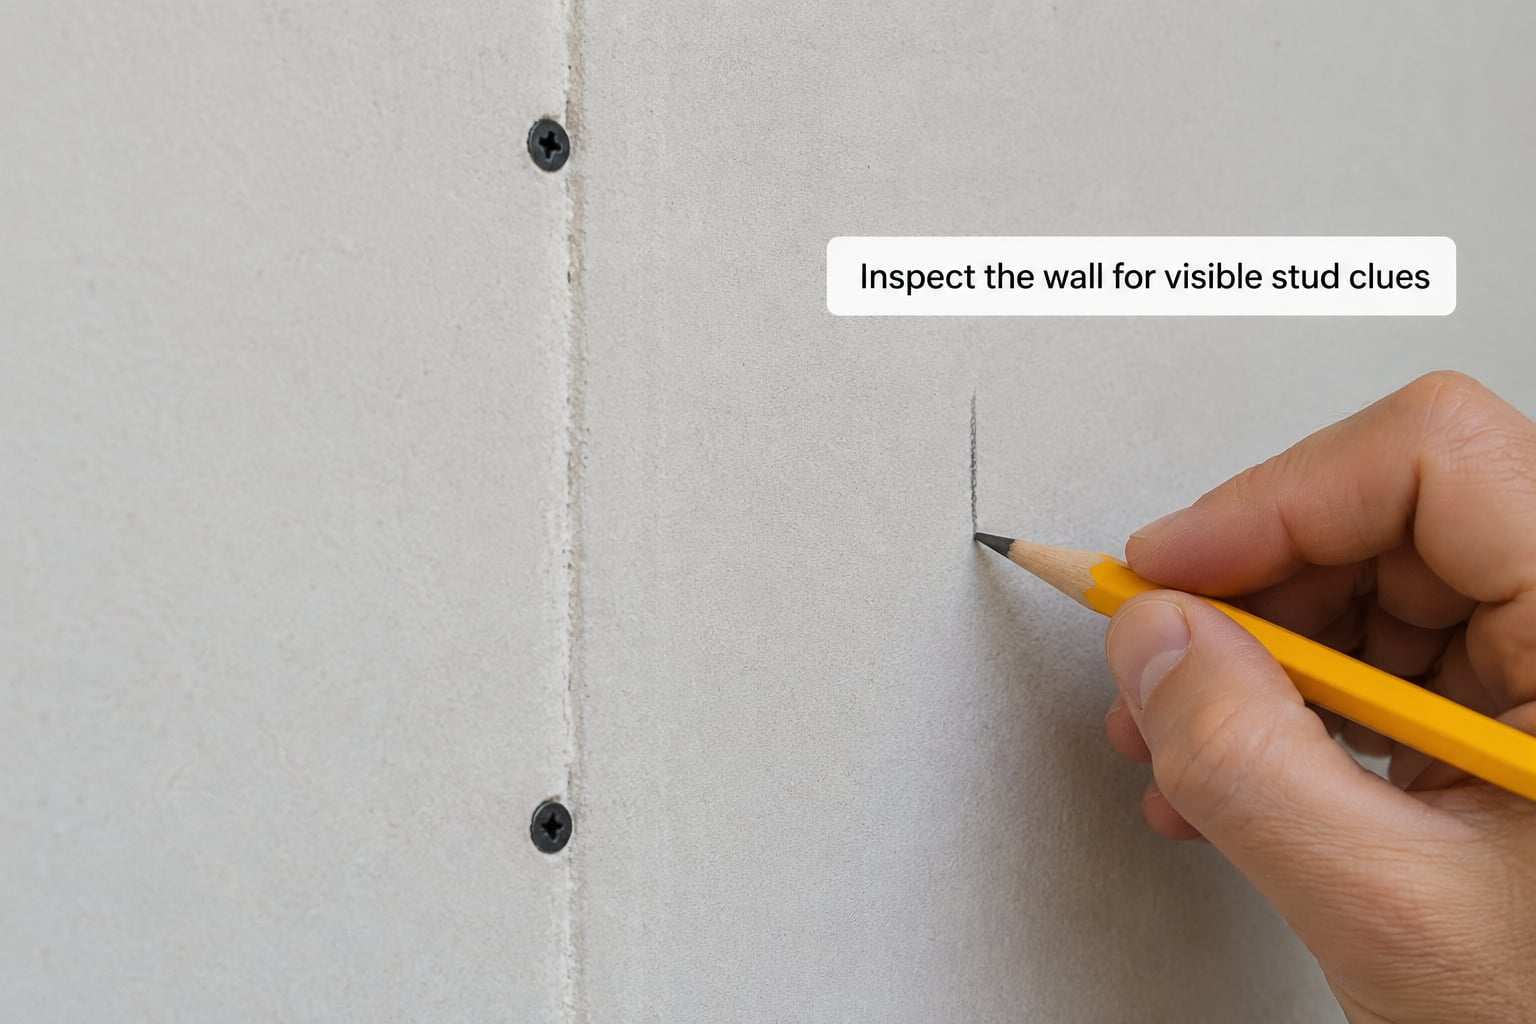
Start by looking before you touch. Drywall sheets are typically 4 feet wide and are fastened along their edges and at intervals across the face, so screw heads and nail heads appear in fairly regular vertical lines.
A vertical seam where two sheets butt together is usually a stud edge, not the center, which puts the center roughly 3/4 of an inch past it on a standard 1-1/2 inch stud. Paint applied in different coats across a filled seam can also read as a faint shadow line under side lighting.
Look near corners, door and window casings, outlets and switches, and any place the wall texture changes. Trim is frequently nailed directly into studs, so a gap or shadow beside a baseboard or casing edge is a clue. One warning: a nail head does not always sit at the center of the stud. On older work it may sit off to one side, so treat a visible fastener as a lead rather than a measurement.
2. Estimate the location from standard 16-inch stud spacing
Wood studs are usually spaced 16 inches on center, which means the distance from the center of one stud to the center of the next. A 1-1/2 inch wide stud leaves about 14-1/2 inches of clear space, so “16 inches” does not describe the gap you can see.
Some walls run 24 inches on center, and older homes are less predictable than that. Measure from a point you are confident about and mark several candidate lines rather than trusting one number.
The rule that catches people out is where the count resets. Stud spacing starts over at corners, at door and window openings, at the ends of walls and at the floor plate. Counting 16 inches off a door casing often lands you in empty cavity because the first stud beside an opening is fixed to the framing trim, not to the 16-inch grid. Anchoring an electrical box to a stud face is the same idea, and it is the reason the outlet method below is so reliable.
3. Test the wall by knocking and listening
Knock on the wall with a knuckle, a coin or the side of your hand, starting a few inches away from your marked line and moving in small increments. Between studs you get a flat, hollow report. Over a stud the sound drops and turns solid.
Cross the line in both directions and confirm the change happens at the same place twice. Test several spots rather than one, because insulation, a length of pipe, a wire or a metal nail plate inside the bay can all throw off the sound.
If the whole wall sounds equally flat, the bay may be stuffed with insulation. That is common in exterior walls and it makes the knock test nearly useless, so switch to the magnet or the flashlight.
4. Use a strong magnet as a stud-finder substitute
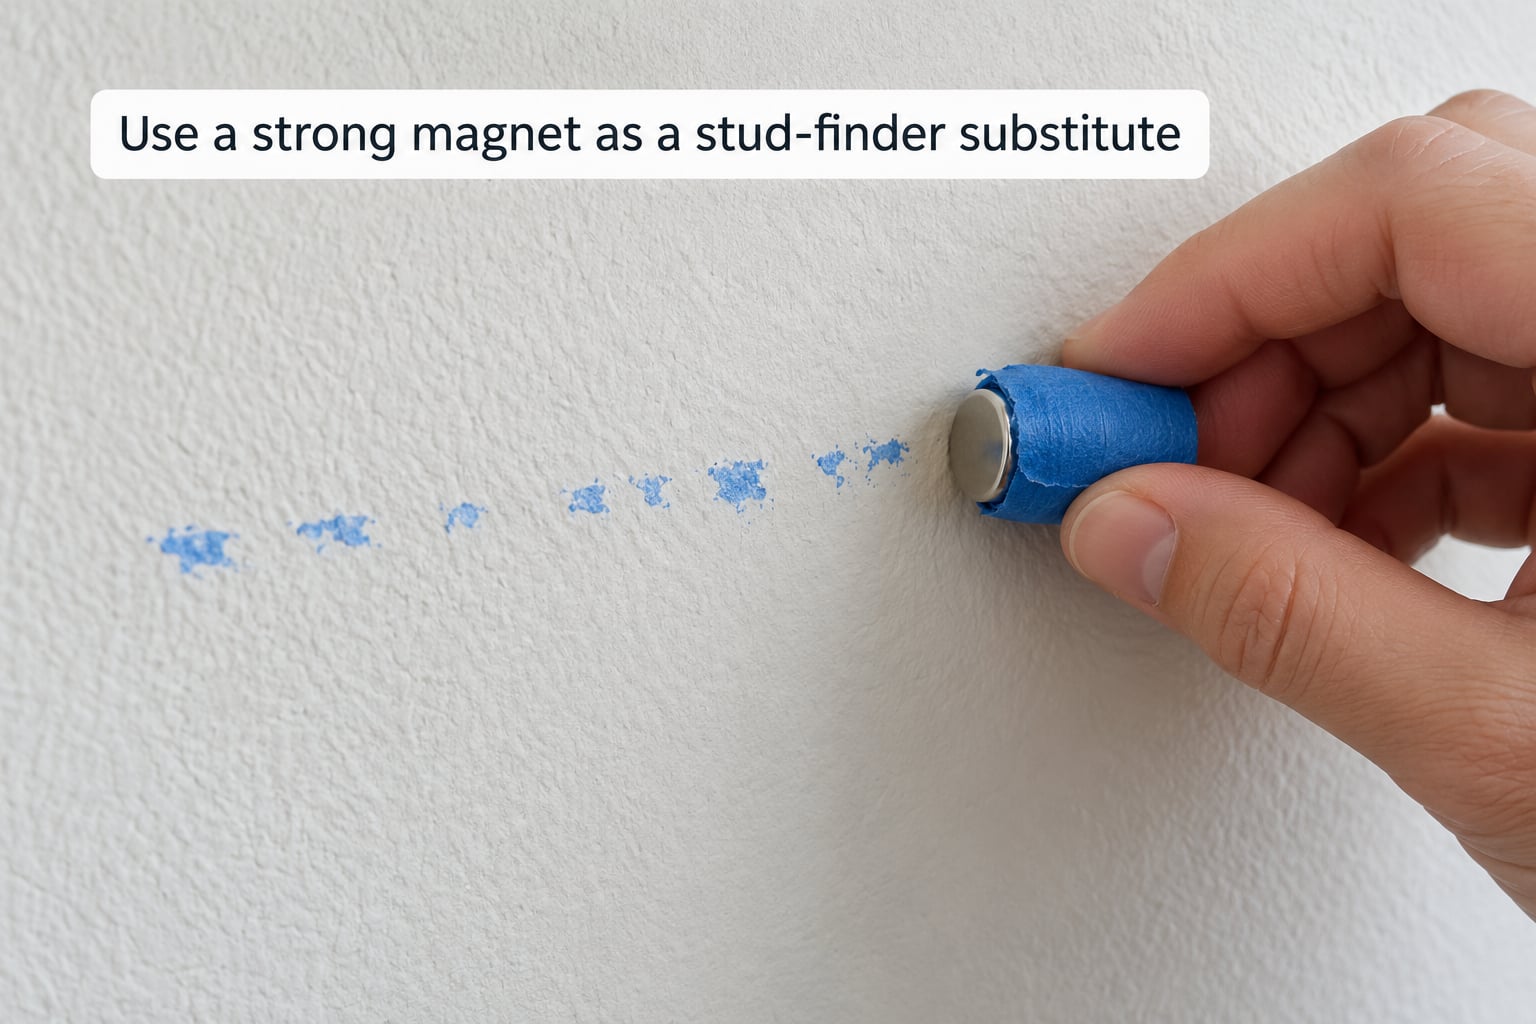
Wrap a strong magnet in a strip of painter’s tape and leave a small flap as a handle. Press it against the wall and drag it slowly along the line you suspect. Where a drywall screw sits behind the board, the magnet grabs and stops.
Understand what the magnet is telling you. Drywall is not magnetic and wood is not magnetic, so the magnet finds the fasteners that hold the board to the framing, and those fasteners are what mark the stud. On plaster and lath it finds the nails driven into the lath, which is why this method keeps working where electronic stud finders fail. A magnet out of an old hard drive is a popular choice for exactly this reason.
Mark every position where the magnet catches. Screws are often driven in pairs near the center and at the edges of the stud, so two catch points a couple of inches apart usually mean you are looking at one stud rather than two.
Keep strong magnets away from children, pets, anything with a screen and magnetic storage media. Two magnets that snap together can chip teeth and shatter.
5. Check seams, outlets and wall edges to find a stud in a wall without a stud finder
Reference points refine an estimate. The side of a door or window casing is almost always fastened to something solid, the end of a wall at a corner contains a rim joist end stud that is always there, and the bottom and top plates run continuously along every wall.
Outlet and switch boxes give you a head start because the box is usually nailed to the side of a stud. Measure 16 inches from the box edge to the next candidate line and mark it. Treat the box itself as a starting point rather than proof, since a box can be held by a support or an extension bracket rather than a stud.
Trim gives you one more clue. Look along the baseboard, crown molding and casing for the small finishing nails that hold them to framing, then follow the line inward. If you have moved baseboard or removed a switch plate, you may be able to see framing directly.
6. Mark and verify the stud center
Mark the verified centerline with painter’s tape or a pencil, running the line vertically the full height of the area you will work in. Check it at three heights, near the floor, at about waist height and near the top, because the knock and the magnet should agree at all three.
Where you can afford a small hole, tap a thin finish nail or drive a short screw to confirm before you start your real hole. Wood resistance with a gritty feel means you hit framing. If you want a cleaner confirmation, drive the fastener in slightly and use a putty knife to check for resistance rather than guessing.
Fill any test holes the same day with a dab of spackle, let it dry and sand it flush. Probe holes on textured walls never disappear completely, so minimize them.
Stop and reassess before drilling if you are anywhere near an outlet, a switch or a long screw. Old houses may carry knob-and-tube wiring or cloth-insulated cable, and pipes run inside bays. Electrical and plumbing work belongs to a licensed pro, as does anything structural.
Common Mistakes to Avoid When Locating Studs by Hand
Almost every wall mistake traces back to trusting one clue. The fixes are simple once you know the failure mode.
Treating a single hollow-sounding spot as proof. Sound changes with insulation and with what else is in the bay. Confirm any candidate in two or three places before drilling.
Assuming studs sit exactly 16 inches apart everywhere. Twenty-four inch spacing is common, and the count restarts at every corner and opening. Measure out a series of candidates instead of a single one.
Using a nail head as the stud center. Fasteners can sit off center on older work. Find the second fastener or the board seam and calculate from there.
Drilling near an outlet or switch without checking. Turn off the breaker before you remove any cover plate, and never probe blindly in the zone above and below a receptacle.
Mounting something heavy before confirming. A towel bar or a shelf that was only guessed at is the classic drywall tear-out. Verify first, then hang.
Forgetting that the magnet finds fasteners, not wood. On a wall where fasteners were skipped, the magnet will read empty even over a stud. Treat a magnet reading as strong evidence, not proof.
A few habits make this quick: test the lowest-risk spot on the wall first to calibrate what a stud sounds and looks like there, work from two reference points rather than one, and stop when two methods disagree.
Frequently Asked Questions
Can I use my phone as a stud finder?
Partly. Magnetometer apps read the compass sensor reacting to metal, which means they can find drywall screws, not the wood behind them. They work the same way a magnet works, so accuracy depends on how close the fastener is to the surface. Use one to confirm a spot you already suspect, then verify with a knock or a test hole before drilling.
Can a fridge magnet find a stud?
A weak souvenir magnet often will not. Drywall screws sit under paint and compound, and only a strong rare-earth magnet or the magnet from an old hard drive has enough pull to grab them. Wrap it in painter’s tape so it does not chip the finish and drag it slowly along your marked line.
How far apart are wall studs?
Most wood studs are 16 inches on center, measured center to center, leaving about 14-1/2 inches of open space between them. Some walls use 24 inches, especially in garages and additions. Spacing also restarts at corners, door and window openings and the ends of walls, so always measure from a point you are sure about.
Can you knock on a wall to find a stud?
Yes, and it is the fastest method for an uninsulated wall. Knock across your suspected line and listen for the change from a flat hollow sound to a dull solid thud. Insulation, pipes, wiring and metal nail plates can all throw the sound off, so confirm the same position twice and cross-check with a magnet or flashlight.
Why does my stud finder give a false reading on old walls?
Old plaster and lath walls are full of metal. Lath is held by hundreds of nails, and old houses may have metal nail plates, wiring or a magnetic pipe inside the bay, any of which confuses a magnetometer sensor. In homes like that, rely on the knock test, the magnet and measuring from an outlet box instead of the electronic reading.
Conclusion
The order that works: find visible clues, measure 16 inches on center from a point you trust, test the candidates with a knock and a magnet, then mark and verify the centerline before any drilling. Two methods agreeing beats one method being confident.
Use fasteners rated for the material you found — drywall screws for wood studs, appropriate anchors for plaster or masonry — and stop and bring in a qualified professional the moment hidden wiring, plumbing or structural concerns come up.