You can tell a bad body shop job by watching for uneven panel gaps, a paint color that shifts in daylight, overspray on trim, doors that will not latch, and warning lights that stay on after pickup. Inspect the car before you sign anything, photograph every defect, and get an independent opinion before you authorize more work. Most of the walk-around takes twenty minutes.
Updated for 2026. This guide is for the person standing in the shop parking lot with keys in hand and no idea what a factory panel gap should look like. It also works for anyone buying a used car that shows signs of a previous collision repair.
Table of Contents
- 1What You Need
- 2Step-by-Step: How to Tell If a Car Body Shop Did a Bad Job
- 3Step 1: Review the Repair Scope and Expected Result
- 4Step 2: Set Up a Fair Inspection
- 5Step 3: Check the Repaired Area From Every Angle
- 6Step 4: Compare Paint Color and Finish
- 7Step 5: Check Panel Gaps, Alignment, and Weather Seals
- 8Step 6: Look for Signs of Poor Metal or Substructure Work
- 9Step 7: Test Doors, Hood, Trunk, Lights, and Nearby Systems
- 10Step 8: Drive the Car and Check the Repair Under Motion
- 11Step 9: Do a Final Walk-Around and Review the Paperwork
- 12Common Mistakes
- 13How to Tell If a Car Body Shop Did a Bad Job: Check the Panels
- 14Quick Tips Before You Accept the Car
- 15Frequently Asked Questions
- 16Can I tell whether a body shop did bad work just by looking at the paint?
- 17What should I do if I think the body shop made a mistake?
- 18How long should I wait before accepting a repaired car?
- 19Should I get a second opinion before taking my car back to the shop?
- 20Is uneven-looking metallic paint always a sign of poor workmanship?
- 21How can I tell if a collision repair was done underneath the visible panels?
- 22What to Do If the Work Looks Bad
What You Need
You do not need a mechanic’s tools. You need documents and a steady eye.
- The written estimate and the final invoice, including every line item
- The original damage photos, taken by you or by the shop before the work started
- Paint code information for your vehicle, usually on a sticker inside the driver’s door jamb or under the hood
- A bright inspection light or a strong flashlight for shaded seams and cavities
- A measuring tape
- Clean microfiber cloths
- A second person, ideally one who can drive while you look
The car itself needs conditions before you inspect it. It should be cool to the touch, dry, and clean enough that dirt is not doing the hiding. Park it on level ground with enough light to see reflections, and never crawl underneath a vehicle that is supported only by a jack.
Step-by-Step: How to Tell If a Car Body Shop Did a Bad Job
Work through these in order. Each step tells you what to look at, what a problem looks like, and how to record it while the evidence is still fresh.
Step 1: Review the Repair Scope and Expected Result
Compare the estimate and the invoice against the damage you can actually see, line by line. Confirm which operations were authorized: panel replacement, panel repair, refinishing, blending, structural work, and electronics.
Before you walk around the car, decide what the repair was supposed to accomplish. Cosmetic work means paint, gaps, and trim. Structural or mechanical work adds alignment, wheel geometry, sensor checks, and ride quality to the list. If the invoice lists a wheel alignment or a diagnostic scan, expect the car to track straight and to run quiet.
Photograph the invoice and the estimate side by side. Supplemental repairs should appear as a written supplement that you or your insurer approved, not as a surprise line at pickup.
Step 2: Set Up a Fair Inspection
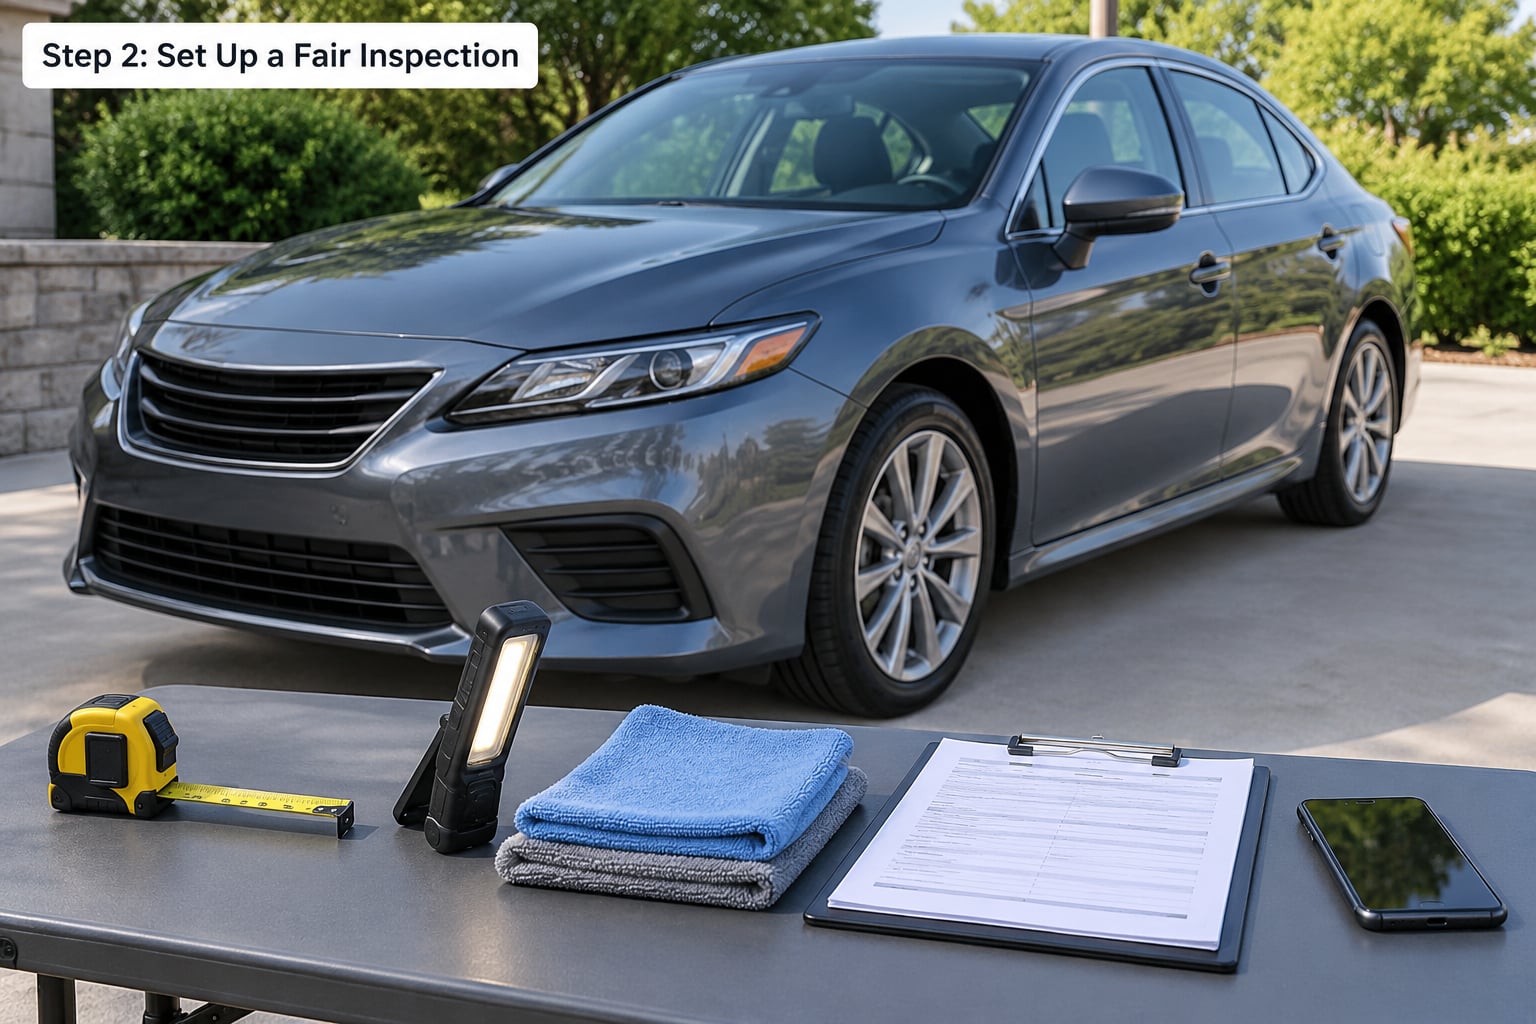
Lighting decides whether you see a problem or invent one. Overcast daylight is best for color, and direct low sun is best for surfacing dents, ripples, and sanding marks. A garage with strip lights will hide a bad blend and exaggerate a good one.
Take your before-and-after set now. Photograph each repaired panel straight on, then at a shallow angle from about six feet back, with the flash off. Capture the gaps between adjacent panels, the trunk or hatch edge, and any area where fresh paint meets old.
If the shop has access to the original factory panel gap dimensions, note them. On many vehicles the gap is specified in millimeters, and a deviation of a few millimeters on one side only is a clear signal.
Step 3: Check the Repaired Area From Every Angle
Walk the full perimeter of the car, then crouch to eye level with each repaired panel. Reflections are the fastest tell. A straight panel throws a continuous image of the sky, a wall, or a light pole; a rippled panel breaks that image into a wavy band.
Look for uneven reflections, color that changes as you move, dents that appear and disappear, ripples in the metal, a soft or wavy edge near a light, visible filler, sanding scratches showing through the finish, and dust or dirt trapped in the wet coat.
Overspray is easy to miss and easy to photograph. Check the edges of glass, the tire sidewalls, the wheel wells, and any trim near the repaired panel. Film on a weatherstrip or a matte plastic molding is a sign the masking was rushed.
Step 4: Compare Paint Color and Finish
Stand ten to fifteen feet back in natural light and look at the repaired area as a whole, then move closer. A good blend is hard to locate. A bad one has an edge you can point at.
Compare three things: color, gloss, and texture. Color is the hue shift between the new panel and its neighbor. Gloss is the difference in shine, and it is often more revealing than color because it shows how the clear coat laid down. Texture is the surface feel, which in factory paint is a fine, even orange peel.
Defects worth photographing include visible blend lines, tape edges, hard transitions between panels, runs or sags, fish eyes, dust contamination, scratches, and spots where the painter simply missed.
Metallic and pearl finishes shift with angle, so judge them from more than one position. Hold your spray-out card or a color-matched reference next to the panel if you have one.
Step 5: Check Panel Gaps, Alignment, and Weather Seals
Panel gaps should look even and equal from left to right and top to bottom. An uneven panel gap after a collision repair is the complaint owners raise most often, and it is usually visible to anyone who looks sideways along the panel rather than straight at it.
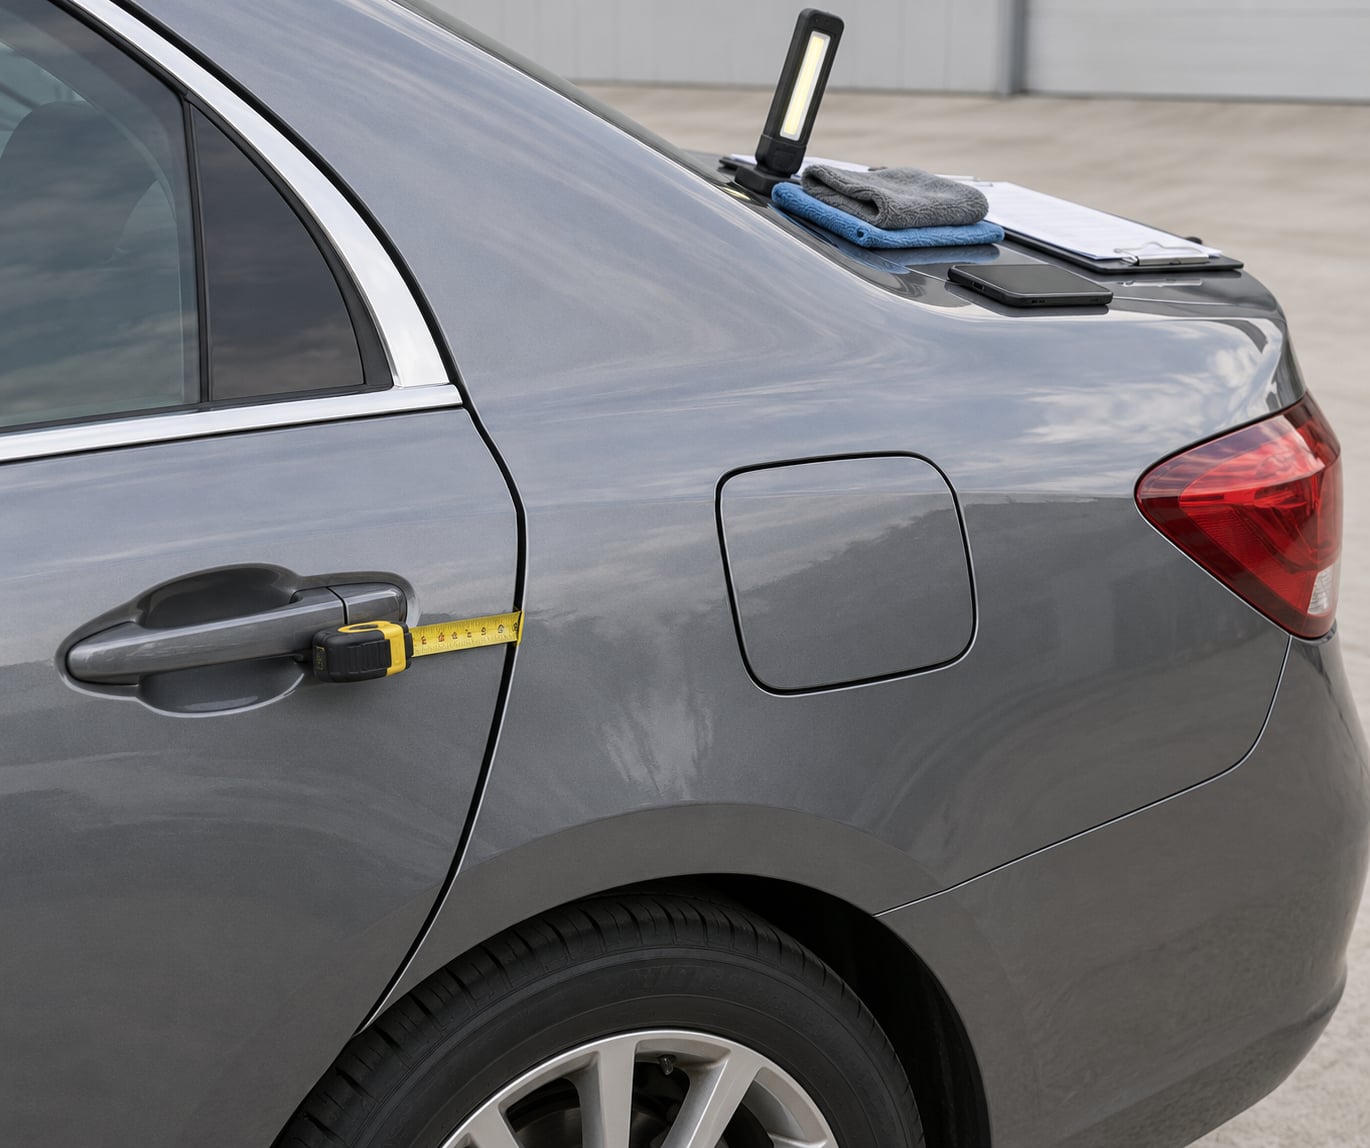
Use the measuring tape to compare gaps on the repaired side with the matching gaps on the other side of the car. A quarter inch of extra space on one door and a quarter inch of missing space on the other tells you the panel was pushed rather than aligned.
Look for a hood, trunk, or liftgate that sits high or low, doors that run out of square, panels that rub when you close them, and weather seals that gape or no longer seat evenly. A rubber hood seal that sticks out is a classic giveaway that the panel behind it moved.
Also compare the distance from tire to fender on both sides. A wheel pushed out or tucked in will change that gap, and so will a bent bracket.
Step 6: Look for Signs of Poor Metal or Substructure Work
Some of the worst repairs are the ones you cannot see from the driver’s seat. Collision repairs on a unibody structure may involve cutting out a rail or pillar and joining new metal with welding, riveting, and structural adhesive. When that happens, the factory protections must be restored.
What to look for in areas you can reach safely: crude or unfinished welds, a bead of sealer smeared where a clean seam should be, excessive grinding marks, filler that feels thick and soft, pinched or crushed sheet metal, drain holes plugged with body filler, and factory seam sealer that has been scraped off and never replaced.
Cavity wax is the coating sprayed inside closed sections to slow corrosion. Its absence is not visible from outside, which is why this one needs a professional. Ask whether corrosion protection was restored and whether a frame measurement printout with before and after numbers exists for the repair.
Stay on the ground. Do not pull trim apart to look inside, and do not go under a car resting on a jack. Those checks belong to an independent inspector.
Step 7: Test Doors, Hood, Trunk, Lights, and Nearby Systems
Open and close every repaired door, the hood, and the trunk or liftgate. They should move freely, latch on the first try, and sit flush with the panels next to them. Listen while they close. A hard close, a latch that needs a second push, or a rub at the top of a door is a fit problem, not a preference problem.
Turn on the headlights and check that the beam pattern sits level on a flat wall about twenty feet away. A replacement bumper or radiator support shifts the beam, and nobody may have re-aimed it.
Test the systems around the damage. Check that parking sensors beep at the right distance, that cameras show a clear image, that blind-spot monitoring and other driver assistance features respond, that window glass drops and raises without binding, and that locks and keyless entry still work.
Turn the key and read the dash. No warning light is a good sign, but it is not proof, because a scan can reveal stored faults that never reach the cluster. Ask whether a post-repair diagnostic scan was run and whether driver assistance calibration was performed and documented. Calibration is a separate procedure from a scan and requires the correct targets and environment.
Step 8: Drive the Car and Check the Repair Under Motion
A static look misses a lot. Take a fifteen-minute drive on roads you know, including a straight highway stretch and a rough surface.
Watch for pulling to one side, a steering wheel that sits off-center with the car tracking straight, new vibration at highway speed, new rattles or clunks over bumps, wind noise that rises with speed, doors that flutter, water coming in during rain, and uneven tire wear. A shimmy that appears between roughly 40 and 55 miles per hour on a straight road often points at a wheel or hub issue rather than the paint.
Braking should feel normal. If the pedal pulls, the pedal travel changed, or the car no longer tracks, stop driving and take it back in.
Pull over safely if warning lights appear, fluids leak, or anything feels unsafe. Then finish the rest of the walk-around on foot.
Step 9: Do a Final Walk-Around and Review the Paperwork
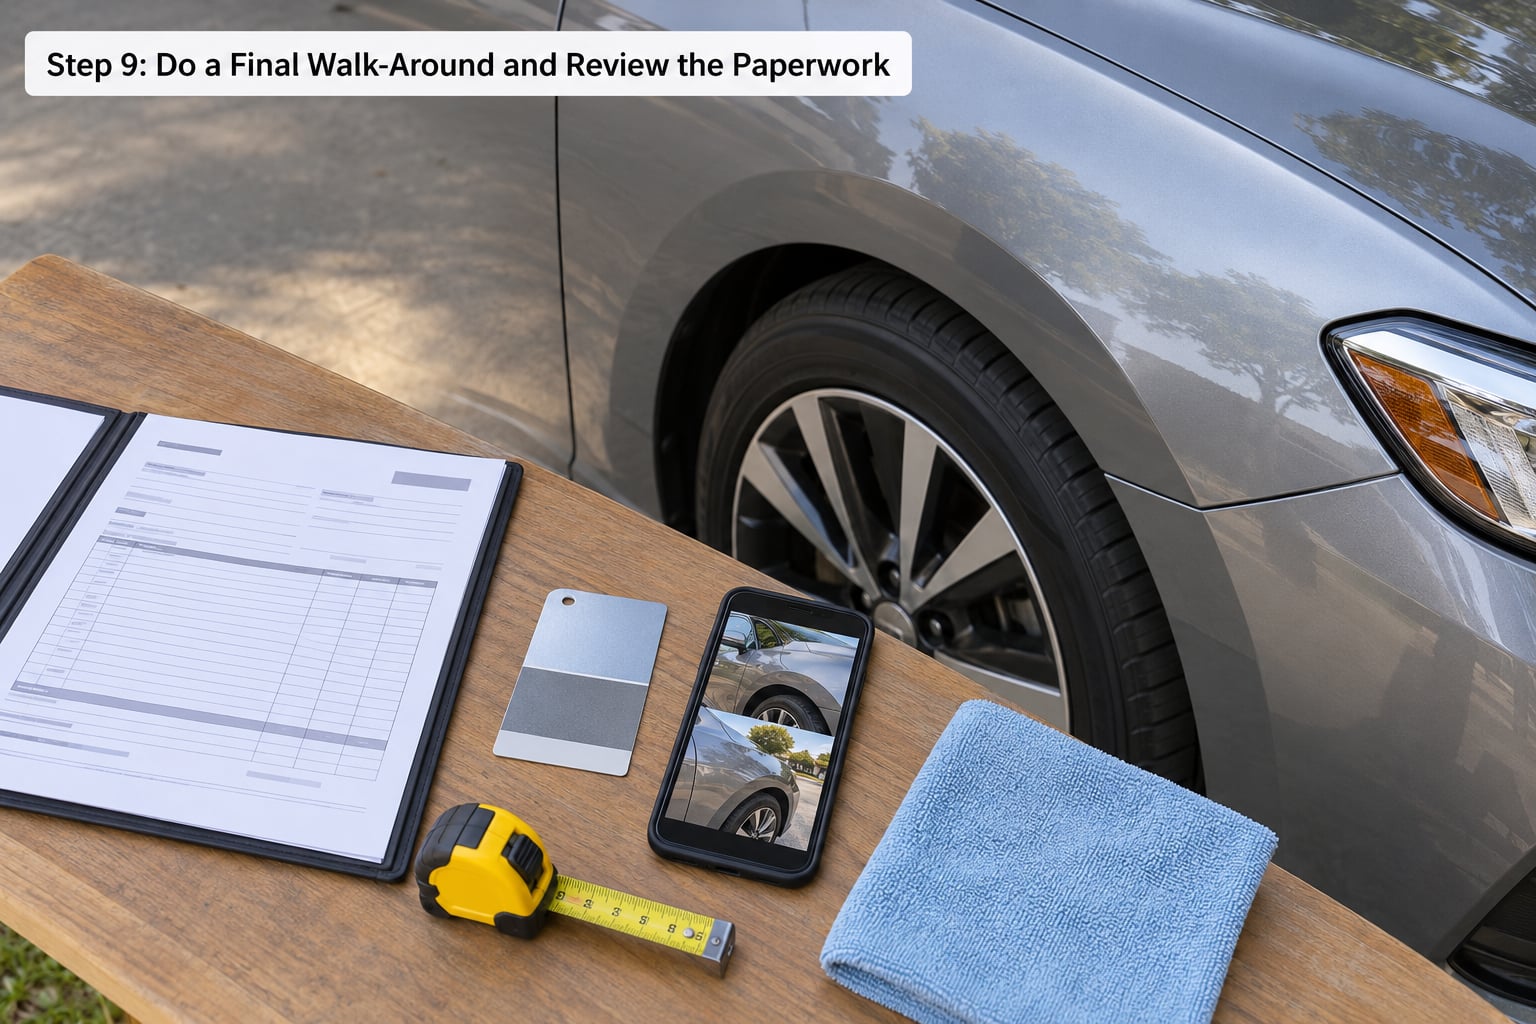
Walk the car one more time and confirm that the invoice matches the work you can see. Look in the trunk and under the seats for leftover parts, broken clips, nuts, and bolts. Check that the engine bay is reasonably clean, since a shop that skips cleanup often skipped steps.
Collect the paperwork in one folder: the final invoice, the written estimate, any supplements, the parts list, the paint code used, the scan report, the alignment printout, the warranty terms, and your photo set with timestamps.
Typical shop warranties run one year or 12,000 miles. Paint-specific terms often run three to five years, and some shops advertise lifetime coverage on structural work. Treat these as common practice rather than a guarantee, and write down the date you accepted the vehicle.
If something is clearly wrong and the shop is unsure, get an independent inspection or a written estimate from an unrelated shop before you authorize further work. Independent means no referral relationship with the shop that did the repair.
Common Mistakes
Most people draw the wrong conclusion for one of five reasons, and each has a simple fix.
- Judging paint in bad light. Fix: inspect outdoors in daylight, then again under a bright shop light. Never accept a color judgment from a single indoor photo.
- Relying on a quick glance. Fix: walk the car at eye level, then crouch, then stand. Most alignment and reflection faults disappear at standing height.
- Accepting a vague promise. Fix: ask what specifically will be corrected, in writing, with a date, before you leave the lot.
- Ignoring documentation. Fix: photograph everything on the day of pickup, with the clock visible in one shot so the timestamps line up.
- Treating every defect as dangerous. Fix: sort issues into cosmetic, ride quality, and safety. Only the last two should trigger an immediate stop.
How to Tell If a Car Body Shop Did a Bad Job: Check the Panels
Panel fit beats a single paint defect as a signal. Color variation is genuinely hard to judge, and metallics and pearls make it harder, while panel alignment leaves an unmistakable geometric record: a gap that is wider at the top than the bottom, a hood sitting proud of the fender, a trunk deck that no longer lines up.
Learn to read a panel sideways. Stand at one end of the car and look along the repaired surface. The highlight should travel evenly along the panel without jumping. Anything that interrupts the highlight is a dent, a ripple, or a filler hump, and it will not come out with wax.
Quick Tips Before You Accept the Car
- Inspect in daylight and never at dusk. This is the single most repeated rule in owner forums.
- Compare the repaired side with the untouched side, gap by gap.
- Photograph every defect immediately, with context and a timestamp.
- Keep the written estimate, the invoice, and the warranty terms together.
- Ask for specific written corrections rather than a general promise to look at it again.
- Use an independent collision or paint inspection whenever safety-critical work may have been performed.
Frequently Asked Questions
Can I tell whether a body shop did bad work just by looking at the paint?
You can catch a lot, but paint alone will not tell the whole story. Color and gloss changes, visible blend lines, tape edges, overspray on trim, and dust in the finish are all visible. Structural repairs, corrosion protection, and sensor calibration are not. Judge paint as one signal, then check panel fit, driving behavior, and the paperwork.
What should I do if I think the body shop made a mistake?
Write down what is wrong before you go back. Photograph each defect, note the date, and bring the estimate, the invoice, and the original damage photos. Ask for the specific correction you want in writing and a date to complete it. If the shop disagrees, request an independent inspection or a written second opinion from an unrelated shop before you authorize anything further.
How long should I wait before accepting a repaired car?
Do not sign the final invoice until the defects you have found are corrected or written into an agreement with a completion date. After you accept the car, keep watching for delayed failure: clear coat peeling, bubbling, fading, new wind noise, and uneven tire wear often appear weeks later. Most shop warranties run one year or 12,000 miles, so prompt reporting matters.
Should I get a second opinion before taking my car back to the shop?
Yes, if the work involved structure, wheel geometry, driver assistance systems, or a large amount of hidden panel work. An independent inspection tells you what is actually wrong and prevents a second round of guesswork. Use a shop with no referral relationship to the original. Keep your own shop informed and stay professional; most shops would rather fix a problem early than lose the claim.
Is uneven-looking metallic paint always a sign of poor workmanship?
No. Factory paint on a single vehicle can vary from panel to panel because of batching, fading, and different application times, so a perfect match is not always achievable. A plastic bumper and an adjacent metal panel also take paint differently and will not match even with the same code. Persistent cloudiness, a visible edge you can point at, or a gloss difference points to the work rather than the car.
How can I tell if a collision repair was done underneath the visible panels?
Look for the physical clues: unfinished welds, sealer smeared where a clean seam should be, drain holes filled with body filler, factory seam sealer scraped away and not replaced, and thick soft filler under a thin skin. Corrosion protection inside closed sections and structural measurements are invisible from outside, so ask the shop for a frame measurement printout with before and after numbers and proof that cavity wax and seam sealer were restored.
What to Do If the Work Looks Bad
Start with documentation, not confrontation. Photograph each defect in place, keep the timestamp, and write a short list in plain language: which panel, what is wrong, and what you want changed.
Sort the list into two piles. Cosmetic items, such as a blend line or overspray on trim, can wait for a scheduled correction. Ride and safety items, such as pulling, a loose bumper, a failed sensor, a door that will not latch, or a leak, should stop the car from being driven until they are addressed.
Go back to the shop with the estimate, the invoice, and the original damage photos. Request a written correction plan with a completion date rather than a verbal promise. Reference the warranty terms on your invoice if the car is still within them.
If the shop pushes back, obtain an independent inspection or a written estimate for the corrective work from a shop that does not refer work to them. That document carries far more weight in a disagreement, and in many cases it is what gets the original shop to fix the problem.
Last step: if the repair involved structural work, corrosion protection, or driver assistance calibration and the shop cannot document any of it, escalate in writing. Most shops have a manager or owner above the service writer, and if that fails, your insurer, your state attorney general’s consumer office, or small claims court are the usual next stops. You have the right to choose your own repair shop in most states, though your policy terms decide who ultimately pays.