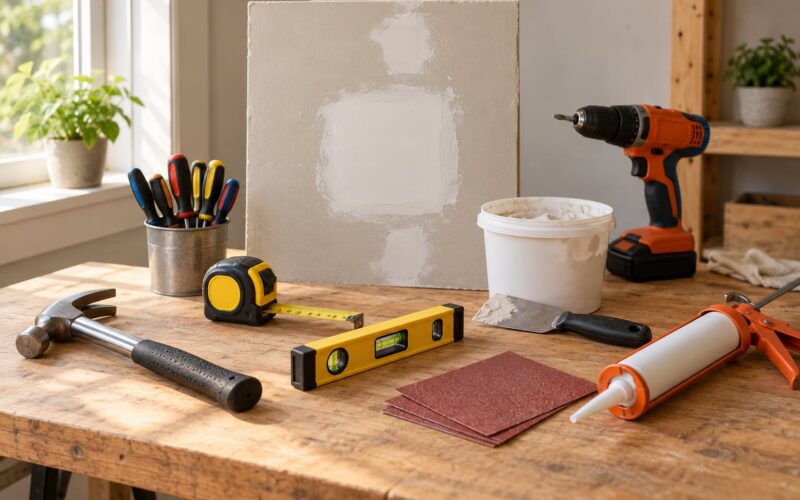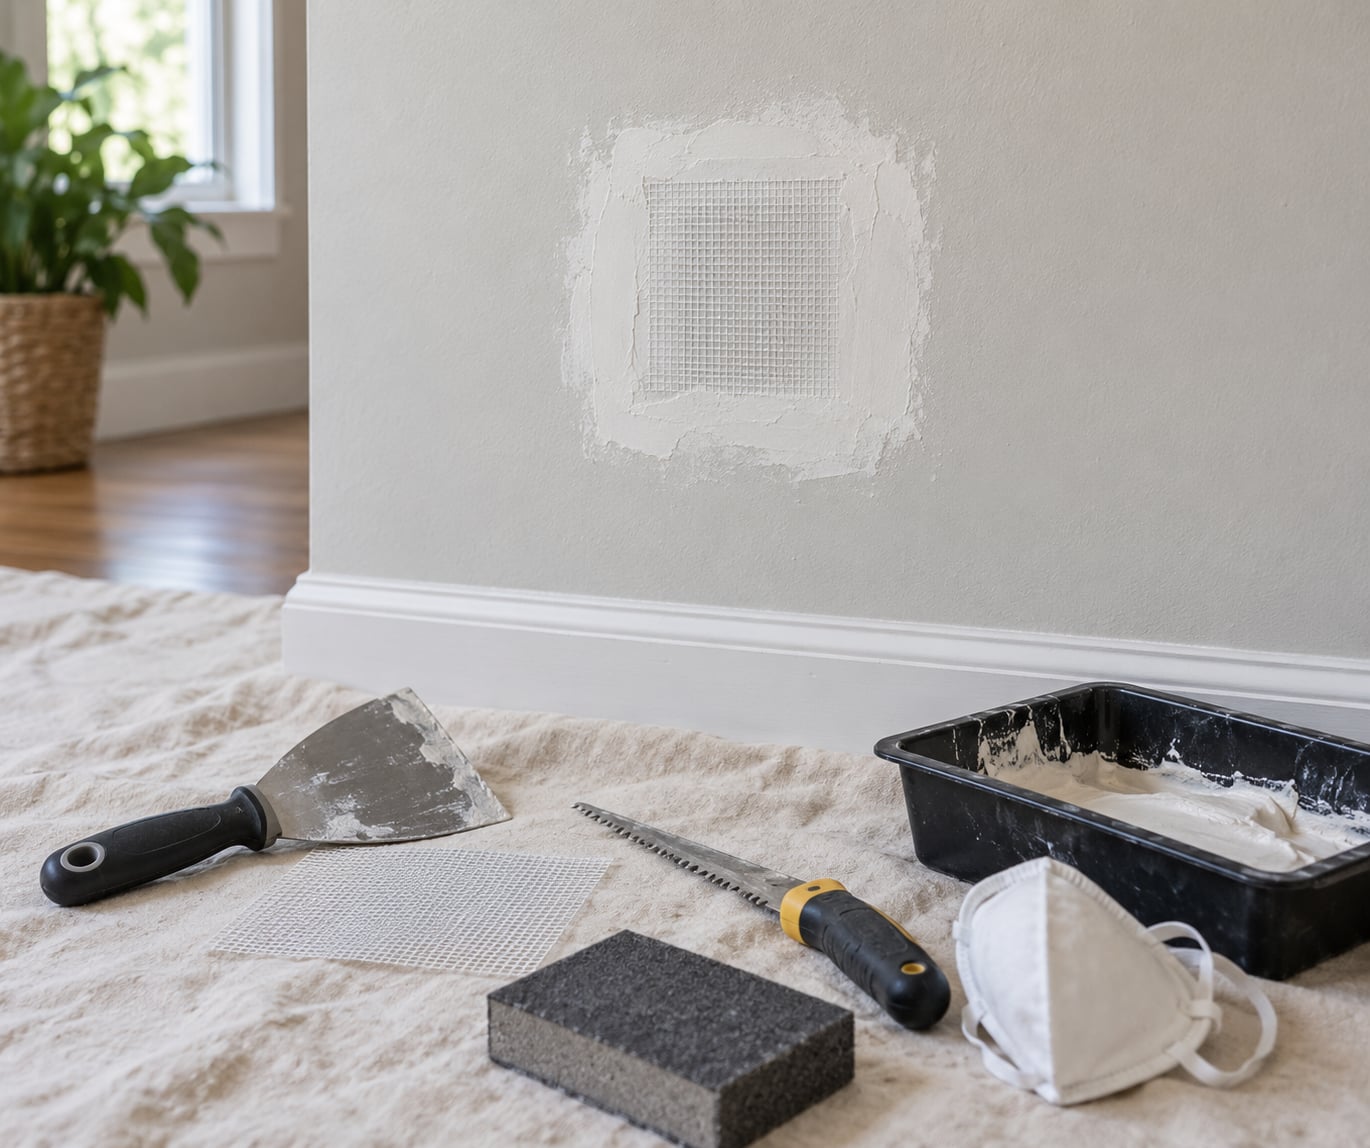
Most drywall damage comes down to size. Anything under about half an inch can be filled with spackle and skimmed smooth, holes up to roughly 3 inches need a mesh or paper patch behind the mud, and anything bigger has to be cut out and screwed to a wood backer before it gets taped and finished. Learning how to patch a hole in drywall follows one order every time: clean it, reinforce it, fill it thin, sand it, prime it.
A nail hole takes about half an hour of work and an hour of drying. A doorknob hole between two studs is a two-hour job spread over two or three visits, mostly because you are waiting on compound to dry. Neither one is difficult enough to need a pro, as long as nothing live is hiding behind the wall.
Table of Contents
- 1What You Need
- 2How to Patch a Hole in Drywall Step by Step
- 31. Inspect the Hole and Choose the Repair Method
- 42. Clean and Prepare the Damaged Area
- 53. Apply the First Layer of Filler or Patch
- 64. Dry, Sand, and Repeat as Needed
- 75. Prime, Paint, and Finish the Wall
- 8What People Ask in Practice
- 9Common Mistakes
- 10Frequently Asked Questions
- 11How long does it take to patch a hole in drywall?
- 12What is the best filler for a small drywall hole?
- 13Do I need a drywall patch for a large hole?
- 14Can I paint over a drywall repair immediately?
- 15How do I make a patched hole blend into the wall?
- 16When should I call a professional instead of repairing drywall myself?
What You Need
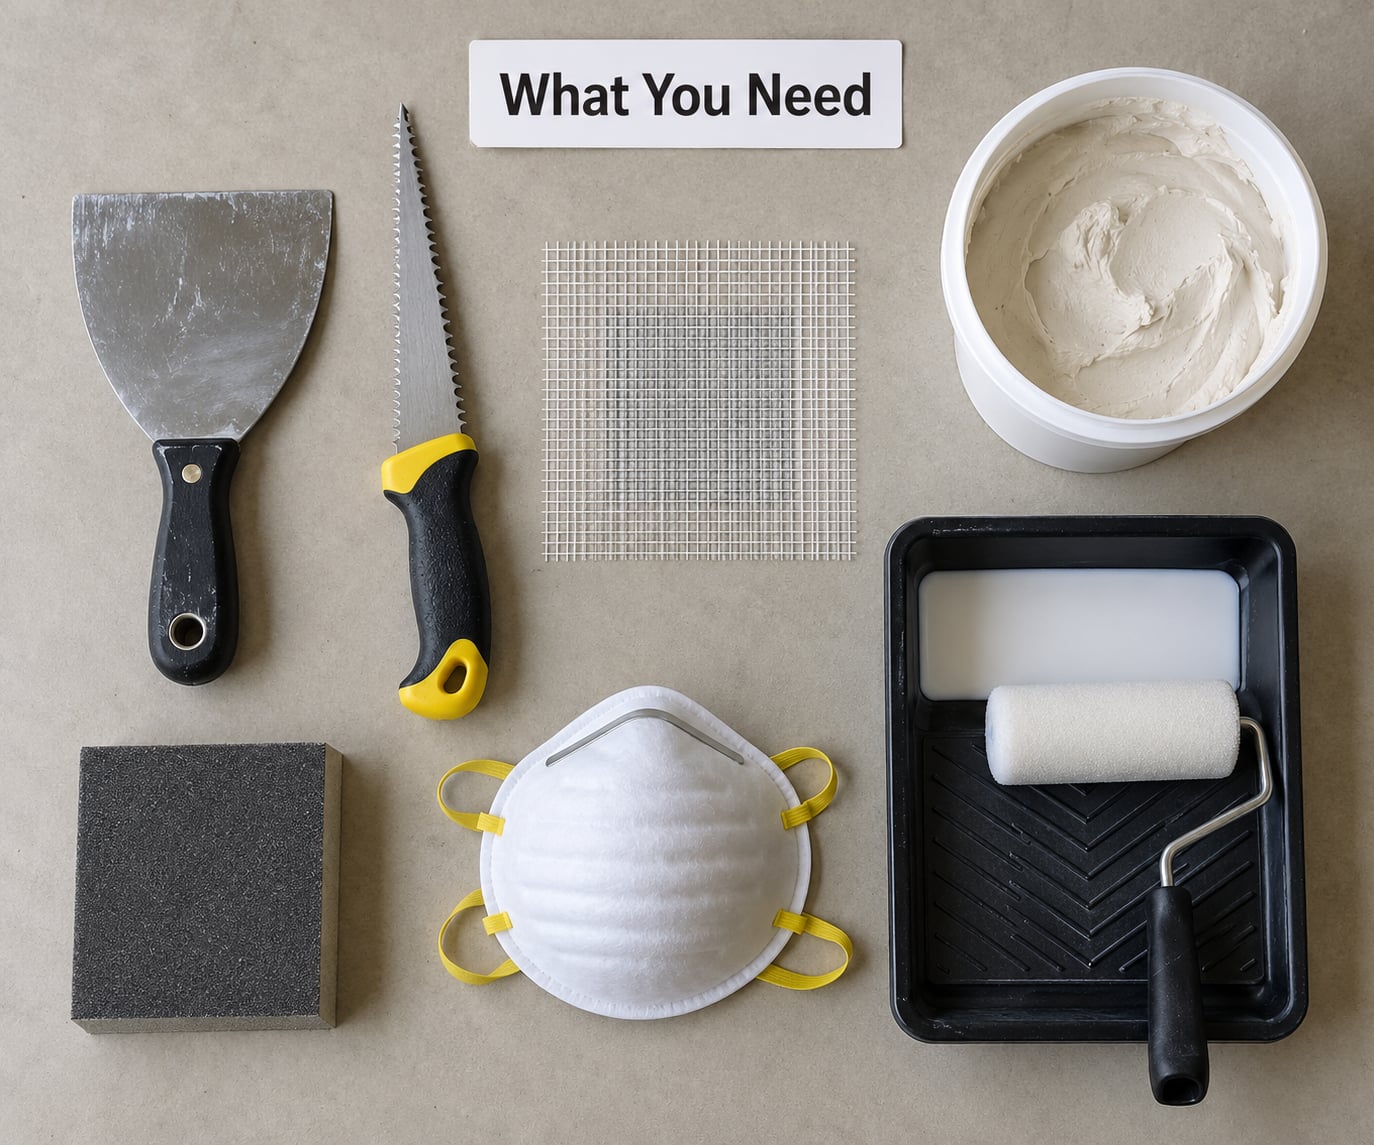
The short list: a putty knife, joint compound or spackle, sandpaper, and a dust mask you actually wear. Everything else depends on the size of the hole.
A 6-inch putty knife handles nail holes and small dents. Move up to a 10-inch or 12-inch knife once you are feathering a wide repair, because a narrow blade forces you to build up ridges you then have to sand off.
Three kinds of filler show up in the same aisle, and they are not interchangeable.
- Lightweight spackling paste dries fastest, usually in 30 to 60 minutes, and barely shrinks. It is the right call for picture hanger holes, nail pops, and small dents. It is not strong enough on its own for a hole wider than about half an inch.
- Setting-type joint compound (the kind in the hard bucket that hardens chemically rather than by air drying) grabs in about 20 to 45 minutes depending on the coat thickness. It shrinks more, so it needs feathering, but it is what you want when you intend to paint and re-hang something the same day.
- A drywall patch kit bundles a piece of mesh or a metal repair patch with enough compound for the job. It saves a trip to the store and is genuinely useful once you are past the small-hole stage.
You need a drywall saw the moment there is ragged gypsum to trim, a utility knife for cutting mesh or paper tape, and a sanding block so you sand flat instead of wearing a hollow in the wall. 120-grit and 150-grit paper covers most repairs, with 180-grit for the final pass if the wall is painted.
A self-adhesive mesh patch handles holes from half an inch up to about 3 inches. A metal repair patch is the answer when the opening is wider than that and there is no wall stud behind it, because the metal keeps its shape and gives the mud something to bridge across. For anything around 6 inches or larger, you want an actual piece of drywall, some drywall screws, and a furring strip or scrap of plywood for backing.
Paper tape is worth having for seams inside the patch and anywhere a joint has to flex, since it does not shrink and crack the way mesh can in a high-stress spot. Moisture-resistant tape is for bathroom and kitchen walls, not for a bedroom.
First-timers can skip the drywall saw, mesh, screws and backing entirely if the hole is small. Put down a drop cloth before you open the tub, though, because the sanding stage puts more dust in the air than the patching stage ever does.
How to Patch a Hole in Drywall Step by Step
1. Inspect the Hole and Choose the Repair Method
Measure first. Under half an inch is a spackle job, half an inch to 3 inches wants a self-adhesive mesh patch, 3 to 6 inches needs a metal patch or a cut-out with backing, and doorknob-size damage or anything past 6 inches is a cut-out and replace job.
Before you touch a saw, put a flashlight into the hole and look around. What you are looking for is cable, plumbing, or the back of an electrical box. A stud finder will tell you where the framing runs, and studs sit 16 inches on center, which helps you predict what is between them.
Cut no deeper than an inch horizontally, and never cut toward a stud that passes through the area. Saws travel further than you expect once they punch through the paper face.
Also decide whether the damage is mechanical or something worse. A brown, crumbly patch that feels soft, or a hole with water staining around it, is water damage, and filling that hole just traps the problem. Bulging or cracked drywall along a framing line can point at movement in the structure, which is not a drywall job at all.
As a rule of thumb, spackle alone stays reliable when the gap is about 3/16 inch or smaller. Past that, the filler has nothing to grip and it cracks within weeks.
2. Clean and Prepare the Damaged Area
Pull off any loose paper, frayed tape strands, or crumbled gypsum. Masking tape over the surrounding area makes the next step cleaner, and a damp cloth or a brush gets the dust off the surface.
Trim the ragged edges with the drywall saw until you reach clean, solid material. Hold the saw at a shallow angle and work in short strokes; a jab saw works well for small awkward cuts near a stud or a wire.
Round off sharp edges with the sanding block or a utility knife. Feathering the physical edge here matters as much as feathering the compound later, because any step you leave behind shows up under paint as a shadow line.
Lay a drop cloth, and slide a piece of cardboard behind the opening if there is a risk of dropping debris onto the floor below. Do not cut, drill or sand near exposed wiring or a plumbing line. If you find either one, stop and call a licensed electrician or plumber.
3. Apply the First Layer of Filler or Patch
For a medium hole, center the mesh patch over the opening and press it flat so every edge sticks to the wall. Trim it with the utility knife so about an inch of mesh overlaps sound drywall on each side.
Load the putty knife by scooping a bead roughly the width of the blade and a fraction of an inch thick. Hold the blade at roughly a 70-degree angle and pull it across the hole in one steady pass, letting the pressure of the blade do the work.
Your first coat should be thin, longer than the hole on every side, and tapered to nothing at the edges. That taper, called feathering the mud, is what makes the repair disappear. If you are working with setting-type compound, keep the coat thinner than you think you need, because it shrinks as it hardens.
Signs you applied too much at once: visible ridges, blade marks that sanding will not reach, a surface that sits visibly proud of the wall, and a patch that cracks along the edges as it dries. Scrape it back with the knife and let it go thinner next time.
4. Dry, Sand, and Repeat as Needed
Drying times are approximate, not a stopwatch. Spackle is usually workable in 30 to 60 minutes, all-purpose joint compound takes several hours or overnight in a normal room, and setting-type compound hardens in 20 to 45 minutes. Humidity and coat thickness both stretch those numbers.
Test before you sand: press a fingernail lightly near the edge. It is ready when the surface feels hard and uniform in color, not cool or slightly damp in the middle.
Start at 120-grit with the sanding block, using light pressure and long strokes. Move to 150-grit for the second and third passes, and 180-grit if the wall is painted gloss or semi-gloss.
Keep the paper face of the drywall intact. If you see brown paper fibers where you meant to see white gypsum, you are sanding too hard in one spot. Change the paper on the sanding block often, because a loaded sheet scratches rather than smooths.
Shine a lamp across the wall at a low angle to check your work. Raking light throws every ridge, hollow, and missed spot into relief. Knock down ridges with another pass at 150-grit, fill hollows with a final thin coat, and let that coat dry completely.
How many coats you need depends on how deep the repair is. Two thin coats handle most small and medium holes; three or more are normal around a taped seam on a large patch.
5. Prime, Paint, and Finish the Wall
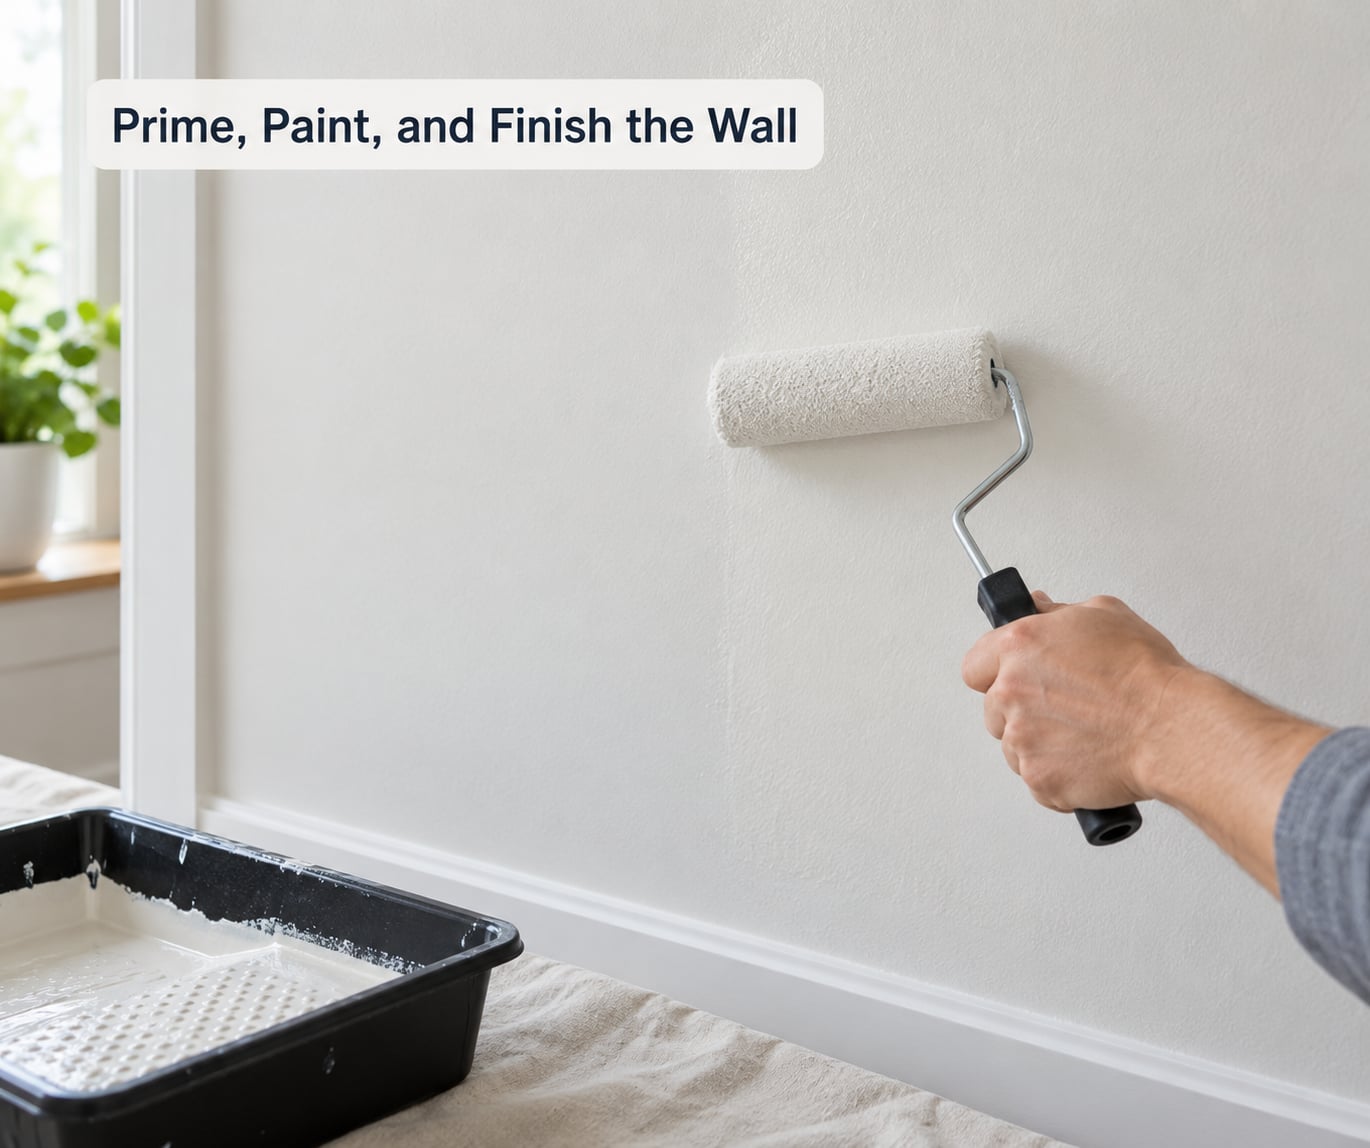
Prime when the repaired area is new compound or spackle, which is porous and drinks paint differently from the wall around it. Skipping primer is the reason so many patches end up with a glossy rectangle in the middle of a matte wall, a defect painters call flashing.
A water-based latex primer over the repair and a couple of inches of the surrounding wall is enough. Let it dry to the touch, then check the wall from an angle once more. Fill any shrinkage before painting.
Use the same paint and the same sheen as the rest of the room. Cut the edges in with a brush, then roll the field of the wall to blend the new work into the old.
If the wall carries texture, painting the patch flat is the single most obvious way to give away a repair. Orange peel and knockdown textures need a texture spray or a stipple pad matched to the existing surface, applied after primer and before the topcoat.
Plan the calendar honestly. A small hole means a couple of hours and one evening of drying. A taped drywall patch takes several hours or multiple visits, and a large cut-out can take two to three days from cut to paint.
What People Ask in Practice
The questions that come up most often on repair forums are the practical ones: whether to add a stud, whether a patch will hold weight again, and how to speed up drying time.
On r/drywall, the most common advice is to cut a neat square around the damage, cover it with mesh sized to the square, and skim coat, which is a DIY version of the California patch. On r/HomeImprovement, people patching oversized drywall anchor holes after pulling a TV mount are usually told to use 20-minute setting compound so they can paint the same day.
Beginners on r/DIY frequently say a doorknob hole felt unfixable until they learned about cutting it out and screwing in a backer strip. Experienced hands on doityourself.com and sawmillcreek.org generally favor screwing 1x furring strips or plywood backers behind the existing drywall with half-inch drywall screws rather than relying on glue or spray foam.
Common Mistakes
- Filling a large hole with spackle alone. Nothing reinforces the opening, so it cracks or falls out as the house moves. Cut it square and bridge it with mesh, a metal repair patch, or a screwed-in piece of drywall.
- Loading too much compound on the blade. Thick coats shrink, ridge, and take forever to dry. Skim thin and add coats instead.
- Not feathering the edges. A hard line where the compound stops is the giveaway. Extend each coat an inch or more past the previous one and taper it to nothing.
- Sanding before the compound is dry. Sanding a damp coat gums the paper and drags it out. Wait until the whole patch is uniformly hard and pale.
- Sanding straight through the paper face. Brown fibers mean you are cutting the wall, not the mud. Back off, change the sandpaper, and use lighter pressure.
- Skipping a backer board on holes wider than 3 inches. Without support, the patch flexes every time the wall is touched.
- Painting over an uneven repair. Fill, sand, and check under raking light first. Painting early locks in every flaw.
- Skipping primer. New compound drinks paint and leaves a shiny patch that shows for months.
- Ignoring moisture or structural damage. If the wall is soft, stained, or bulging along a seam, the drywall is a symptom. Find the leak or the movement first.
Two safety habits cover most of the risk in this job. Wear a dust mask and gloves while sanding, and open a window or run a fan, because drywall dust is fine enough to stay airborne for hours. And keep the flashlight in the hole until the moment you cut, every single time.
For electrical, plumbing, or structural problems, stop and call a licensed professional. Drywall is a finish, not a system, and it is the last thing that should be hiding a real fault.
Frequently Asked Questions
How long does it take to patch a hole in drywall?
A nail hole takes about 30 minutes of work plus an hour of drying. Small and medium holes take a couple of hours across one evening. Large cut-out patches with taped seams usually take two to three days from the first cut to the final paint, because each coat needs to dry fully. Using setting-type 20-minute compound can compress a medium repair into a single day.
What is the best filler for a small drywall hole?
For holes under half an inch, lightweight spackling paste is the best filler. It dries in 30 to 60 minutes, barely shrinks, and sands smooth with 120-grit paper. Joint compound works too and handles larger jobs, but it takes longer to dry and shrinks more. Neither is strong on its own once the gap is wider than about 3/16 inch.
Do I need a drywall patch for a large hole?
Yes. Any opening past about 3 inches needs reinforcement, and anything near 6 inches or larger needs a new piece of drywall. The usual approach is to cut a clean square, screw a furring strip or plywood backer to the studs, then screw the new panel into the backer and tape the seams. Filling a large hole with compound alone is what leads to cracks later.
Can I paint over a drywall repair immediately?
No. Paint only when the compound is fully dry to the touch and hard, not cool or damp, and after a primer has sealed it. New compound is porous, so painting it directly leaves a glossy rectangle that shows against the matte wall around it. Sand the repair smooth, prime it, let the primer dry, then use the same paint and sheen as the rest of the room.
How do I make a patched hole blend into the wall?
Feather each coat an inch or more past the edge of the one before it, sand with 120-grit then 150-grit, and check the wall with a lamp held at a low angle. Prime the repair so the paint absorbs evenly, then match the existing sheen. If the wall has orange peel or knockdown texture, apply a matching texture spray or stipple pad before the topcoat.
When should I call a professional instead of repairing drywall myself?
Call a pro when the damage sits next to wiring, plumbing, or an electrical box, or when the wall is soft, stained, or bulging, since that signals water damage or structural movement. Large holes spanning several studs, wet or sagging ceiling drywall, and repairs around fire-rated assemblies also deserve a licensed trade. Small and medium holes are safe DIY work once you have checked what is behind the wall.
Start by measuring the hole and shining a flashlight into it. Anything under half an inch takes spackle, a feathered edge, 120-grit, primer, and a repaint, and you can finish before the evening is over. Measure first, then buy only what that size actually needs.