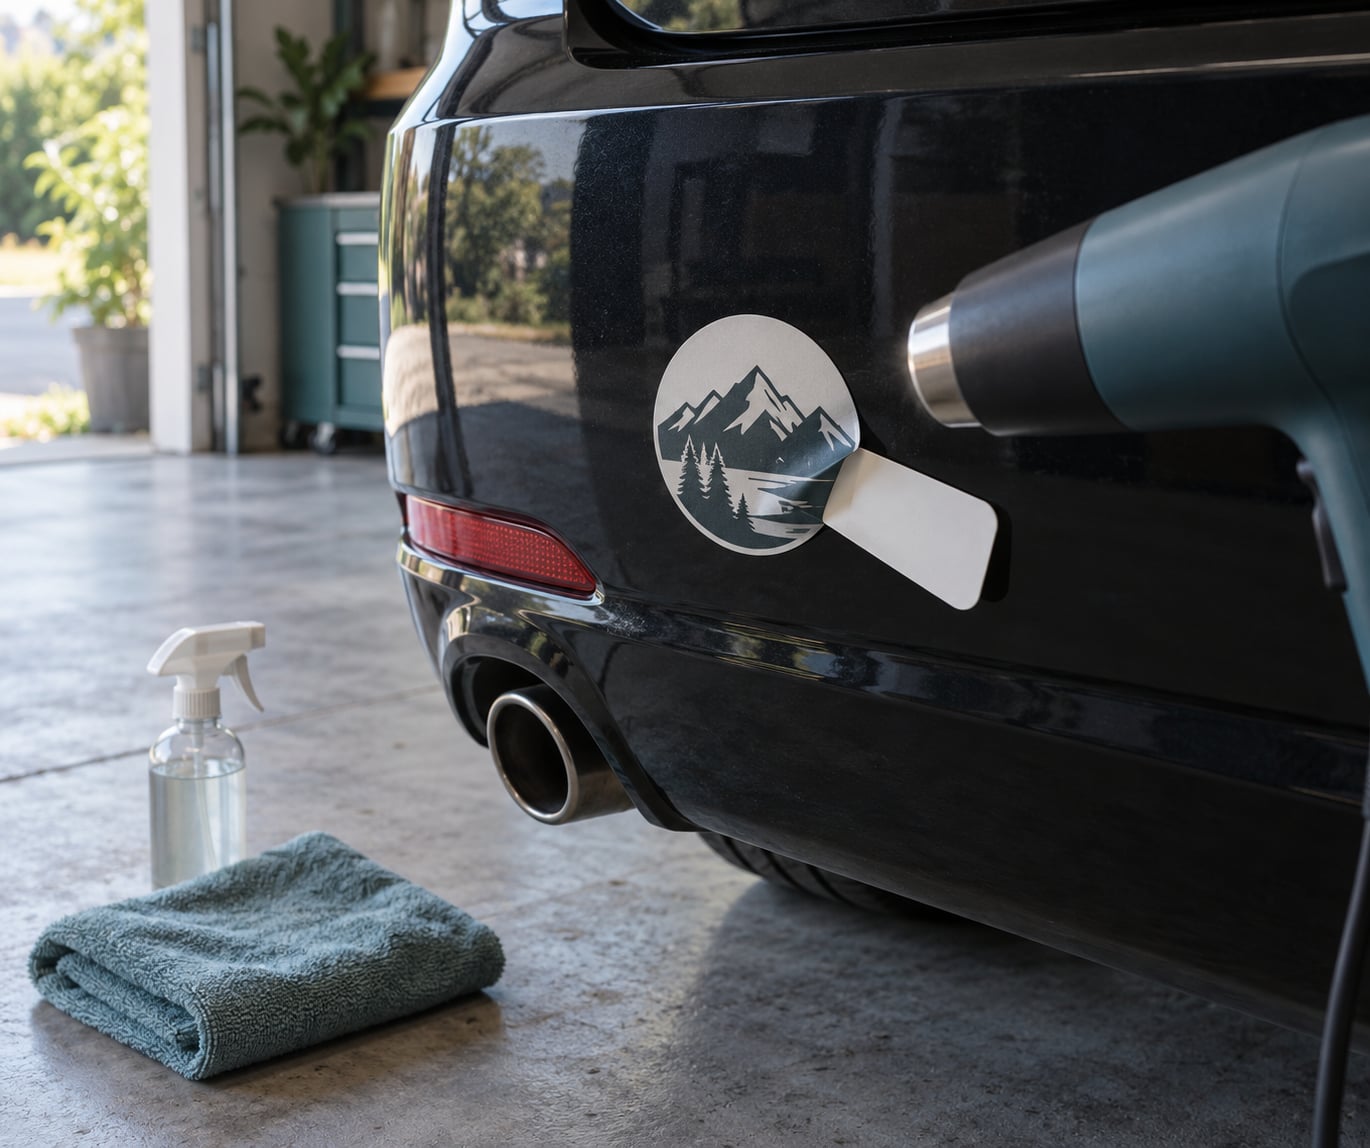
The safest way to get a bumper sticker off without taking the paint with it is to soften the adhesive with gentle, moving heat, lift the vinyl with a plastic card instead of a blade, then dissolve the remaining glue with a paint-safe automotive adhesive remover. On an intact sticker the whole job takes about 15 minutes. On a sticker that has baked on for a decade, expect an hour and a few repeat sessions.
Most damage happens in the first five seconds, not the last ten minutes. Somebody grabs a metal razor, or parks a heat gun in one spot until the vinyl goes soft and rubbery, and the sticker peels off with a strip of clear coat attached. Slow and boring wins.
Table of Contents
- 1What You Need
- 2Step-by-Step: How to Remove Bumper Stickers Without Damaging Paint
- 31. Identify the bumper finish and test a small spot
- 42. Warm the sticker evenly
- 53. Lift a workable edge with a plastic tool
- 64. Peel slowly at a low angle
- 75. Remove only the remaining adhesive
- 86. Clean and inspect the bumper
- 9Common Mistakes
- 10Frequently Asked Questions
- 11Can I remove a bumper sticker with a hair dryer without ruining the paint?
- 12What is the safest way to remove old bumper sticker residue?
- 13Why is my bumper sticker peeling into tiny pieces?
- 14Can I use isopropyl alcohol to remove bumper sticker glue?
- 15How should I remove a sticker from a textured or vinyl-wrapped bumper?
What You Need
Everything here is cheap and most of it is already in a kitchen drawer. The heat source is the one item worth thinking about before you start.
- Low heat source — a hair dryer on its lowest setting is the safe default. A heat gun on low works too, if you keep it moving and keep it back from the panel.
- Plastic scraper — an old credit card, a plastic razor blade, a guitar pick, or a nylon trim tool. Never metal.
- Microfiber cloths — at least two, because you will swap them out as they pick up adhesive.
- Isopropyl alcohol — for lighter residue and for a first pass on the panel.
- Automotive adhesive remover — a paint-safe gel or spray made for automotive trim. Follow the label, and patch-test first.
- Automotive soap, a bucket and a soft brush — for washing before and after.
- Nitrile gloves — solvents are kinder to your hands than they are to your clear coat.
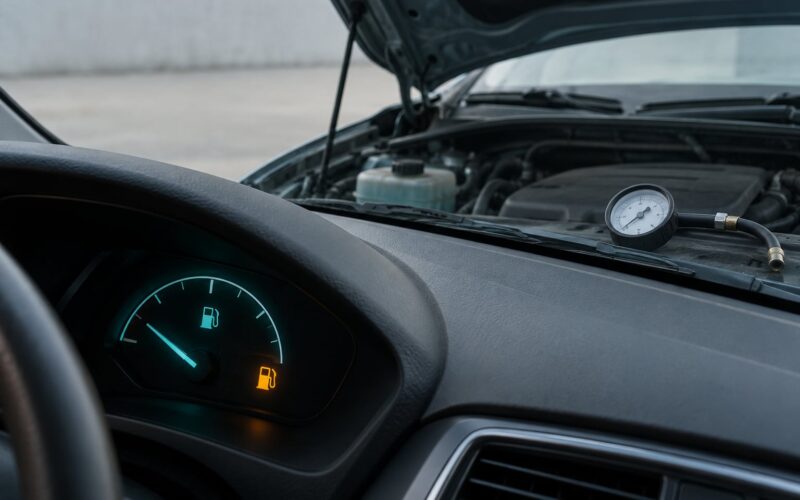
One thing to check before anything else: pop the hood and look up what the bumper actually is. Some cars have a painted bumper cover with clear coat, some have unpainted textured plastic, some have a wrap or an aftermarket cover. A solvent that is fine on a painted panel can be too aggressive on a vinyl wrap, and a heat gun held too long can warp an unpainted cover. If the car is under warranty or recently resprayed, the shop that did the work is the right call to ask first.
Step-by-Step: How to Remove Bumper Stickers Without Damaging Paint
1. Identify the bumper finish and test a small spot
Run your hand across the area before you touch it. Smooth and glossy means painted with clear coat. Slightly rough or grainy means an unpainted textured bumper cover. Slightly soft, rubbery, or panel-line-looking means a vinyl wrap or an overlay. Glossy black that stays matte after you rub it is usually a textured cover, not paint.
Then test. Put a few drops of isopropyl alcohol on a microfiber cloth and work it into a spot about the size of a coin, somewhere under the bumper lip or near the edge of the sticker. Wait a minute and look. Slight dullness that returns to normal after a wash is fine. Softness, wrinkles, or a color shift means stop and rethink the solvent.
2. Warm the sticker evenly
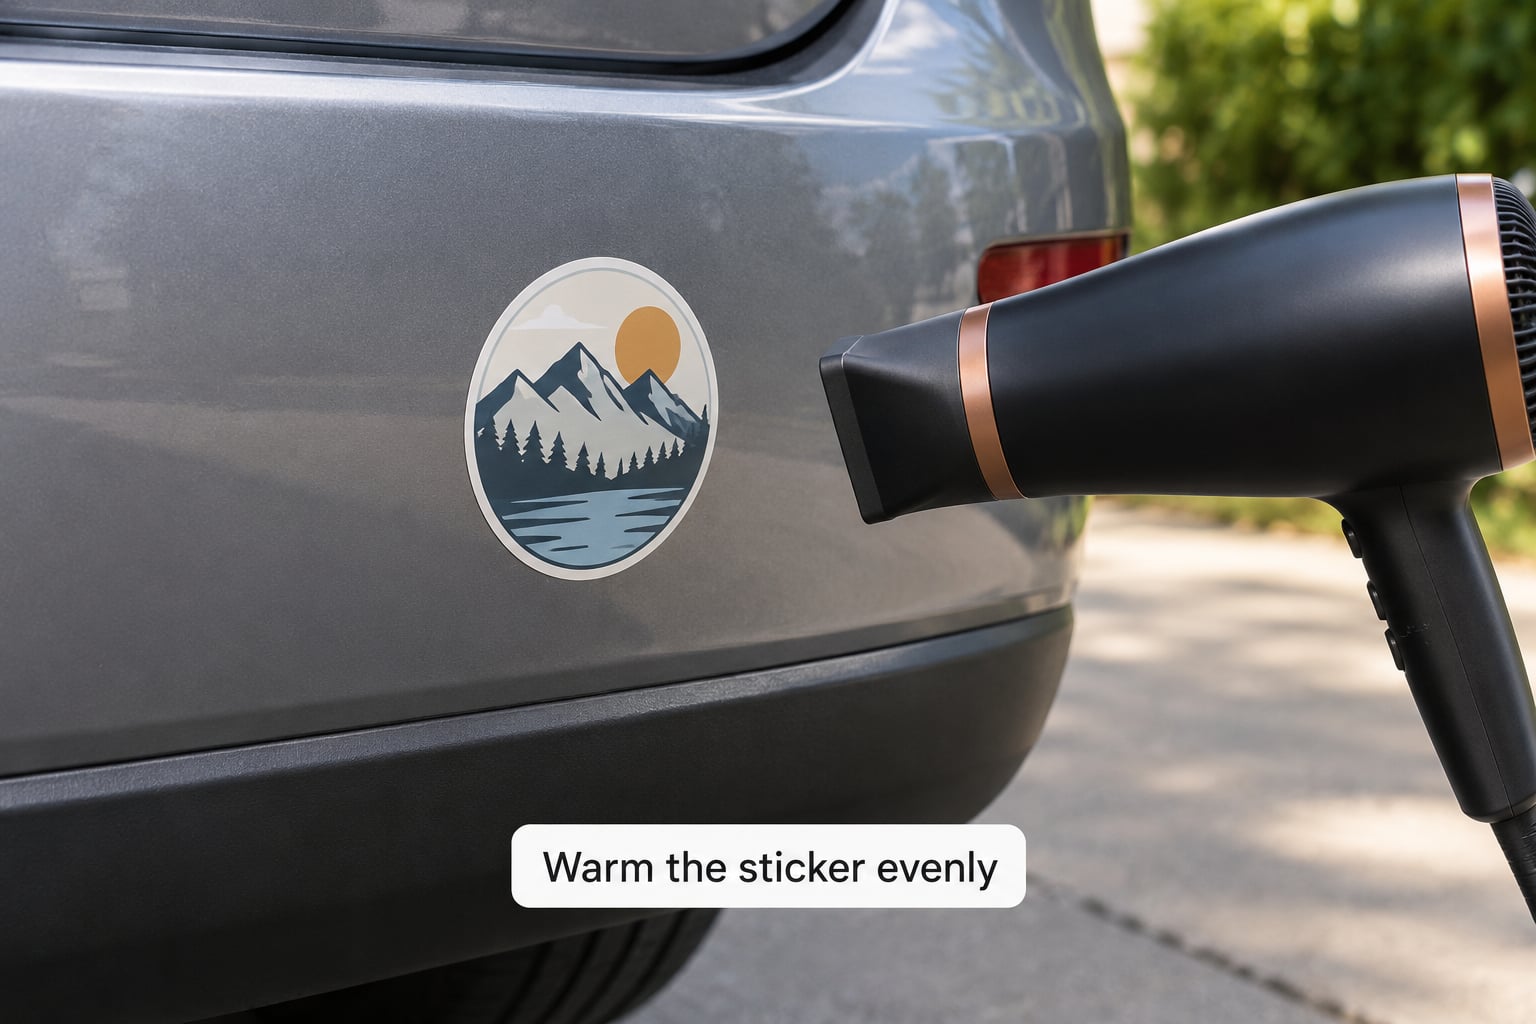
Heat weakens the adhesive, and weakened adhesive lets go before it grabs the top layer of paint. Hold the dryer or heat gun 8 to 12 inches from the sticker and keep it moving in slow side-to-side sweeps. Pass over the whole sticker a few times rather than blasting one corner, because the corners are where vinyl tears first.
Touch the bumper with the back of your fingers between passes. It should feel warm, not hot. Stop immediately if the plastic softens, the paint develops a waxy smell, or the vinyl starts to look shiny and liquid — that last one means the sticker itself is melting, and a melted sticker stretches and tears instead of releasing.
Work in the shade or in the morning. Direct sun adds heat you cannot control and you will have no clean read on the temperature.
3. Lift a workable edge with a plastic tool
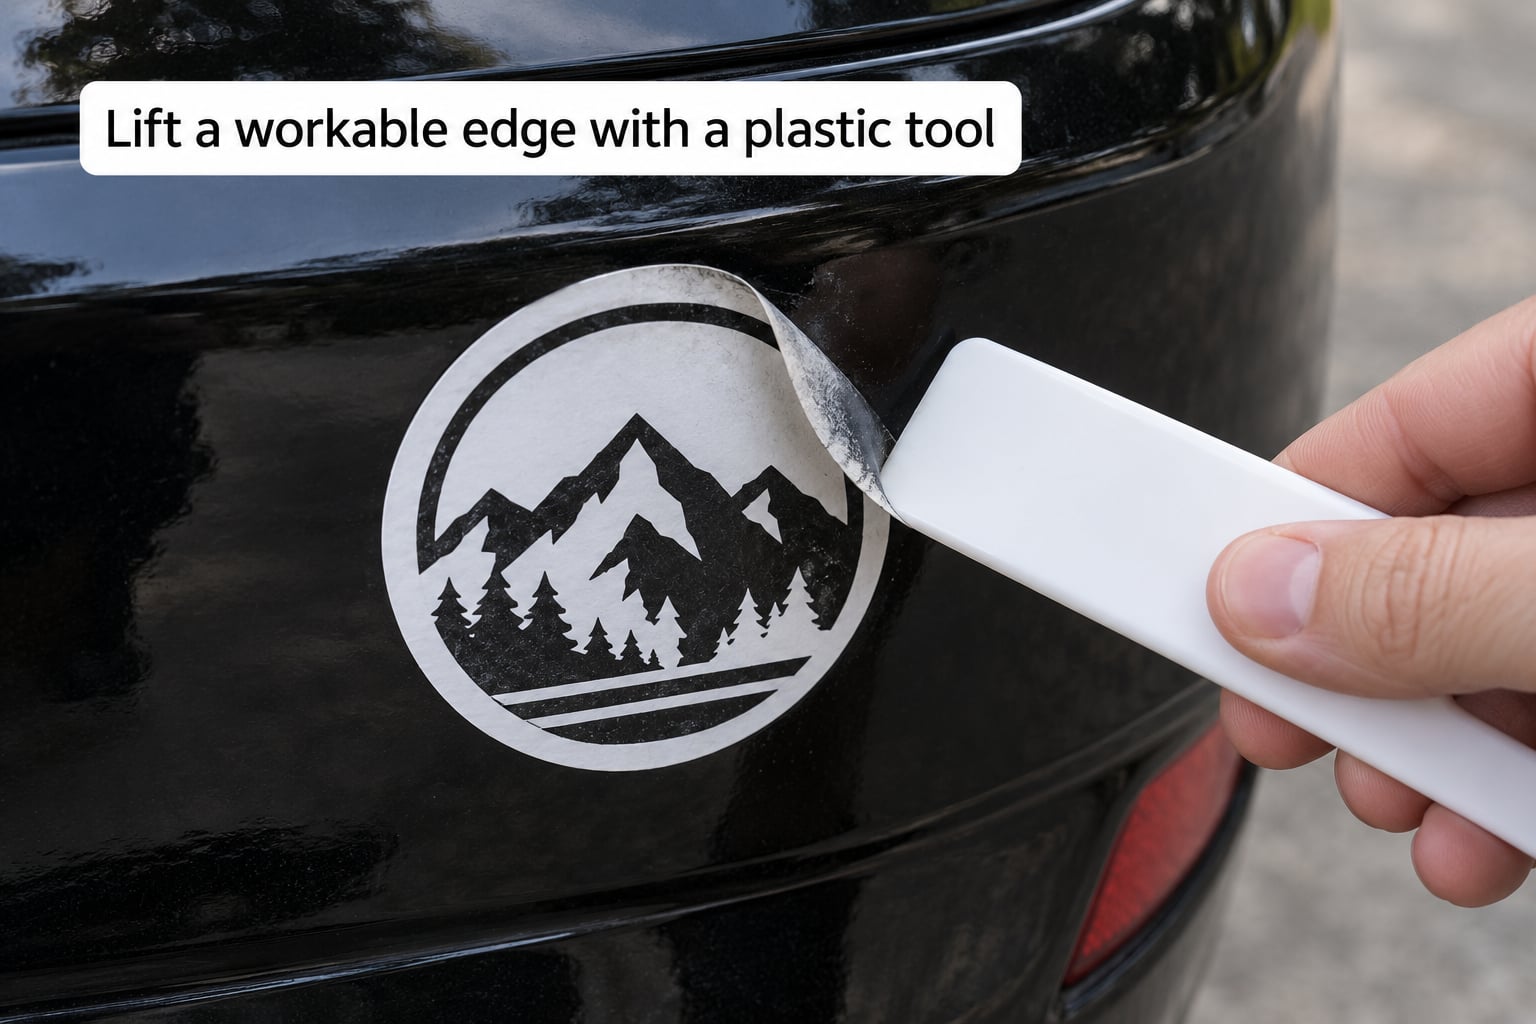
Score a corner gently with the plastic card until you catch the vinyl edge, then push the card between the sticker and the bumper. Keep the card flat against the panel and slide it under the sticker rather than prying upward. Prying is what lifts clear coat.
Use short, overlapping strokes and keep your other hand pressing the sticker back down against the bumper as you work. That pressure is doing most of the work — the card is only guiding.
Stop if you feel the card catching instead of gliding. That means something hard is under the edge, often a mounting screw or a previous repair, and pulling harder will do more harm than leaving the sticker for another pass.
4. Peel slowly at a low angle
Pull the lifted section back over itself, close to the surface, at roughly a 30-degree angle. Straight up or straight down puts the most force on the bond line, which is exactly where the paint is thinnest. Low and slow, and let the card do the separating.
If the vinyl goes brittle instead of flexible, you heated it in passes but the adhesive underneath never got warm. Leave it, wait a few minutes, and do another round. Brittle vinyl shatters into flakes and those flakes pull harder than one solid sheet would.
If it stretches and strings like taffy, you went too hot too fast. Stop, let the bumper cool completely, and start again on cooler and slower passes.
5. Remove only the remaining adhesive
Most stickers come away leaving a thin, sticky film or a hard blob of glue. Work the loosest areas first with a microfiber cloth lightly dampened with isopropyl alcohol. Wipe, flip the cloth to a clean side, wipe again. Change cloths as soon as one turns tacky.
For a heavier patch, lay a small amount of automotive adhesive remover on the cloth rather than spraying the bumper, then work the area in small circles. Let it sit for the label’s recommended time, then wipe. Test every new product in a hidden spot first, keep the panel dry around the work area, and never flood a seam or a bumper edge with solvent — it runs, and it runs into places you did not intend.
Skip the aggressive options. Nail polish remover, straight acetone, and paint thinner will lift or haze clear coat on contact, and a metal razor on hardened glue takes clear coat with it every time.
6. Clean and inspect the bumper
Wash the area with automotive soap and a soft brush, then dry with a clean microfiber towel. Look at the panel from several angles in good light, not straight on.
Here is the part that confuses people. If the bumper has been sun-faded for years and the sticker shielded one small patch, the covered paint faded less, and you now have a slightly lighter shape on the bumper. That is UV ghosting, not residue. No cleaner will take it off. Only repainting the panel or leaving it alone will make it match.
Actual damage looks different. A scuff from a card feels rough, scratches catch a fingernail, and a solvent haze is a dull, soft patch that does not wash out. If you find one of those, stop working the area and get a body shop or paint correction specialist to look at it. Clearing a stuck sticker is cheap; correcting clear coat is not.
Common Mistakes
Almost all bumper sticker paint damage traces back to one of these.
- Using a metal blade on hardened adhesive. Fix: soak it longer with adhesive remover so the card slides without force. A plastic razor blade does the same job with a fraction of the risk.
- Holding the heat gun still, or parking it on the panel. Fix: 8 to 12 inches, low or medium heat, constant movement, and a finger check between passes. Paint softens before it discolors, and softened paint sticks to vinyl.
- Pulling the sticker straight up. Fix: peel back over itself at a low angle while pressing the rest of the sticker flat.
- Overheating until the vinyl stretches. Fix: cooler, slower passes with a pause between them. A melted sticker is harder to remove than a cold one.
- Soaking or flooding the bumper. Fix: work a cloth-sized area at a time and keep solvent off seams, gaps and the underside of the panel.
- Ignoring a change in the surface. Fix: the moment the plastic warps, the paint goes waxy, or a sharp solvent smell appears, stop and let the panel cool for several minutes.
- Using acetone, nail polish remover, paint thinner or WD-40 as a first resort. Fix: start with isopropyl alcohol or a labeled automotive adhesive remover. Save WD-40, if you use it at all, for a final cleanup on residue, never for the first attempt.
Two habits cover most of this. Work in shade with the car cool, and treat every pass as a test rather than a treatment. Several gentle attempts always beat one forceful one, and if the sticker needs a second session tomorrow, that is a perfectly good outcome.
Frequently Asked Questions
Can I remove a bumper sticker with a hair dryer without ruining the paint?
Yes. A hair dryer on its lowest or medium setting, held 8 to 12 inches away and kept moving in slow sweeps, is the safest heat source for most paint. Touch the bumper with the back of your fingers between passes and stop if it feels hot rather than warm. Never park the dryer in one spot, and stop if the vinyl starts to look shiny and liquid.
What is the safest way to remove old bumper sticker residue?
Start with a microfiber cloth lightly dampened with isopropyl alcohol and work it in small areas, changing to a clean section of the cloth as it turns tacky. For heavier residue, use an automotive adhesive remover made for painted surfaces, applied to the cloth rather than sprayed on the panel, and follow the label dwell time. A clay bar afterward removes what is still embedded.
Why is my bumper sticker peeling into tiny pieces?
Brittle vinyl that shatters instead of lifting has adhesive underneath that never got warm. The heat passed over the sticker but did not soak through to the bond. Let the panel cool, then make several slower, longer passes so the glue underneath softens all the way through before you try the plastic card again.
Can I use isopropyl alcohol to remove bumper sticker glue?
Yes, and it is the right first choice on modern clear-coated paint. Dampen a microfiber cloth rather than pouring it on the panel, work a small area at a time, and wipe with a clean section until the adhesive stops transferring to the cloth. It lifts fresh and moderate residue well, though residue that has baked for years may need a dedicated automotive adhesive remover first.
How should I remove a sticker from a textured or vinyl-wrapped bumper?
Skip heavy solvent and skip wax or clay afterward, since neither applies to a textured plastic cover or a vinyl wrap. Use the lowest heat setting with a plastic card, work in short passes, and expect the adhesive to come away with the texture rather than as a smooth film. Clean with automotive soap and a soft brush, and test any solvent in a hidden corner first.
Start by working out what the bumper is made of, test the gentlest method you have on a hidden inch of it, and take your time. Warm the whole sticker evenly, lift it with plastic at a low angle, clean the residue with alcohol or an automotive adhesive remover, and stop the moment the surface changes. That sequence gets the sticker off and keeps the paint where it belongs.