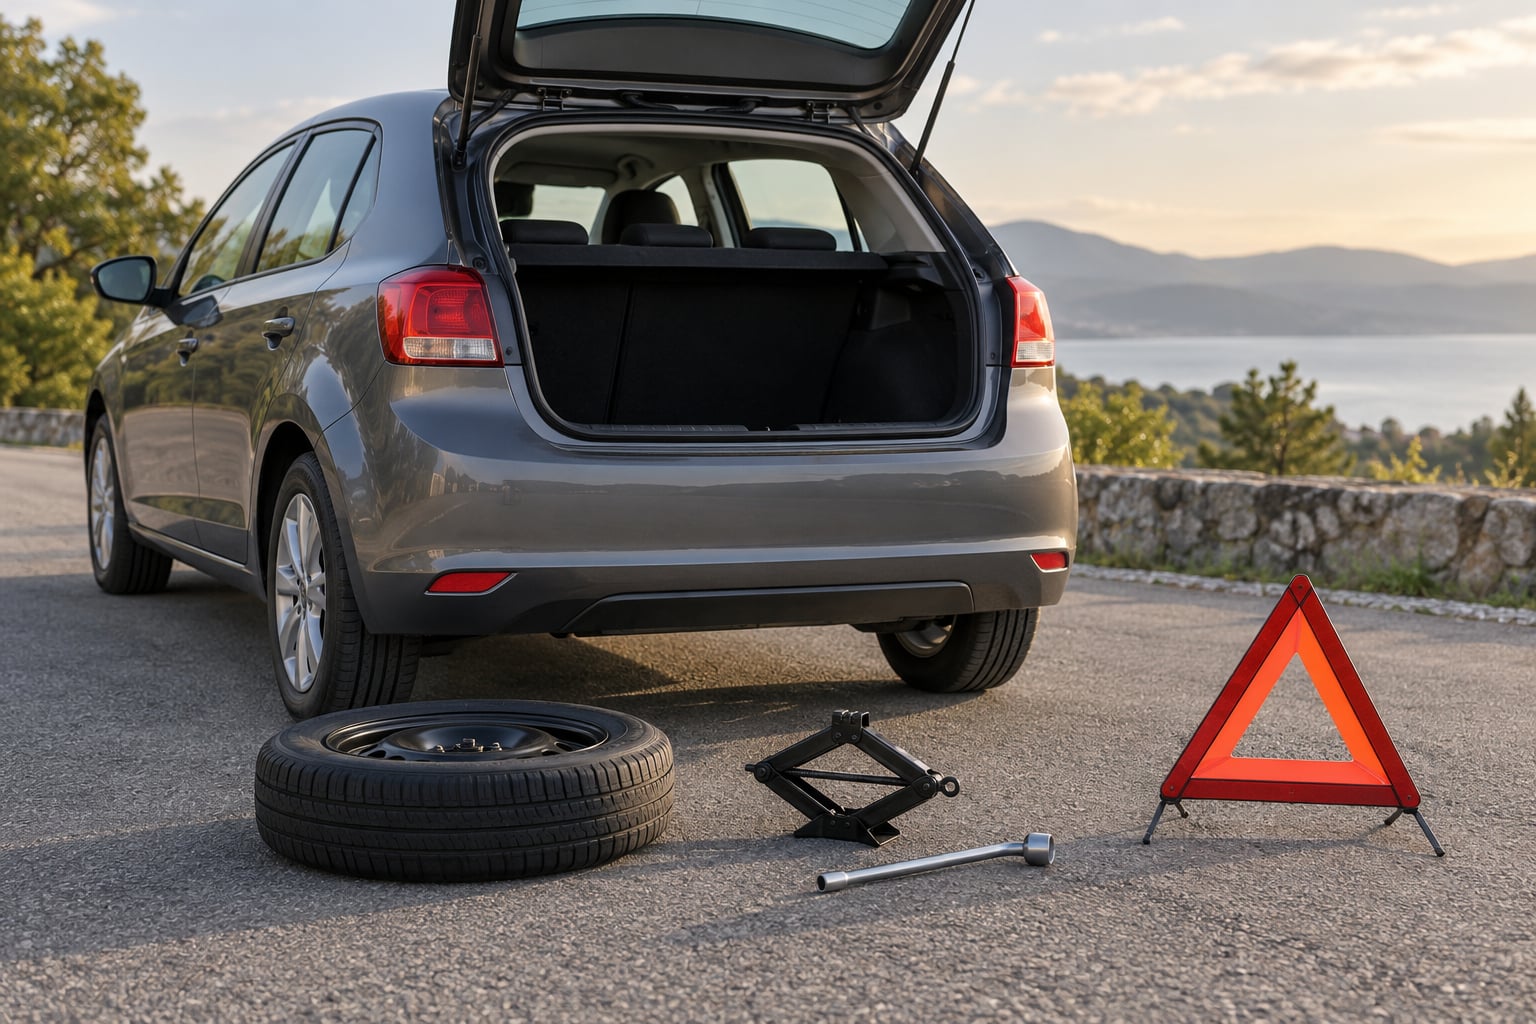
Changing a flat takes roughly 25 to 45 minutes the first time you do it, and 10 to 15 minutes once you have done it a few times. You need three things: a working spare, a jack, and a lug wrench that actually fits your wheel nuts, plus a flat, firm place to work. This is how to change a flat tire step by step, in the order that keeps you and passing traffic out of trouble.
Yes, you can do it yourself, and most roadside flats are not true emergencies. A tire that has bled pressure gradually can usually be driven a short distance to safety, while a blowout, a cut in the sidewall, or a tire sitting on the rim needs handling where the car stopped. A poster on r/Adulting described swapping their first solo flat alone at night and finishing in about 25 minutes, sweating the whole way, then celebrating with takeout. That is a fairly typical first attempt.
Two parts trip people up more than the rest: finding the jacking point and knowing how tightly to finish the lug nuts. Both are answered in the owner’s manual, so find that first, even if you are reading this on a phone in a parking lot.
Table of Contents
- 1What You Need
- 2How to Change a Flat Tire Step by Step
- 31. Confirm the failure before you touch a tool
- 42. Move to a safe location before anything else
- 53. Loosen the lug nuts while the tire is still on the ground
- 64. Set the jack on the jacking point and lift
- 75. Take off the flat and fit the spare
- 86. Lower the car and tighten in a star pattern
- 97. Know exactly what kind of spare you are driving on
- 108. Stow everything and get the tire dealt with
- 11Common mistakes to avoid
- 12Frequently Asked Questions
- 13Can I drive on a temporary spare tire?
- 14What should I do if a lug nut will not loosen?
- 15Should I tighten the lug nuts before or after lowering the car?
- 16How much should lug nuts be tightened?
- 17When should I call roadside assistance instead of changing a tire?
- 18Conclusion
What You Need
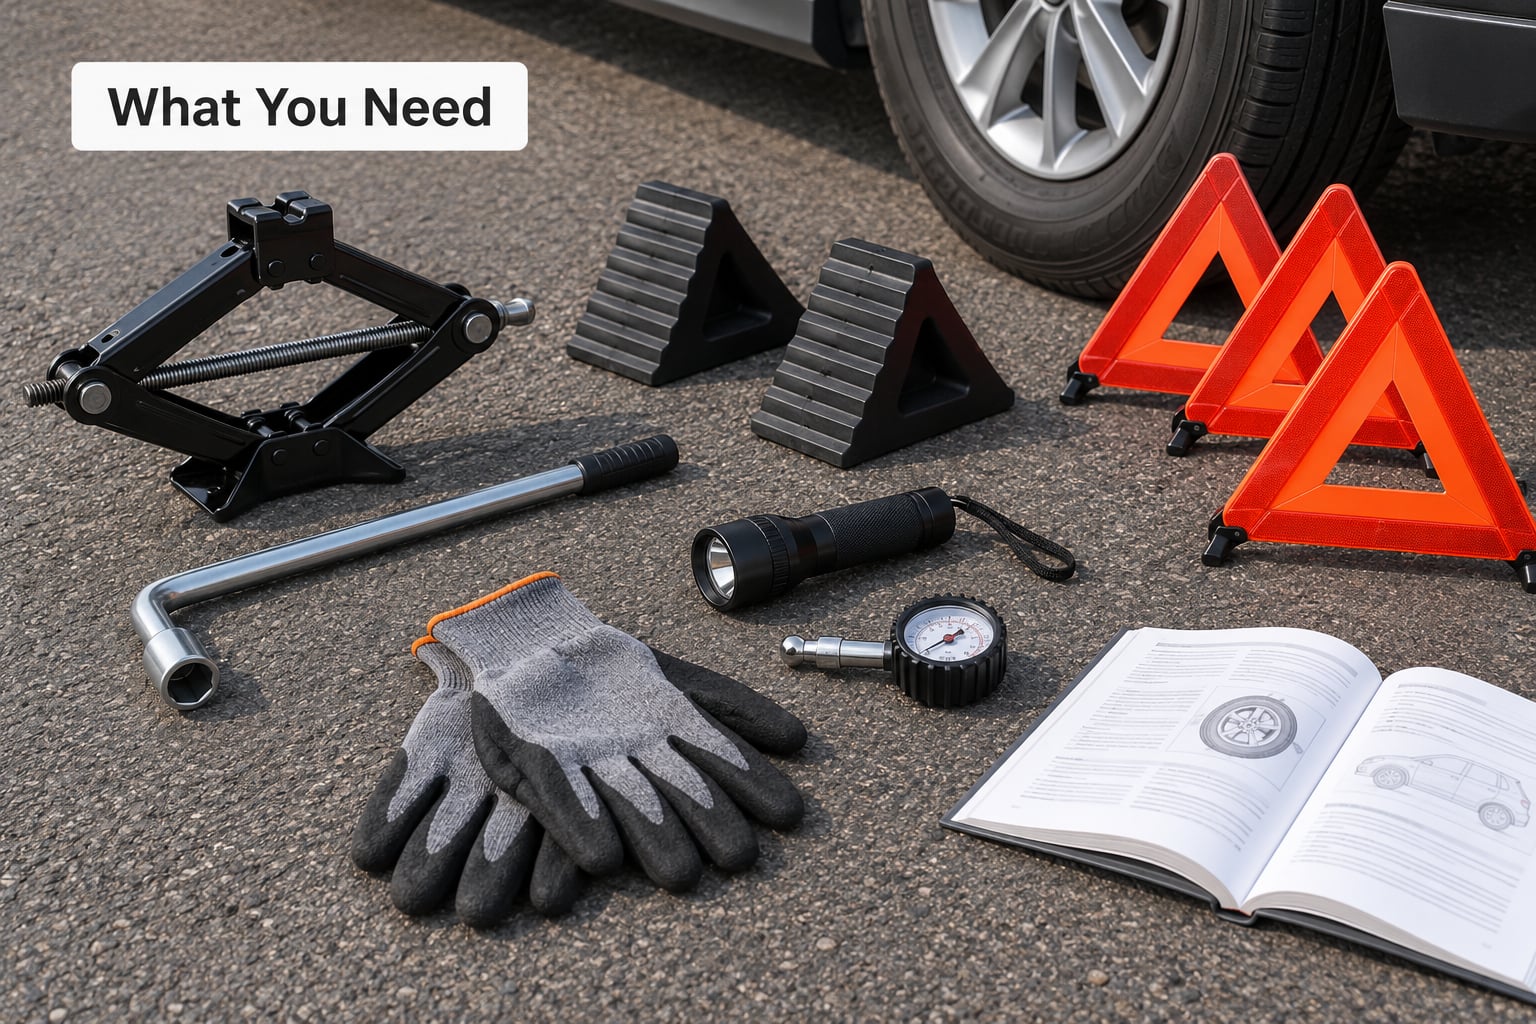
Everything below is either in your trunk right now or belongs in it before you need it. Required items are the ones a change is impossible without; the rest make it safer and easier.
- Owner’s manual (required). The jacking points, the lug nut torque figure, and the spare’s speed and distance limits are all printed in there.
- Working spare (required). A full-size spare, a space-saver, or a temporary spare kit. Check that it holds air every few months, not just when you need it.
- Jack (required). The factory scissor jack or hydraulic jack from the trunk, plus its handle and any ratchet adapter.
- Lug wrench or tire iron (required). It has to match the nuts on your specific wheel. Aftermarket wheels often need a different size or a spline key.
- Wheel-lock key (required if fitted). Locking lug nuts cap the standard ones and will not move without their key. Many owners do not know the key exists until they need it.
- Wheel chocks (required). Rubber wedges, a pair of cut firewood blocks, or one heavy piece of wood placed behind a wheel on the opposite side.
- Tire pressure gauge (required). A pen gauge costs little and tells you whether the spare is usable or a brick.
- Flashlight or LED work light (required for night work). You will be reaching into a dark wheel well with dirty hands.
- Reflective triangles or hazard lights (required). Hazards alone are not enough on an unlit road; triangles give following drivers something physical to see.
- Gloves (required). Wheel wells are grim, and studs have edges.
- Optional extras. A torque wrench for a proper final figure, a breaker bar for stubborn nuts, jack stands if you plan to work underneath the car, and a can of sealant or a plug kit as a short-term option.
On a car with a manual transmission, you will also want a flat piece of the driveway or a sturdy slope to roll against while the car is in first gear. On an automatic, Park holds it, but the parking brake still goes on.
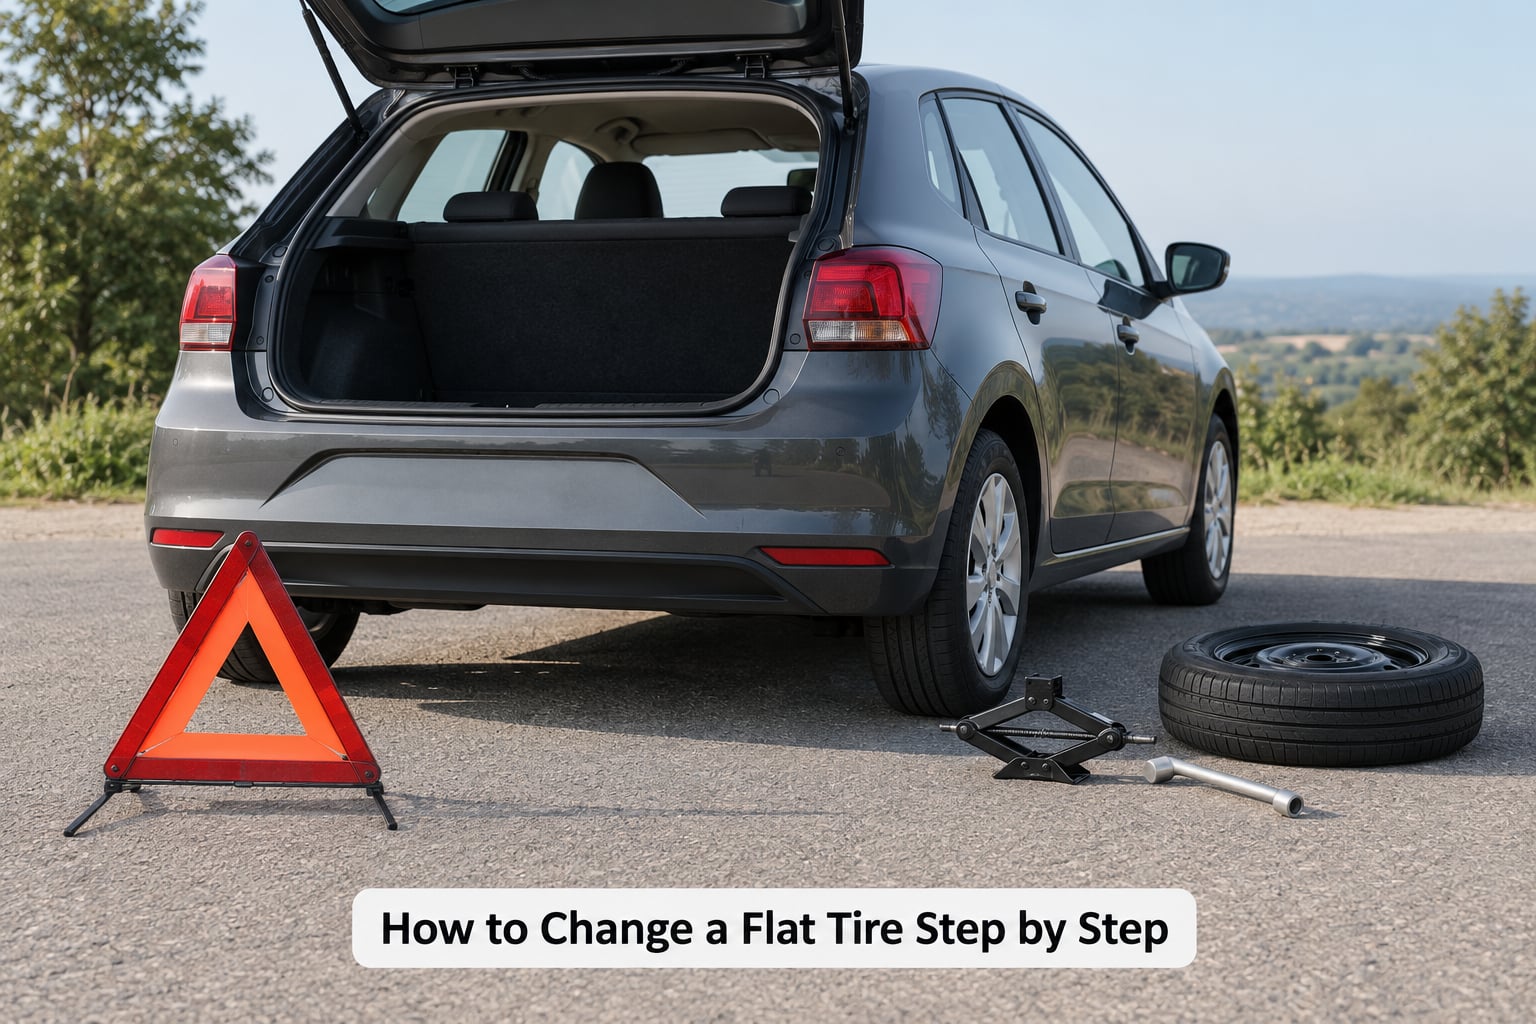
How to Change a Flat Tire Step by Step
1. Confirm the failure before you touch a tool
Look at the tire first, then check its pressure with a gauge and compare the reading with the recommendation on the driver’s door jamb sticker. A visibly squared-off shoulder, a bulge, cords showing through the rubber, or a shredded sidewall means this tire is finished and must not be driven on at any distance.
Run your hand along the tread to find the object that caused it, and feel for airflow or a hiss around the bead. A nail in the tread area is usually a repair; a nail near the sidewall or shoulder is not. If the tire is off the rim entirely, stop assessing and call for help rather than trying to slide it back on.
2. Move to a safe location before anything else
Drive as short a distance as the tire allows and stop on level, firm ground where passing drivers can see you and where the car will not roll. Turn on the hazard lights, set the parking brake, and put the transmission in Park or first gear. Place the chocks against the wheel diagonally opposite the flat.
Never work on a highway shoulder, a narrow residential street with no room to pass, a slope, or soft ground such as mud, sand, or fresh gravel. A jack on soft soil sinks and the car comes down on you. If the nearest safe spot is a parking lot a quarter mile up the road, crawl there at low speed with hazards flashing.
Set your warning triangles the way your state requires; a common rule is one behind the vehicle and one roughly 40 feet further back, moved to the shoulder if there is one.
3. Loosen the lug nuts while the tire is still on the ground
Break each lug nut loose by about one full turn, turning counterclockwise, with the tire carrying the vehicle’s weight. On a five-lug wheel that is usually 30 to 40 pounds of torque, which is the point: the ground is doing the work instead of your arms on a raised car.
Leave them threaded in. If a nut will not move, do not stand on the wrench and heave. That is how rusted nuts snap, and the workaround is a longer breaker bar, a socket and ratchet for leverage, or a squirt of penetrating oil. Skip any aftermarket wheel locks you cannot identify, leave those nuts alone, and deal with them once the spare is on.
4. Set the jack on the jacking point and lift
The jack goes into the factory jacking point, which is a reinforced notch or pad in the frame or sill near the wheel, marked on most vehicles by an arrow or a small jack symbol. Your owner’s manual shows exactly where it is. Never jack under a pinch weld or a plastic trim piece, and never under the differential or the fuel tank.
Before you crank, look at the jack’s base and make sure it sits flat on solid ground, and run your hand along the lifting saddle so the raised teeth cannot catch your fingers. Crank slowly until the tire clears the ground by about 6 inches. Give the car a firm push on the body and feel for movement. If it rocks, the jack is on soft ground or the wrong point, and you need to lower it and start over.
Never get underneath a vehicle supported by the jack alone. If you need to work under the car, support it on rated jack stands first.
5. Take off the flat and fit the spare
Finish removing the lug nuts, support the weight of the wheel, and pull it straight off the studs. A wheel that has been sitting in mud can stick to the hub, so rock it gently rather than levering it against the studs. Lay the flat flat on the ground with the tread up.
Check the spare: is it inflated, is the tread intact, and does the wheel have the right number of holes and a matching center bore? Match the valve stem to the hole in your rim before you mount it, because the sensor in the wheel will not reach through if it is lined up wrong. Slide the spare onto the studs, push it fully home, and thread each nut on a few turns by hand before reaching for the wrench.
On a five-lug wheel, start each nut on the stud that is directly across from its hole, going around the circle. A cross-threaded nut is the most common reason a wheel will not seat or tighten properly later.
6. Lower the car and tighten in a star pattern
Lower the vehicle until the tire just touches the ground, take the weight off the jack, and remove it. Keep the wrench on the nuts and tighten them in a crisscross or star pattern rather than going clockwise around the circle. On a five-lug wheel that means roughly 1, 3, 5, 2, 4. On a four-lug wheel it is 1, 3, 2, 4.
Working in a star pattern seats the wheel evenly against the hub instead of pulling it to one side, which is what causes a tire to wobble or work loose. Then lower the vehicle fully and tighten again, firmly, in the same order. Your owner’s manual lists the torque figure; roughly 80 to 100 foot-pounds is typical for many passenger cars, and a torque wrench gets you there rather than guessing. If the wrench slips or the nut spins without tightening, stop and go to a shop.
You do not have to lower the car completely before the first tightening pass, and you should not skip the second pass after it is down. Both passes matter.
7. Know exactly what kind of spare you are driving on
Read the sidewall or the manual, because the limits differ a lot between spare types.
- Full-size spare: same diameter as the tire it replaces, and it carries the same speed rating. Take it to the tire shop at your normal pace and treat it like any other tire.
- Space-saver or donut spare: smaller and narrower, usually limited to about 50 mph, and often not rated for very long distances. Most manufacturers cap it around 50 to 70 miles at that speed, and the limit is distance as much as speed.
- Temporary spare kit: a slim temporary spare or a sealant-and-compressor kit. The temporary spare has the lowest limit of all, frequently 40 to 50 mph, and the sealant kit is for a single small puncture in a tire that still holds air, not for a tire you have been driving on flat.
- Run-flat tire: designed to run for a limited distance at reduced speed after losing pressure, usually up to about 50 mph and a few dozen miles depending on the tire. You still replace it, and you still do not want to keep driving on it for long.
One run-flat is not a reason to keep the others. Replace the damaged tire, then have the full set checked, because they were designed to wear at the same rate and mismatched tires behave differently on wet and loose surfaces.
8. Stow everything and get the tire dealt with
Put the jack, wrench, chocks, and any wheel-lock key back where they came from, and check the spare’s pressure against the door-jamb figure so the next person to need it is not stuck. Have the nuts retightened at the specified torque after about 50 miles, and drive to a tire shop rather than continuing on the spare for a week.
Whether the punctured tire can be saved is a quick visual call you can make before you load it. A hole in the tread area, away from the shoulder and the sidewall, with no cord damage and plenty of tread left, is normally repairable with a proper patch-plug combo from the inside. A cut in the sidewall, damage at the bead, a hole within an inch or two of the shoulder, or a tire worn to the wear bars is scrap. A plug alone, driven in from outside, seals the tube or the inner liner but leaves the belt and the injury hidden, which is why most shops patch from the inside instead.
Common mistakes to avoid
- Working on soft ground. The jack sinks and the vehicle drops. If the surface moves, back the car out and find pavement.
- Forgetting the chocks. A car jacked with the parking brake on can still creep. Block the wheel on the opposite side.
- Loosening the lug nuts after lifting. Do it on the ground, where the weight helps you.
- Tightening clockwise around the circle. Use the star pattern, then repeat it after the car is fully lowered.
- Over-tightening. Excess torque can strip a nut or crack a stud, and it is hard to undo roadside. Torque to the manual’s figure and no further.
- Using the wrong jacking point. The pinch weld is not a jacking point, and the metal there is thin.
- Ignoring the spare’s limits. The sticker on the sidewall of a donut spare is not decoration. Slow down, keep the trip short, and get it replaced.
- Driving on a visibly damaged tire. If the sidewall is cut, the rim is bent, or the tire is down to the rim, stop driving. That is a roadside assistance or tow job.
- Loose warning devices. Set the triangles on the ground where they will not be knocked into traffic, and never wedge them where a passing car can launch them.
A few habits cover most of the rest. Keep a flashlight, a pair of gloves, and a spare pressure check on your regular maintenance list. If your car has locking wheels, find that key now and know where it lives. And if a change leaves you with any doubt about whether the wheel is fully seated, call roadside assistance rather than driving away and hoping.
Frequently Asked Questions
Can I drive on a temporary spare tire?
You can, but slowly and not far. A temporary or space-saver spare is usually stamped with a limit of 40 to 50 mph, and many manufacturers cap total distance at around 50 to 70 miles. Stay under the printed speed, avoid highway driving, and go straight to a tire shop. Treat the limit as a ceiling on both speed and distance, not just speed.
What should I do if a lug nut will not loosen?
Do not stand on the wrench and jump on it. Spray the nut with penetrating oil, wait a few minutes, then use a longer breaker bar or a socket and ratchet for leverage. If a nut is already stripped or snapped, you will need a specialty socket or a tow, so do not keep forcing it. A nut that will not move is a good reason to call roadside assistance.
Should I tighten the lug nuts before or after lowering the car?
Both. Lower the vehicle until the tire just touches the ground, remove the jack, and tighten in a star pattern. Then lower the car fully and tighten a second time in the same order. The first pass seats the wheel evenly; the second pass locks it down at full weight. Many shops recommend a third check with a torque wrench after about 50 miles.
How much should lug nuts be tightened?
Use the torque figure in your owner’s manual, which is listed for your vehicle and wheel. Many passenger car wheels fall between 80 and 100 foot-pounds, but heavier vehicles and alloy wheels can need more, and under-torquing is the more common and more dangerous error. A torque wrench is inexpensive and gives you the correct number instead of a guess.
When should I call roadside assistance instead of changing a tire?
Call for help when the car is in an unsafe spot such as a highway shoulder, a narrow lane, or a curve where you cannot be seen. Also call if there is no working spare, if the wheel or tire is damaged rather than simply flat, if a lug nut is stripped or missing, if you are injured, or if a truck, van, or heavy SUV tire is involved. Needing help is the sensible choice, not a failure.
Conclusion
The order that matters is this: move the car somewhere safe and secure it, confirm the tire is actually changeable, then get the right tools out before the jacking starts. After that the mechanical work is straightforward. Loosen the nuts on the ground, jack at the factory point, swap the wheel, and tighten in a star pattern twice.
Read your owner’s manual for the jacking points, the torque figure, and the spare’s speed and distance limits, because those three details decide whether a roadside change is safe. Drive to a tire shop rather than living on the spare, keep the removed tire so a shop can judge patch or replace, and get the lug nuts rechecked with a torque wrench after the first 50 miles. If anything about the location, the wheel, or the fasteners feels uncertain, calling roadside assistance is the right call.