Yes, you can detail your own car interior, and most people get a good result in 60 to 90 minutes with a vacuum, a soft brush, microfiber cloths, and one all-surface interior cleaner. What separates a clean car from a disappointing one is order, not equipment. Most people figure out how to detail a car interior at home within a couple of attempts, and it goes like this: clear the cabin, blow dust out of the vents and cracks, vacuum loose debris, wet-clean the hard surfaces, shampoo the fabric, clean the glass, and protect the materials at the end.
Do that sequence and dirt falls onto surfaces you have not cleaned yet. Break the sequence and you end up re-dusting a clean dashboard with whatever the wet pass knocked loose. The steps below follow the order that works.
Table of Contents
- 1What You Need
- 2Step-by-Step: How to Detail a Car Interior at Home
- 31. Prepare the Interior and Check Product Safety
- 42. Vacuum Before You Wet-Clean: Dust and Debris from Every Surface
- 53. Wipe Down Hard Surfaces and Discreet Trim
- 64. Clean Fabric Seats and Carpets
- 75. Condition Leather or Clean Vinyl
- 86. Clean Windows and Screens Without Streaks
- 97. Deodorize and Protect the Finished Interior
- 10Common Mistakes
- 11Frequently Asked Questions
- 12How long does it take to detail a car interior at home?
- 13Is a household vacuum enough to clean car seats and carpet?
- 14What is the safest cleaner for a car dashboard?
- 15How can I remove a bad smell from my car permanently?
- 16How often should I detail the inside of my car?
- 17Conclusion
What You Need
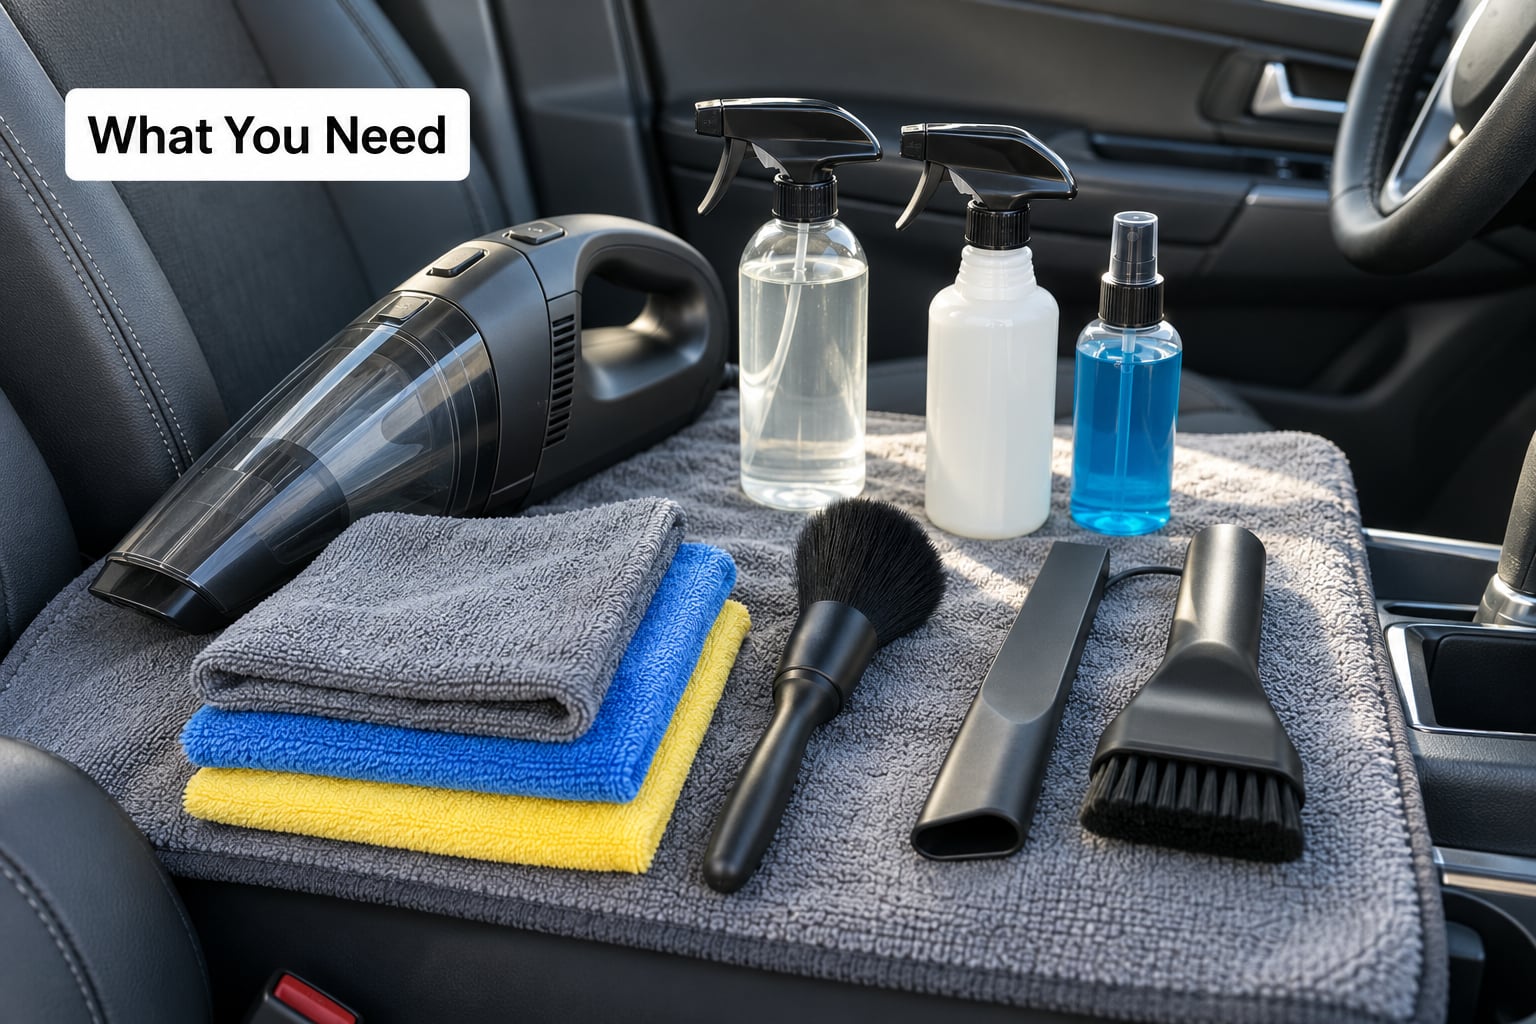
Interior detailing rewards a small kit used properly rather than a large one used carelessly. Group what you need by the job it does.
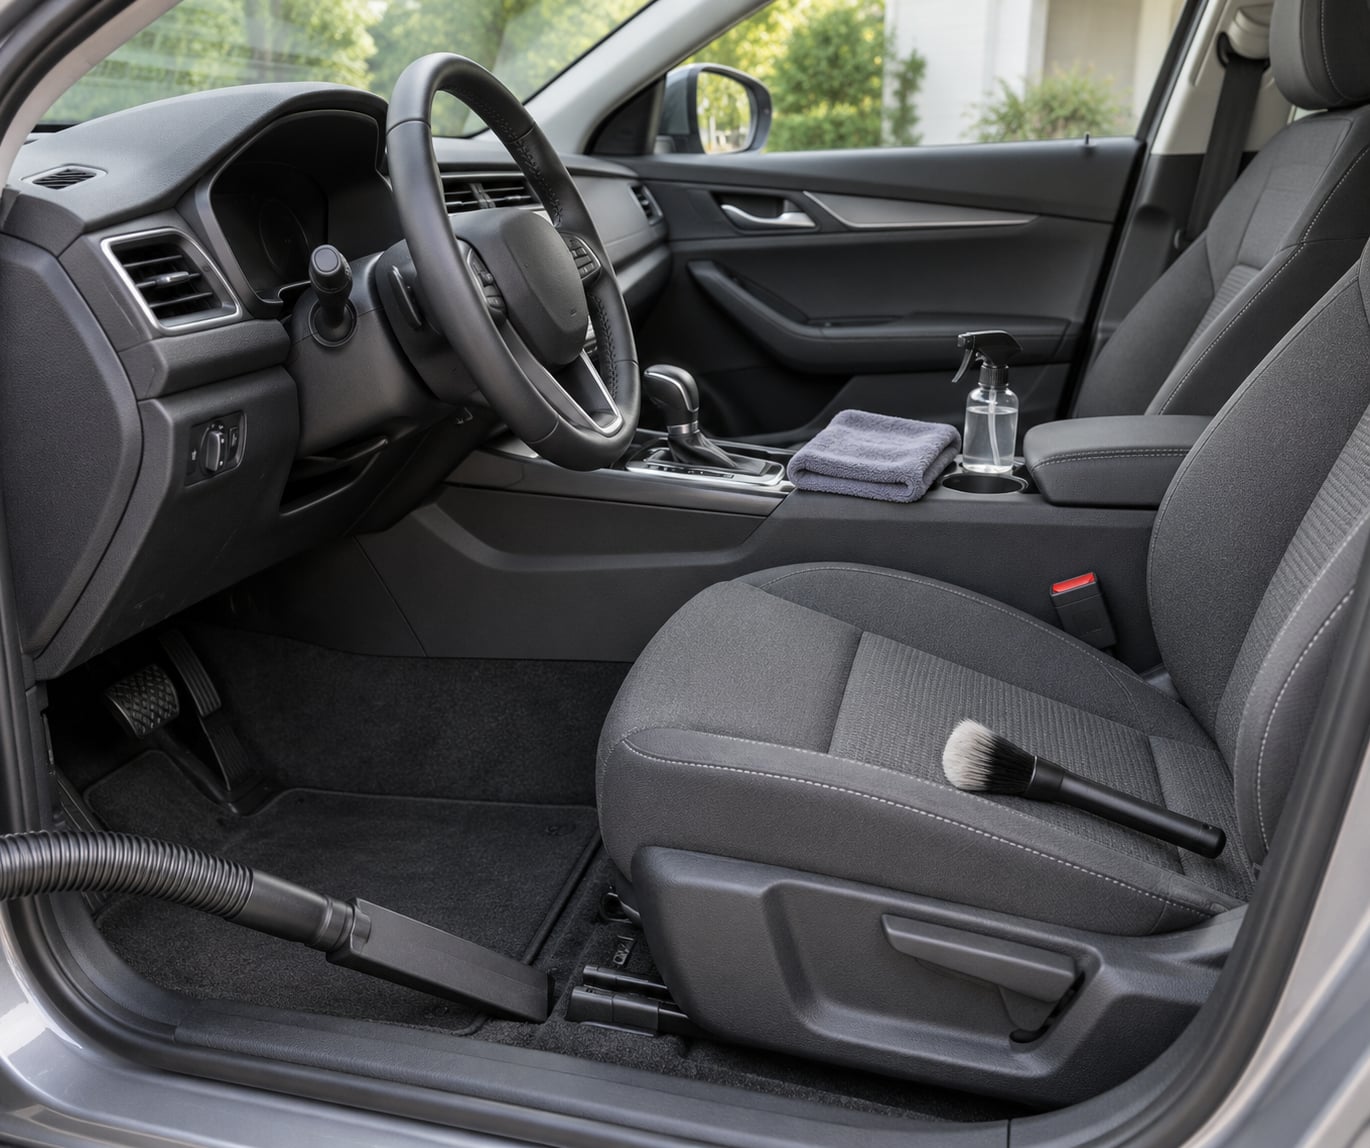
Moving debris: a vacuum with a crevice tool and an upholstery attachment. The crevice nozzle is the one people skip and the one that matters most, because most of the dirt in a car is in the seat rails, the console gaps, and under the floor mats.
Loosening grime: a soft-bristle detailing brush. A toothbrush works in a pinch, but a horsehair or nylon detailing brush lets you work the same edge along a whole vent row without re-wetting it every two inches.
Wiping and drying: at least four microfiber cloths. Give each one a zone — glass, dash and plastics, seats, glass again — and never carry a cloth from the footwell up to the dashboard. Zoning the cloths is the cheapest way to avoid smearing grime around, and it is the one habit that makes the biggest visible difference on the finished job.
Cleaning: a pH-balanced all-surface interior cleaner for plastics and fabric, an ammonia-free automotive glass cleaner, an upholstery shampoo for carpets and cloth seats, and a pH-neutral leather cleaner if you have real leather. Diluted all-purpose cleaner works in a pinch, but a dedicated interior product is gentler on screens, coated plastics, and stitched trim.
Protecting: a matte or satin plastic dressing with UV protection, and a leather conditioner that is not a two-in-one clean-and-condition product.
Before any of it touches the car, work out what you are cleaning. Look at the seats and door panels and decide: leather with visible grain and a soft feel, vinyl that looks like plastic and creases differently, or cloth with a woven texture. Then check the door jamb and the owner’s manual for the factory interior recommendations. Leather especially has its own care instructions, and following them is cheaper than repairing cracked hide.
Two safety rules cover most of the rest. Test every product in a discreet spot — under a seat or the lip of a console — and wait a few minutes to see if it darkens the surface or leaves a mark. And never mix cleaners. Bleach plus an acidic bathroom cleaner produces a gas, and combining ammonia-based products is just as bad. Open the doors before you start, work outside or with the windows down, and keep pets and kids out of the cabin until everything is dry.
Step-by-Step: How to Detail a Car Interior at Home
1. Prepare the Interior and Check Product Safety
Knowing how to detail a car interior at home starts here. Take everything out first. Phones, cables, a half-eaten sandwich, the kid’s crayons, the gym bag under the passenger seat — all of it. Pull the floor mats and take them out of the car entirely, which is the only way to clean them without shaking grit across the carpet.
Then wipe a dusty dashboard with a damp microfiber to see the real soil level. This is the two-pass dirt-reveal trick nobody teaches: a dash that looks passable in daylight comes back grey on the cloth, and that first cloth tells you how much cleaner the surface actually needs.
You have finished preparing when the cabin is empty, the mats are outside, and you know which cleaner goes on which material.
2. Vacuum Before You Wet-Clean: Dust and Debris from Every Surface
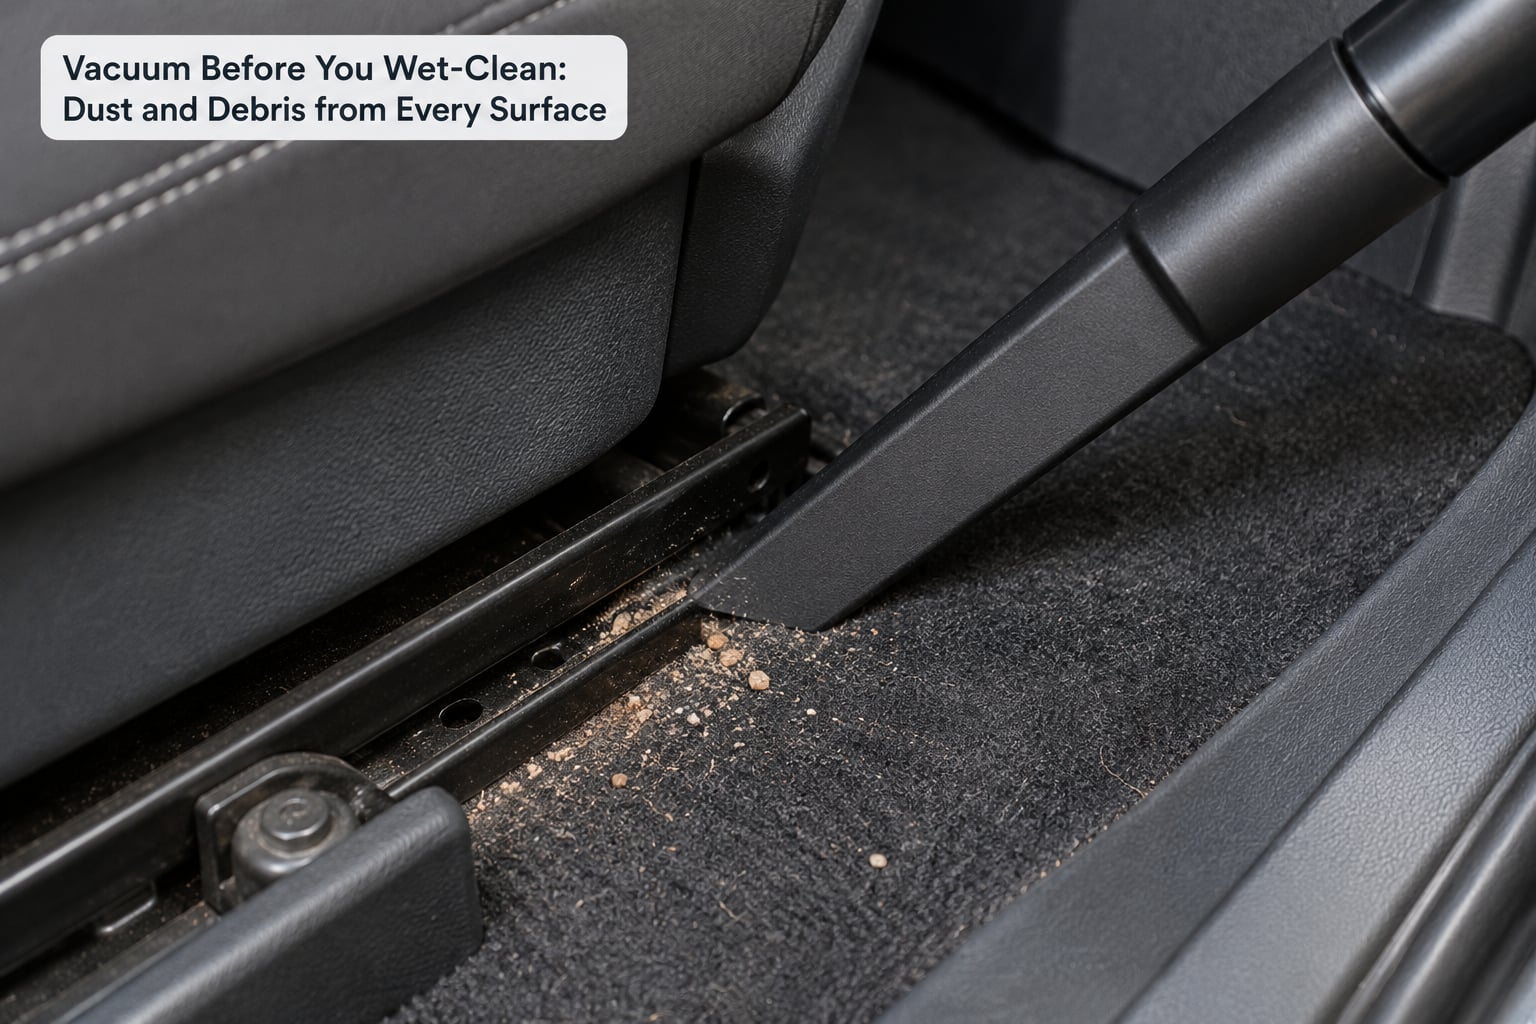
Vacuum before you wet-clean, and vacuum thoroughly, because a wet pass turns loose grit into mud and presses it deeper into the fibers. Work the crevice tool under the seats, down the seat rails, between the console and the seats, around the pedals, into the door pockets, and along the seatbelt anchors where people reach with their hands every day.
Use the upholstery attachment on the seats and carpet with a slow pass, and go over the same area twice in opposite directions. Pet hair and embedded grit need a dedicated tool pass, not a single sweep — a rubber grooming glove or a rubber-bristled brush lifts hair out of cloth before the vacuum takes it away.
Keep the vacuum running while you work. Dragging a full hose across a carpet spreads what you just picked up. The vacuum is done when the crevice tool comes back clean on the second pass and you have run your hand along a seat seam and found nothing on your palm.
3. Wipe Down Hard Surfaces and Discreet Trim
Spray your all-surface cleaner onto the microfiber cloth, never straight onto the dashboard. The cloth should be damp, not wet. You want the product to break the grease on the surface, not to run down between the dash and the windshield, where it dries as a fine dust line that makes glare.
Work across the dashboard, the center console and its lid, the door panels, the steering wheel rim and spokes, the seat control switches, the armrests, and the trim around the instrument cluster. Break the grime out of the texture of the plastics with the soft brush, then wipe the film away with a clean section of cloth.
Air vents deserve their own pass. Hold a vent slat steady, brush it, and wipe with a cloth folded into a narrow point so you get into the slat without spraying into the ductwork behind it. A toothpick wrapped in a microfiber cloth gets dust out of the small slot vents where nothing else will reach.
Be careful around switches, speaker grilles, seatbelt buckles, and the seam of the steering wheel where an airbag lives. Those areas get damp, not soaked, and you should never flood a seam. If the cloth comes back dirty, flip to a clean side and keep going; the mistake people make is wiping the same dirty cloth over four surfaces and calling it a clean.
4. Clean Fabric Seats and Carpets
Cloth upholstery and carpet respond to the same four moves: mist, agitate, blot, dry. Mist the upholstery shampoo lightly over the section you are working, agitate it with the soft brush in short strokes, then blot with a clean microfiber cloth until the cloth comes up with the dirt and no more. Keep the padding damp rather than wet.
For a spot like coffee or a juice spill, work from the outside of the stain toward the center. Cleaning inward spreads it. Blot more than you rub — pressure and time do the work, and scrubbing pushes the stain back into the fiber.
The same rules cover carpet. Use the upholstery attachment with a slow pass over the carpet after shampooing, and pay attention to the edges where the mat sits, because that crescent of trapped grit survives most quick cleanings. Never leave the cabin wet. Roll the windows down, prop the doors, and give it time; a soaked foam pad that has not dried in 24 hours will smell worse on day two than it did before you started.
5. Condition Leather or Clean Vinyl
Leather and vinyl need two separate jobs. Clean first, condition second. A two-in-one clean-and-condition product is the most common mistake here: it leaves behind a film that gets sticky, and over time it cracks the hide as it dries out.
With the pH-neutral leather cleaner on a damp cloth, wipe the panel, then a second time with a clean damp section to remove the cleaner. Pay attention to the stitching, the bolsters, and the perforated center sections where dirt collects. Then let it dry properly before you touch a conditioner to it. If the surface looks wet, it is not ready.
Apply a thin coat of conditioner and let it haze, then buff off the haze with a clean cloth. Work one panel at a time so you can see how the finish is turning out.
To test for dye transfer, wipe a white cloth firmly across a worn crease and look at the cloth. If it picks up dark color, the dye is moving, and the leather is far past the point where a home detail will restore it. That is a replacement or a re-dye job, not a conditioning problem.
Vinyl needs less. Wipe it with the all-surface cleaner, keep water away from any stitching, and skip the leather conditioner unless the manufacturer says the surface accepts it. Matte and textured trim in particular does not want a glossy dressing on it.
6. Clean Windows and Screens Without Streaks
Interior glass is where a detail shows itself. Use an ammonia-free automotive glass cleaner and put it on the cloth, not the glass — household ammonia glass cleaner strips tint film and dries out rubber window seals, and both are expensive to put back.
Break the job into small panes. Windshield, each side window, the rear glass, the mirror. Two clean cloths, one to apply and one to buff dry, and a straight buff in a tight circular motion at the end. Paper towels leave lint and streaks; a dampened cotton or microfiber cloth does not.
For the infotainment screen, instrument cluster, and touch-sensitive steering-wheel controls, use the least product you can get away with. Lightly dampen a fresh microfiber cloth, wipe gently, and stop. Spraying a screen directly and then scrubbing it is how you get micro-scratches and a dead touch button. Check the owner’s manual first, because some displays have an anti-glare coating that certain sprays will haze permanently.
Give the screen a few minutes before you turn the car on, and never clean it in direct sun while the panel is hot.
7. Deodorize and Protect the Finished Interior
A smell you cannot find is a smell you cannot remove. Start at the source: a soaked floor mat, a coffee spill in the seat seam, a wet trunk liner, the crumb graveyard under the passenger seat, or a dirty evaporator core. Pull the cabin and trunk filters, and check whether any of them smell damp. Clean the drip channels under the doors and the drain holes at the base of the doorsills, where water and gunk collect.
Then use an absorbent or an enzymatic product according to its label, put it where the label says, and give it time. Enzyme products break down organic material, so a spill you treated in March may still be working in April. Let everything dry completely — a fan in the cabin helps — and then move on to protection.
Apply the matte plastic dressing thinly to the dashboard and hard plastics, and the leather conditioner only where leather actually is. Thin is the operative word. The sticky dashboard problem almost always comes from product that was applied too heavily or allowed to dry without being buffed, and the fix is dilution and a proper buff, not a stronger spray.
A correctly detailed interior looks even: no haze on the dash, no streaks in the glass, no grey water lines on the carpet, and no visible dust in the vent slats. It should smell like nothing in particular, which is the goal. Not perfume, not a heavy fragrance, just clean.
Common Mistakes
Most ruined interior details come down to the same handful of errors, and every one of them has a simple fix.
Over-wetting upholstery. A soaked seat foam takes days to dry and starts to smell. The correction is to mist, not spray, and to blot with dry cloths until the fabric stops releasing water.
Spraying product directly onto electronics. Dashboard screens, the instrument cluster, and touch controls can be permanently hazed by overspray. Correction: dampen the cloth, never the screen.
Using one cloth for the whole cabin. You end up redistributing the dirt you just removed. Correction: one cloth per zone, and swap faces often.
Ignoring seat belts and seams. The webbing and the creases beside the bolsters are the two places people actually touch, so they are the two places that stay grimy. Correction: a separate damp cloth for belts, and a small brush for the seams.
Mixing cleaners. Never combine products unless the label explicitly says to. Some combinations release harmful gas, and none of them clean better.
Using the wrong product on leather or matte trim. Glossy dressing on textured plastic gives you a shine that catches the low sun and turns the windshield into a mirror. Correction: a matte or satin finish, and no leather conditioner on vinyl or plastic.
Cleaning windows with paper towels. They lint, and they streak once the glass is warm. Correction: ammonia-free automotive glass cleaner on a microfiber cloth, with a second clean cloth for the dry buff.
Leaving moisture trapped under the floor mats. Put a damp mat back in and you have created a mold farm. Correction: mats out, washed, and fully dry before they go back in.
Two more tricks worth knowing. Vacuum before you wet-clean, never after, or you grind grit into the fibers. And work top to bottom, so the dust you knock out of the vents and the dash falls onto carpet you have not cleaned yet instead of onto a console you already finished.
Frequently Asked Questions
How long does it take to detail a car interior at home?
A basic interior detail takes 60 to 90 minutes for an average car with light to moderate dirt, and closer to two hours if there are pet hairs, spills, or odors. Budget an extra 30 minutes for shampooing and drying carpets and seats. The first attempt is slower because you are learning your own layout, so allow two hours and do not rush the drying stage.
Is a household vacuum enough to clean car seats and carpet?
Yes, as long as it has a crevice tool and an upholstery attachment. A shop vac with a narrow nozzle reaches seat rails and console gaps far better than an upright with a wide floor head. The weak point of a household vacuum is the small debris, so pair it with a detailing brush to lift embedded grit and pet hair out of the fabric before you vacuum.
What is the safest cleaner for a car dashboard?
A pH-balanced all-surface interior cleaner applied to a damp microfiber cloth, not sprayed directly onto the dash. It lifts grease from textured plastics without stripping the surface or leaving a film. Skip anything ammonia-based, and avoid glossy dressings, which catch low sun and cause windshield glare. Patch-test in a hidden spot first.
How can I remove a bad smell from my car permanently?
Find the source before you cover it. Soaked floor mats, spills soaked into seat foam, a damp trunk liner, and a clogged evaporator are the usual causes. Remove and clean the mats, pull the cabin and trunk filters, clear the drain channels under the doorsills, and use an enzymatic product as its label directs. Let the car dry fully with the doors open.
How often should I detail the inside of my car?
A quick vacuum and wipe-down every four to six weeks keeps most daily drivers in good shape, and a full detail every six to twelve months handles what routine cleaning misses. Increase the frequency with pets, kids, winter road salt, or a lot of highway driving. If the smell returns within weeks, the problem is a source, not a schedule.
Conclusion
Start by taking everything out of the car and pulling the floor mats, then work out which surfaces are leather, vinyl, plastic, or cloth before you open a single bottle. Get that right and how to detail a car interior at home stops being a gamble.
From there the order carries the job: blow out the vents and cracks, vacuum every surface and crevice, wet-wipe the hard surfaces, shampoo the fabric, clean the leather or vinyl properly, finish the glass and screens, then dry, deodorize, and protect. Follow the owner’s manual for anything manufacturer-specific, and read the label on every product you use. Most of the work is habit, not equipment, and the second time you do it takes half as long as the first.