Tiling a backsplash is a manageable weekend project when you plan the layout before you spread any mortar. A straight run between a counter and upper cabinets takes roughly a day and a half of hands-on work, plus a short grouting session the next day.
The honest truth: the tile cutting is the easy part if you have steady hands and a decent cutter. The part that decides whether the job looks professional is the layout, and it is pure measuring and arithmetic. Get that right on a scrap of countertop first and the wall mostly sets itself.
Everything below assumes standard ceramic or porcelain tile, adhesive mortar, and grout. If your wall has old adhesive residue, crumbling paint or soft spots, stop there and fix the wall first, because tile fails at the wall and never at the tile.
Table of Contents
- 1What You Need
- 2Step-by-Step: How to Tile a Backsplash for Beginners
- 3Step 1: How to Tile a Backsplash for Beginners-Prepare the Wall
- 4Step 2: Measure and Mark the Layout
- 5Step 3: Cut the Tiles to Fit
- 6Step 4: Apply Adhesive and Set the First Tiles
- 7Step 5: Continue the Rows and Make the Cuts Fit
- 8Step 6: Grout and Wipe the Joints
- 9Step 7: Let the Tile Cure and Finish the Edges
- 10Common Mistakes and How to Fix Them
- 11Frequently Asked Questions
- 12How long does it take to tile a backsplash?
- 13How many tiles should I buy for a backsplash project?
- 14Can I tile over an existing backsplash?
- 15Where should beginners place the first backsplash tile?
- 16Can I replace one broken tile without removing the entire backsplash?
- 17Conclusion
What You Need
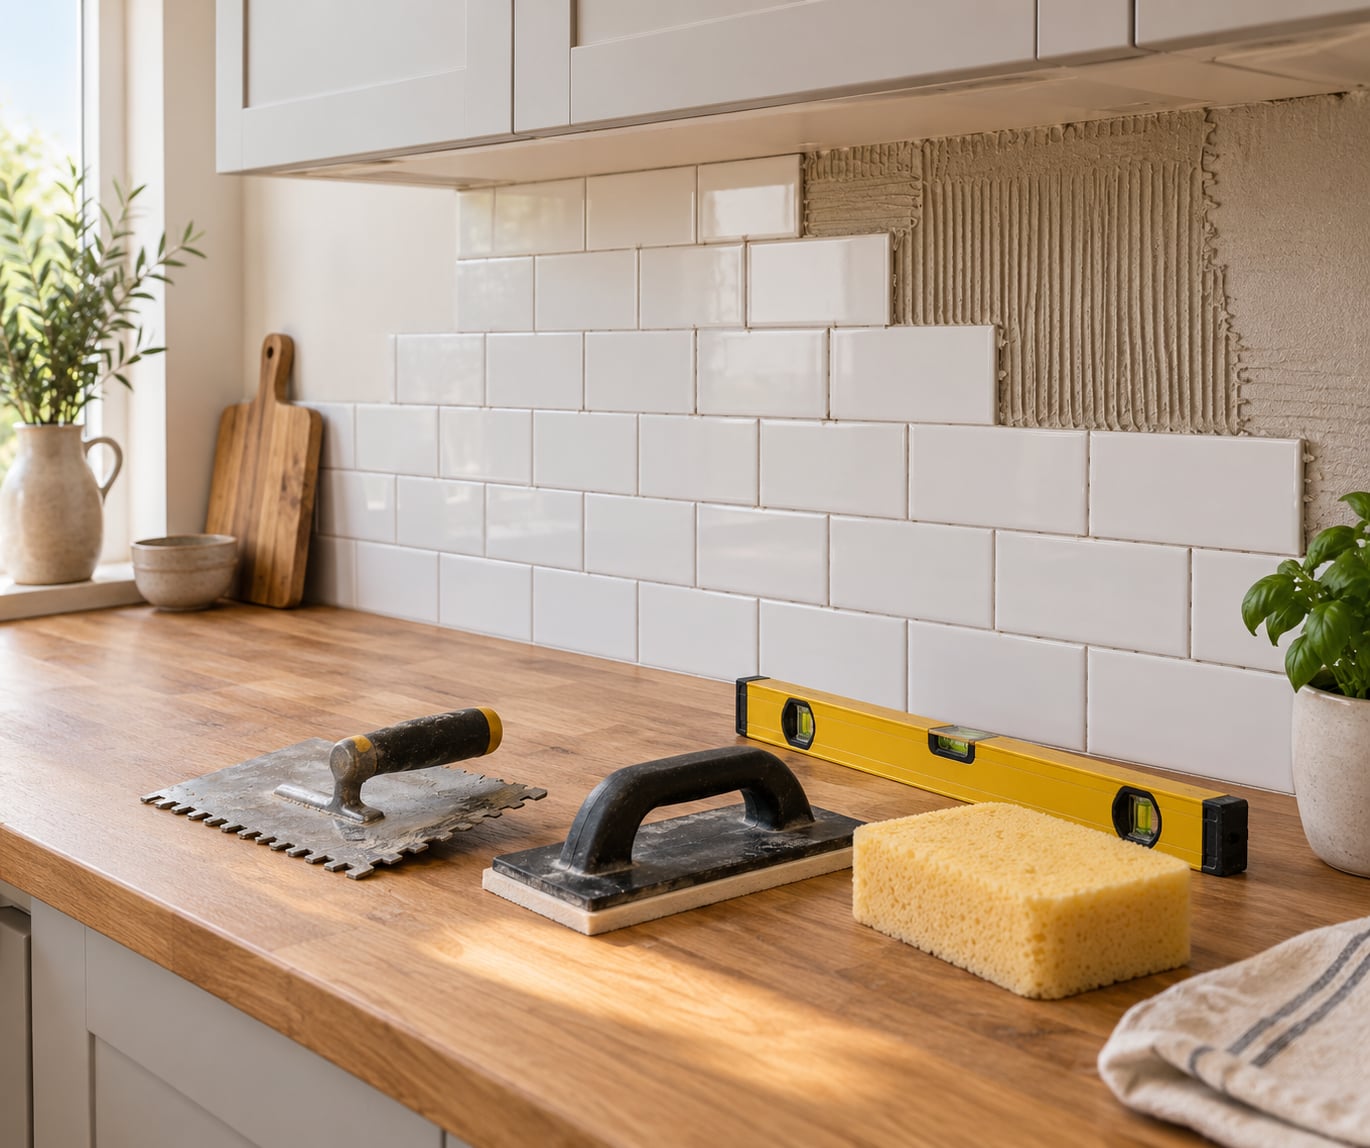
Start with the tile and work outward. A short list of the right tools is below, and most beginners can rent the specialty items rather than buy them.
| Item | What it does on this job |
|---|---|
| Backsplash tile | The finish itself, plus 10 percent extra for cuts and mistakes |
| Tile mortar or premixed adhesive | Bonds tile to the wall; thin-set for heat areas |
| Tile spacers | Holds even grout joints, usually 1/16 inch for a tight look |
| Notched trowel | Combs ridges so the mortar grips the back of the tile |
| Score-and-snap cutter | Clean straight cuts on ceramic and porcelain |
| Wet saw or diamond hole saw | Notched and curved cuts around outlets and pipes |
| 4 foot level | Checks the wall is flat and every row is straight |
| Tape measure, pencil, chalk line | Marks the center line and row heights |
| Rubber grout float | Presses grout into the joints |
| Sponge, bucket, mixing paddle | Mix and wash grout |
| Silicone kitchen and bath caulk | Seals the counter seam and inside corners |
| Safety glasses, gloves, dust mask | Cheap insurance when cutting and mixing |
Order 10 percent more tile than your measured area. Bump that to 15 percent when the wall has outlets, a window or a diagonal pattern, because every obstacle turns a straight cut into a notched cut.
Match the material to the room. In a kitchen, use porcelain or glazed ceramic with sanded grout in joints wider than 1/8 inch, and use a cement or acrylic silicone sealant rather than grout along the counter seam. In a bathroom, unsaved grout suits narrow joints and flexible joints better, and silicone belongs at every inside corner.
One warning on adhesive: premixed mastic is genuinely easier to work with than bagged thin-set, and it is fine behind most counters. It is not fine directly behind a cooktop, because heat can soften it. Above a range or cooktop, use a cementitious thin-set rated for that location.
Step-by-Step: How to Tile a Backsplash for Beginners
Seven stages, taken in order. Do not move to the next stage until the current one has dried or set, because grouting onto wet mortar is how beginners end up with a wall that never holds.
| Stage | Hands-on time | Wait before the next stage |
|---|---|---|
| Prepare the wall | 1 to 1.5 hours | Dry overnight if you patched |
| Measure and mark layout | 45 to 60 minutes | None, but do not rush it |
| Cut tiles | 45 to 90 minutes | None |
| Set the tile | 2 to 4 hours | 24 hours |
| Grout | 1.5 to 2 hours | 24 hours before sealing |
| Caulk and seal | 30 to 60 minutes | 24 hours before water exposure |
Step 1: How to Tile a Backsplash for Beginners-Prepare the Wall
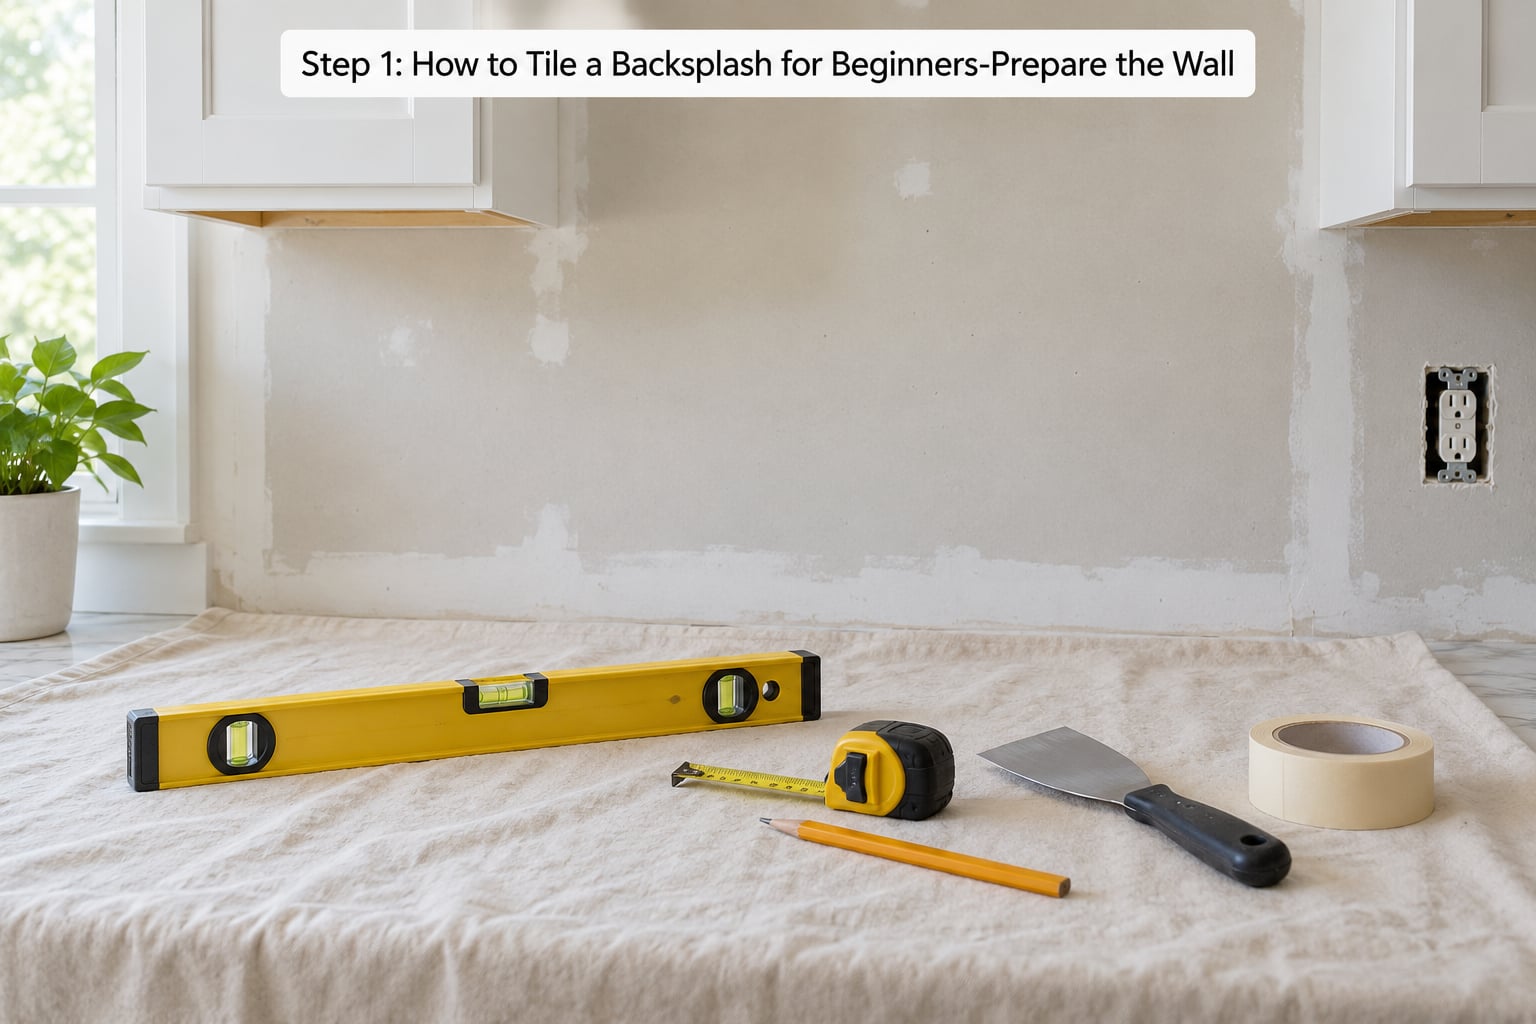
Time: 1 to 1.5 hours. Difficulty: easy, and the least glamorous stage in the project.
Pull off the outlet and switch cover plates and let them hang loose but connected. Shut the power off at the breaker for those circuits before anything else, and if your project involves moving or relocating an outlet, that is electrical work for a licensed electrician, not a tile setter.
Scrape or sand any loose paint, scrape away old adhesive residue, and wash the wall down to bare, clean drywall. Grease does not accept mortar. Patch holes and gouges with setting compound, then check the patch with a level once it dries.
Run the level across the wall in several spots. Most interior drywall is flat enough for tile, but older homes often have a bow or a stud that stands proud, and that is the cause of most lippage complaints later.
You will know this stage worked when a straightedge held against the wall shows no rock bigger than a pencil eraser and the wall is cool, dry and dust-free. Mask off the counter, cabinets and window trim with painter’s tape before anything else gets messy.
Step 2: Measure and Mark the Layout
Time: 45 to 60 minutes. Difficulty: easy arithmetic, but the most consequential hour of the project.
Measure the wall width at the counter and the height from the counter to the underside of the upper cabinets. Mark the horizontal center of the wall with a pencil line, then check the wall width again at the far end. Walls are rarely square, so measuring once at a narrow spot can put your end cuts badly out of balance.
Now decide what lands on the center line: a whole tile or a grout joint. Try both on paper and pick whichever leaves the bigger cut at each end. A layout that leaves a 1-inch sliver on one side is the mistake beginners make most often, because they start in the corner out of habit.
As a working rule, keep at least a third of a tile on both ends. If the math will not give you that, it is usually better to shift the pattern to use two rows of part tiles than to fight for one perfect row.
Snap a level horizontal line for the top of the bottom course, and mark that it sits about 1/8 inch above the countertop rather than touching it. That gap is where silicone goes later. Locate the studs and mark their edges on the wall so you know where tile will bite hardest.
The best verification is a dry fit. Lay a full row of tile loose on the counter, position it under your center line, and slide a spacer-width piece in and out of each joint until the joints match your spacers. Tape out the outlets and any appliance on the counter in that same dry layout before you open a bag of mortar.
Step 3: Cut the Tiles to Fit
Time: 45 to 90 minutes. Difficulty: medium, and the stage beginners most worry about.
For straight cuts, score the tile once with a manual score-and-snap cutter and snap it. Two moderate passes beat one hard pass, because heavy pressure on the scoring wheel is what chips the edge. Support the tile on a flat surface at both ends of the cut.
For notches around an outlet or a pipe, first make the straight cuts that form the sides of the notch, then take out the waste with a diamond hole saw or a wet tile saw. A wet saw gives the cleanest result and controls dust with water, which matters indoors.
Measure twice, cut once, and always cut a spare offcut before you cut a full tile. If your test cut fits, the real cut will too. Make every cut from the same face of the tile so the visible side stays consistent.
You will know the cut worked when the edge is straight with no micro-chips along the face and the cut tile still slides into its dry-fit position without forcing.
Step 4: Apply Adhesive and Set the First Tiles
Time: about 30 minutes per section. Difficulty: easy once the layout exists.
Mix bagged thin-set to the consistency of thick peanut butter and let it sit for the time printed on the bag, usually 5 to 10 minutes, before stirring it again. Premixed adhesive needs no soaking. Both start to cure as soon as they are spread, so mix less than you think you need.
Spread the mortar with the notched trowel in straight lines, then drag the notches across those lines at a right angle so the ridges collapse into a single flat plane with clean comb marks. Skinny ridges mean poor coverage, and poor coverage is why tiles pop off later.
Place the first tile on your center line, press it in with a slight twist, and let it settle. Push spacers into the two vertical joints and check the tile with your level. Adjust before the mortar firms up.
Work in sections no larger than you can cover comfortably, and only comb fresh mortar right before you set tile into it. The section is going correctly when the face of the tile reads level, the grout joints match the spacers exactly, and the surface sits flush with the tiles already set.
Step 5: Continue the Rows and Make the Cuts Fit
Time: 2 to 4 hours for a full kitchen run. Difficulty: easy once the first tile is placed.
Build outward from the center line in both directions, one row at a time, using spacers in every joint. Check level and plumb every few tiles, because small errors travel across a wall faster than people expect.
When a tile sits high, tap it gently with the handle of your cutter. Never shove it sideways to force a fit, since that shoves it out of plane instead. Wipe squeeze-out from the face with a damp sponge before it skins over.
Measure every obstruction separately. Outlets, range hoods, window trim and cabinet corners each get their own measurement taken from the finished edge of the last tile in the row, never from your original wall marks.
Where two cuts need to meet on a corner, overlap them by roughly the width of one tile and trim them together on the wall once the mortar sets, so the seam reads as a single clean joint. Mask any exposed vertical edge, or finish it with bullnose tile or metal edge trim.
Step 6: Grout and Wipe the Joints
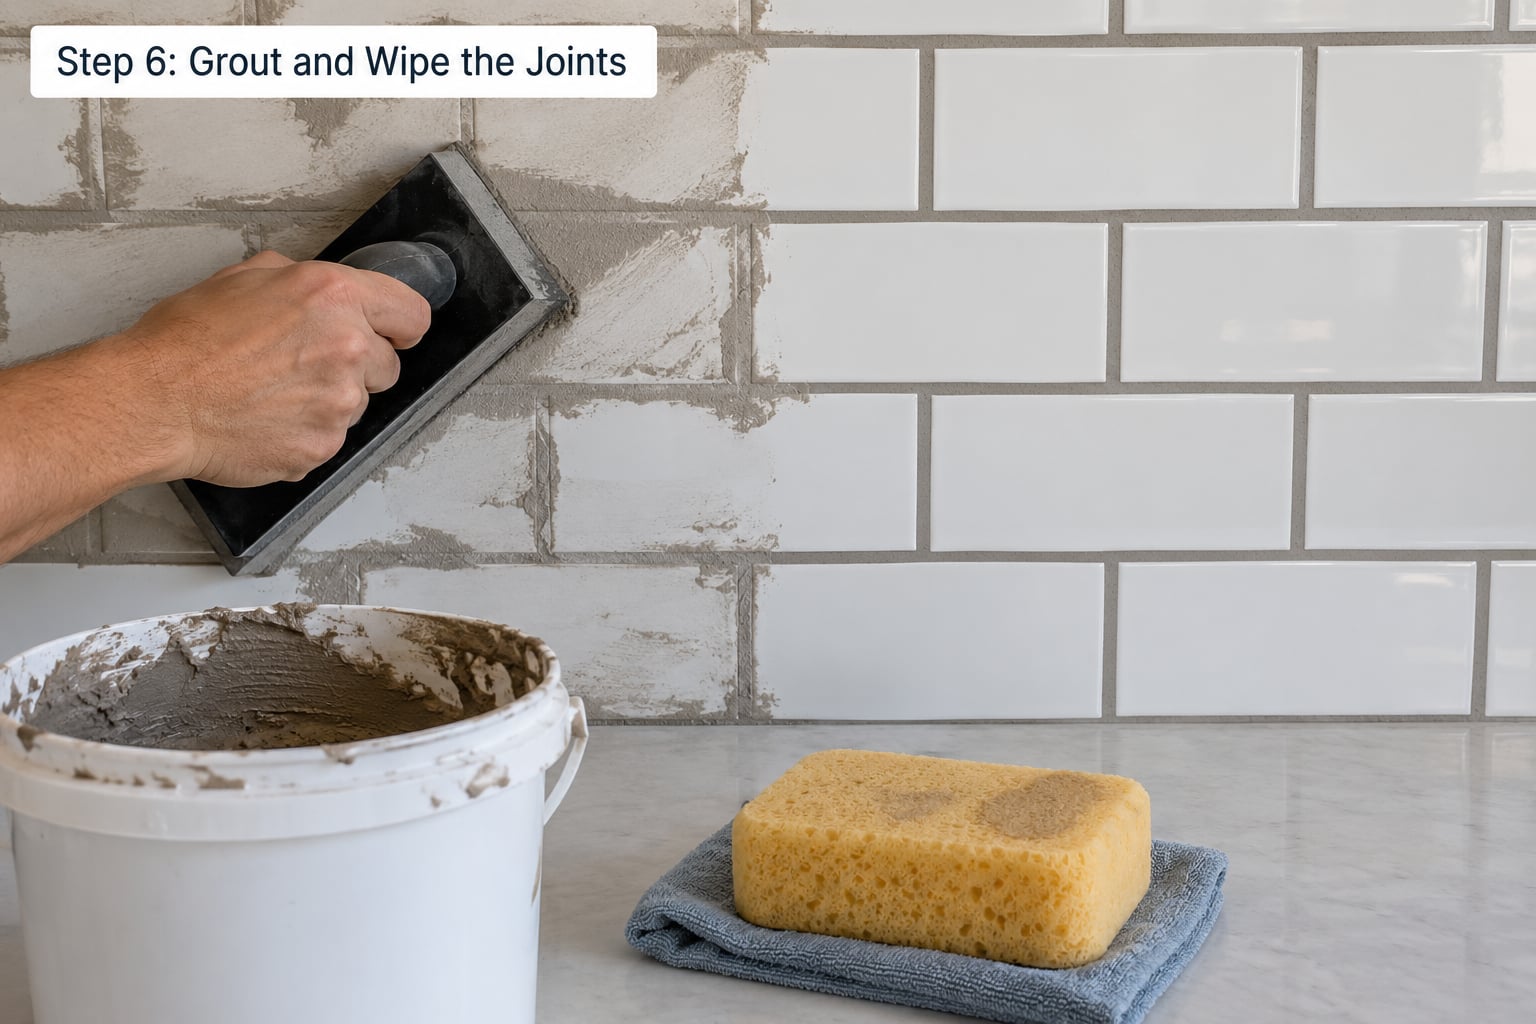
Time: 1.5 to 2 hours, then drying. Difficulty: medium, mostly because of timing.
Wait at least 24 hours after setting tile, then pull the spacers out and scrape any dried mortar off the surface with a stiff brush. Vacuum or wipe the joints so the grout has a clean path to bond to.
Mix grout to the consistency of cake batter, with no dry powder sitting in the bucket. Push it into the joints with the rubber float, working diagonally across the tile face rather than parallel to the grout line, so the float does not scoop grout back out of the joint it just filled.
Let the surface turn hazy, then wipe with a damp sponge that is damp and not soaking. You have roughly a ten-minute window before the grout firms enough to haze the tile permanently. Rinse the sponge often, and skip the whole bucket of clean water people recommend online. Let the joints firm up in the shade, then detail the surface once more with barely damp movements.
Step 7: Let the Tile Cure and Finish the Edges
Time: 24 to 72 hours of waiting. Difficulty: easy, mostly waiting.
Wait 24 hours before exposing grout to water, and 72 hours before heavy steam or a shower if the bathroom has one. Follow the cure times printed on your grout and sealant, since formulas differ.
Remove every scrap of masking tape before the adhesive on it bonds, and sweep and vacuum the wall. Run a bead of silicone kitchen and bath sealant along the joint where tile meets the countertop, and a matching bead into any inside corner.
Tool the bead with a damp fingertip in one steady pass and leave it alone. If your tile is natural stone, marble, slate or any other porous material, seal it before grouting and again afterward, following the sealer directions.
A small chip on an exposed edge can be filled with matching grout and sanded flush after the grout cures. If it bothers you visually, that edge is what edge trim exists for.
Common Mistakes and How to Fix Them
Nearly every backsplash problem traces back to one of eight things. Here they are with the fix, so you can catch them before the grouting stage.
- Starting in the corner. Corners are rarely square, so the error compounds down the wall. Fix: center a tile or a grout joint on the center line and take the cuts at each end.
- Skinny slivers at the ends of a row. A 1 inch sliver breaks more easily and looks wrong. Fix: shift the pattern until at least a third of a tile remains at both ends, even if it means using two part-tile rows.
- Butting the bottom row onto the countertop. There is no room for a sealant bead, so the counter seam cracks later. Fix: hold the first course about 1/8 inch above the counter with spacers on a flat surface.
- Thin or skimpy mortar. Tile with poor coverage taps hollow when you tap it and fails under load. Fix: comb the notches in two directions and press each tile with a twist.
- Inconsistent spacing. Using spacers on some joints and eyeballing the rest makes a wavy grid. Fix: use spacers in every joint, and use level plus a straightedge every few tiles.
- Forcing tiles to fit a cut. Shoving a tile sideways instead of recutting leaves it out of plane. Fix: recut, then fit.
- Letting grout haze dry. Once the film cures, it needs a haze remover or an acid wash. Fix: wipe at the hazy stage with a damp sponge, changing water often.
- Cutting without a spare. One bad cut and you are out of matching tile. Fix: test every cut on an offcut first, and check the wall width at both ends before you trust your layout.
Three habits cover most of the list. Inspect the substrate before you buy anything, use the trowel notch specified for your tile size rather than whatever is in the bucket, and clean your tools in a bucket while you work because dried mortar ruins a float and a trowel overnight.
Paint deserves its own warning. If the wall carries an oil-based finish, water-based paint applied over it later will fail, and mortar over that paint will too. Scrape to bare drywall or prime with a product rated for the surface before you start.
Frequently Asked Questions
How long does it take to tile a backsplash?
A typical kitchen backsplash takes about a day and a half of hands-on work for a first-timer: a few hours to prep and mark, a morning of cutting and setting, then 24 hours before grouting and a couple more hours to grout and wipe. A small half bath or laundry room wall takes an afternoon. Add a day or two of curing before you seal or use the sink heavily.
How many tiles should I buy for a backsplash project?
Measure the wall width and height, subtract the areas covered by upper cabinets, the range hood and the window, then buy 10 percent extra. Add another 5 percent if the wall has outlets or a diagonal pattern, since those turn straight cuts into notched ones. Buying in whole boxes and keeping the leftover sheets for future repairs is worth the extra material.
Can I tile over an existing backsplash?
You can tile over sound, well-adhered existing tile, but you must not tile over loose tile, flaking adhesive residue or peeling vinyl. Everything has to be secure, clean and lightly scuffed so the new mortar grips. Removing old tile takes longer than people expect because the adhesive underneath usually needs scraping or grinding, and grinding indoors means controlling dust carefully.
Where should beginners place the first backsplash tile?
Center a whole tile on the center line of the wall, or center a grout joint there, whichever leaves the larger cut at each end. Beginners often start in a corner because it feels convenient, but corners are rarely square and the error travels across the wall. Keep at least a third of a tile on both ends so you avoid fragile slivers.
Can I replace one broken tile without removing the entire backsplash?
Yes, and it is a normal repair. Break the damaged tile into small pieces, chisel out the old mortar down to sound backing without knocking the neighbouring tiles, set the new tile in fresh adhesive with spacers to match the existing joints, and grout that section the same way as the rest. Matching grout colour closely is harder than matching the tile, so buy a small test amount first.
Conclusion
Tiling a backsplash comes down to three things done in the right order, and none of them involve being an expert. Inspect the wall and fix anything soft, loose or greasy, confirm your tile and grout suit the room and the heat, then lay a centered dry layout on the counter and check the end cuts before you open the mortar.
Take your time at the layout stage, work in sections you can finish, and wipe the grout while it is still hazy rather than trying to fix haze later. That is the whole project.