To fix peeling paint on walls, find and stop the moisture source, scrape away every loose flake, sand and feather the edges, patch the holes, prime with a bonding primer, then repaint with two thin coats. Most repairs take an afternoon and need no drywall work.
You cannot simply paint over peeling paint. New paint bonds to the loose layer instead of the wall, so a month or two later it peels off in long rubbery strips, usually taking the old coat with it. Sound but chalky paint can be sealed with the right primer; anything lifting at the edge has to come off first.
Peeling paint is fixable without replacing drywall, as long as you deal with the cause before the repair. If a leak, condensation problem, or failed exhaust fan is still feeding the wall, the fresh coat will fail too. That cause-first habit is the single thing that separates a repair that lasts from one that has to be redone next season.
Budget about an hour per 10 square feet of damaged area for the whole job, and add drying time on top. Smaller jobs are genuinely beginner territory. Large ceilings, exterior siding, and anything that smells damp or shows staining are worth a professional look.
Table of Contents
- 1What You Need
- 2How to Fix Peeling Paint on Walls: Step by Step
- 3Step 1: Diagnose Why the Paint Is Peeling
- 4Step 2: Prepare the Wall and Work Area
- 5Step 3: Choose the Right Repair Material
- 6Step 4: Apply, Dry, and Sand the Repair
- 7Step 5: Prime and Repaint the Wall
- 8Common Mistakes
- 9Frequently Asked Questions
- 10Why is paint peeling off my walls?
- 11Can I paint over peeling paint instead of removing it?
- 12How do I fix peeling paint without repainting the whole wall?
- 13Should I use primer after fixing peeling paint?
- 14What causes peeling paint even when the wall looks dry?
- 15When should I hire a professional instead of repairing peeling paint myself?
- 16Conclusion
What You Need
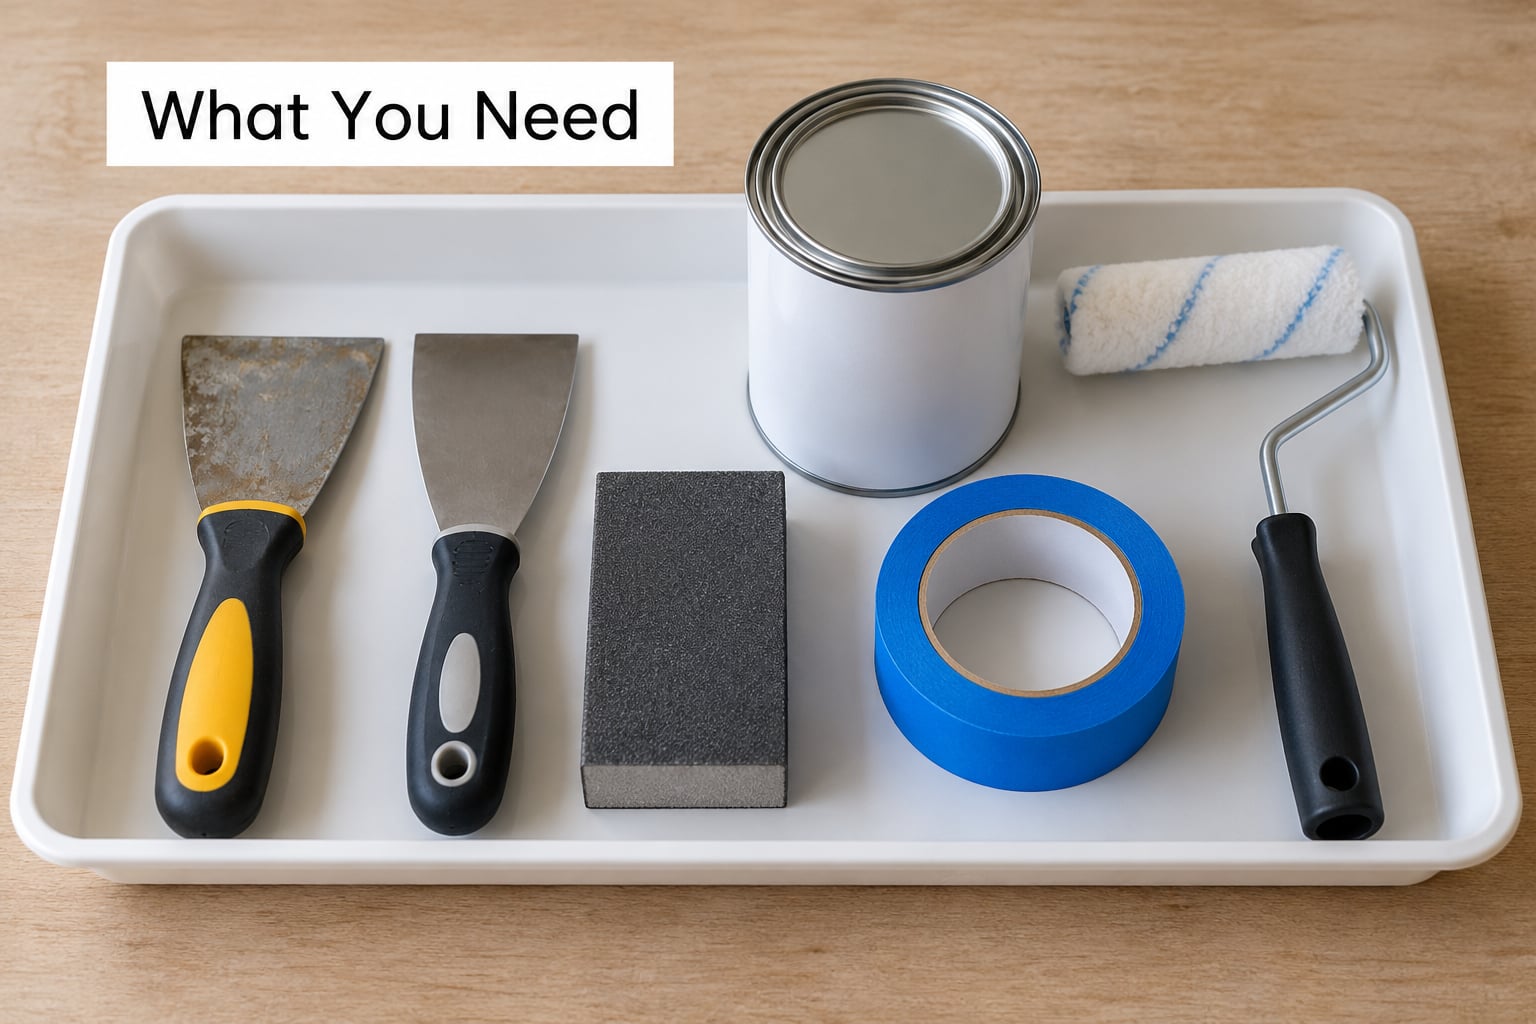
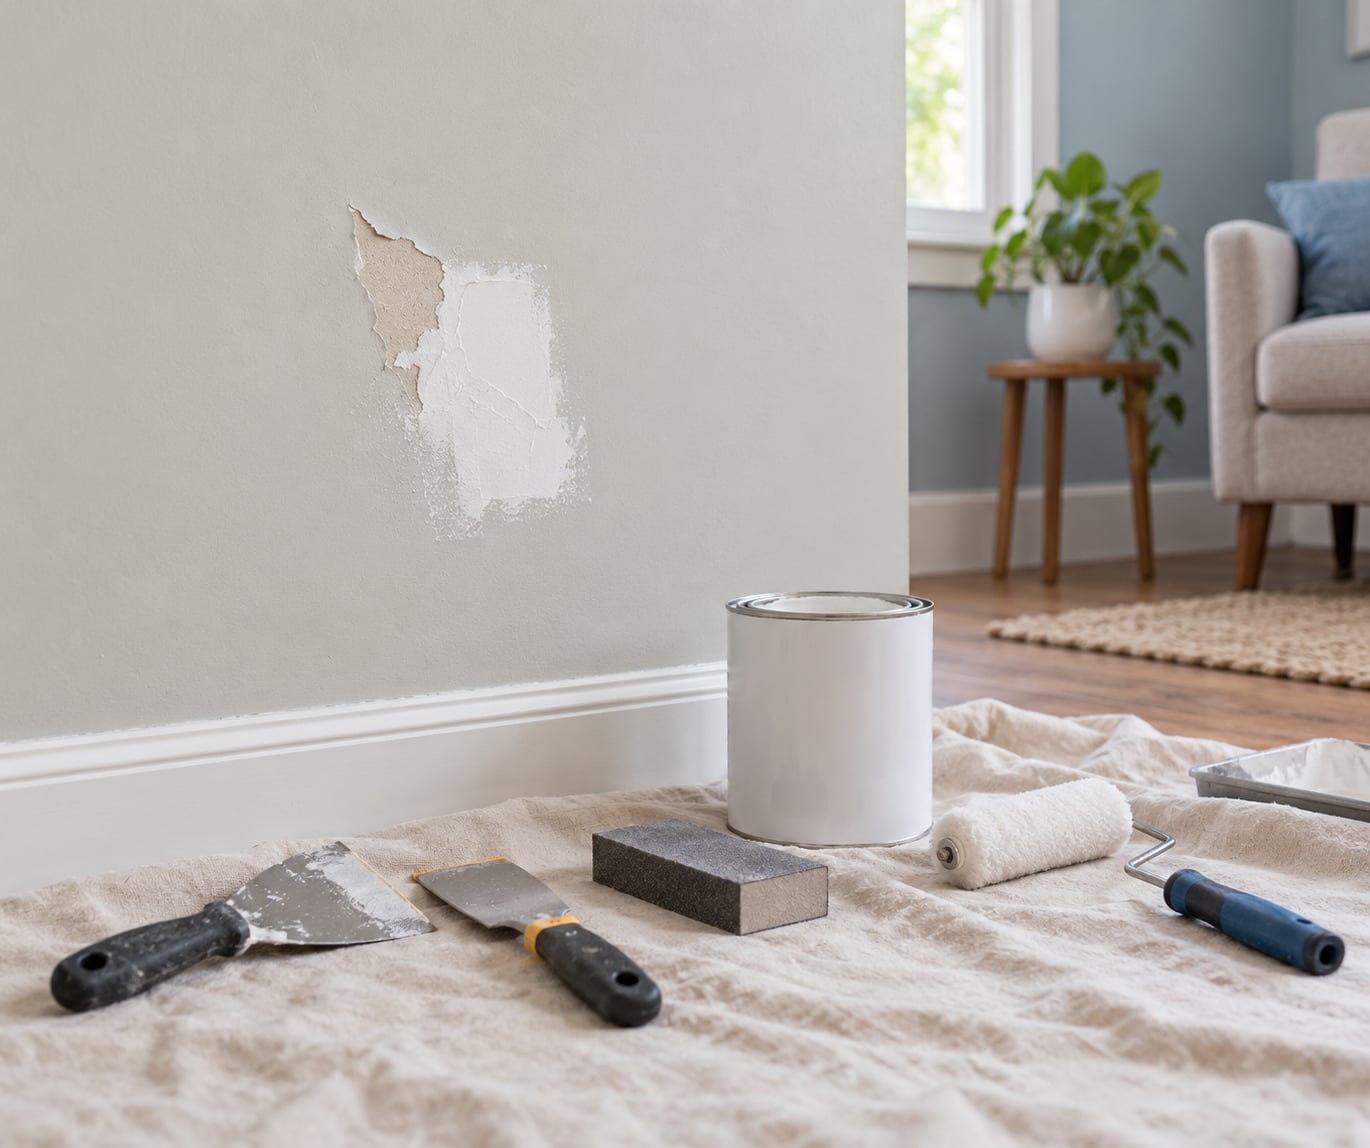
Most of this list costs very little, and you already own half of it. For a small peel around a nail or a scuff by the door, you need remarkably little.
- Paint scraper or plastic putty knife for lifting flakes without cutting into the paper face of the drywall
- 120 to 180 grit sandpaper, or a sanding block, for feathering the edge of the repair
- Dust mask, and a NIOSH-approved respirator if the home was built before 1978
- Drop cloth and painter’s tape to protect the floor and trim
- TSP or another degreaser plus a clean rag for washing dust and grease off the surface
- Spackling for divots under about a quarter inch deep, joint compound for anything deeper
- Bonding primer, or a stain-blocking shellac sealer for stubborn or water-stained areas
- Interior latex paint that matches the wall, plus a small roller or brush
If you are dealing with a full room rather than a patch, add a floor sander or a vibrating pad, a dust-attached vacuum, more compound for a skim coat, and a dehumidifier if the room holds damp. A heat gun on low can soften stubborn adhesive paint, but keep it moving and never use it near the fumes of a chemical stripper.
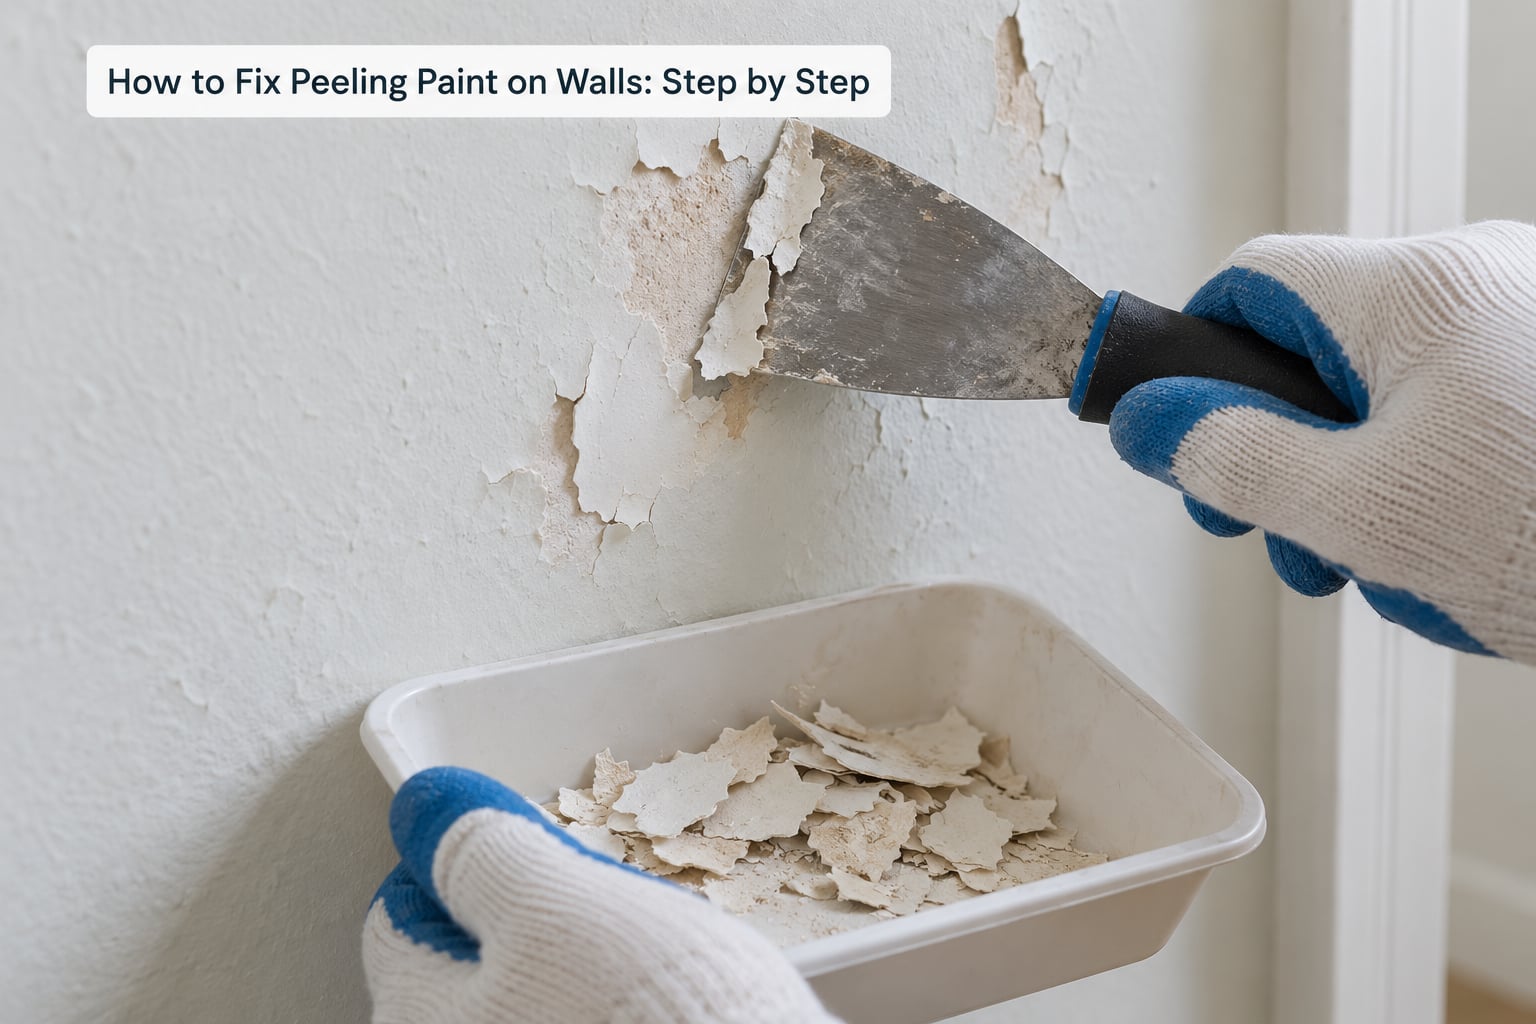
How to Fix Peeling Paint on Walls: Step by Step
Step 1: Diagnose Why the Paint Is Peeling
Look at the shape of the failure before you touch a scraper, because it tells you where the problem lives. Paint peeling in sheets usually points to moisture. Blisters and bubbles mean water is trapped behind the film. Mudcracking, the alligator-skin pattern, means the coat went on too thick or dried too fast.
| Symptom | Likely cause | Where to look |
|---|---|---|
| Peeling in sheets or curls | Moisture behind the film | Plumbing, exterior wall, roof line, window trim |
| Bubbles or blisters | Water vapor or a leak | Bathroom ceiling, shower area, exterior wall |
| Cracks in a straight line | Wall or joint movement | Drywall seams, corners, around framing |
| Mudcracking, alligator skin | Coat applied too thick or too fast | The whole wall, often after a heavy first coat |
| Flaking in scattered spots | Poor adhesion or incompatible coats | Where latex went over enamel without primer |
| Chalky white film, color rubs off | Failed paint or exterior weathering | Sun-facing surfaces and outdoor walls |
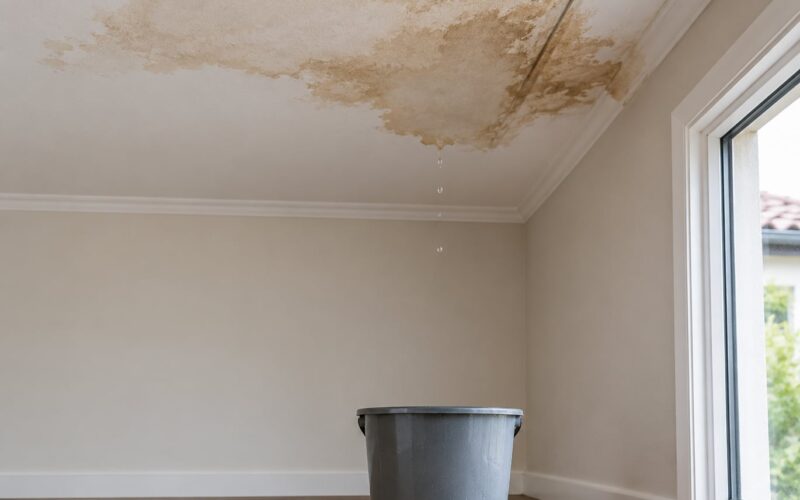
Press a moisture meter or the back of your hand firmly against the suspect area. Dampness, a musty smell, or a water stain that grows over a few days means stop and find the leak before anything else. If you suspect lead paint, meaning any paint applied before 1978, test it with an approved test kit or have a certified contractor assess it before you scrape a single flake.
Step 2: Prepare the Wall and Work Area
Lay down the drop cloth, tape the trim, and open a window for ventilation. Then scrape with the edge of the putty knife held nearly flat, pulling toward you at a shallow angle. Scrape until the paint resists and comes away in hard chips rather than soft dust, and stop at that firmly attached edge instead of chasing the whole room.
Scrape toward yourself, not away, and keep the blade flat. A steep angle digs into the paper face of the drywall and leaves you with a hole to patch instead of a clean edge.
Wash the area with TSP and a damp rag once the scraping is done, then let it dry completely. Feather the boundary of the old paint with 120 to 180 grit sandpaper, working in circular strokes across the step so the transition has no visible ledge.
For holes, cut back loose paper, press mesh or paper tape into the gap, and fill with product matched to depth. Keep the patch slightly proud of the surface; you are sanding it down anyway.
Step 3: Choose the Right Repair Material
Match the filler to the damage rather than reaching for the same tub every time. Spackling dries fast and works well for small nail holes and shallow divots. Joint compound shrinks as it dries, which suits deeper gaps and wide areas. Patch-and-prime products cover in one pass, handy in tight spots like behind a radiator.
The primer matters more than most people expect. Ordinary latex primer over chalky or slightly loose paint simply traps the weak layer and lets it peel away with your topcoat.
| Primer type | What it does | Use it when |
|---|---|---|
| Bonding or stabilizing primer | Locks down chalky or loosely adhering paint | Existing painted walls that flake or rub off |
| Stain-blocking primer | Blocks water, rust and nicotine stains | Stained or water-damaged areas |
| Shellac-based sealer | Seals hard and dries fast | Stubborn bleed-through or tight schedules |
| Mildew-resistant primer | Adds mold resistance | Bathrooms, basements, damp rooms |
| Ordinary latex primer | General purpose, seals bare drywall | Only sound paint or new patches |
Step 4: Apply, Dry, and Sand the Repair
Spread filler with the putty knife, pulling across the repair so it thins toward the edges. Follow the drying time printed on the tub rather than a guess, since humidity in the room changes it, and sand the dried patch with 120 to 180 grit until it reads as level with the wall under raking light. A touch-up lamp held low and to the side shows waves you cannot see any other way.
For flaking paint that is still firmly attached rather than lifting, you have a second option that DIY forums like for good reason. Sand the flakes flat, coat with a bonding primer, skim a thin layer of drywall compound across the area, sand again, then prime and paint. The job on DIY StackExchange that ranks near the top is exactly this: skip the full strip, seal what is there, walk away.
The tradeoff is honest. Sealing in place is faster, dustier to sand, and less durable, and it only works on paint that is sound but slightly loose. Anything already curling at the edge will lift again later, so those sections still come off.
Step 5: Prime and Repaint the Wall
Prime every bare or repaired spot, and prime the whole wall if the existing paint is chalky or peeling in more than a few spots. A spot prime over sound paint next to a chalky wall gives you a repair that fails while the rest of the coat still looks new.
Pick paint that suits the room rather than whatever is left in the garage. Interior latex is the standard for living spaces, bathroom and kitchen surfaces call for mold-resistant paint, and exterior work needs exterior acrylic latex rated for your climate. Going over old oil-based enamel? Prime it first, because latex over enamel is a classic recipe for peeling.
Cut in the edges, roll the field, and lay down two thin coats with the drying time on the can between them. Thick coats peel, which is exactly the problem you are trying to solve. Keep the room ventilated and wait until the paint has cured, not just gone dry to the touch, before pushing furniture back against the wall.
Common Mistakes
Painting over the peel. New paint grabs the loose layer and departs with it. Scrape everything that moves, then feather.
Spot priming only sound spots. Bonding primer has to cover the whole chalky area for the bond to be continuous. A ring of primer around a bare patch is worse than none.
Ignoring the water. Trapping moisture inside the wall accelerates the failure. Fix the leak, run a dehumidifier, and let the wall dry before sealing it.
Using an ordinary primer. Standard primer does not adhere to chalky paint. Use a bonding or stain-blocking primer for anything loose or stained.
Sanding too hard. Aggressive pressure strips the paper face of the drywall and creates a new hole. Light pressure and a sharp edge do the job.
Mixing incompatible paint types. Latex over enamel or a different sheen without primer is a leading cause of peeling patches. Prime every coat change.
Frequently Asked Questions
Why is paint peeling off my walls?
Paint peels when the bond between layers breaks. The usual triggers are moisture from a leak, condensation, or a missing primer, plus incompatible coats such as latex applied over enamel, a surface that was never cleaned, and a coat that went on too thick. Blisters point to trapped water, mudcracking to thick or fast-drying paint, and scattered flakes to poor adhesion.
Can I paint over peeling paint instead of removing it?
No. Fresh paint bonds to the loose layer rather than the wall, so it peels off in long strips and takes the old coat with it. The one exception is paint that is still firmly attached but chalky, which you can seal with a bonding primer before painting. Anything lifting, curling, or flaking has to come off first.
How do I fix peeling paint without repainting the whole wall?
Scrape the loose flakes, feather the edges with 120 to 180 grit sandpaper, patch any holes, prime the repaired spots with a bonding primer, and repaint. Because your new paint will not match the aged original exactly, feather the transition zone wider and blend the new color into the surrounding wall so the repair stops drawing the eye.
Should I use primer after fixing peeling paint?
Yes, on every bare, patched, or chalky spot. Primer is the bond layer between the repair and the new topcoat. Use a bonding or stabilizing primer over chalky or slightly loose paint, a stain-blocking primer over water marks, and a mildew-resistant primer in bathrooms. Ordinary latex primer belongs on bare drywall and sound paint only.
What causes peeling paint even when the wall looks dry?
Dry to the touch is not dry inside. A failed plumbing joint, a leaking exterior wall, or a bathroom exhaust fan ducted into the attic can leave moisture in the drywall for weeks. Condensation also forms behind paint that seals the wall perfectly, so a sound-looking wall can still be wet. Check with a moisture meter before sealing anything.
When should I hire a professional instead of repairing peeling paint myself?
Call a pro when the affected area is larger than a room, when peeling follows exterior siding or trim, when there is a water stain or musty smell you cannot trace, or when the home was built before 1978 and the paint may contain lead. Professionals can find the hidden moisture source, test for lead, and handle full-room stripping safely.
Conclusion
Start by finding the source of the peeling, not by picking up the scraper. Once the wall is dry and the cause is gone, remove every loose flake, sand and feather the edges, patch the holes, prime with a bonding primer, and repaint with two thin coats. That sequence fixes peeling paint on walls for good instead of for a season.