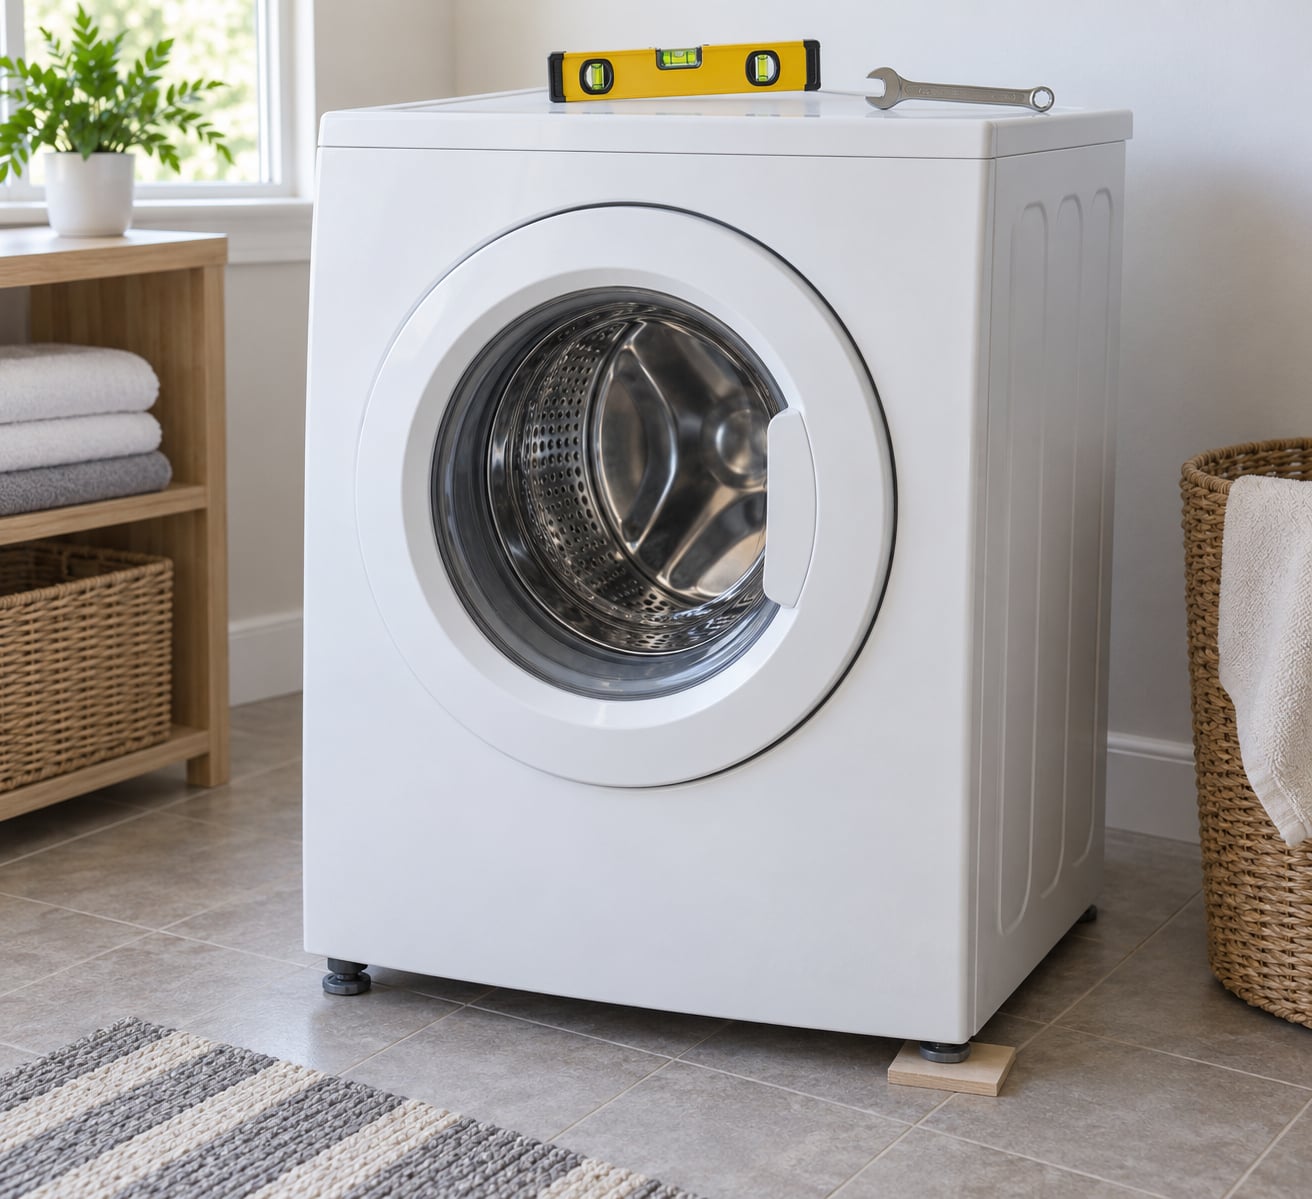
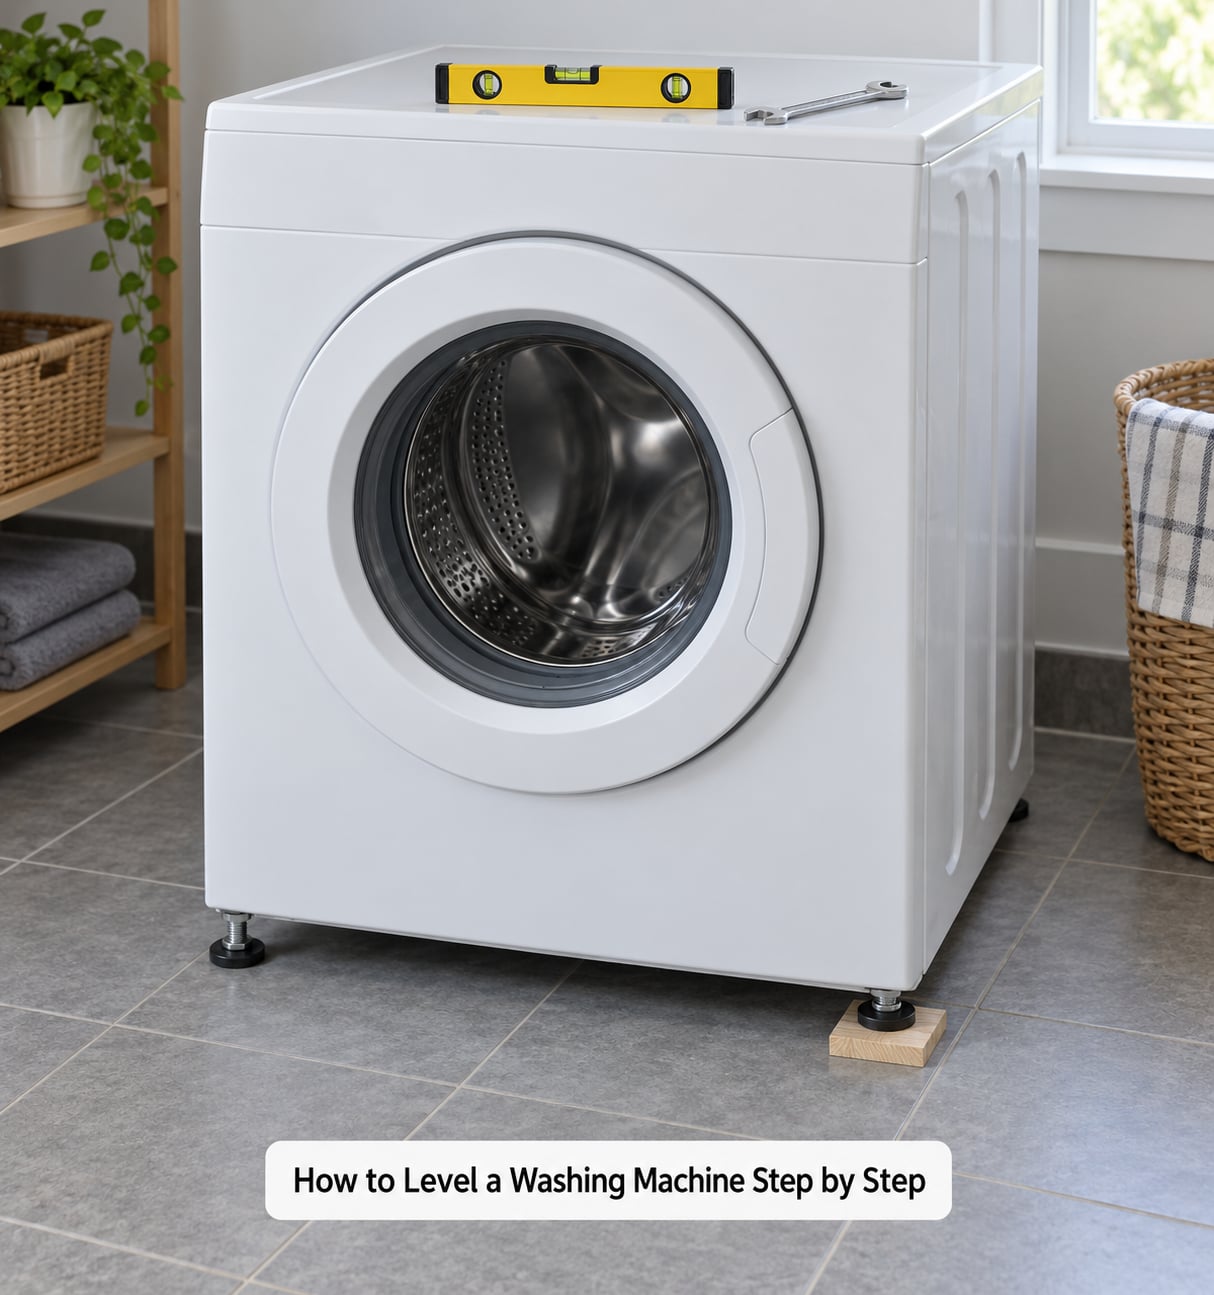
To level a washing machine, put a bubble level on top of the cabinet, loosen the lock nuts on the four adjustable feet with a wrench, and turn each foot until the bubble sits centered and all four corners bear on the floor. Then tighten the lock nuts back up and confirm it with a short spin cycle.
It takes 20 to 40 minutes for most machines and needs no special skill beyond a wrench and a steady hand. If your washer bangs against the wall, walks across the laundry room during the spin, or leaves puddles behind the door, leveling is usually the whole fix. If it sits flat and still shakes, the problem is somewhere else, and I point you to it near the end.
Before you touch anything, find the installation manual for your model. Foot designs, wrench sizes and rotation directions differ more than manufacturers like to admit.
Table of Contents
- 1What You Need
- 2How to Level a Washing Machine Step by Step
- 3Confirm the Washer Is Uneven
- 4Unplug and Prepare the Washing Machine
- 5Check the Floor and Existing Feet
- 6Adjust the Leveling Feet
- 7Use Shims When the Feet Do Not Correct the Problem
- 8Lock the Feet and Check Alignment
- 9Reconnect and Test the Washing Machine
- 10Common Mistakes
- 11Frequently Asked Questions
- 12Do washing machines need to be perfectly level?
- 13What do you put under a washing machine to level it?
- 14How can I level my washing machine on an uneven floor?
- 15What happens if the washing machine is not leveled properly?
- 16Is it safe to tilt a washing machine?
- 17Why does my washer shake even after I level it?
- 18Conclusion
What You Need
Leveling is a small job with a small tool list. Grab these before you pull the machine out, because a missing wrench is the reason most attempts stall halfway.
- The owner’s manual for your specific model, ideally in PDF form on your phone. It names the correct wrench size, the foot rotation direction, and the allowable tolerance.
- A 9/16 inch or 14 mm open-end wrench for metal hex leveling feet. Some brands use a 13/16 inch or 19 mm, so check the manual.
- Adjustable pliers for plastic threaded feet, which have no hex nut to grab.
- A 24 inch or larger bubble level, sometimes called a spirit level or carpenter’s level. A phone level app works fine for checking, just not for fine adjustment.
- Work gloves and a flashlight, since you will be looking behind and underneath the machine.
- A short wood block or 2×4 offcut to prop the front of the cabinet while the rear feet self-adjust.
- Wooden shims and rubber anti-vibration pads, optional, for uneven floors and to stop vibration reaching the wall.
Two safety points before you start. Unplug the washer at the wall outlet, not just at the control panel, and run a rinse or drain cycle first so the drum is empty. And yes, use two people for the move: a large front loader commonly weighs 150 to 250 pounds, and it is top-heavy enough to tip forward when you lean it back.
How to Level a Washing Machine Step by Step
Confirm the Washer Is Uneven
Run the washer empty on a short spin cycle and watch what it does. If it rocks front to back, thumps against the wall, walks sideways, or bangs on the cabinet beside it, the cabinet is not sitting evenly on the floor. Noise that only appears with a heavy wet load, or a thump that repeats at a steady rhythm, points somewhere other than the feet.
With the machine off, push firmly on each of the four top corners in turn. A corner that moves, or a gap under one foot when you look across the floor with a flashlight, confirms unevenness. Keep in mind that a machine can read level on top and still have one foot floating, so the corner push test is worth doing even when the bubble looks fine.
Unplug and Prepare the Washing Machine
Pull the plug straight out of the wall outlet, then shut off the water supply valves behind the machine. Moving a washer with the hoses still attached is how you end up with a flooded floor.
Slide the machine forward far enough that you can reach all four feet. If hoses and the cord stop you early, disconnect them at the back first and note which valve feeds which inlet. On tiled floors, put down a scrap of cardboard or a folded towel so the machine does not scratch as you drag it.
Check the Floor and Existing Feet
Level out the area under the machine before adjusting anything, and look at the floor itself while you are there. Different floors fail in different ways, and that changes the fix.
| Floor type | What to look for | Best response |
|---|---|---|
| Concrete or tile | Slope from an unfinished pour, grout lines that rock, a tile lifted at one corner | Foot adjustment plus wooden shims; regrout or replace a lifted tile |
| Vinyl or laminate | Soft subfloor, a hollow sound when you knock, wear tracks under the machine | Foot adjustment, shims, or a plywood platform over the soft area |
| Hardwood on joists | Deflection when you step near the machine, especially upstairs | Add a solid platform across the joists, or have a carpenter add blocking |
Then inspect the four feet themselves. A foot that spins freely, has a stripped or rusted thread, or sits on a cracked rubber pad will not hold an adjustment. Those need a replacement part, and most are inexpensive and easy to order by model number.
Adjust the Leveling Feet
Most metal hex feet use a two-step adjustment: loosen the lock nut above the foot about half a turn with the wrench, turn the foot itself to change the height, then retighten the nut against the cabinet. The rotation convention on most machines is counterclockwise to raise the corner and clockwise to lower it, but plenty of brands run the opposite way, so test one foot a quarter turn and watch the gap before committing.
Work one corner at a time. Put the level on the cabinet top and check side to side, then rotate the level ninety degrees and check front to back. Raise whichever side reads low, lower whichever side reads high, and go around the machine twice, because each adjustment slightly changes the machine’s attitude on the floor.
Top loaders usually have four adjustable feet. Front loaders commonly have two adjustable front feet and self-leveling rear legs: tip the machine forward until the rear feet lift about 4 inches off the floor, then set it back down so the legs spring to their own height. On washers with fixed rear legs, the rear corners are not adjustable at all, and any floor slope has to be corrected with shims.
Pedestals and stacked units are different jobs. A washer on a pedestal must be leveled at the pedestal feet with the washer itself attached, never separately. A stacked washer and dryer set should be leveled as one column, starting at the bottom, and the manufacturer’s stacking kit is required.
Use Shims When the Feet Do Not Correct the Problem
Shims are the answer when the floor itself is out of flat, and they only work under the corner that sits low. Slide a washer back just far enough to reach the offending foot, cut or fold a wooden shim to a gentle wedge, and tap it under the foot until the cabinet sits flat.
Keep three rules in mind. Wedge, do not stack, because a stack of thin shims slides out under vibration. Use wood or hard rubber rather than soft cardboard or foam that compresses over a few months. And make the shim the thickness of the correction you actually need, no more, since an oversized shim can push the cabinet frame out of square and load parts it was not designed to carry.
Anti-vibration pads solve a different problem. They damp the last bit of movement and stop vibration transferring into the wall or cabinet, but they cannot fix a level problem. Several owners report that adding pads under an already-adjusted machine made the shake worse by introducing play under the feet, so only fit them once the four feet are bearing evenly.
Lock the Feet and Check Alignment
Tighten each lock nut firmly against the underside of the cabinet. Loose lock nuts let the front feet spin when the machine lands on them, and that spin is the cause of a surprising share of wobbling that gets blamed on the floor.
Walk around the machine and look along each side and the front face. Equal height at all four corners means the gaps under the feet should look the same. Check the clearance rules while you are there: the hoses need a little slack, the door needs room to open, and there should be a few inches of space behind the machine so it can vibrate without hitting the wall.
Reconnect and Test the Washing Machine
Push the washer back into position, reconnect the hoses and the drain line, restore the water supply valves, and plug it in. Turn the water on slowly and watch for leaks at the connections before you start a cycle.
Run an empty spin cycle first, standing close for the first thirty seconds. Stop the test immediately if the machine bangs, walks, or sounds like a drum is hitting the cabinet. Otherwise, put a normal mixed load in and run it through a full cycle, because an unbalanced load is the real-world test that an empty spin will not give you.
Common Mistakes
Almost every failed leveling attempt comes down to one of a handful of mistakes, and several of them look like progress while you are making them.
- Working on a plugged-in machine. The feet sit under a live cabinet, and a wrench near a wet floor is a bad combination. Unplug at the wall.
- Tightening the wrong nut. Turning the foot’s hex nut tight against the floor locks the height in place. Only the smaller lock nut above it should be tightened against the cabinet.
- Leaving the lock nuts loose. Adjustments hold for a while and then drift, which is why machines start wobbling months later.
- Trusting the bubble level alone. The level confirms the top of the cabinet. The corner push test confirms all four feet carry weight, and you need both.
- Shimming a floor that should be repaired. On an old house with a decayed subfloor, shims are a temporary patch over a structural problem. Have the floor looked at.
- Running anti-vibration pads before leveling. Pads damp movement, they do not remove it, and loose pads add play.
- Tilting a front loader too far. Leaning back to reach the rear feet is fine, but past a point a loaded or even empty front loader can walk forward off its rear feet.
One more thing to rule out before you spend an afternoon on feet. Shipping or transport bolts left installed after delivery lock the drum solid, and worn shock absorbers or suspension springs cannot damp a load the way they used to. If your washer is level, all four feet bear evenly, and the floor is flat, but it still hammers during the spin, the fault is mechanical. A load that clumps into one heavy lump, or a single heavy item like a bath mat, causes the same symptom and is the first thing to test.
For a washer already pushed under a worktop or into a tight closet, DIY regulars on the Screwfix community use a simple trick: tape a small spirit level to the front face of the machine and align it with a known horizontal reference, such as the counter edge or a cabinet line. You cannot adjust what you cannot reach, so plan the pull-out before you push the machine back the last time.
How often should you check? Every few months, and always after moving the machine to a new home or after any floor work. Moving is the moment that undoes everything, because a machine that was level in one house is almost never level in the next.
Frequently Asked Questions
Do washing machines need to be perfectly level?
Close is good enough for most machines. Aim for within about one degree in both directions, which on a 24 inch level is roughly a quarter inch of difference from end to end. Every foot should also carry some of the machine’s weight. A washer that reads level on top but has one foot floating will still rock, which is why the corner push test matters as much as the bubble.
What do you put under a washing machine to level it?
Wooden shims are the usual answer, placed under whichever corner sits low. Cut or fold them into a wedge rather than a stack, because stacks slide out under vibration. Rubber anti-vibration pads go under all four feet to damp the last bit of movement and keep noise out of the wall, but they only help after the machine is already level. Soft foam and cardboard compress over a few months and are not worth using.
How can I level my washing machine on an uneven floor?
First set the feet as close as they will go using the adjustment described above. Then pull the machine forward and shim the low corner with a wooden wedge until the top reads level side to side and front to back. On a floor that slopes more than about half an inch, shims alone are a patch: a plywood platform across floor joists, or blocking added by a carpenter, gives a flat base that does not drift.
What happens if the washing machine is not leveled properly?
An unlevel washer rocks and walks on the spin cycle, which is loud and hard on the floor. Vibration passes into the suspension, drum bearings, springs and motor mounts, wearing them faster than normal. Water sloshes during the spin, throwing the load out of balance and causing leaks. Over time the cabinet shifts, hoses work loose at the fittings, and neighbouring walls and cabinetry take the hammering.
Is it safe to tilt a washing machine?
Tilting a washer back a few inches to reach the rear feet is normal and safe once it is unplugged, empty and drained. Keep a hand on the cabinet and move slowly, because front loaders are top-heavy and can slide forward. Never tilt a machine that is full of water or still connected to the supply. If it starts to go, let it settle back down rather than trying to catch it mid-move.
Why does my washer shake even after I level it?
Most often it is not a leveling problem. Check for shipping bolts left in the drum after delivery, worn shock absorbers or suspension springs, and loads that clump into one heavy lump. Test with two or three towels rather than a single bath mat. Confirm the front lock nuts are tight and that all four feet bear weight. If the machine is level on a flat floor and still hammers, the suspension needs a technician.
Conclusion
Start with the free check. Push each top corner and see which one moves, because that tells you whether you are dealing with a foot, a floor, or something mechanical before you buy a single tool.
If the corner moves, unplug the washer, empty the drum, and work through the seven steps above: loosen the lock nuts, turn the feet to the reading on your level, retighten, and verify with both a level and a spin cycle. Follow the manual for your model where it disagrees with anything here, because rotation direction and wrench size really do vary.
Call an appliance technician when the machine is level on a flat floor, all four feet bear weight, and the shaking continues, or when a foot is stripped and the part is no longer adjustable. Have a carpenter look at a floor that slopes more than the feet can absorb, since no amount of shimming fixes a decayed subfloor.