You can insulate an attic yourself in a weekend if you air-seal first, then fill the floor to the depth your climate zone calls for. Most homeowners handle a 1,000 sq ft attic in 10 to 15 working hours, and the whole job is three decisions: what leaks, what material, what depth. Get the first one wrong and the rest is wasted money.
The catch is that most attic heat loss is not conduction. It is warm indoor air pushing through gaps at the top plates, around pipes, and through the hatch itself. Seal those, and the same insulation does far more work than it would on its own.
This guide covers the DIY attic floor approach, which is what most homes need as of 2026. Insulating the roof deck instead is a different project with different rules.
Table of Contents
- 1What You Need
- 2Material
- 3Air sealing
- 4Tools and protective gear
- 5What to check in the attic before you buy
- 6How to Insulate an Attic Yourself Step by Step
- 7Inspect the attic and measure the space
- 8Air-seal gaps before adding insulation
- 9Choose and place the insulation correctly
- 10Install insulation between and over the joists
- 11Add an attic hatch or vapor barrier when required
- 12Check coverage, safety, and finished performance
- 13Common Mistakes
- 14Frequently Asked Questions
- 15Can you put too much insulation in your attic?
- 16What is the 7 and 7 rule for attic ventilation?
- 17Do I need a permit to add attic insulation?
- 18Can I put new insulation over old insulation?
- 19How much attic insulation do I need?
- 20Conclusion
What You Need
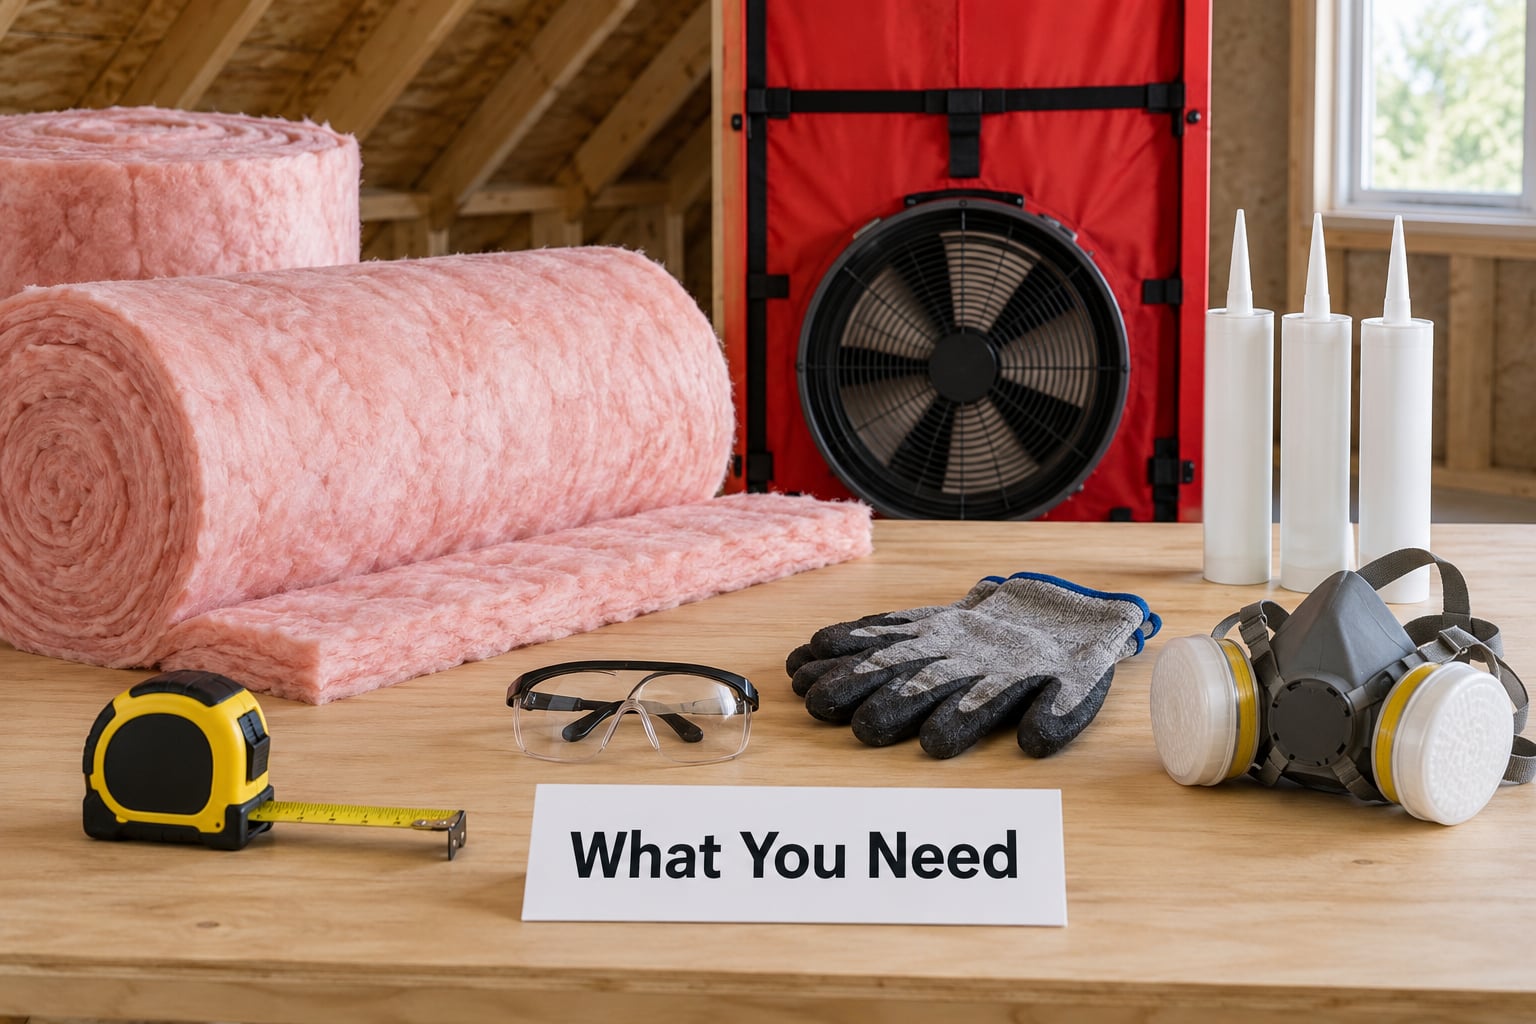
Attic insulation jobs fall into three piles: material, air-sealing supplies, and gear that keeps dust out of your lungs. Gather everything before you climb up, because a trip back down the ladder mid-install is wasted time.
Material
- Insulation — either blown-in cellulose or loose-fill fiberglass for open cavities, or faced fiberglass batts for a small attic. Buy by the coverage printed on the label, not by guessing.
- Extra material for overfill — loose-fill cellulose settles around 20% over its first years, so install roughly a fifth deeper than the finished depth you want.
- Attic hatch insulation — rigid foam board cut to fit, plus a hinged or lift-out lid.
Air sealing
- Exterior-rated sealant or acrylic caulk for small gaps
- Expanding foam for larger penetrations and rim joists
- Fire-rated sealant where wiring or pipe enters a box
- Metal flashing or heavy-gauge mesh plus sealant for rodent entry points
- Foam baffles for the soffit vents
- Weatherstripping or foam gasket for the attic hatch edge
Tools and protective gear
- N95 or better respirator, goggles, gloves, long sleeves, and a disposable coverall
- Tape measure, utility knife, straight edge, marker
- A rake or plywood scrap for fluffing cellulose to depth
- A stud finder, a work light and a phone
- An insulation blower, rented from most home improvement stores
- A HEPA vacuum or shop vac with a fine filter for cleanup
What to check in the attic before you buy
- Access — is there a walk-in door, or only a hatch? A hatch-only attic turns a weekend into a week.
- Roof framing — raised trusses leave less room over the joists than older stick framing.
- Existing insulation — depth, type, and whether it is wet, matted, or full of debris.
- Recessed lights — any fixture not rated for insulation contact must be boxed out or left uncovered. A thermal camera or an infrared thermometer after a sunny day finds every one of them.
- Ventilation — soffit vents at the eaves and a ridge or gable vent higher up mean you need baffles. A blocked vent channel can rot sheathing.
- HVAC equipment and ductwork — sealed ducts in a hot attic work harder and lose more. Insulate over or around them carefully, never on top of a platform.
How to Insulate an Attic Yourself Step by Step
Inspect the attic and measure the space
Measure the floor area, then subtract the area covered by HVAC units, a water tank, or stair landing. That number times your target depth gives the volume you need, and the label on the bag converts volume into bag count. Add 10% for waste and slow spots.
Look up before you step on anything. If the light through the rafters is visible from the joists, you have daylight showing through a gap, which usually means missing baffles. Look for the gray, gravelly texture of vermiculite or any insulation that crumbles instead of fluffing; treat it as asbestos until a professional says otherwise, and never blow air across it.
Air-seal gaps before adding insulation
Work the top plates first. That is the seam where the attic floor meets the wall, and it is usually the biggest leak in the house. Run a bead of sealant the full length of every top plate on both sides, then push a batt of insulation into the gap and top it off with more sealant.
Then work outward from there: pipe and wire penetrations, bathroom and kitchen exhaust ducts, the flue or chimney, and any recessed light housings. Seal gaps around each one with the appropriate material. People posting on Home Improvement forums describe air sealing as the entire value of the project, since insulation on an unsealed attic is close to putting a sweater on a house with the windows open.
Do not seal a combustion appliance. Anything that draws air from the attic needs a lined backdraft or a raised platform with clearance, and that is not a weekend job.
Choose and place the insulation correctly
Blown-in cellulose fills irregular spaces and plugs small gaps around obstructions better than batts, which is why it is the usual choice for a retrofit. Fiberglass batts cost less and suit a tidy rectangular attic where you can cut and tuck them cleanly. Spray foam does the best air-sealing of the three, and it is not a homeowner project.
| Material | R-value per inch | DIY friendly | Best fit |
|---|---|---|---|
| Blown-in cellulose | About 3.2 | Yes, with a rented blower | Most retrofits, deep cavities |
| Loose-fill fiberglass | About 2.7 to 3.0 | Yes | Topping up over batts |
| Fiberglass batts | About 3.0 to 3.7 | Yes, by hand | Small attics, easy shapes |
| Spray foam | About 6.5 to 7 | No, professional only | Air sealing at penetrations |
How much R-value you need depends on where you live. Current building codes set the target, and local editions can differ, so confirm against your building department before buying.
| Climate zone | Typical attic target | Cellulose at R-3.2 | Fiberglass batts |
|---|---|---|---|
| 1 to 2 (warm) | R-30 to R-38 | 10 to 12 in | 10 to 12 in |
| 3 (moderate) | R-38 | 12 in | 10 to 11 in |
| 4 (mixed humid) | R-38 to R-49 | 12 to 16 in | 11 to 14 in |
| 5 (cold) | R-49 | 16 in | 14 in |
| 6 (very cold) | R-49 | 16 in | 14 in |
| 7 and 8 (extreme) | R-49 to R-60 | 16 to 20 in | 14 to 18 in |
Six inches of fiberglass batts gives you roughly R-19, which is well short of almost every attic target. That single number answers the most common search question on this topic.
Where you place a faced material matters. In a cold climate the facing goes toward the living space, meaning up into the attic with the kraft paper side facing you. That keeps moisture from the warm interior air out of the insulation. Warm and humid regions usually want unfaced material or a vapor retarder placed by a professional.
Install insulation between and over the joists
Set the blower hose at the edge of the attic and blow to the depth markers printed on the duct. Use the wide open setting for cellulose and a narrower one for loose-fill fiberglass, which throws further. Walk the attic in strips, then rake the surface to an even level.
Baffle first, always. Push a foam baffle into each soffit bay, staple its edges, tuck the far end over the wall flange or extend it past the top plate, and fill over it. Then pull the section forward so the wind block stays behind the new material, and add a depth marker at the front soffit edge. Skipping this step is what turns a project into a mold problem.
For batts, cut slightly longer than the bay, push into the cavity, and split any run with an extra layer behind it so the ceiling stays at full depth. Cut around obstructions in an L shape and fill the triangle with a cut piece. Avoid compressing batts into a smaller cavity to make them fit, since a squashed batt loses a meaningful share of its rated R-value.
Overfill joist bays slightly, then cover the whole floor with loose fill or batts to bring everything to one continuous depth. A patchwork of batts in some bays and loose fill in others can leave cold spots at the seams.
Add an attic hatch or vapor barrier when required
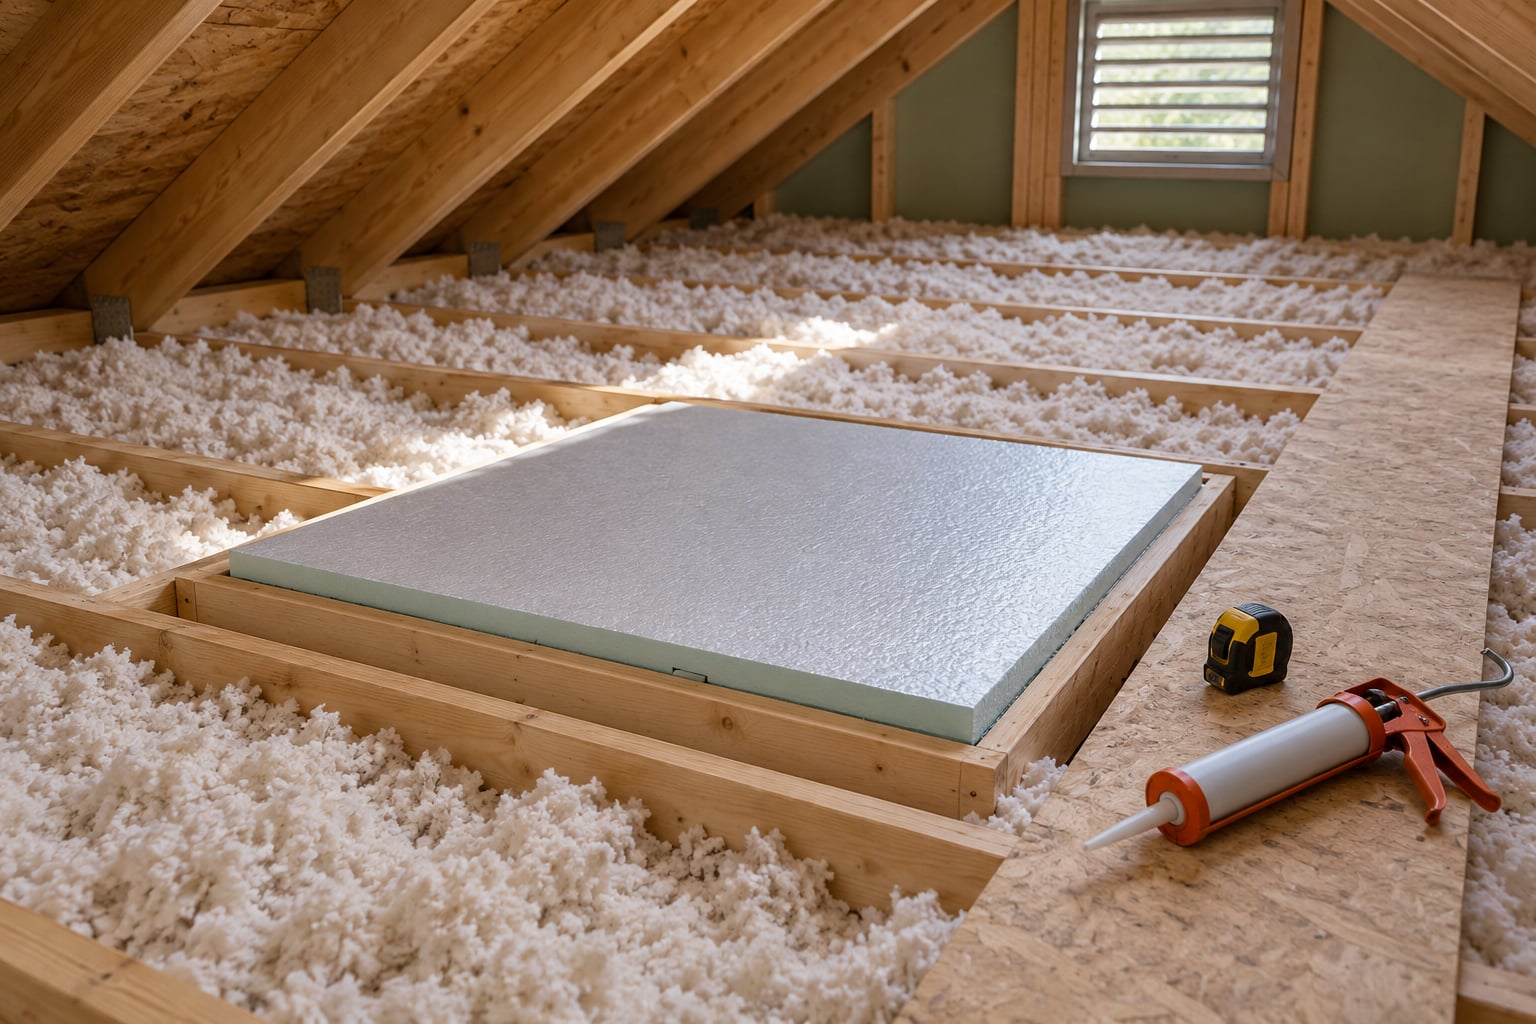
Cut rigid foam board about 2 inches wider than the hatch opening, glue or screw it to the top, and build a box on top of it. Build up the foam thickness until it matches the surrounding depth, add a foam gasket around the frame, and fit a hinged foam lid or a weatherstripped plywood cover. Without this, your finished attic still leaks heat through the one opening that stays open every day.
If your attic has a vapor barrier, it belongs on the warm side of the assembly. In a cold climate that is the underside of the joists facing the rooms below. Do not tear up ceiling drywall to add one; leave that to a professional.
Check coverage, safety, and finished performance
Walk the floor and look for thin patches, dips at the edges, and exposed joists. Rake and refill. Check the soffit line and confirm every vent is open and free of insulation. Photograph the completed bays and the hatch before you close anything up.
Keep a paper receipt for your materials and take a few photos of the pre-work, since utility rebate programs often ask for both. One r/homeowners poster finished a 1,200 sq ft attic in two days after replacing decades-old contaminated rock wool; the cleanup, not the install, was the long part. Budget a Saturday for removal if you have not been inside in years.
Common Mistakes
These are the errors that show up again and again in homeowner threads, each with the correction that prevents it.
- Insulating over recessed lights that are not IC-rated — the fix is to leave the fixture fully clear, then build a drywall or sheet-metal box around it with clearance per code. A thermal camera makes these obvious on a sunny day.
- Blocking soffit vents — install baffles before blowing and re-check every bay from the eaves. Plywood baffles work nearly as well as foam and cost a fraction.
- Skipping air sealing — spend the first day on penetrations and top plates. You can fill the rest later, but you cannot go back for gaps after the floor is covered.
- Using the wrong depth — measure with a tape measure or depth markers, not by eye. And remember cellulose settles, so overfill deliberately.
- Compressing batts — a compressed batt loses a meaningful share of its rated R-value. Split cavities deeper than the nominal width into two layers instead.
- Working without a respirator — loose-fill dust is a real inhalation risk, and protective gear costs little next to weeks of breathing it. Gloves and long sleeves handle the skin side.
- Leaving the hatch bare, or leaving an open animal entry — an uninsulated hatch undoes a lot of your work, and a squirrel or mouse entry will destroy loose fill in months. Check sheathing and eaves for gaps before you buy material.
Frequently Asked Questions
Can you put too much insulation in your attic?
Too much is unusual, but overfilling can block soffit vents, bury depth markers, and pile material over recessed lights that cannot handle contact. Keep baffles in place, keep vent openings clear, and match depth to the climate zone target instead of simply piling it higher.
What is the 7 and 7 rule for attic ventilation?
The 7 and 7 rule is an old rule of thumb, and it is a minimum rather than a target. It pairs roughly one square foot of vent opening for each 150 square feet of attic floor, split between intake at the soffits and exhaust at the ridge. Current codes vary by zone, and a sealed, insulated roof deck removes the need for ventilation.
Do I need a permit to add attic insulation?
Requirements differ by municipality, and many jurisdictions do not require one for a simple attic floor retrofit. Adding insulation raises your home’s rated R-value, which can affect the ventilation strategy the code requires. Check your building department before starting, especially if you plan an unvented roof deck assembly.
Can I put new insulation over old insulation?
Yes, as long as the old material is dry, clean and mostly intact. Moisture-soaked or vermiculite-type material needs to come out, and anything contaminated with droppings usually means the source has to be dealt with first. Topping up over batts with loose fill is a common and cheap way to reach your target depth.
How much attic insulation do I need?
Multiply the attic floor area by the target depth in inches to get volume, then divide by the coverage printed on the label. Add 10% for waste, and add about a fifth extra if you are installing cellulose, which settles over time. Subtract the footprint of any HVAC equipment or stair landing.
Conclusion
Start with the inspection. Measure the floor, photograph the existing insulation, locate the vent channels and the recessed lights, and decide whether the old material needs to come out. That single hour tells you which material and which depth to buy, and it prevents the two mistakes that cost real money.
Then seal the top plates, penetrations and any animal entry points before a single bag goes up. Third, blow or tuck the insulation to the depth your climate zone calls for, keep the soffit vents open with baffles, and build an insulated hatch that actually seals. Photograph it all, and hand the job off to a professional if you hit asbestos-suspect material, a combustion appliance, or wiring that needs attention.