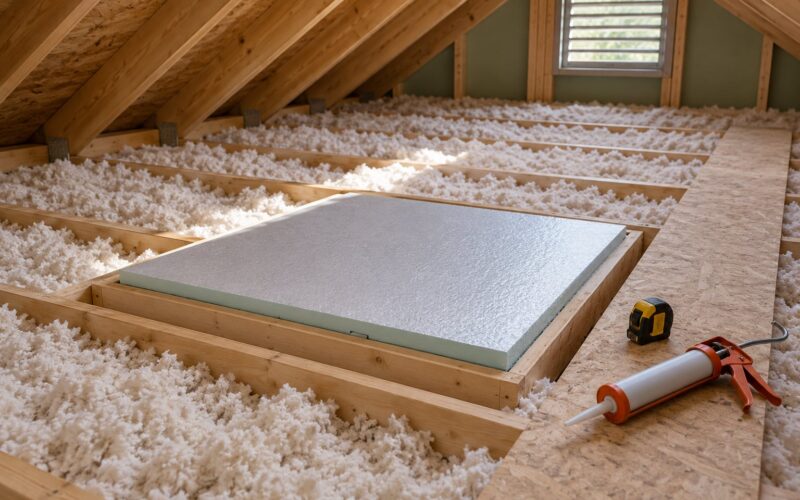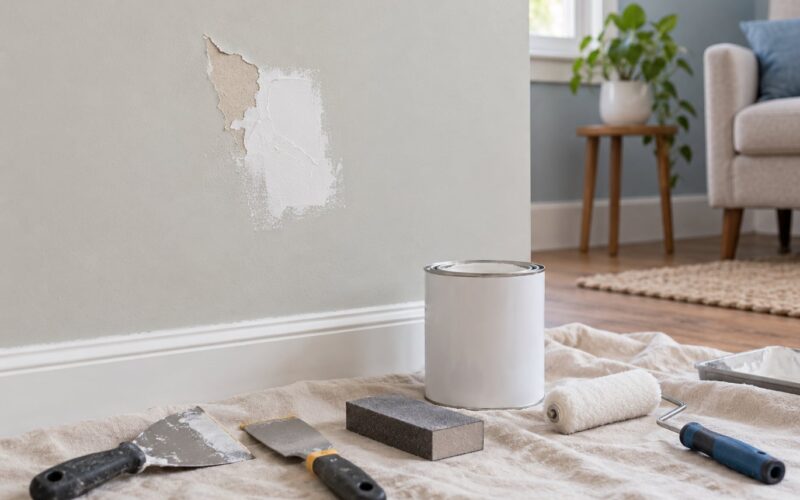
To know how to childproof a house room by room, walk your home once and find everything a curious child can reach, then remove, lock or physically block it before they get there. Most of the work costs nothing — rearranging furniture, moving cleaners to a high shelf, anchoring a dresser into the studs. The rest is a short supply list, and the order you do it in matters far more than the brand of anything you buy.
The whole project takes an afternoon if you are organised and an entire weekend if you are not. What follows is the sequence that works: one audit, fixes ordered by how badly a child can be hurt, then a test pass at floor level and a monthly re-check.
Table of Contents
- 1What You Need
- 2Step-by-Step: How to Childproof a House Room by Room
- 3Start With a Whole-Home Safety Check
- 4Childproof the Kitchen
- 5Childproof the Living Room and Play Areas
- 6Childproof Bedrooms and Nursery Areas
- 7Childproof the Bathroom
- 8Secure Doors, Stairs, and Hallways
- 9Check Windows, Balconies, and Exterior Doors
- 10Review the Garage, Laundry Room, and Utility Spaces
- 11Test the Safety Plan and Schedule Follow-Up Checks
- 12Common Mistakes
- 13Frequently Asked Questions
- 14What age should I start childproofing my house?
- 15Is childproofing enough without constant supervision?
- 16How can I make stairs safer for a toddler?
- 17Do window screens prevent children from falling?
- 18When can a child stop using safety gates and outlet covers?
- 19Start With the Highest-Risk Areas
What You Need
Start with the child, not the shopping list. A five-month-old who cannot roll and a fourteen-month-old who pulls to standing need completely different fixes to the same room, so note the age and the current mobility stage before you open a browser tab. Write it down somewhere you will see it — the back of the fridge works.
Then walk every room at floor level. Kneel or crawl at the height of your child’s eyes and shoulders and note what is reachable: outlets, drawers, cupboard doors, windows, appliance doors, stair openings, water sources, cords, and anything small enough to swallow. That list is your actual to-do list; everything else is optional.
From that list, gather the basics:
- Outlet cover boxes that fit over the receptacle housing and lock closed around the plug, not small removable plug-style covers
- Cabinet latches for low cupboards and drawers, plus one for the refrigerator and the trash can
- Furniture straps rated for tip-over restraint, long enough to reach a wall stud
- Window guards or operable-window restrictors that limit the opening to about 4 inches (10 cm)
- A pressure-mounted gate for level doorways and a hardware-mounted gate for the top of any staircase
- Safety-release hardware such as a door lever lock for handles and a toilet lock for the bathroom
Fit every item according to its own instructions, and follow current guidance from the Consumer Product Safety Commission, the Centers for Disease Control and the American Academy of Pediatrics rather than a product page’s claims. If your child has a medical condition, a swallowing issue or a seizure disorder, ask your paediatrician which hazards to prioritise.
Step-by-Step: How to Childproof a House Room by Room
The repeatable process behind this guide is simple: find the hazards, fix the worst ones first, test every fix from a child’s point of view, then come back as the child grows. Doing it in that order is what makes how to childproof a house room by room manageable rather than an endless shopping project.
Start With a Whole-Home Safety Check
Get down on the floor and do one slow pass through every room, including the ones your child does not use much yet. A guest bathroom can become a problem room the week your toddler learns to walk. Note every reachable outlet, drawer, cupboard, window, appliance, stair and water source, and group them by hazard type — falls, ingestion, tip-over, scalds, strangulation and entrapment. Grouping matters because one fix often covers several hazards at once.
Then pick the two or three that need action today. Usually those are the water heater setting, the stairs, an unlocked bathroom cabinet and any unsecured furniture a child can climb. Do not rely on an older sibling or a well-behaved five-year-old to guard a hazard their younger brother can physically reach.
Childproof the Kitchen
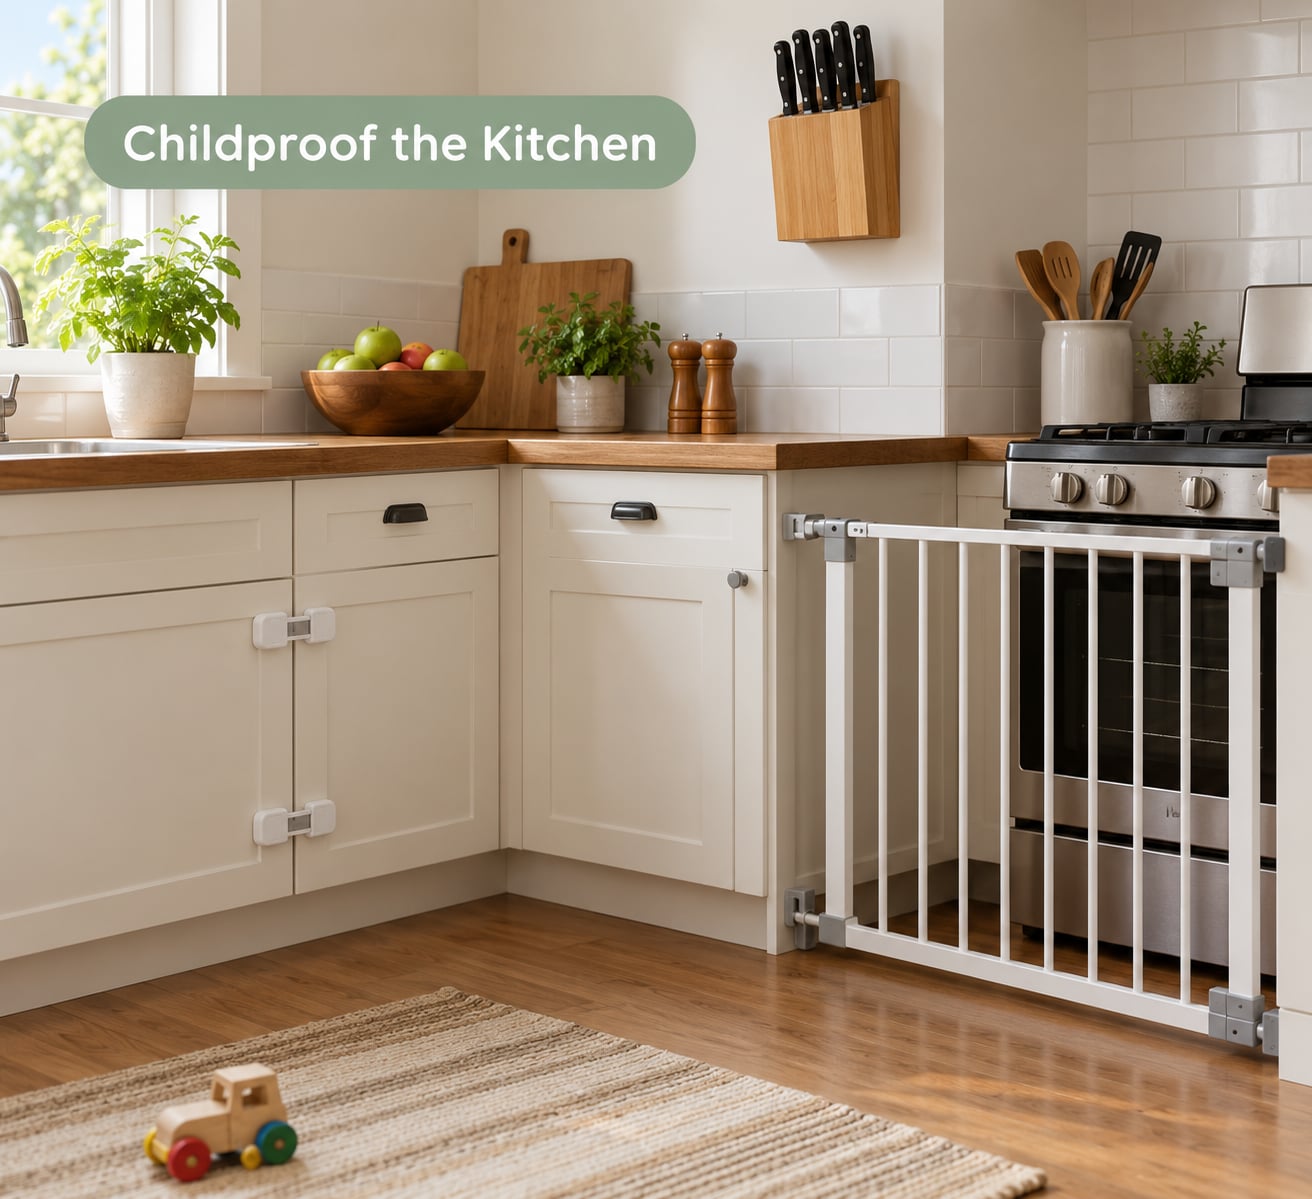
The kitchen causes more childhood injuries than any other room, mostly from heat and from things swallowed. Lock the cupboards and drawers your child can open, and install a latch on the one above the dishwasher too, because the dishwasher door makes a step straight to a low shelf.
Move knives, matches, lighters and small appliances onto high shelves or inside locked drawers rather than relying on a knife block on the counter. Breakables — glass, ceramics — are a common cause of the cuts parents remember most, and the cheapest fix is putting them somewhere high.
Turn stove knobs so they point toward the back, fit knob covers if the range is still in reach, and never leave a hot pan on the front burner unattended. Fit an oven lock and keep the range gate closed when the oven is on. Check the refrigerator for anything a child could climb onto, and secure the fridge, freezer and trash can with safety straps or latches since children pull and push far more often than they unlock.
Put all cleaning products, medicines and vitamins in a locked high cabinet, never above the stove. Keep the original containers, and know your local poison control number before you need it.
Childproof the Living Room and Play Areas
This is where tip-over and climbing injuries happen. Anchor every dresser, bookcase, television stand and tall shelving unit into wall studs with furniture straps, and skip the drywall anchors, which pull straight out under load. A child who can pull to stand will use the open drawers as a ladder whether or not the drawer is locked.
Cover the sharp corners on low coffee tables and chests, or push those pieces out of the play area entirely, which costs nothing and works better. Fit corner guards to anything that stays. Keep play spaces uncluttered, with nothing on the floor that fits through a toilet paper roll.
Fit window guards or restrictors on every window above the ground floor and move any climbable furniture — chairs, planters, toy chests — away from them. Route lamp and television cords behind furniture or through cord wind-ups, and put power strips out of reach with covers over unused sockets. Batteries, especially button cells, go in a locked drawer, and remotes with coin cells deserve the same treatment.
Add a guard to any working fireplace, and remove unstable décor. Most of the popular play products sold for this age are fine on their own; the risk usually comes from the room around them, so choose toys that fit the child’s stage rather than relying on supervision to cover a badly set-up space.
Childproof Bedrooms and Nursery Areas
The crib should contain the fitted mattress and a fitted sheet, nothing else. No pillows, bumpers, blankets, stuffed toys or mobile. Loose bedding is a suffocation risk in the sleep space, and anything tied or draped is a strangulation risk, which is also why blind and pull cords have to go.
Cord-tie or wind-up every blind cord, keep the cord itself out of reach, and never hang a mobile over the crib within reach of a child who can sit up. Position the crib away from windows, cords and heaters, and away from anywhere a crib can be pushed through a door or toward a blind.
Anchor the changing table if you use one, keep it stocked so you are not reaching for a nappy while carrying a baby, and never leave a baby on it alone. In a child’s own bedroom, check bedside tables and dressers, remove chargers and any small items from drawers a child can open, and store medicines and cosmetics where a teenager’s little brother cannot reach them.
Childproof the Bathroom
Water is the hazard to think about first. Set the water heater to 120F (49C) if you have access to it, and be aware that a scalding injury happens in seconds at hotter settings — around 140F it takes about six seconds. Fit faucet covers or a spout cover on the tub, use a non-slip mat in the bath and on the floor outside it, and keep the bathroom door closed with a child lock or lever handle you cannot open from outside in an emergency.
Fit a toilet lock if the toilet water is a draw, and keep medicines, razors, nail clippers and cleaning products in a locked high cabinet or a drawer with a safety catch. Many parents store cleaning chemicals under the sink, which is the first place a child looks.
Check electrical devices: hair dryers, heaters, toothbrush chargers. Unplug them when not in use and keep them away from the tub. Put away small items like dental floss, hair ties, razors and medications within seconds of use, and check the toilet tank and any bucket for standing water.
All of this still assumes an adult within arm’s reach around water. No lock replaces a hand on the child.
Secure Doors, Stairs, and Hallways
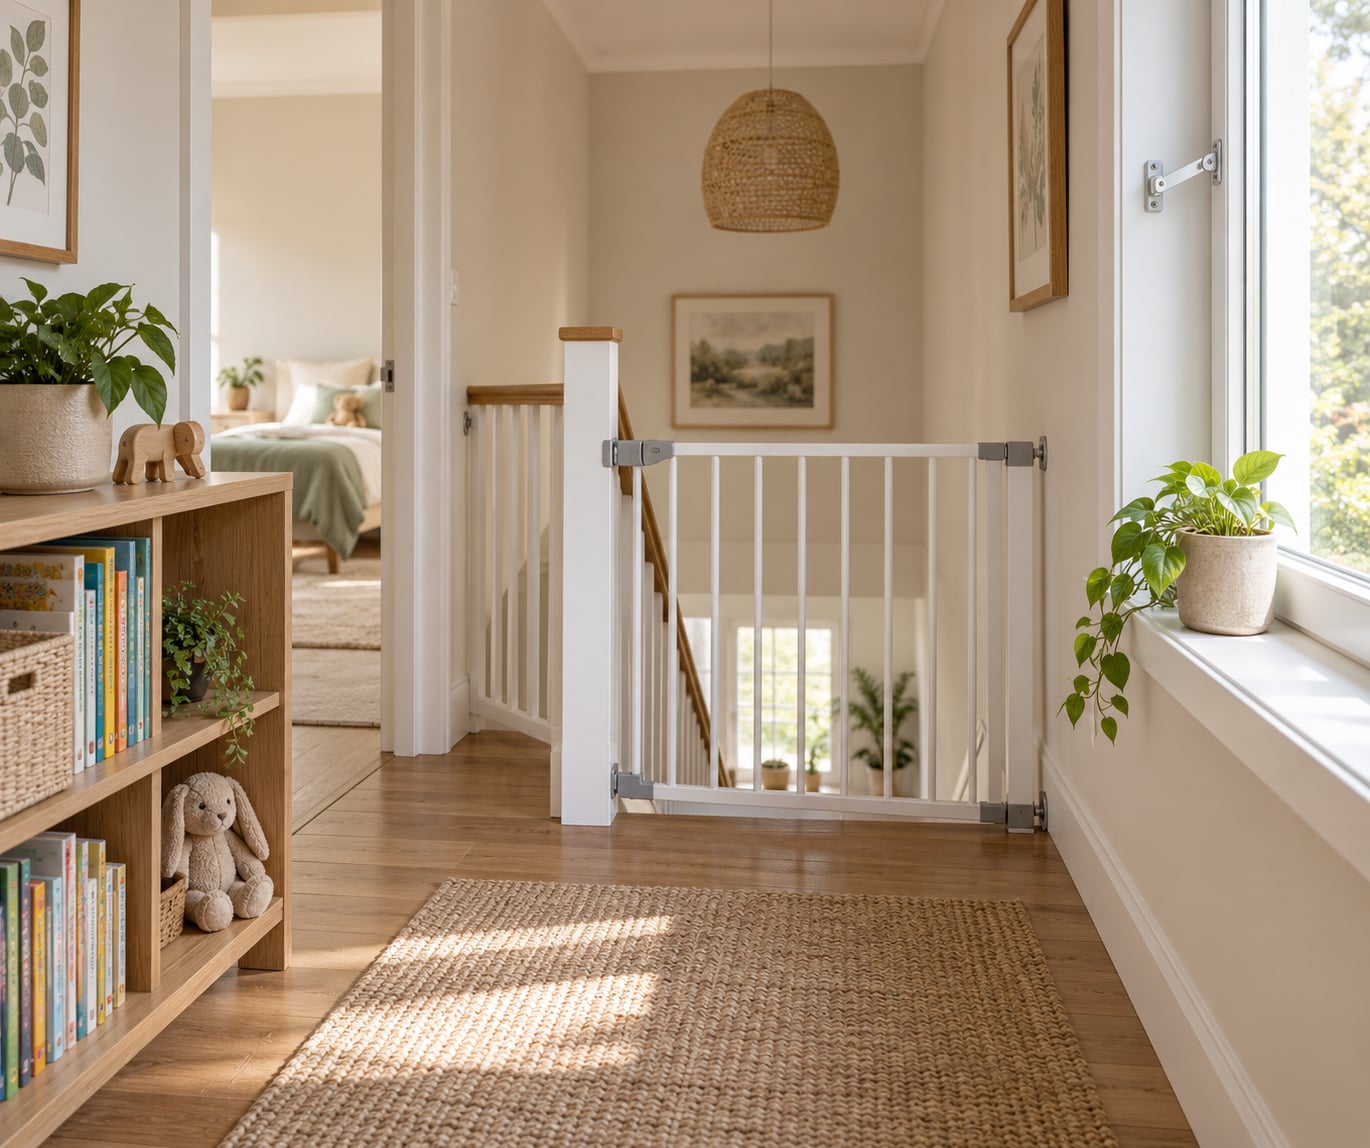
Use a pressure-mounted gate only at a level doorway where there is no step and no drop beneath it, and check the instructions for the height it is rated for. At the top of any staircase, screw a hardware-mounted gate into studs or a doorway frame, and always swing the gate away from the stairs so it cannot be pushed toward the drop.
A pressure-mounted gate at the top of a short flight of stairs is the single most repeated error parents make. The push of a walking child at the wrong moment is enough to compress the mount and let the gate move.
Keep stair runners and treads firmly fixed, and check the gap between balusters or spindles along the staircase. Anything wider than about 4 inches (10 cm) can let a small child pass through. Use doorstops for the doors into rooms your child should not enter, prefer solid one-piece baseboard stops over small spring caps that are themselves a choking hazard, and add finger guards to doors that swing hard on the hallway route.
For sliding doors, use a proper sliding-door control or a bar rather than a wedge that can be lifted out. Keep hallways clear, and never place furniture a child can climb toward an upstairs opening.
Check Windows, Balconies, and Exterior Doors
Screens are not safety barriers. They are designed to keep insects out and they will not hold a child’s weight, so every window above the first floor needs a guard or a restrictor that limits the opening to about 4 inches (10 cm), with a lock that needs two actions to release.
Secure balcony access with a lock or a door barrier, remove climbable furniture from next to the railing, and check that no chair, planter or play structure lets a child reach a balcony edge. Fit a childproof lock high on exterior doors so nobody lets a child out into the street, and remove furniture near any door a child can open. Re-check window hardware every few months as the child gets taller, since hardware that was a barrier last year may be a foothold now.
Review the Garage, Laundry Room, and Utility Spaces
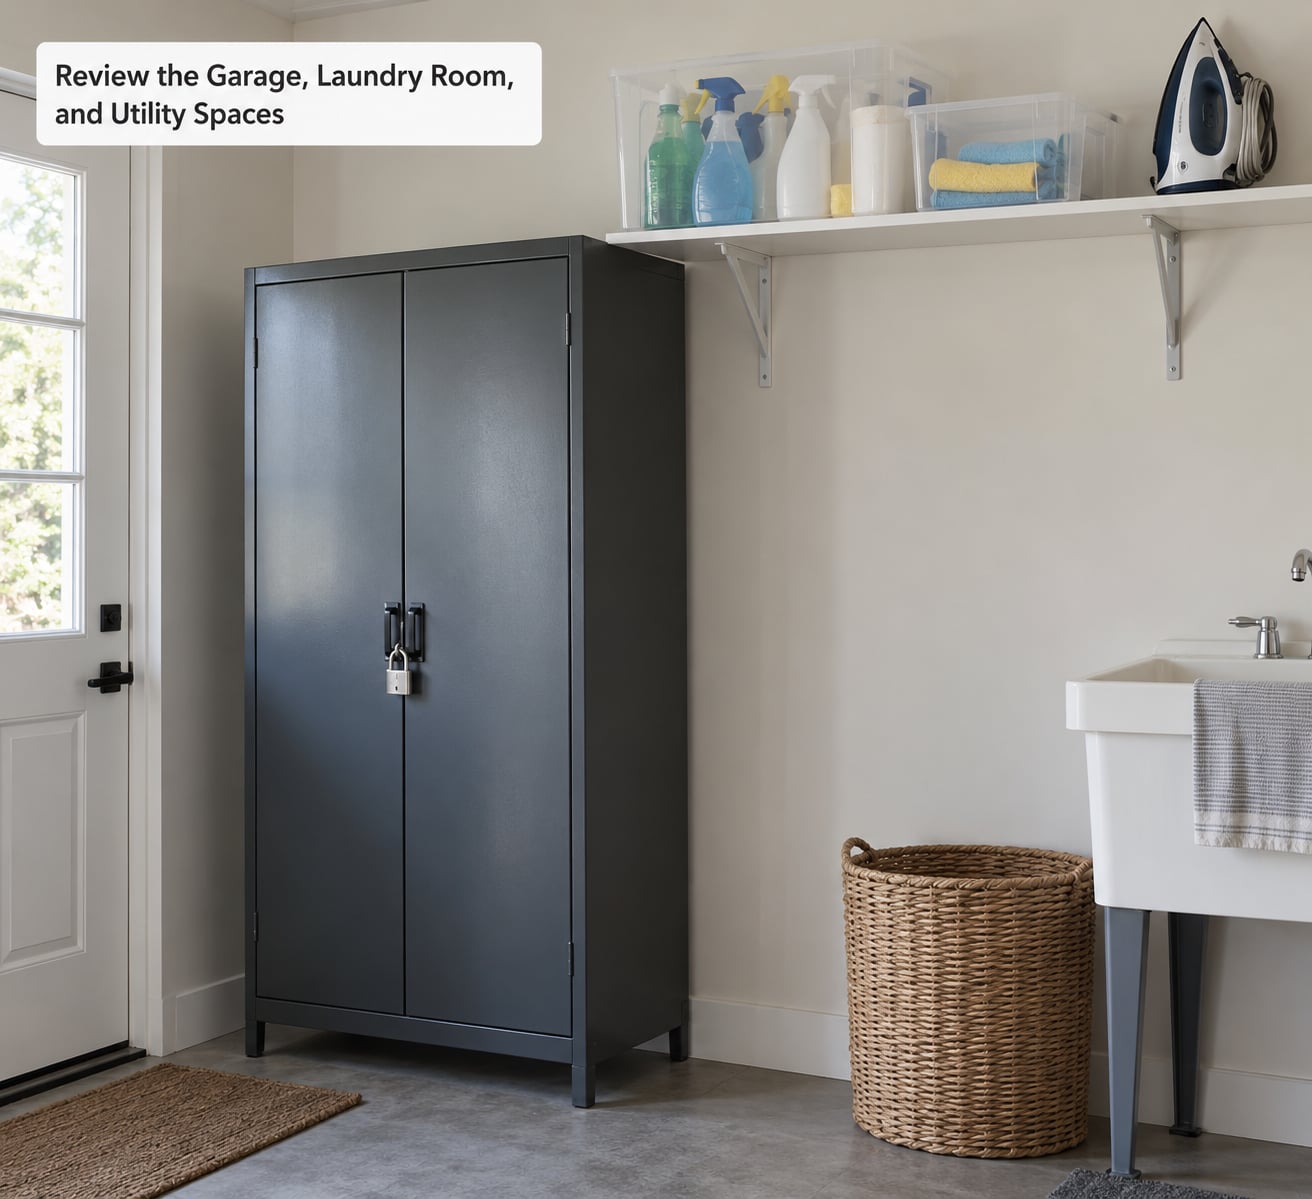
Treat the garage as a room a child is allowed to enter, because most families treat it as a room nobody can enter. Lock power tools, hand tools, lawn equipment and sharp objects in a cabinet a child cannot open, keep keys and car remotes out of reach, and store antifreeze, fuel, pesticides, pool chemicals and fertiliser high and closed.
Laundry carries its own risks. Detergent pods and concentrated liquid detergent are among the most dangerous things in a home because they are small, brightly coloured and sweet-smelling, so keep them in a locked high cabinet and use a child-resistant container. Lock the ironing board and store the iron with its cord fully wound up, put small laundry items like dryer sheets and coins out of reach, and secure the washing machine so a child cannot climb it.
Cover or lock utility panels and shut off valves where a child can reach them. Check the yard too: pools, spas and water features need a fence with a self-latching gate, and any container that can hold water becomes a drowning risk after rain.
Test the Safety Plan and Schedule Follow-Up Checks
Test each fix from the child’s point of view, which means kneeling, pulling, pushing and leaning on the thing you just secured. Can they pop the cabinet latch? Can they lift the gate mount? Can they remove the outlet cover box with two fingers? Do the test yourself rather than setting the test up for them unsupervised.
Write down the date of the pass and repeat it every month. Re-check straight after you move furniture, take a holiday, host visitors, or when the child hits a new stage — rolling, crawling, pulling to stand, walking, then climbing, which changes what counts as reachable within weeks. The same cabinet you locked for a crawler is a climbing route for an 18-month-old.
Put the audit on the calendar, not in your head. Parents who re-check on a schedule find problems early; parents who assume the work is finished discover them at the worst possible moment.
Common Mistakes
Most childproofing fails in a small number of predictable ways, and every one of them has a straightforward fix.
- Removable plug-style outlet covers. Small covers that fit over a plug come off with a fingernail and end up in a child’s mouth. Use cover boxes that fit over the receptacle housing and lock closed, or replace the outlets with tamper-resistant receptacles.
- Relying on cabinet knobs. A round knob is exactly the shape a child can grip and twist. Fit a surface-mounted latch or a magnetic catch above the door gap where small fingers cannot work it.
- Anchoring one side only. A strap fixed to a stud on one side and drywall on the other still tips. Anchor into studs at both ends, and replace furniture that cannot be secured.
- Storing hazards low. Putting cleaning products under the sink or medicines on the bathroom counter is a decision that will not survive a toddler. Use a locked cabinet above shoulder height, keeping the original containers.
- Leaving tip-over-prone furniture in place. Older dressers, antique cabinets and narrow shelving should be removed from a child’s room entirely rather than anchored if they cannot be fixed properly.
- Using a pressure-mounted gate at the top of the stairs. It is rated for level openings only. Use a hardware-mounted stair gate at any stair.
- Trusting a spring-loaded latch. Parents have reported determined toddlers popping these open, and adhesive-mounted fixtures pulling off the door. Check latches monthly and upgrade the ones that fail.
- Using small spring doorstop caps. They come loose and become choking hazards. Use a solid one-piece baseboard stop.
- Treating screens as window guards. Screens fail under load. Fit real guards or restrictors above ground level.
- Assuming supervision is the plan. Watched children still get into drawers between glances. Physical barriers do the work while you are cooking, on the phone, or carrying something.
A handful of fixes cost nothing at all: move the couch away from the window, take the low bookshelf out of the play room, put the knives in a high drawer, and clear the stairs. Most parents who feel overwhelmed by the category are relieved to hear that the first afternoon is mostly rearranging.
Budget matters to a lot of families, and the useful split is not about how much you spend but which tier you are on. A basic pass covers the bathroom, the stairs, the outlets that are actually in use and the two pieces of furniture a child can climb. A fuller pass adds window guards on every opening above ground floor, anchoring for every tall unit, and locks for the refrigerator, the stove and the exterior doors. A professional assessment fits families with a multi-level home, a pool, a workshop or a garage full of chemicals, where the measuring and anchoring alone take longer than a weekend.
Renters have workable options too: pressure-mounted gates that need no drilling, clamp-on cabinet latches, cord wind-ups instead of permanent routing, and removable window restrictors. The caveat is that adhesive-mounted fixtures and cloth cord covers fail earlier, so check them on the same monthly cycle as everything else.
And remember that your child will spend time in homes that are not yours — a grandparent’s house, a sitter’s flat, a friend’s playroom. Send the adults a short list of the specific hazards rather than assuming. Decorative objects left at toddler height, an unlocked bathroom cabinet and a stair gate in the wrong place account for most of the trouble reported in those houses.
Frequently Asked Questions
What age should I start childproofing my house?
Start before your child is mobile, ideally while pregnant or in the first months, because the fixes are far easier before furniture is in its final place. The urgent window is 4 to 18 months, when rolling becomes crawling and pulling up. Do the full room-by-room walkthrough before the first crawl, then re-check monthly as mobility changes.
Is childproofing enough without constant supervision?
No. Childproofing reduces the number of moments you have to be perfect; it does not replace being there. Around water, a cooker or a stair head, an adult within arm’s reach is still the rule. Barriers handle the seconds when you turn away, and many parents who rely on saying no report it works well, but a determined child and a hazardous room still need you in the room.
How can I make stairs safer for a toddler?
Use a hardware-mounted gate screwed into studs or a doorway frame at the top of every staircase, and a second one at the bottom if there is a drop. Never use a pressure-mounted gate on stairs, and swing it so it opens away from the drop. Fix loose stair treads, keep the gap between spindles under about 4 inches, and do not place furniture a child can climb near the top.
Do window screens prevent children from falling?
No. Window screens keep insects out and are not rated to hold weight, so a child can push through one and fall. Every window above ground floor needs a guard or an operable-window restrictor that limits the opening to about 4 inches, secured so it needs two actions to release. Remove chairs, planters and play furniture that let a child climb up to a window, and re-check the hardware as your child grows.
When can a child stop using safety gates and outlet covers?
Remove them as the child outgrows the specific hazard, not by age alone. Most gate manufacturers print a height limit, and a walking child who reaches the latch or the mount should be able to pass. Outlet covers come off when children no longer explore outlets and tamper-resistant receptacles are in place. Keep stair gates and cabinet latches until the risk itself changes, and re-assess every three to four months.
Start With the Highest-Risk Areas
If you only do part of this, do it in this order: stairs, water, windows, outlets, medicines and cleaning products, then anything sharp. Secure those first, then walk the house room by room with the same method and fix what is left as the child’s reach changes.
No home becomes fully childproof, and no product holds forever. A secured house plus direct supervision plus a monthly re-check is what actually works, so put the walk-through on your calendar rather than treating it as a project you finished once.