Learning how to teach a dog to walk on a leash comes down to one habit: reward the spot next to your leg until your dog chooses it on their own. Most dogs get the mechanics in a handful of sessions, but the full picture takes a few months. It is one of those skills that sounds simple and then takes a week of five-minute sessions to actually click.
This guide is written for a beginner starting from zero, whether you have an eight-week-old puppy, an adult dog that has never had a leash on, or a rescue who pulls like a sled dog. No equipment gymnastics, no intimidation. Just a short checklist, six steps you build in order, and the mistakes that slow everyone down.
Table of Contents
- 1What You Need
- 2How to Teach a Dog to Walk on a Leash: Step-by-Step
- 3Step 1: Choose an Easy Walking Place
- 4Step 2: Reward Your Dog for Checking In
- 5Step 3: Reward Forward Movement
- 6Step 4: Stop Moving When the Leash Tightens
- 7Step 5: Add Distractions Gradually
- 8Step 6: Keep Walks Consistent
- 9Common Mistakes
- 10Frequently Asked Questions
- 11How can I train my dog to walk on a leash without pulling?
- 12How long does it take to leash train a dog?
- 13Should I use a harness or a collar for leash training?
- 14Can older dogs be leash trained?
- 15What should I do if my dog refuses to walk or ignores treats outside?
- 16What leash length should I use for training?
- 17Conclusion
What You Need
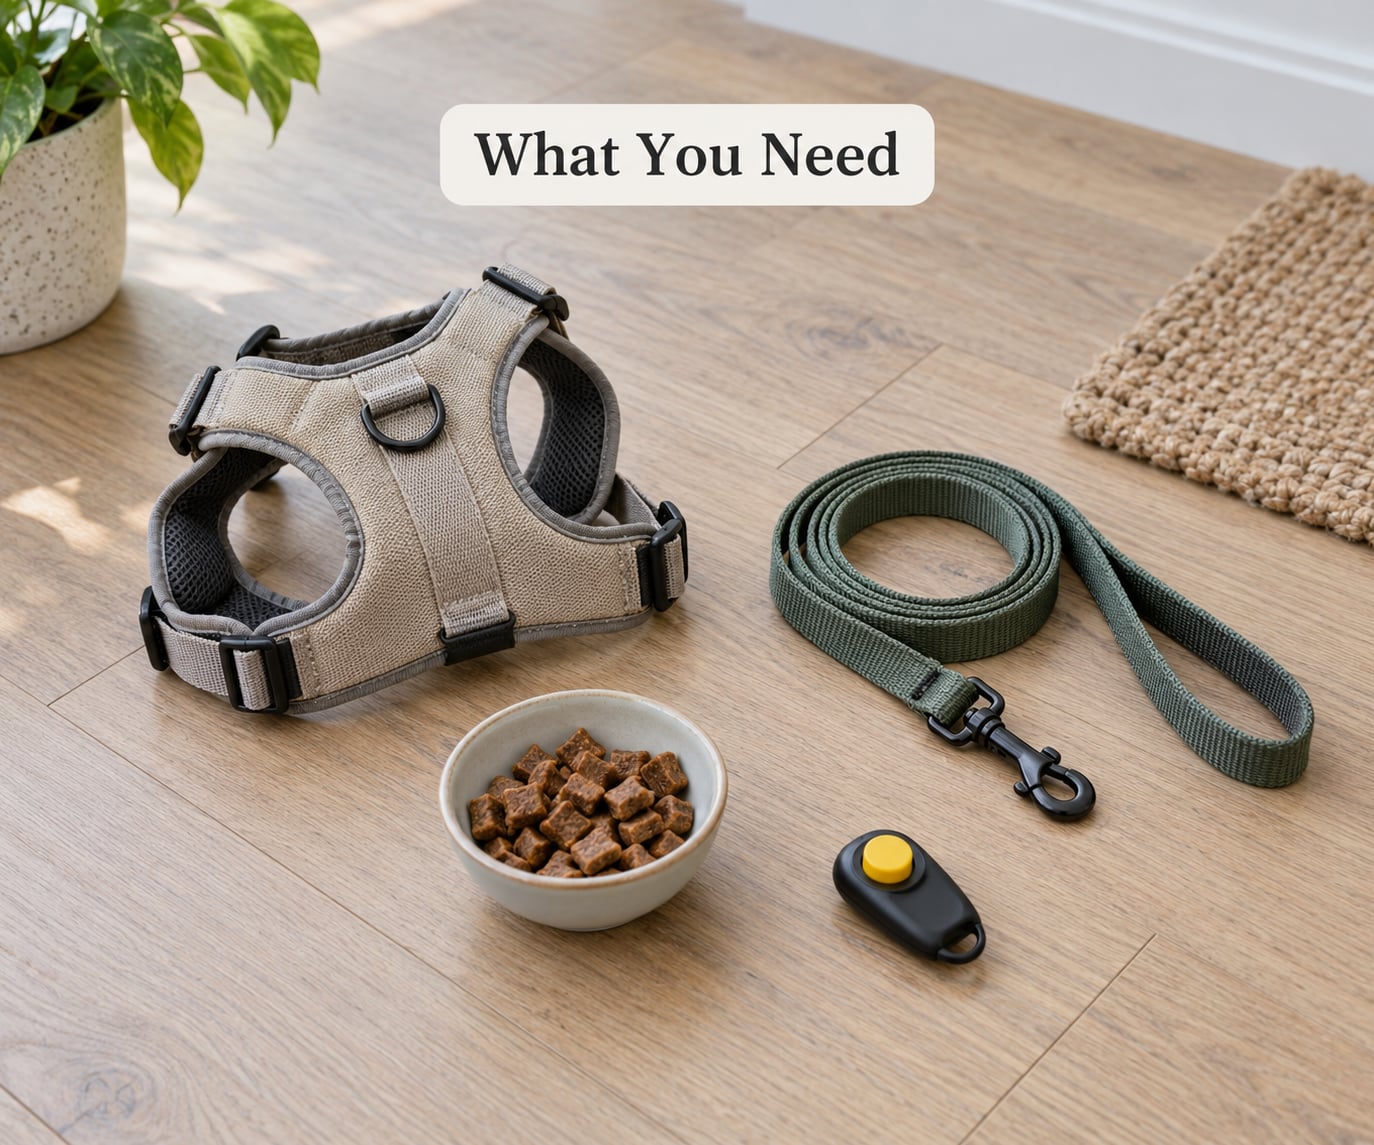
You need very little, and most of it you already own.
- A properly fitted collar or harness. For leash training, a front-clip harness or a martingale-style collar gives you the most control. Put two fingers under the strap when your dog is standing; if you cannot slide them, it is too tight.
- A standard fixed-length leash, 4 to 6 feet. Skip retractable leashes. They teach your dog that pulling controls the distance, which is the exact opposite of what you are building.
- High-value treats. Use something your dog does not normally get, like small training treats or pieces of cheese, and keep them in a treat pouch or your leash hand.
- A marker. A clicker or a spoken marker word such as “Yes!” tells your dog the exact moment they did something right, which speeds learning noticeably.
- A quiet practice area. Your living room, hallway, or an empty parking lot beats a busy sidewalk every time.
One caution before you start. If your dog pulls hard enough to gag, cough, or pant heavily, if walking seems painful, or if a behavior that used to be normal suddenly changes, stop and talk to your veterinarian. Anything involving pain, breathing, or a sudden shift in behavior is a health question first and a training question second.
How to Teach a Dog to Walk on a Leash: Step-by-Step
Work through these in order. Each step assumes the one before it already works, and skipping ahead is why people get stuck.
Step 1: Choose an Easy Walking Place
Start where your dog can succeed. Stand in a quiet room, clip the leash on, and just let them sniff around on a loose leash. Many dogs freeze, stare down, or try to remove the collar the first time, and that is normal.
A good first session looks like this: you sit on the floor with treats, let your dog come and go, and deliver a treat every few seconds for checking in. Five minutes is a good first session. You are looking for one outcome only: your dog noticing the leash exists and caring that you are there.
Step 2: Reward Your Dog for Checking In
Say your dog’s name once, in a bright voice, and wait. When they turn toward you, say “Yes!” and hand over a treat at your pant seam, the pocket area where your leg meets your hip. That is the spot you want them to own permanently.
Repeat until checking in feels routine. This is the safety net for everything that follows. Building a reliable check-in is usually the single change that makes everything after it easier, because a dog who knows how to find you does not need to drag you to tell you about a squirrel.
Step 3: Reward Forward Movement
Now add motion. Choose a cue word that you will never use for anything else, such as “let’s go,” and say it once as you start walking. Take one or two steps, stop, and deliver a treat beside your leg while the leash is still slack.
The sequence to teach in the first few sessions is mark, reward, then move. If you are walking how to teach a dog to walk on a leash by rewarding steps with the treat held out in front, you are luring, and luring has to fade later. Luring is a shortcut, not the destination. Start with a short leash, a slow pace, and three repetitions at a time, then add a few more steps as the position holds.
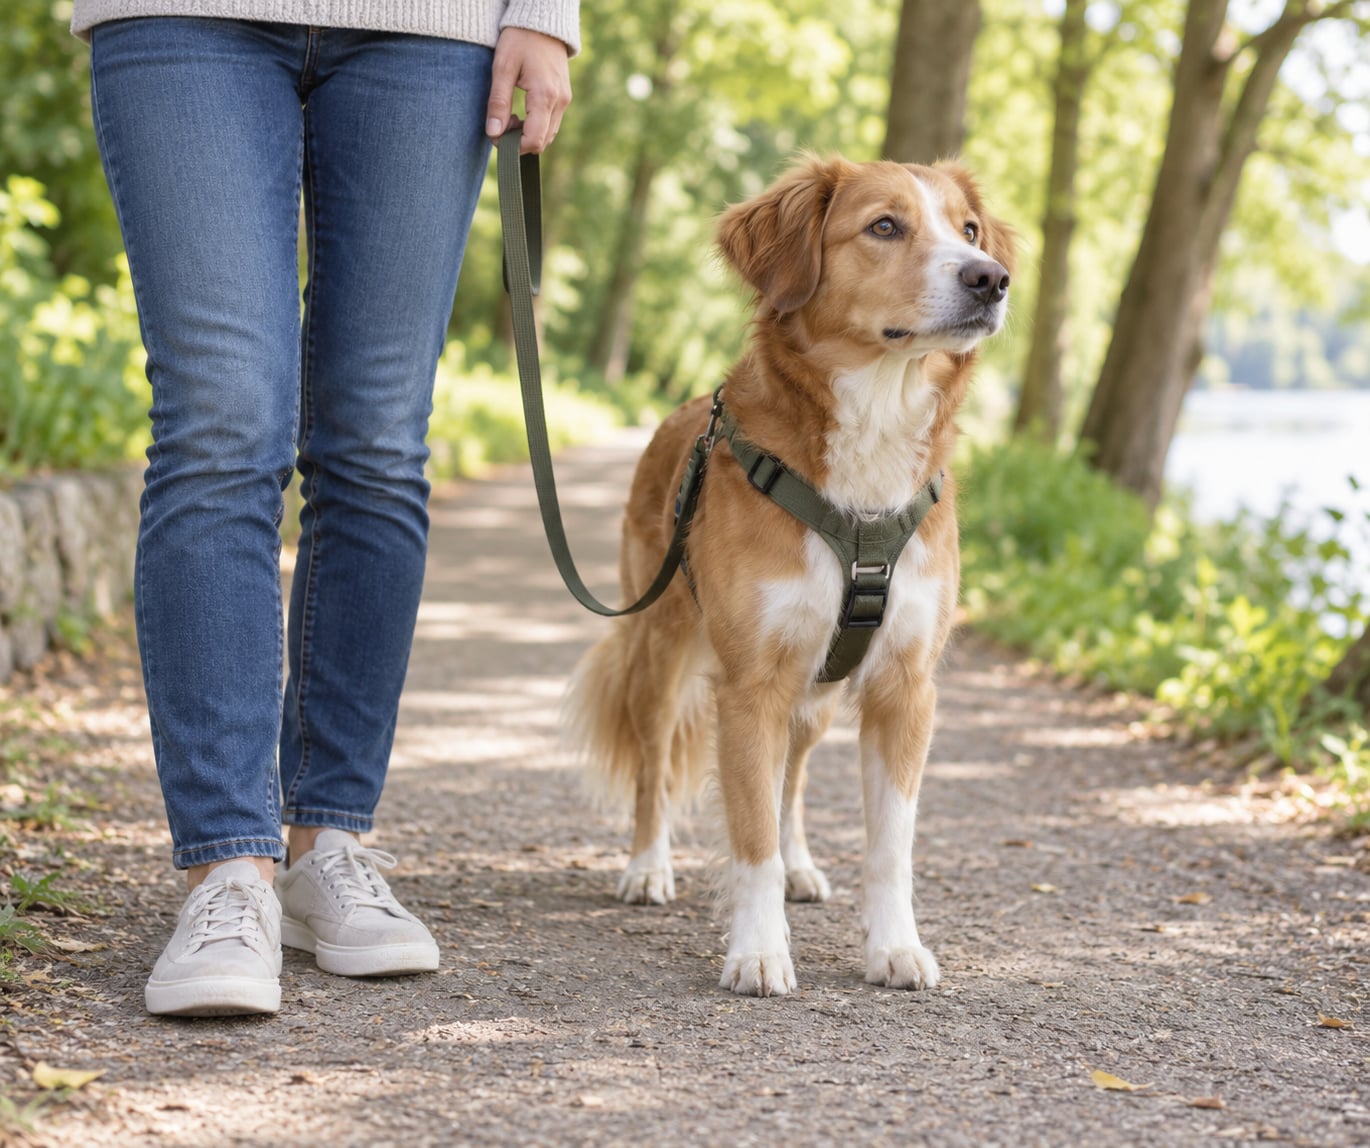
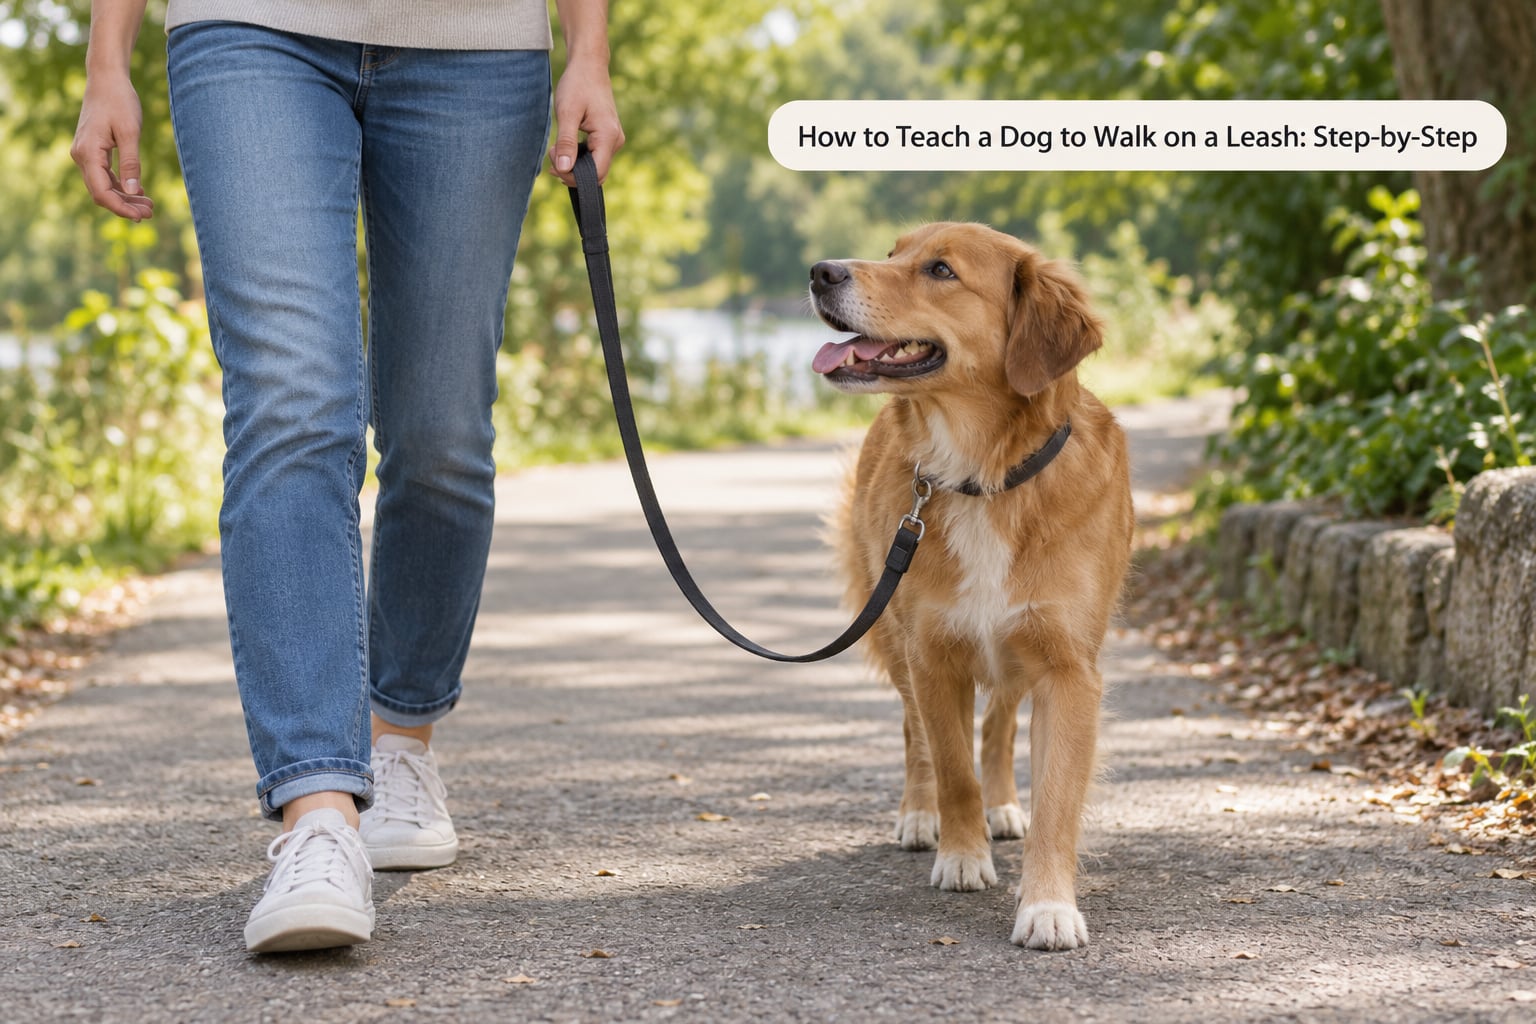
You will know it is working when the leash develops a visible curve instead of a straight line. The curve, sometimes called a letter J or a loose U, is the only measurement that matters in this whole process.
Step 4: Stop Moving When the Leash Tightens
The moment the leash goes straight, stop walking. Do not pull back, do not say no, and do not keep going. Just become boring and still until the leash loosens, then mark and reward, then start moving again.
This is the technique trainers call the stop-and-wait method: plant your feet and wait for eye contact before taking another step. The turn-and-walk-back version works too, and you can treat it as a game rather than a correction by turning briskly in the opposite direction and rewarding the moment your dog catches up.
Pick one method and stay with it. Switching between them in the same ten minutes is what makes owners doubt themselves, and self-doubt is the reason many puppies are still pulling at five months. The fix is consistency, not a different technique.
Step 5: Add Distractions Gradually
Move up the distraction ladder one rung at a time. Quiet room first, then a quiet sidewalk at an early hour, then a fenced path, then a park. Reward calm walking and check-ins the entire time, and go back down a rung whenever your dog stops listening.
Watch the body, not the behavior. A dog whose tail starts whipping, whose weight shifts forward onto its front legs, or whose ears pin back while scanning is already heading toward pulling. That is your cue to mark and feed before the leash ever tightens. There is a useful rule from working trainers: if the session feels easy, you are in the right spot, so stay there another day before moving up.
Step 6: Keep Walks Consistent
Short and frequent beats long and rare. Three 5-minute practice sessions spread through the day will beat one 45-minute struggle, and you should end each session while your dog is still engaged and still winning.
Build a realistic schedule: a few minutes indoors a day in week one, ten minutes of quiet outdoor walking in week two, adding distractions only when the previous week’s behavior holds. If your dog gets tired, frustrated, or overexcited, cut the session short rather than pushing through. A successful 3-minute session is a good session.
On days when you cannot train, keep your dog exercised another way indoors. A snuffle mat, a scatter feed, a short tug session, or a few minutes of hide and seek all burn energy without rehearsing pulling. It matters because an under-exercised dog is a dog who cannot pay attention.
Common Mistakes
Rewarding the pull. If your dog pulls and you hand over a treat, you have paid for pulling. The rule is simple: no reward until the leash is loose. The reward is a payment for slack.
Jerking the leash. Every hard yank teaches your dog that the leash goes tight when they reach, and it puts pressure on the trachea. Aim for leash pressure that is firm and then gone, not sharp.
Using too many commands at once. “Heel,” “let’s go,” “walk,” “stay,” and “leave it” in the first week is a recipe for a dog who learns none of them. One cue word, one meaning, for the first few weeks.
Training too long. Ten focused minutes beats an hour of frustration for you and the dog. When attention drops, stop. You can always add time later.
Inconsistent rewards. If your dog gets treats for a loose leash at home but not outdoors, outdoors is where the rule does not exist. Reward the position at the same rate in every setting until it is automatic.
Expecting instant results. Puppies commonly take weeks to a few months, and the adolescent period around six to eight months often brings a regression. Owners who report two months of daily practice without visible change are normal, not failing. Progress usually arrives quietly, as a walk that simply stops feeling like a fight.
Two more problems get lumped in with pulling but need different fixes. If your dog lunges at other dogs, that is leash reactivity, not a leash-manners problem, and it responds to distance, gradual exposure, and finding a calmer alternative to reward. If your dog will not eat outside but treats fine at home, use your own voice as the marker and reward with a game or a release word until food works again outdoors.
Frequently Asked Questions
How can I train my dog to walk on a leash without pulling?
Reward the position beside your leg, not the movement. Lure or guide your dog to your pant seam, mark the moment they arrive with a clicker or a Yes, then start moving. The instant the leash goes straight, stop walking and wait until it softens before rewarding and moving again. Keep sessions to five minutes at first and stop before either of you gets frustrated.
How long does it take to leash train a dog?
Most dogs show improvement within the first week of short daily sessions and settle into reliable loose-leash walking over several weeks. Expect a longer timeline for puppies, whose attention span and impulse control are still developing, and expect a temporary regression during adolescence around six to eight months. A few months of steady short sessions is a realistic expectation, not a sign that you are failing.
Should I use a harness or a collar for leash training?
A front-clip harness is the easiest starting point for most dogs because it gives you steering control without pressure on the neck, and it is a good fit for strong pullers. A martingale-style collar is another solid option that prevents slipping while staying gentle. Choke chains, prong collars, and e-collars are not recommended for walking skills. Whichever you use must fit with two fingers of space.
Can older dogs be leash trained?
Yes, and often more readily than puppies, because an adult dog already has some impulse control. Sessions should be shorter, five minutes at a time, on flat ground, and a senior dog may be limited by arthritis or vision rather than by motivation. If an older dog seems reluctant, panting heavily, or walking differently than usual, ask your veterinarian to rule out pain before training.
What should I do if my dog refuses to walk or ignores treats outside?
Some dogs stay food-motivated at home and go blank outdoors, which usually means too many distractions rather than a bad treat. Start somewhere very quiet, use a higher-value treat, and keep sessions to two or three minutes. If your dog will not eat at all, try your own voice as the marker and reward with a game or a release. A dog that refuses to walk at all may be in pain, so check in with your vet.
What leash length should I use for training?
A fixed 4 to 6 foot leash gives you enough control to teach a position while leaving your dog room to move naturally. Keep a consistent side, such as your left, and reward at the same pant seam every time. Retractable leashes are not useful for training, because the changing length rewards a dog for pulling back and gives you no feedback on leash tension.
Conclusion
Start tonight, indoors, with five minutes. Clip on a fixed 4 to 6 foot leash, reward your dog for touching your leg, and mark the moment they are beside you. That is the whole first session, and it is enough.
From there, add one step at a time, add distractions only after the last step is reliable, and keep the sessions short enough that your dog still wants another one. A visible curve in the leash is your progress meter. If pulling comes with gagging, coughing, breathing changes, or a sudden shift in your dog’s behavior, pause the training and speak with your veterinarian, and ask a qualified dog trainer for help when you want a plan tailored to a reactive or fearful dog.