Learning how to clean a reusable water bottle properly takes about five minutes and settles the whole job: take it apart, wash every piece with warm soapy water, treat any smell, and let it dry completely before you put it back together. Most problems people have with bottles come from skipping one of those steps, usually the disassembly or the drying.
The reason it matters is not subtle. Testing by EmLab P&K found the average reusable water bottle carrying more than 300,000 CFU, against 172 on a toilet seat and 203 on a doorknob. That is because the inside of a bottle stays wet, dark and often sugary, which is close to ideal conditions for mold and bacteria.
What follows covers stainless steel, plastic, glass and bamboo bottles, plus the lids, straws, mouthpieces and silicone seals people most often skip. Follow the routine as a whole and most bottles stop smelling within a week.
Table of Contents
- 1What You Need
- 2Step-by-Step
- 3How to Clean a Reusable Water Bottle Properly: Disassemble It First
- 4How to Clean a Reusable Water Bottle Properly: Wash the Parts
- 5How to Clean a Reusable Water Bottle Properly: Treat Odors and Buildup
- 6How to Clean a Reusable Water Bottle Properly: Rinse and Dry Completely
- 7Common Mistakes
- 8Frequently Asked Questions
- 9How often should reusable water bottles be washed?
- 10How do I get rid of the black stuff on my water bottle?
- 11Can I use vinegar to clean a reusable water bottle?
- 12What kills bacteria in a water bottle?
- 13Can you put a water bottle in the dishwasher?
- 14How do I clean a silicone water bottle seal?
- 15Conclusion
What You Need
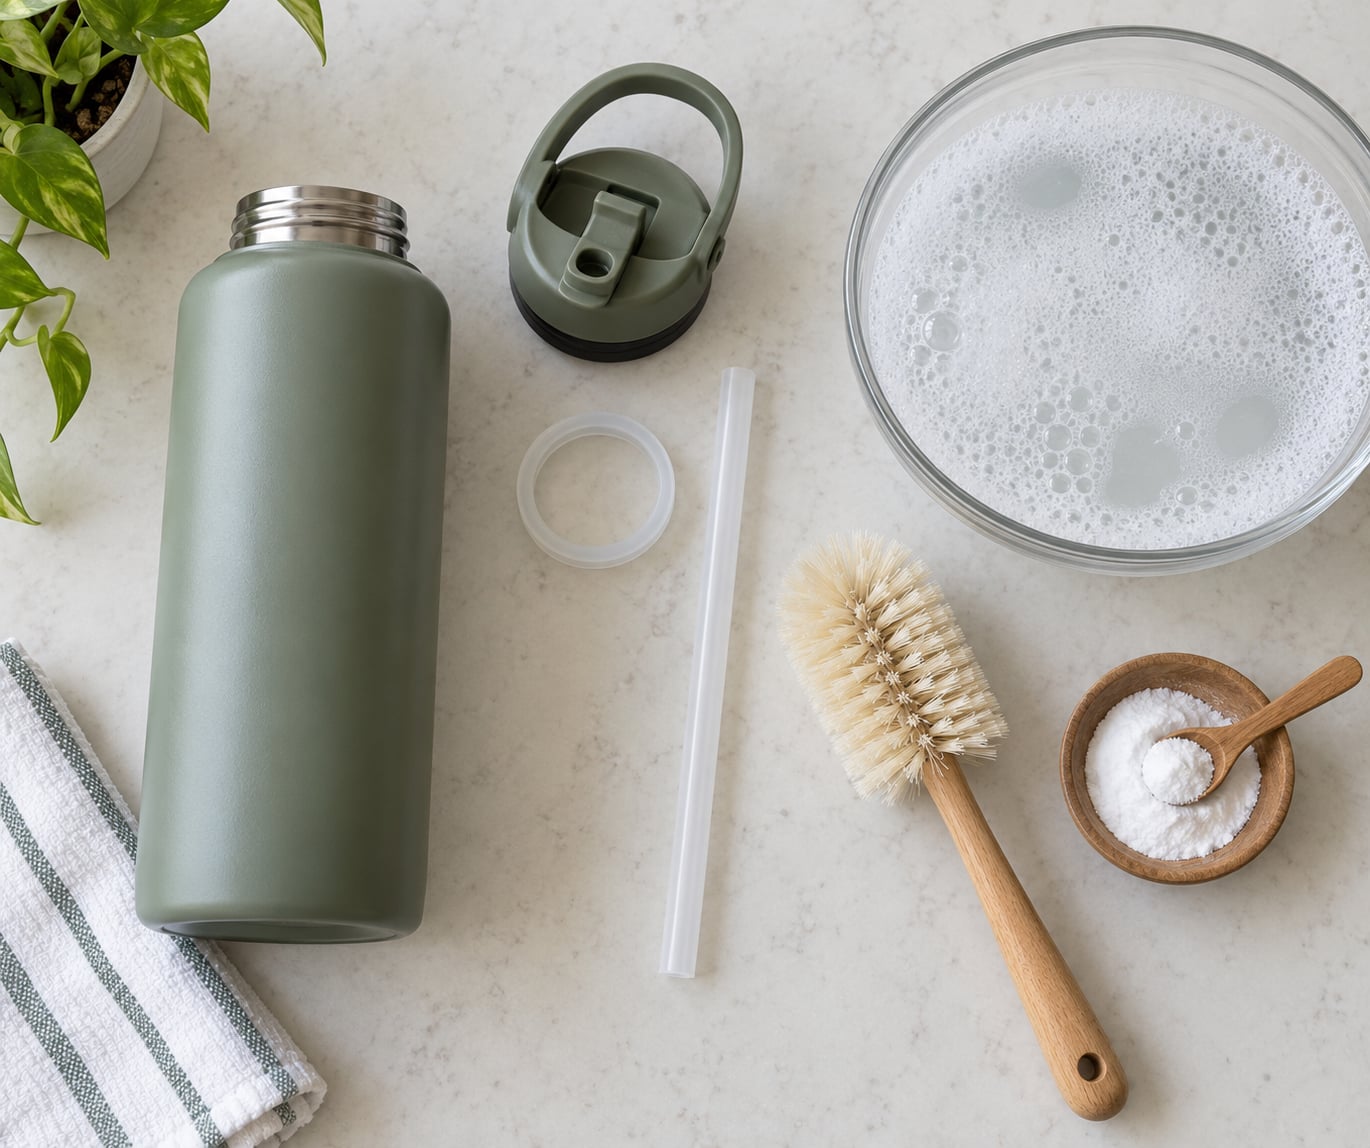
You need very little: dish soap, warm water, a brush that fits the neck of the bottle, and somewhere to let parts dry. Everything else is optional and depends on how dirty the bottle is.
- Dish soap and warm water. This does nearly all the work. Warm rather than boiling water helps the soap spread and lifts grease; Michigan State University extension advice recommends a several-minute soak in warm, soapy water for a stuck-on mess.
- A bottle brush sized to the neck. A stiff narrow brush reaches the base and the shoulder where a sponge cannot. A soft-bristled toothbrush works for a wide mouth.
- A straw brush, if your bottle has a removable straw. Narrow tubes are the number one place people find black residue.
- A clean towel or drying rack. Parts need to stand apart and get air on all sides.
- Optional deep-clean supplies: baking soda, white vinegar diluted with water, or a denture cleaning tablet for hidden grime in corners and grooves.
Before anything else, check the care instructions that came with your bottle. If the manufacturer says hand wash only, the dishwasher is off the table, and some powders and coated finishes have their own limits. When care instructions and a blog disagree, the instructions win.
Step-by-Step
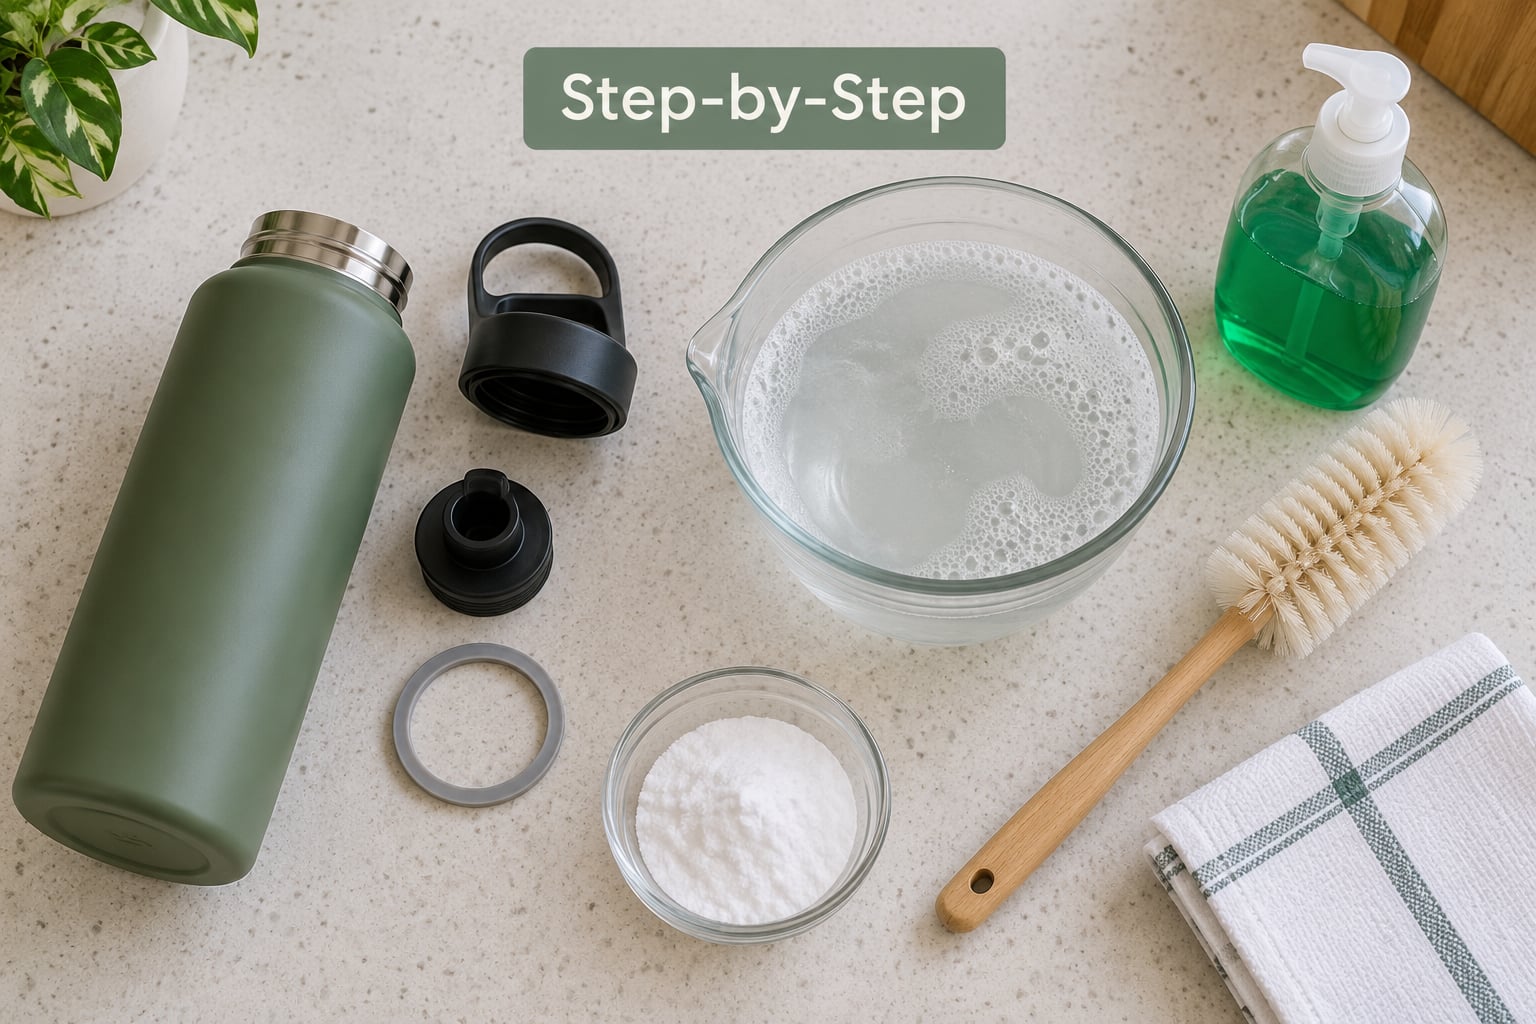
How to Clean a Reusable Water Bottle Properly: Disassemble It First
Start by taking the bottle apart, because a clean body with a dirty lid is still a dirty bottle. Most lids come apart into a cap, a mouthpiece or spout, and a silicone gasket or O-ring, and straws usually pull straight out. A quick twist of a straw cleaner often pops a hidden inner piece free.
Run all of it under warm water to knock off loose sugar, powder and residue. If something does not detach, do not force it. Prying a seal out of its groove or levering a spout off a flip lid is how cracks and leaks start, and it is exactly the kind of damage the care instructions are warning you about.
Take thirty seconds while everything is apart to look at the parts. A gasket that is cracked, flattened, fuzzy or no longer springs back has stopped sealing and should be replaced, not cleaned.
How to Clean a Reusable Water Bottle Properly: Wash the Parts
Wash each piece on its own with warm water and a drop of dish soap, and give the bottle a full minute of actual scrubbing rather than a quick rinse. Work the brush around the bottom corners and up the neck, and pay attention to the printed area on the inside, where grime hides in the lettering.
The lid, straw, mouthpiece and gasket need the same attention as the body. Pull the soft silicone seal through the groove with your fingers under running water, run the straw brush the full length of the straw several times, and flip the spout over to flush the underside. Food dye from juice and smoothies hides in that lip and will smell for weeks if you skip it.
For delicate or manufacturer-restricted components, hand washing is the safe choice. Some insulated and coated lids should not go near a dishwasher, and a bottle brush with a metal handle is a poor match for a soft interior. When in doubt, use the gentlest method that works and repeat it.
How to Clean a Reusable Water Bottle Properly: Treat Odors and Buildup
Use baking soda or diluted vinegar only after a normal wash, and only when there is still a smell, a slimy film or a chalky mineral ring. Washing soda or a denture tablet works on stubborn residue too. Go gentlest first, then step up, rather than reaching for the strongest thing in the cupboard.
- Baking soda paste: mix roughly one tablespoon of baking soda with a little warm water into a paste, spread it inside, and leave it for 10 to 15 minutes. Scrub with the brush, then rinse. Baking soda is mildly abrasive and deodorizing, and it is safe on stainless steel, glass, Tritan plastic and silicone.
- Diluted vinegar: fill the bottle with a solution of one part white vinegar to three parts water and let it sit 10 to 15 minutes, capped, so it also soaks the lid and straw. Rinse twice. Vinegar is fine on glass and stainless steel and on most uncoated plastics, but skip it on natural stone or bamboo finishes and check with the manufacturer first.
- Denture tablet: drop one tablet in warm water and leave the bottle and lid submerged for 15 to 20 minutes. The effervescent action reaches seams and corners a brush cannot, which is where most odor lives.
After any soak, rinse more than once under running water. A faint smell is often just soap or cleaning solution left behind, and a second rinse costs you ten seconds.
How to Clean a Reusable Water Bottle Properly: Rinse and Dry Completely
Rinse until the water runs clear and there is no slip or scent of soap, then dry fully. Air drying beats towelling the bottle, because a towel pushes dampness into the base and only holds what it picks up. Set parts upside down on a rack, spaced apart, with the lid open and the mouthpiece facing down.
Give the narrow openings their own attention. Straws, spout holes and the small channel in a flip lid are where trapped water hides, and a bottle closed while any of it is wet is a bottle that smells musty by morning. The same goes for the base of the bottle and the inside of the gasket.
Wait until everything feels dry to the touch before reassembling, then store the bottle with the lid off or cracked open rather than sealed. Trapped moisture is what encourages odor and microbial growth, and drying is the step that actually ends the cleaning.
Common Mistakes
Almost every stubborn bottle has one of these problems at the root, and each has a straightforward fix.
Using bleach on the wrong plastic. Bleach can craze, discolor or weaken some plastics, and it leaves a residue people have to rinse twice to remove. Check the material first, and use the diluted solution briefly rather than pouring concentrate into a bottle. On stainless steel and glass, a weak bleach solution for about ten minutes is fine; on a plastic with unknown resin, use baking soda instead.
Leaving the lid, straw and gasket off the list. Scrubbing the body and calling it done is the most common failure, and it is usually why black residue keeps coming back in the straw. Pull every removable piece out and clean it separately, every time.
Scrubbing a coated or insulated bottle too hard. Steel wool and stiff abrasive pads strip powder coat, dull the finish and can scratch a lined interior. Use a soft brush and dish soap, and never boil an insulated vacuum bottle. Heat cycling can break the seal, and once that happens the bottle holds temperature badly forever.
Putting the bottle back together while it is damp. This is the mistake that makes people think their bottle is impossible to clean. Air dry every part, open, separated, until it is completely dry.
Skipping the care instructions. Dishwasher-safe lids and hand-wash-only bodies look identical on the shelf. Look for the marking, and when it is missing, assume hand wash with warm soapy water.
Leaving water sitting overnight. Water left in a bottle for hours turns warm and feeds whatever is left behind. Empty it when you are done, and if you cannot get to a sink, at least give it a swish of water. A bottle that is rinsed between drinks and washed at the end of the day needs nothing more.
A couple of habits keep the job short. Keep a bottle brush near the sink so washing it takes thirty seconds rather than a decision. Rinse during the day if you refill often, and run a full clean whenever the lid gasket looks slimy or dark.
Frequently Asked Questions
How often should reusable water bottles be washed?
Wash a reusable bottle at least once a day, and any time you fill it with something other than water, such as juice, milk or a sports drink. If you refill it constantly at work or the gym, rinse it between drinks and give it a full wash at the end of the day. A full wash means warm water, dish soap, the lid and straw removed and rinsed separately, and complete air drying.
How do I get rid of the black stuff on my water bottle?
Black gunk in a straw or lid groove is usually a biofilm of mold, yeast and trapped sugar. Take the bottle apart, scrub it with warm soapy water and a straw brush, then soak the parts in warm water with one denture tablet for 15 to 20 minutes. Rinse twice and air dry fully. If the residue stays, repeat with a baking soda paste before trying anything harsher.
Can I use vinegar to clean a reusable water bottle?
Yes, diluted white vinegar is a good deodorizer and works on mold, mineral rings and light buildup. Mix one part vinegar with three parts water, fill the bottle and cap it, and let it sit 10 to 15 minutes so the lid and straw soak too. Rinse twice afterward. Vinegar is safe on glass, stainless steel and most uncoated plastics, but skip it on natural stone and some bamboo finishes.
What kills bacteria in a water bottle?
A hot wash with dish soap removes most bacteria, and complete air drying kills the rest by removing the moisture they need. Soap and warm water are enough for everyday use. For a deeper pass, a diluted vinegar soak or a denture tablet handles stubborn residue, and a weak bleach solution works on stainless steel and glass if you rinse well afterward. No cleaning method replaces washing often.
Can you put a water bottle in the dishwasher?
It depends entirely on the material and the part. Stainless steel bodies and most glass bottles handle a top-rack cycle, but a powder-coated finish can go dull and an insulated vacuum bottle can lose its seal. Plastic bottles often warp, and a warped lid no longer fits. Lids, straws and gaskets are usually the safest items to run. Check the care instructions before you load anything.
How do I clean a silicone water bottle seal?
Pull the seal out of its groove and wash it separately in warm soapy water, working your fingers through the channel and running water through it until the water comes out clear. For odor, soak it in warm water with a denture tablet or a diluted vinegar solution for 15 to 20 minutes, then rinse. Silicone that stays cracked, flattened or permanently smelly is worn out and should be replaced.
Conclusion
Start with the first action, not the deep clean: take the lid, straw, mouthpiece and gasket off, wash every piece in warm water with dish soap, rinse until nothing is left, and let it air dry completely. That routine on its own handles almost all odor and residue, and it takes about five minutes.
For a bottle that still smells, add a diluted vinegar soak or a denture tablet after washing, never instead of it. Follow the manufacturer’s care instructions for your material, keep the bottle empty and dry when it is not in use, and replace any gasket that has stopped sealing.