A window that will not lock is almost always a sash alignment or hardware problem, not a broken window. The fastest fix is to push the top sash fully up and the lower sash fully down so the interlocks meet, then recentre the keeper so the latch bolt drops into it. Most of these repairs take under an hour with a screwdriver and a putty knife.
If the window has no lock hardware at all, the diagnosis ends early and you move straight to secondary security: a clamp-on sash lock, a security bar or a window restrictor. Which one is right depends on the window type, whether you own or rent, and whether children or pets use that room.
This guide walks through seven fixes in the order that solves the problem most often. Work them in sequence and stop as soon as the bolt seats in the keeper.
Table of Contents
- 1What You Need
- 2Step-by-Step: How to Secure a Window That Does Not Lock
- 3Step 1: Identify the Window and the Problem
- 4Step 2: Check the Sash and Lock Mechanism
- 5Step 3: Clean and Free the Window
- 6Step 4: Repair or Replace a Broken Latch
- 7Step 5: Correct Sash or Frame Misalignment
- 8Step 6: Install a Removable or Surface-Mounted Security Lock
- 9Step 7: Use a Secure Temporary Window Stop
- 10Common Mistakes
- 11Frequently Asked Questions
- 12Can I secure a window without replacing the entire window?
- 13Is it safe to use a removable window security bar?
- 14Should I repair a broken window lock on rental property?
- 15What is the best temporary fix for a window that will not lock?
- 16How do I know if the window frame is damaged instead of the latch?
- 17When should I call a window professional instead of repairing it myself?
What You Need
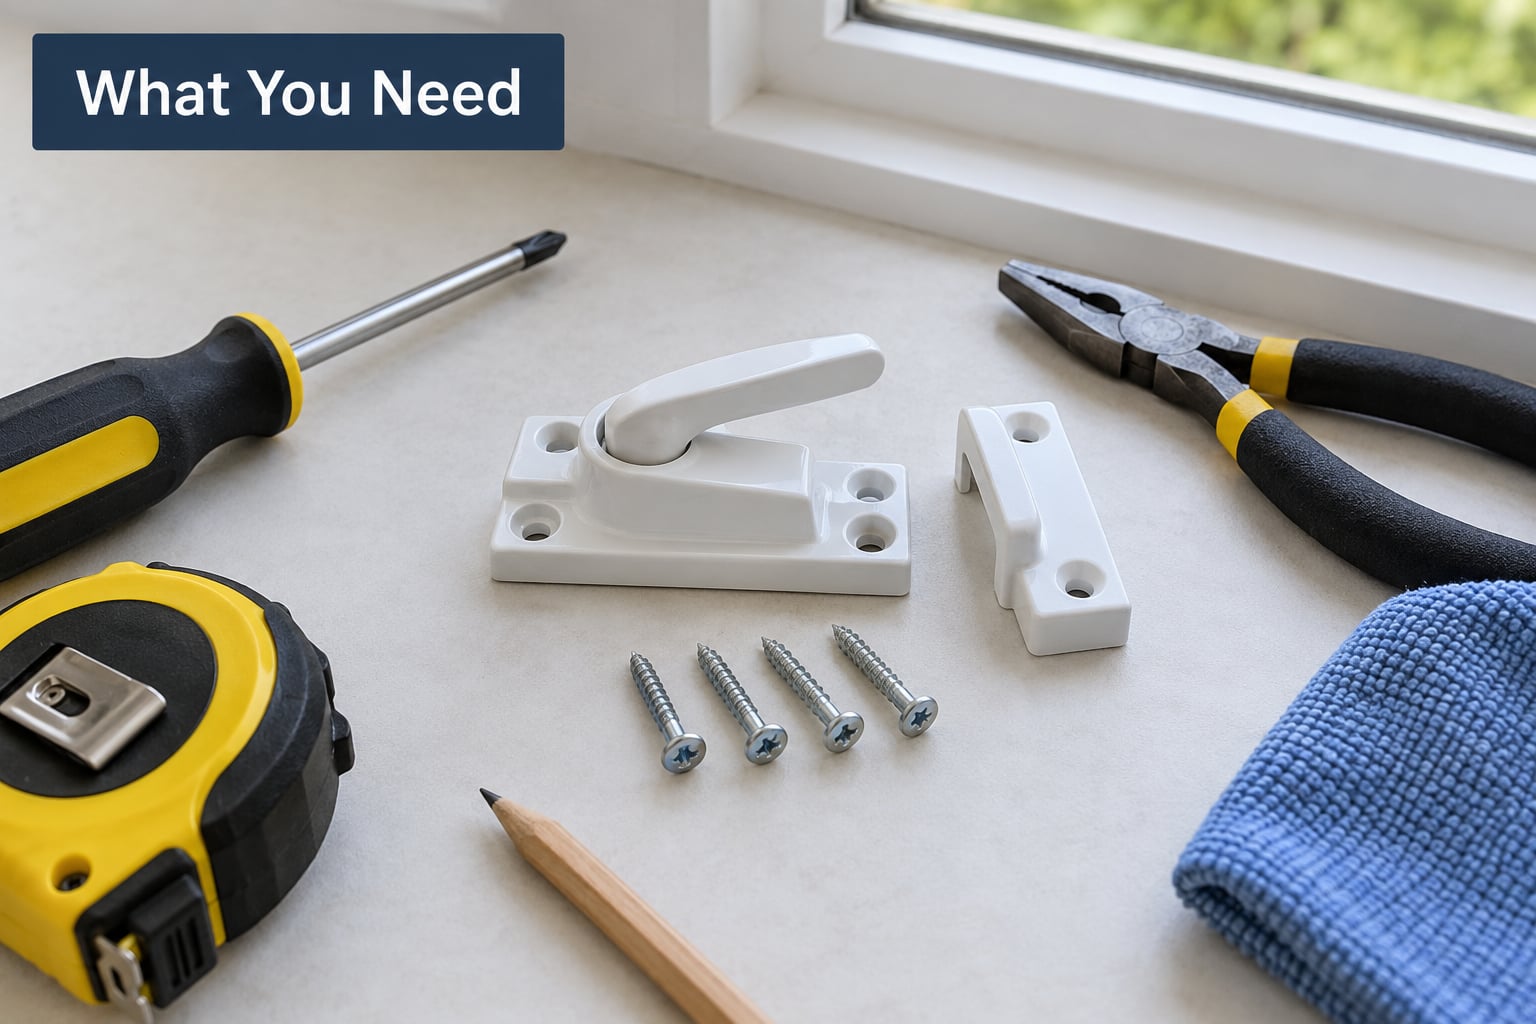
Most of this job needs less than a handful of tools. Gathering them first saves the thirty-minute trip back to the hardware store with a stripped screw in your hand.
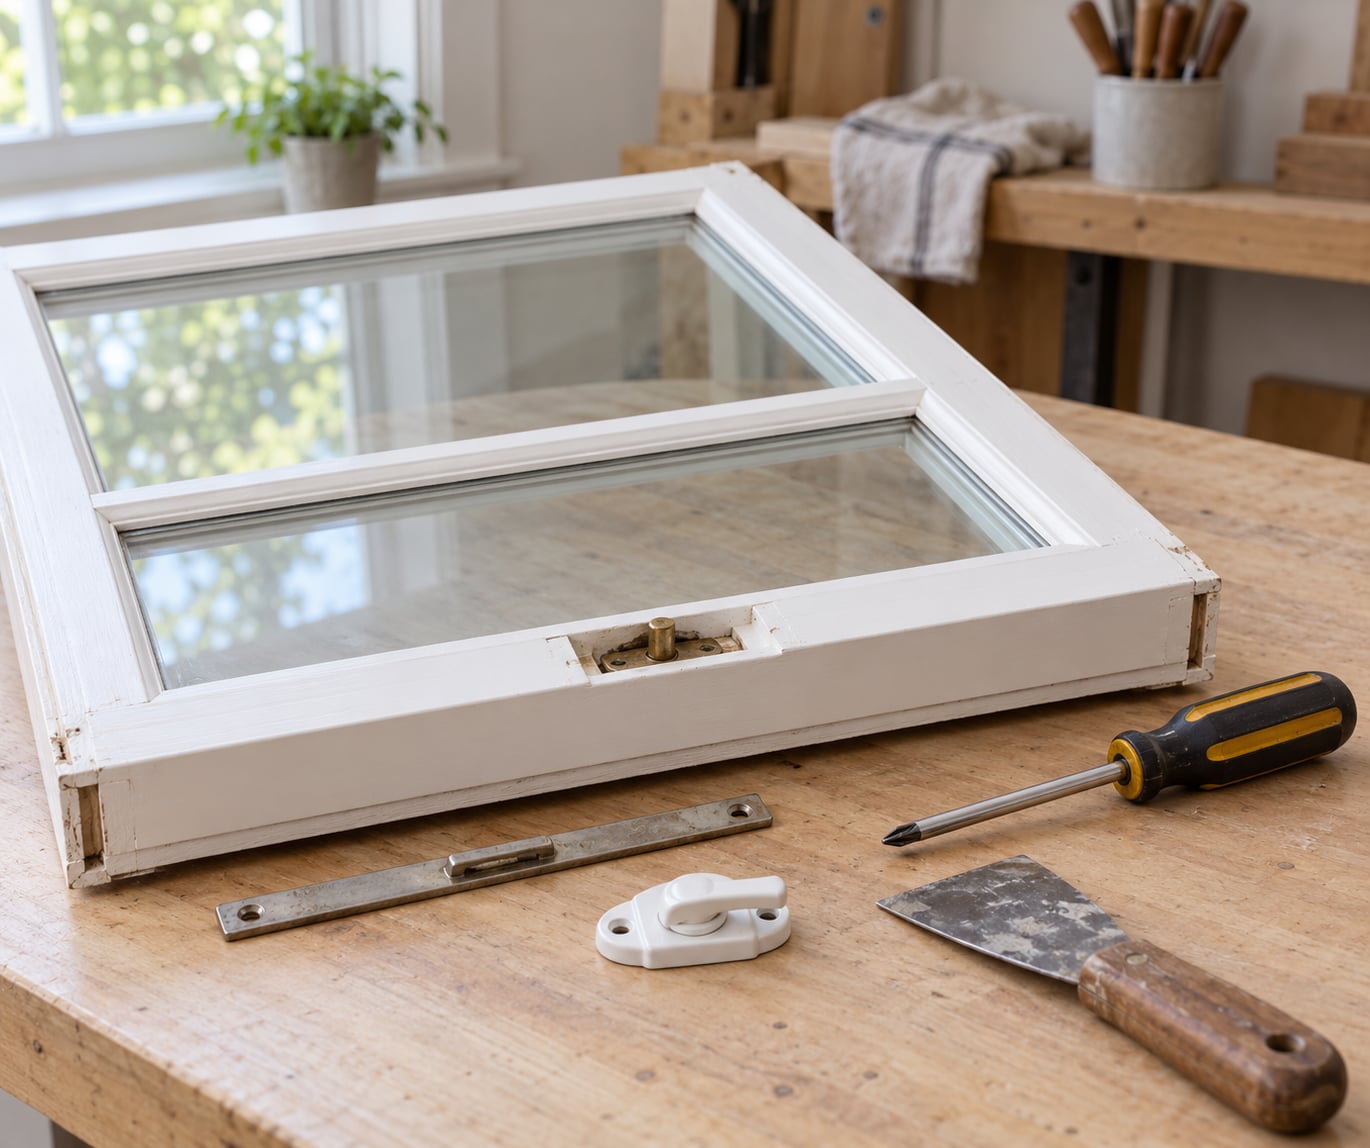
- A Phillips and a flat-blanket screwdriver in the sizes that fit your latch screws
- A putty knife or plastic scraper for dried paint and caulk around the sash
- A vacuum with a brush nozzle, plus a small stiff nylon brush for the lock itself
- A flashlight, since half of diagnosing a window happens in a dark frame cavity
- A tape measure and a pencil for marking the keeper position before you loosen anything
- Wood filler or a vinyl repair plug, and longer screws, for stripped keeper holes
- Replacement hardware if the existing one is cracked or missing: a sash lock to match your rail, or a clamp-on sash lock and a window security bar for a window with no working lock
- A window opening control device or sash restrictor if the window is on an upper storey and children or pets are in the house
- Work gloves and a step ladder you trust, plus an old towel to catch debris falling into the frame cavity
For lubrication, keep graphite powder and light silicone oil on hand. Skip WD-40 as the default choice; it will not fix a misaligned sash, and it can gum up some lock mechanisms.
Step-by-Step: How to Secure a Window That Does Not Lock
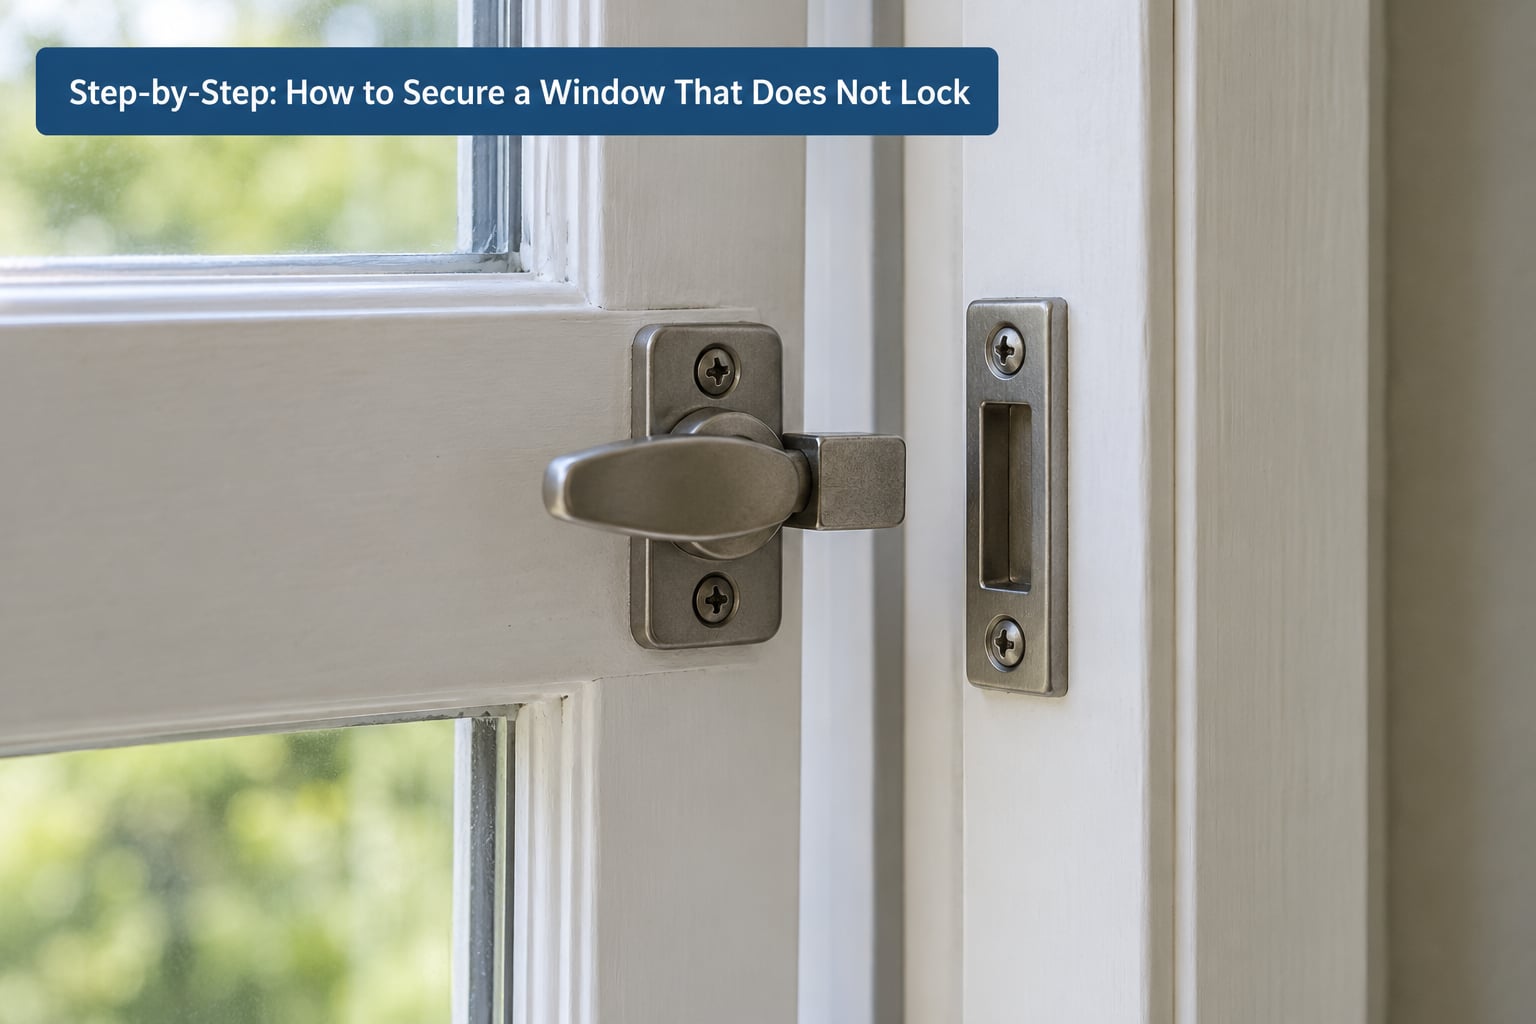
Start with the symptom list. It maps what the window is doing to the most likely cause and the step that fixes it, so you can skip straight to the right repair.
- The handle turns but the bolt never drops. The keeper is off-centre, mounted too high, or the sash sits lower than it should. Go to step 5.
- The bolt passes straight through the keeper. The sashes are not fully seated, or the interlocks on a two-piece lock are not meeting. Go to step 5.
- The top sash slowly slides down on its own. A failed balancer or a disengaged balance shoe. Go to step 2.
- The handle is stiff and gritty, and the bolt barely moves. Dirt, dried paint or stale lubricant inside the mechanism. Go to step 3.
- One of two latches never reaches its keeper. A wide double-hung with a dual lock set too far apart to reach. Go to step 6.
- There is no hardware at all on the rail. The original lock is missing on a secondary, retrofit or vintage window. Go to step 6.
Step 1: Identify the Window and the Problem
Window types fail in different ways, and the repair you attempt depends on what you are holding. A double-hung has two sashes that slide vertically and meet at the meeting rail. A single-hung has a fixed top sash with only the lower half moving. A casement is hinged and swings out with a crank handle. A slider runs horizontally. A tilt-and-turn window uses a handle you tilt downward for ventilation and turn horizontally to lock multiple points.
Look for a label stamped into the sash rail or a code on the balance shoe. Record it before you start. Also decide whether the window will not close, closes but will not latch, latches but will not stay latched, or the key will not turn. Those four failures come from different parts.
Two questions narrow it fast. Does the window sit in an opening that is plumb and square, or does the frame visibly lean? And is the gap between sash and frame even on all four sides when closed? An uneven gap points at the frame rather than the lock.
Step 2: Check the Sash and Lock Mechanism
Close the window and inspect the hardware with the sash in the position you actually use. On a double-hung the latch bolt is on the lower sash rail and the keeper is fixed to the upper sash rail or the jamb directly across from it. Check whether the bolt lines up with the keeper slot or passes above or beside it.
Check every screw holding the latch body and the keeper. Back them out by hand first, then tighten with the driver so you strip nothing. If the holes spin without gripping, fill them with wood filler or a vinyl plug and drive longer screws that bite into framing. Do this before anything else; a loose latch is the most common cause of a bolt that never seats.
If the top sash is slowly sliding down, the balancer or balance shoe has failed. Tilt the sash inward carefully and read the size and weight stamp on the balancer so you can match the replacement. Do not attempt to re-hang a sash on a cord system if the cords or weights have come off the pulleys. That repair is for a professional.
Test the mechanism gently after each change. Turn the handle to the locking position, release it, and check whether the sash springs back to the position you intended. If the handle does not hold its position or the bolt retracts on its own, the escutcheon, cam or cylinder needs replacing rather than adjusting.
Step 3: Clean and Free the Window
Dirt is the cheapest cause to fix and the most commonly skipped. Vacuum the sill and both sash channels, then run a stiff nylon brush through the latch and across the keeper slot to pull dried paint and grit out of the mechanism. Use the putty knife to lift paint bridges where the sash rubs the frame.
Wipe the sash and track with a damp cloth and dry them fully. Check the weatherseal, because a strip that has been painted shut or pinched will stop the sash closing squarely and make the lock look broken when it is not.
Lubricate only where the manufacturer intends it. Graphite powder works well inside a key or latch cylinder and leaves nothing sticky to attract grit. A light silicone oil is right for the channel and for a roller or slide. Do not use WD-40 on the lock: it is a water displacer, it will not align anything, and on some lock finishes it leaves a gummy film that collects dirt and makes the next failure worse.
Work the handle back and forth several times after lubricating. If the bolt now enters the keeper cleanly, you are done with this repair.
Step 4: Repair or Replace a Broken Latch
Choose a replacement by measuring, not guessing. Measure the throw of the old bolt, the centre-to-centre spacing between the latch screws and the keeper screws, and the thickness of the rail you are mounting into. Match the profile and finish too, since a latch that sits proud or sits recessed will not engage the old keeper.
Take a photo of the installed hardware before you remove anything. Pry the escutcheon or latch body off the rail with the putty knife, keeping the cam or base plate if it is reusable. Fit the new latch, align it so the bolt sits level with the keeper slot, and tighten the screws by hand before the driver.
Test it before you let go. If the bolt does not enter the keeper without forcing either the handle or the sash, stop and change the alignment. A bent bolt or a handle that has to be pushed to turn is a sign the hardware does not belong on this window, and forcing it will only create a lock that looks secure and is not.
Step 5: Correct Sash or Frame Misalignment
This is the fix that resolves most complaints. Push the top sash all the way up and the lower sash all the way down, then let the interlocks overlap at the meeting rail. Lock it from there. The step takes about twenty seconds and it costs nothing, which is why it circulates so widely in homeowner forums.
If the sashes sit fully seated and the bolt still misses, adjust the keeper. Mark its current position with pencil and tape, loosen the screws, and shift it a few millimetres at a time until the bolt drops straight in. Re-tighten and retest from the position you use day to day. If the keeper holes will not hold, fill them and use longer screws.
On vinyl sashes that have swollen in summer heat, push the lower sash outward or upward while turning the lock. Homeowners on home-maintenance forums report that it engages this way, and that leaving the window closed and locked for a few days lets the sashes re-mate until it works from the normal position. Do not plane or sand a vinyl sash to force a fit. If heat has bowed the frame, shade the glass, let the profile cool, then re-seat it.
Know where to stop. Rot in a timber jamb, a leaning frame, cracked glass, or a sash that rubs hard enough to scar the wood is structural work. Make only the minor adjustments the window design allows and hand the rest to a window professional.
Step 6: Install a Removable or Surface-Mounted Security Lock
When the window has no working hardware, or when a genuine lock is beyond saving, secondary security is the answer. Clamp-on sash locks clamp over the meeting rail of a double-hung window and tighten with a thumb screw from inside, with no drilling and no change to the frame. Renters use exactly this hardware when a landlord will not install a lock.
On a slider, use a surface-mounted sliding door bar that screws into the frame at the jamb and seats against the sash, or a clamp that grips the track. On a casement, replacing the crank handle with a multipoint locking handle gives you a locked perimeter instead of a single latch.
For an upper storey window, fit a window opening control device or sash restrictor that limits the opening to about four inches. These are the safety products worth having when a child or a cat is in the room, and they are separate from the security question.
Follow the manufacturer’s instructions and fit the hardware to solid framing rather than thin trim. Two rules apply to every add-on: never cover a required emergency exit, and never leave an opening narrower than a person can pass through in an emergency.
Step 7: Use a Secure Temporary Window Stop
When the repair needs parts, or when you rent and need the landlord to act first, a temporary stop holds the window. A window bar that grips the sill and the sash is the strongest option available without permanent hardware. A security wedge works on a light sash and does nothing on a heavy one. A purpose-made sash restrictor limits the opening to a few inches and doubles as a child-safety device.
Set the stop, then test it by pulling the sash hard from the outside with one hand. Any play at all means the stop is not bearing against solid framing, so reposition it. A wedge that sits on decorative trim is decoration, not security.
Know the limits out loud. A wedge is defeated by a pry bar, and a bar only works while it stays in place. An audible glass-break alarm or a contact alarm on the frame adds a layer that costs nothing to install, and security film on the glass makes it harder to open in one motion.
Common Mistakes
Most repeat visits come from one of these, and each has a straightforward correction.
- Forcing a stiff latch. If the handle will not turn without pushing the sash, stop and clean it first. Forcing bends the bolt and turns a small job into a replacement.
- Spraying WD-40 and hoping. It cannot align a sagging sash and it can gum up some locks. Use graphite in the cylinder and light silicone oil in the channel.
- Drilling into an unidentified frame. Hitting a balance channel, a glazing bead or a structural member splits the jamb. Identify the window type first, and choose clamp-on hardware if you are unsure.
- Using fasteners that are too weak. Short screws and hollow-wall anchors strip out of soft vinyl and rotted timber, then the keeper moves again. Use screws long enough to reach framing, or a clamp that needs no screws at all.
- Blocking an exit or creating a trap. A bar or wedge across a required escape route is dangerous. Any add-on has to leave a person-sized path out.
- Making permanent repairs on a rental. Many leases forbid drilling or altering the window. Put the request in writing to the landlord, and use temporary hardware in the meantime.
- Assuming closed means secure. A sash you can push inward with a pry bar is an open entry point no matter how flush it looks. Push it from outside with one hand to find out which one you have.
Frequently Asked Questions
Can I secure a window without replacing the entire window?
Almost always. If the frame is square and the sash still closes fully, you can replace the latch, re-set the keeper screws, or fit clamp-on hardware over the rail. Replacement is only worth it when the sash will not stay seated, the balance hardware is gone, or the frame itself is rotted or leaning. Replace the unit, not the window, when paint or rot has swollen the sash so it no longer closes squarely in any weather.
Is it safe to use a removable window security bar?
Yes, provided you fit it to solid framing and keep every required exit clear. Removable bars are rated for indoor use, so check that the window you are securing is not a ground-floor opening a passer-by could reach into. Test the fitted bar by pulling hard from outside; any play means it is bearing on trim rather than framing. Keep the key or release tool somewhere an adult can reach quickly.
Should I repair a broken window lock on rental property?
Send the request to your landlord in writing, with the symptom and a photo, and keep a copy of the message and the reply. Most leases prohibit drilling into or altering the window, so permanent repairs and hole-filling usually need written approval. Reversible additions such as a clamp-on sash lock, a sash restrictor or an alarm contact are the practical interim answer while you wait for the maintenance request to be handled.
What is the best temporary fix for a window that will not lock?
A sash bar or window security bar that grips the sill and the sash, positioned against solid framing, holds better than a wedge and far better than tape or caulk. A window opening control device is the best temporary option on an upper storey because it limits the opening to about four inches and protects children and pets as well. Whatever you use, confirm it by pulling the sash hard from the outside before you rely on it overnight.
How do I know if the window frame is damaged instead of the latch?
Close the sash and look at the gap around it. If the gap is even on all four sides and the bolt still misses, suspect the keeper. If one side is pinched, one corner sits proud, or the frame leans out of square, the frame has moved. Rot in a timber jamb, a sash that rubs hard enough to scar, or cracked glass means the window needs a professional rather than a hardware swap.
When should I call a window professional instead of repairing it myself?
Call a window professional when the balancer has failed and the sash is off its pulleys, when cords or weights are tangled, when the jamb is rotted or the frame is out of square, or when glass is cracked. Call a locksmith rather than a window company when the cylinder, key or multi-point hardware is the failing part and the sash itself moves freely. Both visits are also worth it on a window you cannot keep latched at all, since repeated adjustments rarely hold.
Start with the twenty-second fix: top sash up, lower sash down, interlocks meeting. If the bolt still misses, mark and shift the keeper, then clean and lubricate the mechanism. Those three steps resolve the majority of windows that will not lock.
If the hardware is missing or gone for good, skip to step six and fit clamp-on sash hardware, and add a restrictor anywhere children or pets can reach an opening. For a ground-floor window, a bar on solid framing plus an alarm contact is the combination worth having.