A wobbly chair almost always has one of two problems: loose hardware where the legs meet the frame, or a failed glue bond in the joints underneath. Learning how to fix a wobbly chair starts with telling those two apart, because the first is a five-minute job with a screwdriver and the second is a full day of clamping and curing.
That said, uneven legs and worn feet cause a surprising share of chair wobbles, and a metal or upholstered chair needs a different approach again. Most fixes cost very little and none of them need more than basic tools.
Table of Contents
- 1What You Need
- 2The basics for diagnosing and tightening
- 3Materials for the permanent repairs
- 4What each tool is for
- 5Know your chair parts
- 6Step-by-Step
- 7First, find out where the wobble comes from
- 8Step 1: Tighten the loose hardware
- 9Step 2: Tighten or replace loose rungs and stretchers
- 10Step 3: Stabilize a joint that keeps working loose
- 11Step 4: Level a short or uneven leg
- 12Step 5: Repair a stripped screw hole
- 13Step 6: Re-glue loose joints the right way
- 14Step 7: Fix a metal, upholstered or office chair
- 15Common Mistakes
- 16Tightening only one leg
- 17Shimming without checking the frame
- 18Over-tightening screws
- 19Using too much glue
- 20Fitting the wrong foot or screw
- 21Ignoring a cracked or rotten frame
- 22Why nails, screws, brackets and tape are a bad fix
- 23Safety and habits that prevent the next wobble
- 24Frequently Asked Questions
- 25Is a wobbly chair safe to use?
- 26How do I fix a wobbly metal chair?
- 27Can I use cardboard or wood shims under a chair leg?
- 28Why does my chair still wobble after I tighten the screws?
- 29When should I replace a wobbly chair instead of repairing it?
- 30Conclusion
What You Need
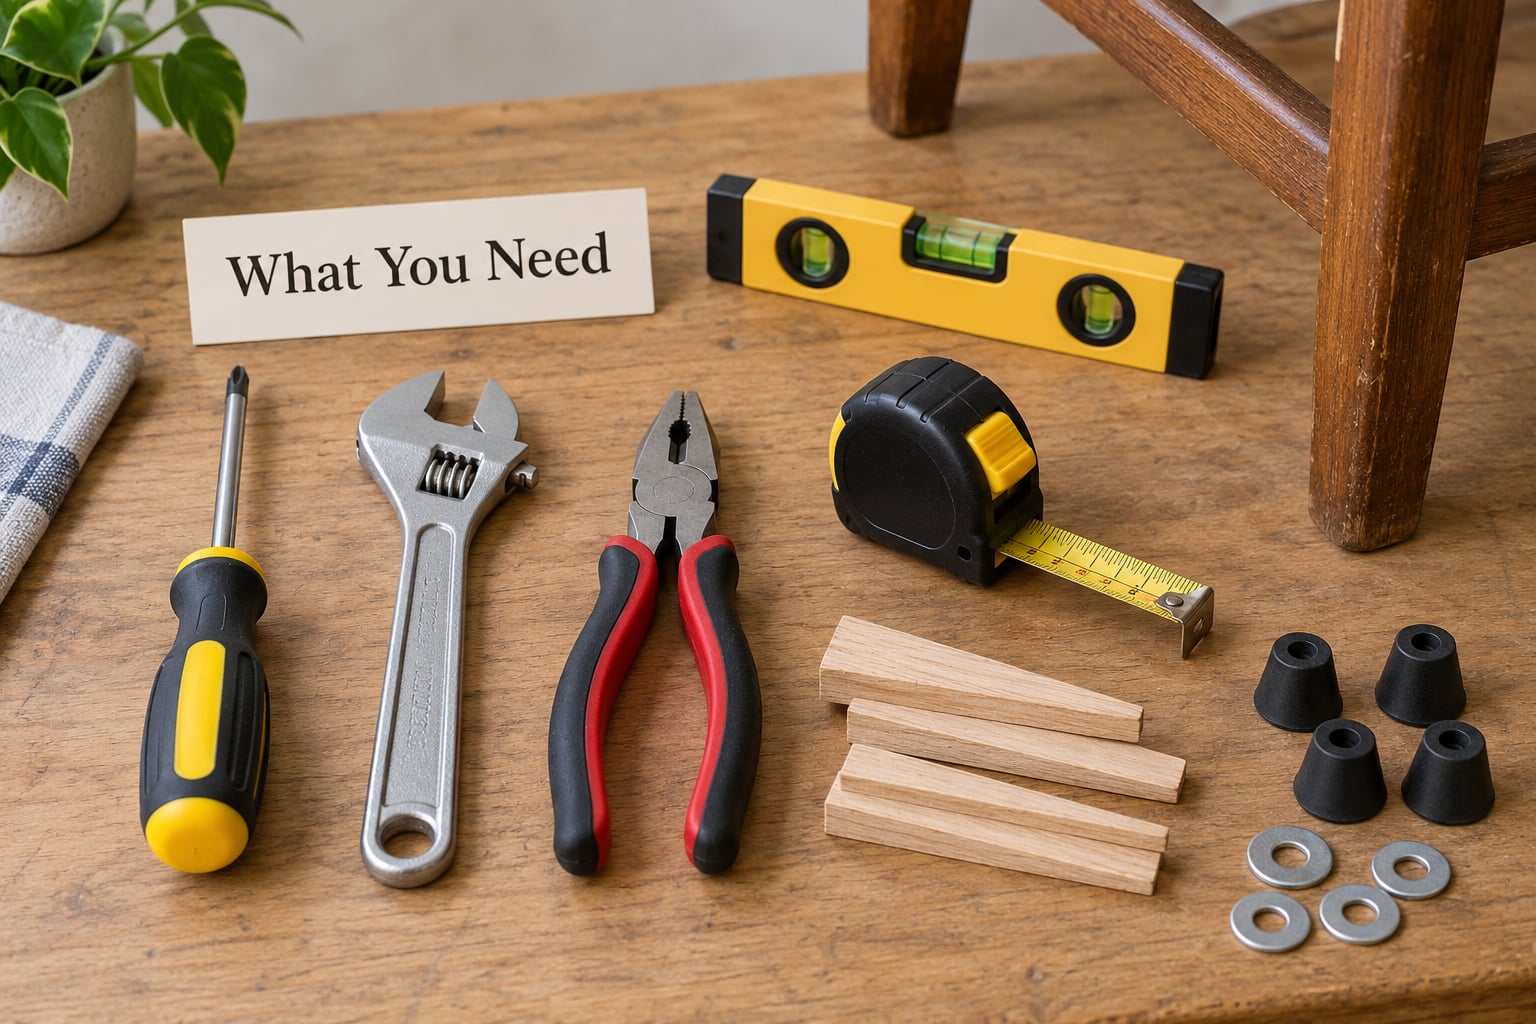
Start by gathering what you already own. Most people can diagnose and fix a wobbly chair with items already in a junk drawer, and only a re-gluing job requires a trip to the hardware store.
The basics for diagnosing and tightening
- Phillips and flat-blade screwdrivers for the screws under the seat rail and through the seat plate.
- A socket wrench or adjustable wrench if the chair uses bolts rather than screws.
- Pliers for pulling old nails and handling small hardware.
- A small carpenter level or a rigid straightedge to find which leg is high.
- Masking tape and a pencil to label parts before anything comes apart.
Materials for the permanent repairs
- PVA wood glue for standard interior chairs. One of the regular woodworking users on r/furniturerepair recommends Titebond II or III and notes that plenty of glue in the socket and a wipe of the squeeze-out is all it takes.
- Waterproof wood glue if the chair lives on a porch, patio or damp mudroom.
- Epoxy for filling rotted or chewed-out sections of wood.
- Wood filler for small holes, plus a matching dowel or screw anchor for a stripped screw hole.
- Bar clamps at least as long as the chair’s width, with padding if the rails are thin.
- Furniture tacks or glides, a rubber mallet, and 100-grit and 120-grit sandpaper for leveling legs.
What each tool is for
- Phillips screwdriver tightens seat screws and back fasteners on every chair.
- Small level or straightedge finds the high and low legs on every chair.
- Bar clamps hold a glued joint square while it cures, and only come out for a re-glue.
- Deadblow hammer separates tight joints without splitting rails, also only for a re-glue.
- Furniture tacks or glides add height under a short leg when the legs are uneven.
- Wood filler and epoxy rebuild chewed or rotted wood in damaged joints.
- Wood glue restores the structural bond, again only for a re-glue.
If your chair came from a manufacturer and the frame is still under warranty, read their instructions before you start. Some brands void coverage the moment you drill or glue anything, and their manual usually names the correct fastener torque, which saves you from stripping a hole.
Know your chair parts
The piece of wood between chair legs is called a rung, or a stretcher when it runs between the front and back legs. It matters because the rungs are what stop the legs from splaying, and a loose rung is one of the most common causes of a chair that feels unstable even when the legs are tight. Other parts worth knowing: the rail is the horizontal frame member under the seat, the spindle is the thin vertical stick in a back, the tenon is the peg on the end of a leg or spindle, the mortise is the matching socket cut into the rail, and the seat plate is the panel where the seat attaches to the frame.
Step-by-Step
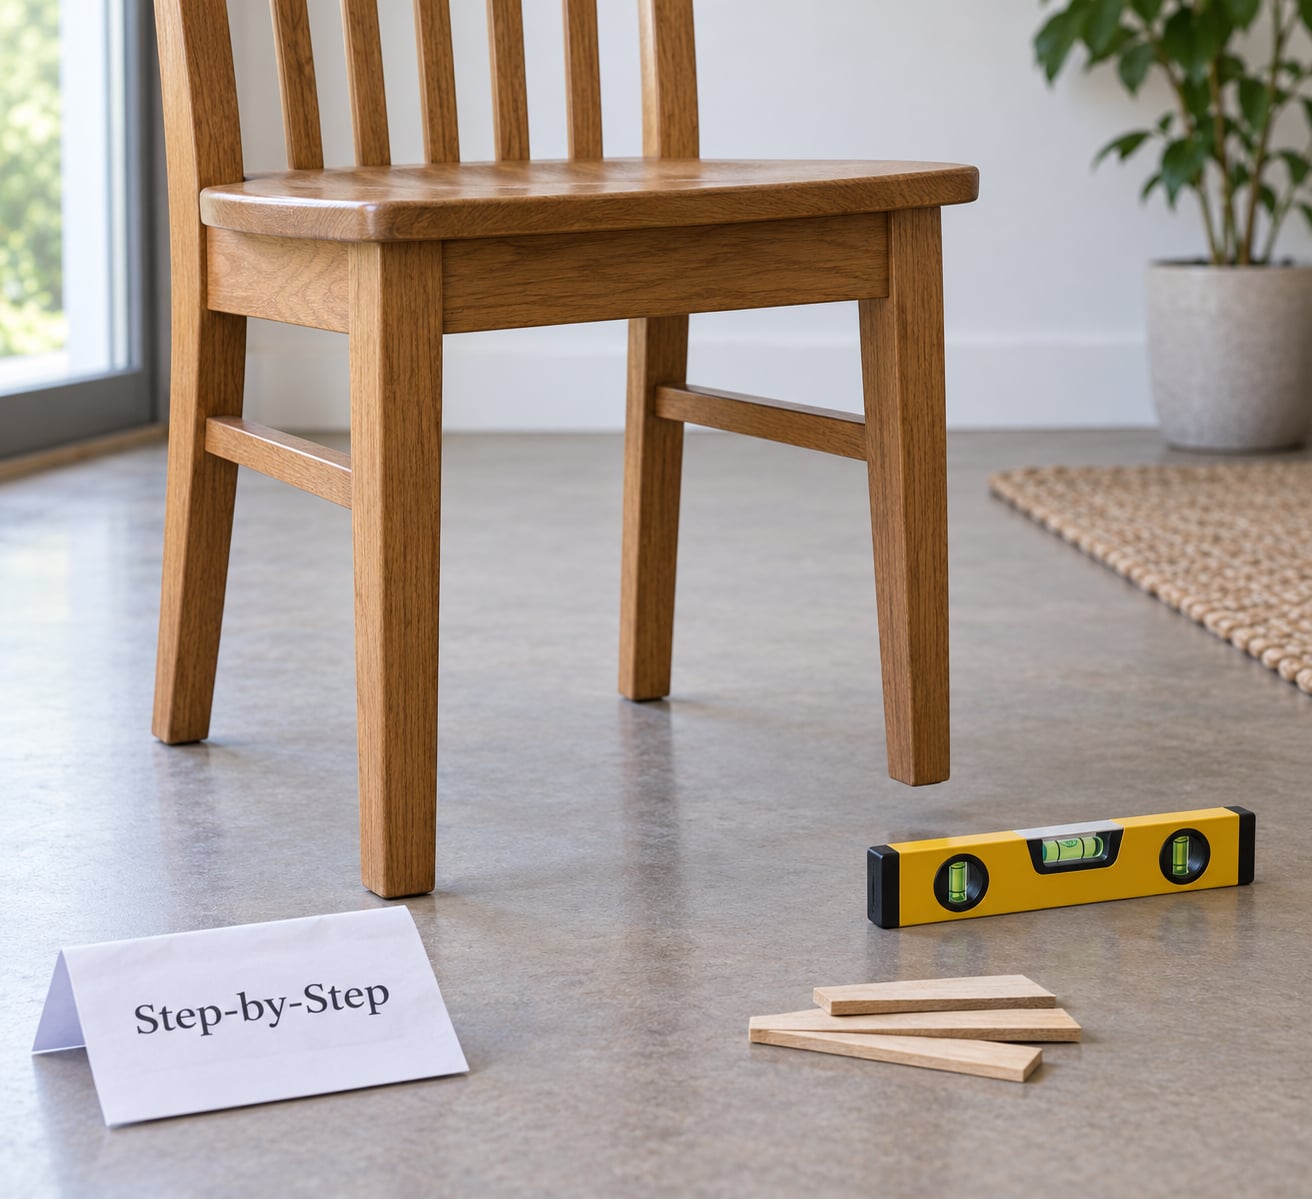
First, find out where the wobble comes from
Set the chair on a flat floor and sit down hard. Then push down on each corner of the seat in turn, pushing up under the opposite corner, and note where the chair rocks.
Does it rock side to side? The legs on one side are a different length, or the frame is out of square. Does it rock front to back? Look at the front legs and the joint where they meet the rails. Does it feel loose under your hand but sit flat when you press down? That is a joint with a failed glue bond. Does it tilt and stay tilted? A leg has separated or a screw hole has stripped. Lift the chair and check whether the wobble disappears in the air. If it does, the problem is below the seat, in a foot or a leg length, not in the frame.
This sequence decides the rest of your afternoon. Spend five minutes on it before you open a toolbox.
Step 1: Tighten the loose hardware
Flip the chair over and tighten every screw and bolt you find: into the seat plate, through the rails into the legs, and at the back posts. Work in a crisscross pattern so the frame pulls in evenly rather than twisting.
How to tell it worked: the chair stops shifting when you push on it, and the fasteners sit snug with no gap. Stop turning as soon as the joint feels solid. Overtightening strips the wood or the screw threads, which turns a five-minute job into a hole repair. If a screw keeps working loose, put a drop of thread-locking adhesive or a thin coat of wood glue on the threads before driving it back in.
Step 2: Tighten or replace loose rungs and stretchers
A rung that swings means the joint holding it has loosened. On a pegged rung, remove the peg with a hammer and chisel driven from the end, then drive a new dowel or the original peg back in with glue. On a screwed-through rung, back the screw out, fill the hole with a glue stick or toothpick if it is oversized, and reset it.
How to tell it worked: grab the rung and try to twist it. If it will not move, you are done. A chair with tight legs and loose rungs still splays, so this step is not optional.
Step 3: Stabilize a joint that keeps working loose
If a joint is sound but moves, the cheapest permanent fix is more glue. Work a thin bead of PVA into the joint line, push the pieces together, clamp or weigh them, and let it cure for 24 hours before anyone sits down.
Do not skip the clamp. A chair is light, but the joint still needs to be held square while the glue sets, and a racked frame is what makes a repaired chair feel worse than the original wobble.
Step 4: Level a short or uneven leg
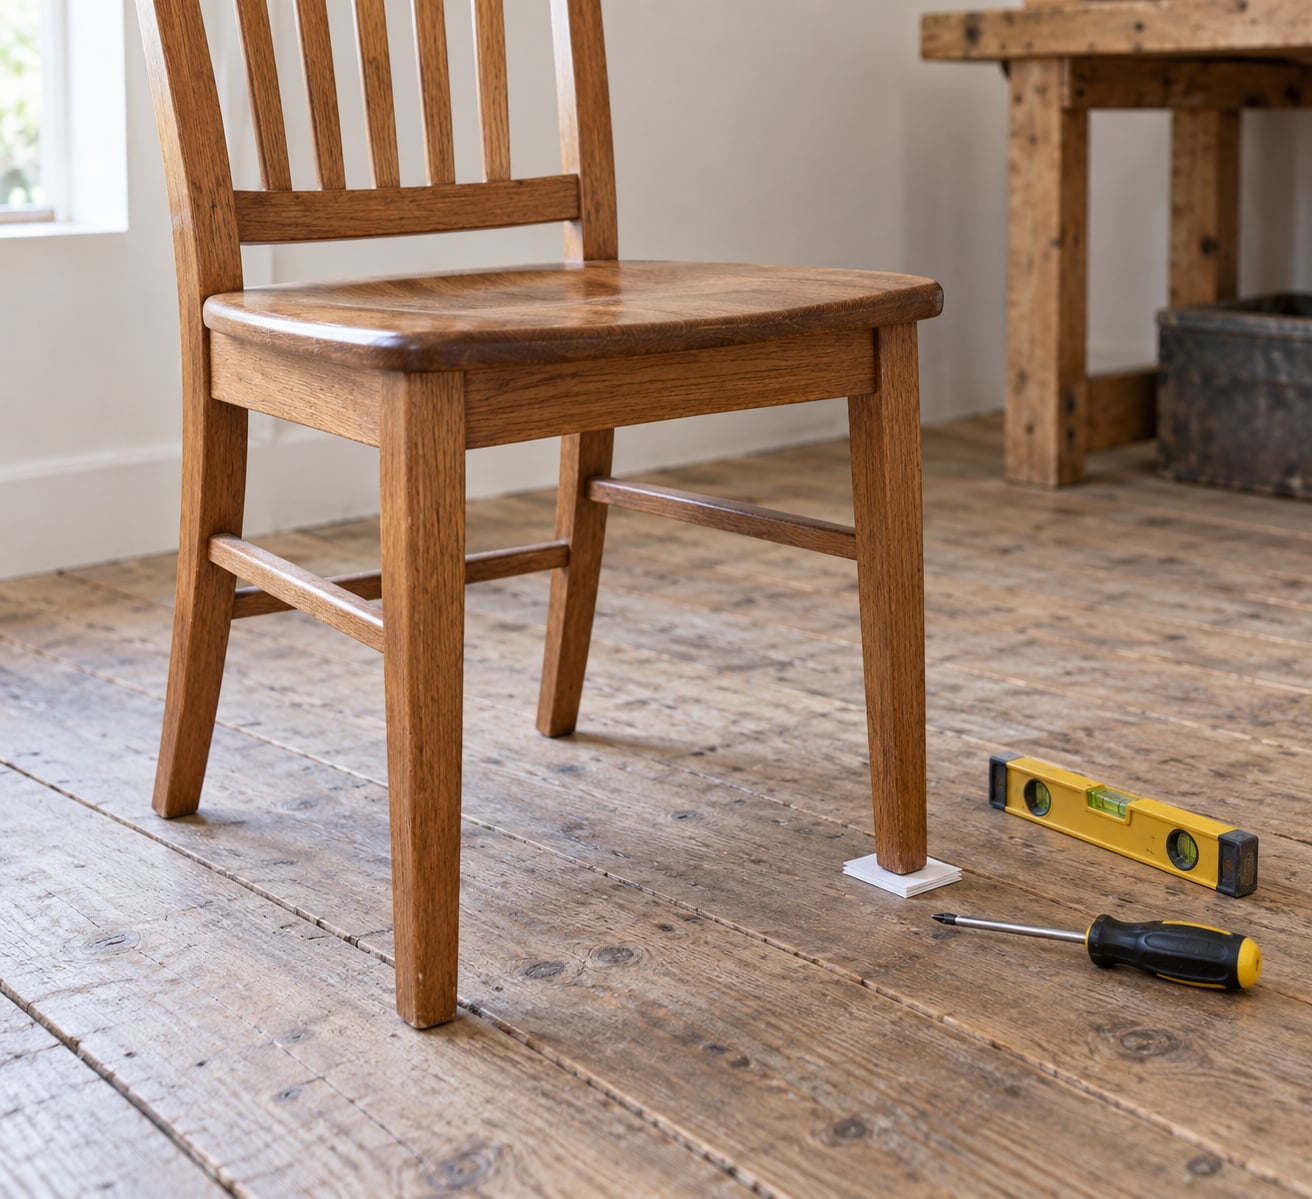
Put the chair on a flat floor and slide a piece of paper under each leg in turn. The leg that lifts is the short one, or the one missing a felt glide.
Three ways to fix it:
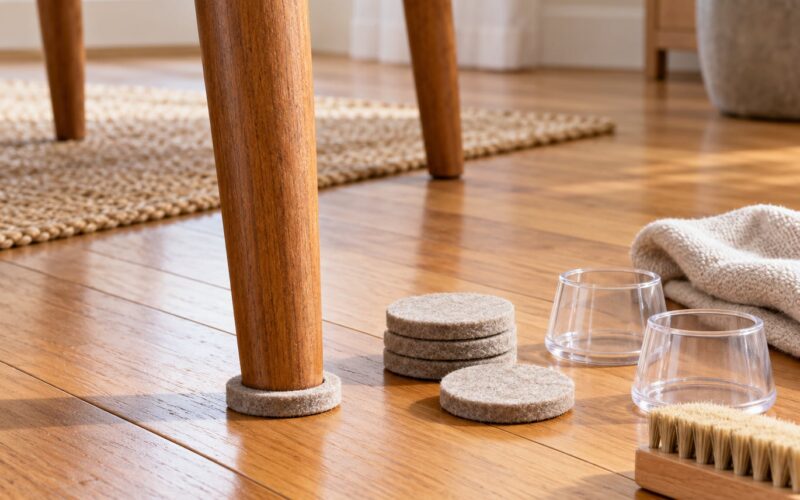
- Replace the foot. Many chairs have threaded metal inserts or plastic glides screwed into the leg end. Screw in a new furniture glide of the same diameter and thread, tap it home with a rubber mallet, and trim the excess with a hacksaw.
- Add a shim. Slide a furniture tack under the short leg, or cut a shim from scrap hardwood or a folded coffee can. Add one layer, test, add another. Thick layers rock, so stack thin ones instead.
- Sand the other legs. If the difference is small, take the high legs down with 100-grit and then 120-grit sandpaper on a sanding block, checking with the level after every few strokes.
How to tell it worked: the chair sits flat with no rocking when you press each corner, and the legs all reach the floor.
Step 5: Repair a stripped screw hole
This is the most common reason people give up on a chair, and it is fixable. A chewed hole in a leg end, or the empty socket where the dowel crumbled when someone drilled it, can be rebuilt.
- Clear the hole. Knock out loose fiber and old filler with a small chisel or awl. A cleaner hole takes a stronger repair.
- Glue in a dowel. Coat a hardwood dowel slightly undersized to the hole with epoxy or wood glue, drive it in, let it set, then trim it flush. Drill the pilot hole into the fresh dowel rather than into soft old wood, and stop at a depth that leaves solid material at the bottom.
- Alternative: pack the hole with wood filler mixed with glue, let it harden, then drill into the filler. Filler alone is weak; it works because the screw bites into filler that is chemically locked to the surrounding wood.
A restorer on r/furniturerestoration described exactly this failure on a mid-century teak chair: a dowel crumbled to bits when drilled and a screw anchor would not catch on one side. Their own conclusion was the same as the advice in the thread. Stop patching the hole and re-glue or rebuild the joint, because a screw driven into a patched hole will not carry a person.
Step 6: Re-glue loose joints the right way
If the chair rocks even with every screw tight, the glue has failed and you need to take the chair apart.
- Label every part. Masking tape and a pencil on each leg, spindle and rung is not fussiness. It is the difference between a chair that goes back together square and one that never will.
- Remove the hardware. Take out every screw, bolt and nail you can see, and check under filler and stain for hidden fasteners. Leaving one buried screw in place is the usual reason a leg splits when you knock it off.
- Separate the joints. Tap the tenons out from the opposite end with a deadblow hammer or a rubber mallet, working around all four legs in turn. Never pry against a rail with a screwdriver; that is how thin back rails split.
- Scrape the old glue. A chisel and a flush-cut saw blade remove hardened glue film from the mortise and tenon. Any glue left behind is the reason the new joint fails the same way.
- Check the fit. The tenon should seat fully by hand. If it is loose, size the mortise with a scrap wood wedge or rebuild the socket with epoxy. If the tenon will not go in, pare the mortise walls with a chisel rather than forcing it.
- Repair damage first. Fill a rotted leg end or a chewed rail with epoxy before gluing, not after. Gluing over a soft spot builds the wobble back.
- Apply glue and reassemble. A thin even bead on the tenon, a little glue in the mortise, and the spindle or rung goes home fully. Wipe squeeze-out with a damp rag before it skins over.
- Clamp the legs and seat. Bar clamps across the frame, then weight the seat. Pad the clamp jaws on thin rails. Over-clamping squeezes all the glue out of the joint and pulls a back out of square, which is the most common way a re-glue ends badly.
- Wait 24 hours. PVA needs a full day before the chair takes weight. Epoxy sets faster but reaches full strength later, and hide glue needs humidity to cure properly, so it is not the choice for a beginner.
- Touch up. Fill nail holes, sand squeeze-out flush with 120-grit, and match the stain if the bare wood shows.
How to tell it worked: the joint no longer moves when you twist it, the frame sits square with the level, and the chair no longer rocks on a flat floor.
Step 7: Fix a metal, upholstered or office chair
Metal frames do not have glue joints, so the failures are different: stripped threads, loose rivets, and legs that have bent out of square. Check the bolts first and use the correct thread and length, because a replacement bolt that is too long or too coarse will strip the hole further and make the wobble permanent. Retighten loose rivets with the correct rivet tool, and if a leg is bent, a pipe wrench and a piece of scrap pipe over the leg will bring it back before you clamp it in a vise.
On an upholstered dining chair, the wobble usually comes from the screws attaching the seat to the frame, and the fix is the same tightening path. If the seat rocks but the legs are solid, check that the webbing or the seat deck has not stretched, and check for upholstery screws that have pulled out of the rail. For a swivel office chair, make the same model-and-parts-number check the manufacturer asks for before ordering a castor set or a gas lift. A chair that sags slowly is usually a gas lift, and that part is often cheaper to replace than to service.
A rocking chair is the odd one out. The runners and rockers, not the legs, carry the load. If it rocks unevenly, check that each runner meets its rocker evenly, then re-glue the runner-to-rocker joint with the same method as step 6.
Common Mistakes
Tightening only one leg
A single-leg adjustment leaves the frame twisted and usually makes the wobble worse. Tighten the loose hardware at every joint in a crisscross pattern before you level anything, so the frame pulls in square first.
Shimming without checking the frame
A shim fixes a short leg. It does nothing for a loose joint, so you end up with a taller stack of wedges on one corner and the chair still rocks on the other side. Level the frame first, then add height.
Over-tightening screws
This is the fastest way to cause the failure you were trying to avoid. Driving a screw until your arm aches strips the wood threads or the screw itself, and you now have a stripped hole on top of a wobble. Snug is enough.
Using too much glue
A thick bead in a joint that already fits does nothing except squeeze out under pressure and slow the cure. Lay a thin even film on the tenon, and let the joint do the work.
Fitting the wrong foot or screw
A furniture glide with the wrong diameter or thread will not screw in, and a screw that is too long for the hole bottoms out and splits the leg. Measure the hole diameter and depth, and count the threads before you pick up anything new. This mismatch is the second most repeated complaint in furniture repair forums, right after chewed screw holes.
Ignoring a cracked or rotten frame
A crack running through a leg, dry rot at a joint, or a missing rail is a structural problem. Do not sit on that chair, and do not glue over it. A crack through the load path will keep moving no matter how good the joint is.
Why nails, screws, brackets and tape are a bad fix
Fasteners driven into a failing glue joint add leverage without restoring the bond, and they split wood that is already soft at the end. Tape and brackets are worse, because they hide the movement rather than removing it. The consensus in the furniture repair groups is the same: if the joint is moving, dismantle it and glue it properly.
Safety and habits that prevent the next wobble
Wear eye protection when you knock joints apart, work on a padded flat surface so the chair cannot twist while you work on it, and keep clamps out of reach of anyone walking past. Add a drop of glue to screw holes when reassembling if the fasteners have to go back into the same place. Keep a chair indoors and dry, because repeated damp and dry cycles swell and shrink wood faster than joints can take it. And check the level on a chair you use daily every few months, since a hair of movement is easier to correct than a half-inch.
Frequently Asked Questions
Is a wobbly chair safe to use?
Not really. A chair that rocks unpredictably can shift under you, and every sit puts fresh stress on a joint that is already failing. If a joint moves at all when you twist it, treat it as unsafe until it is glued. If the wobble is only a short leg and the frame is solid, stay off the chair while you level it.
How do I fix a wobbly metal chair?
Metal frames have no glue joints, so look at fasteners instead. Tighten every bolt and check the thread pitch and diameter before buying a replacement, because the wrong bolt strips the hole further. Retighten loose rivets with the right rivet tool, and straighten a bent leg using a pipe wrench and a length of scrap pipe over the leg before clamping it in a vise.
Can I use cardboard or wood shims under a chair leg?
Yes, and cardboard is a good temporary answer while you find a shim of the right thickness. Fold it to the thickness you need and test the chair on a flat floor. For a permanent fix, use a furniture tack, a metal glide, or a shim cut from scrap hardwood. Stack thin shims rather than one thick one, because a thick shim rocks under weight.
Why does my chair still wobble after I tighten the screws?
Because the hardware was not the cause. Failed glue in a mortise-and-tenon joint lets the legs move even when every screw and bolt is snug, and a short leg keeps rocking a chair whose frame is perfectly tight. Test by lifting the chair: if the wobble disappears, the fault is in a foot or leg length. If it stays, the frame joints need cleaning and re-gluing.
When should I replace a wobbly chair instead of repairing it?
Replace it when the damage is structural rather than mechanical: a crack running through a leg, dry rot at a joint, a snapped rail or back post, or a chair built from MDF or veneer with a swollen, crumbling base. Those failures will keep moving no matter how good the glue is. A solid wood chair with loose joints is worth repairing, since re-gluing restores it properly.
Conclusion
Put the chair on a flat floor, push down on each corner of the seat, and find out whether the wobble comes from a foot or leg length, a loose joint, or a damaged frame. That single diagnosis decides everything: a short leg needs a glide or a shim, a loose joint needs tightening and then glue, and a failed glue bond needs a proper teardown and 24 hours of clamping.
Work from the least invasive fix upward. Tighten hardware and level legs first, since those take minutes and damage nothing, and move to re-gluing only when the wobble survives them. For a crack through a leg, dry rot, or a chair whose frame is warped beyond straightening, stop and have a furniture repair technician look at it before anyone sits down. The cheapest repair is the one that fixes the actual cause, and in 2026 that is still true.