Most flat pack frustration is not about skill. It comes from skipping the boring bits: checking the parts, sorting the fixings, and building the frame loosely before you tighten anything. Get that right and the rest is turning bolts and checking squareness.
Learning how to assemble flat pack furniture without frustration takes about 40 minutes of prep and an hour of calm work for something like a drawer unit, and closer to three hours for a wardrobe with two people. A side table is 15 minutes. Almost none of that time is spent turning screws.
The short version: read the whole instruction sheet first, then check every part against the inventory list before you build anything. Lay out the panels in their final positions as a dry run. Build the frame or carcass loosely first, square it by measuring both diagonals, and only then tighten the hardware in small turns by hand. A cam lock is tightened, not screwed, and forcing one is the single most common failure.
This guide covers the method step by step, the tools and hardware involved, and the recovery moves for the problems that come up mid-build. Last reviewed in 2026.
Table of Contents
- 1What You Need
- 2Step-by-Step
- 31. Check the Instructions and Inventory Every Part
- 42. Prepare the Parts and Work Area
- 53. Assemble the Base or Main Frame First
- 64. Add Shelves, Drawers, Doors, or Other Components
- 75. Tighten Hardware and Check Squareness
- 86. Finish, Stabilize, and Test the Furniture
- 9Common Mistakes and Their Fixes
- 10Frequently Asked Questions
- 11How long does flat pack furniture take to assemble?
- 12What do I do if a part is missing from the box?
- 13How do I remove a cam lock that will not come apart?
- 14Why is my assembled furniture wobbly?
- 15Do I need two people to assemble flat pack furniture?
- 16When should I hire someone instead of building it myself?
- 17Conclusion
What You Need
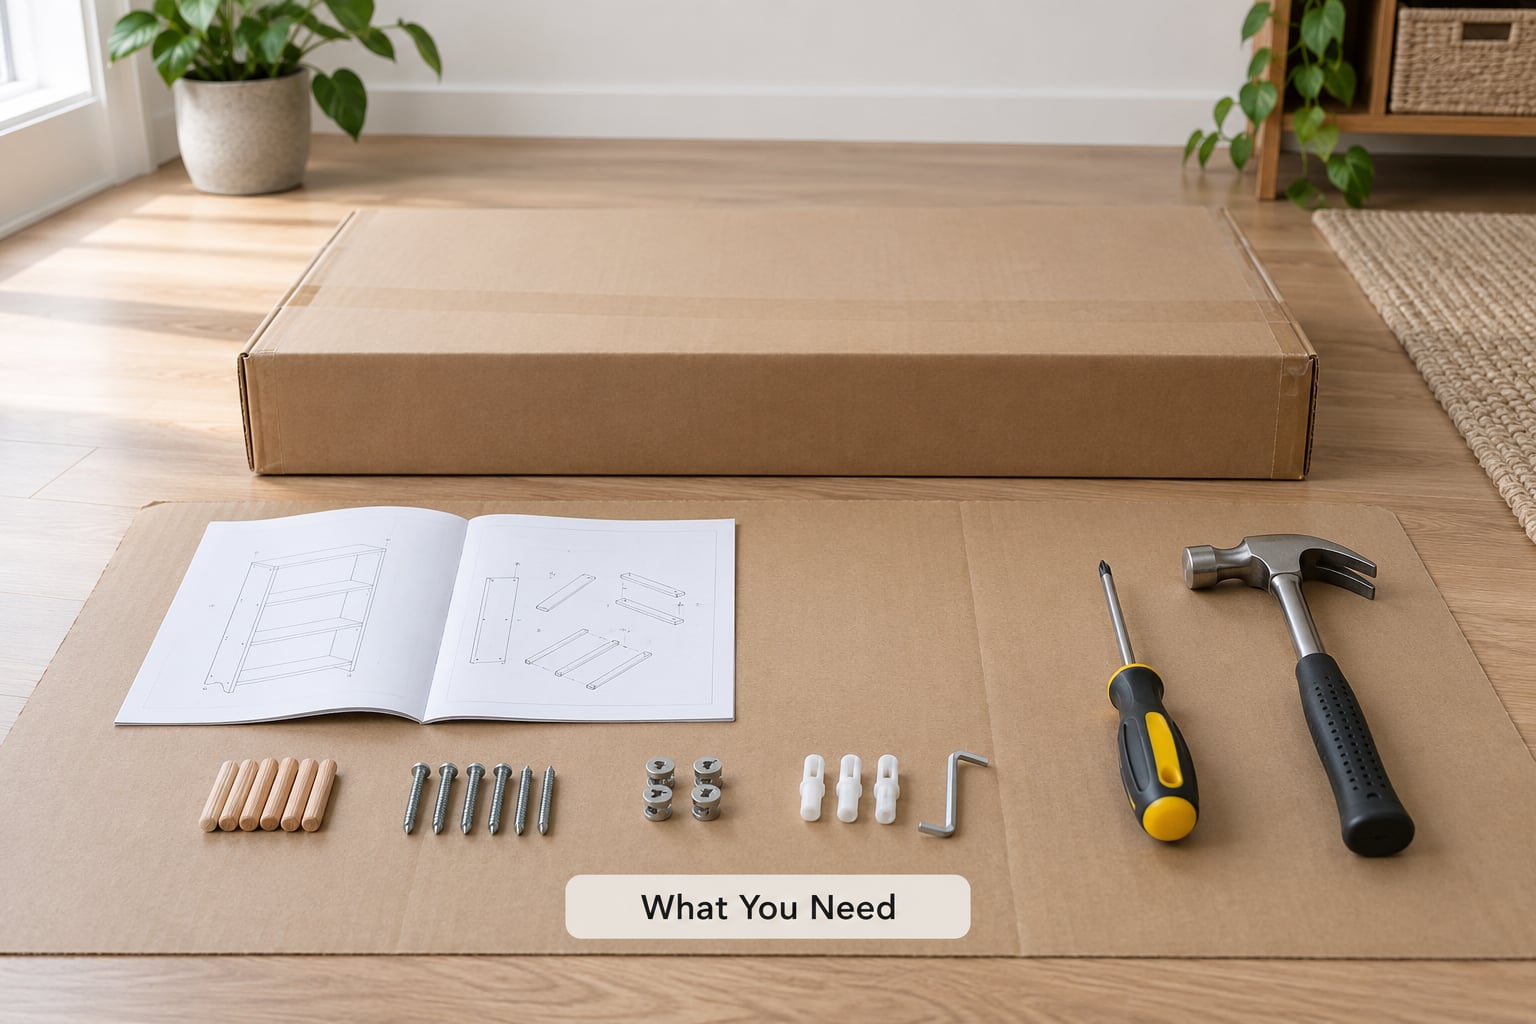
You need four things before the first panel comes out of its sleeve: the instruction sheet, a floor area bigger than the finished piece, a way to protect that floor, and a small toolkit. That is genuinely it. Everything else is optional.
The workspace matters more than people expect. Measure the finished piece, then clear a patch of floor at least that size plus the length of your longest panel, because you build panels flat and lift the carcass up at the end. Build in the room the piece will live in wherever the instructions allow, because flat-built wardrobes genuinely will not go up a staircase or round a corner later.
Protect the surface. Cardboard, an old blanket or a rug keeps grit out of the joints and stops a dropped panel from denting a floor. Work on a hard, level surface rather than soft carpet, because panel pins and cam bolts bite into soft flooring and pull the fixings out of square.
| Tool | What it is for | Usually in the box |
|---|---|---|
| Allen key or hex key | Cam lock bolts, confirmat screws, most carcass fixings | Usually yes |
| Phillips screwdriver | Drawer runners, hinge plates, back panel screws | Often |
| Rubber mallet | Seating dowels and panel pins without splitting the edge | No |
| Spanner or adjustable wrench | Dowel nuts, barrel nuts and studs on some designs | Sometimes |
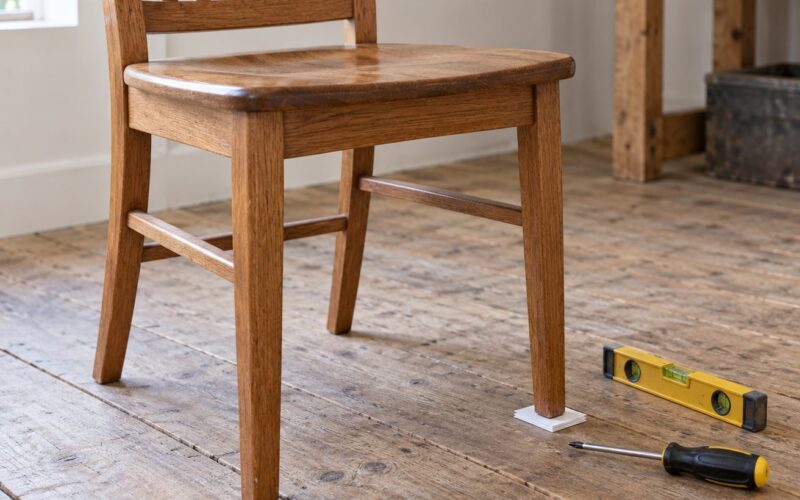
| Level or a tape measure | Levelling adjustable feet and checking squareness | No |
| Pencil | Marking panel orientation before it goes in the wrong way | No |
| Phone camera | Photographing each step, and the hardware, if a part goes missing | No |
Skip the power drill. Particle board, MDF and laminate split if you drive a screw into them hard, and cam lock fittings crack when over-tightened. Every credible guide on this says the same thing, and it is right.
Then learn the five hardware names you will meet in the fittings bag. A cam lock is the round disc you turn with an Allen key; its arrow must point toward the edge of the panel so the cam pulls the joint closed. A cam dowel is the metal stud the cam grabs. A wooden dowel is the plain peg that stops two panels rotating, and it does no structural work on its own. Confirmat screws are the machine-threaded bolts used on carcass joints, tightened from the back with an Allen key. Panel pins are small nails that fix a backing board or a thin panel in place.
Step-by-Step
1. Check the Instructions and Inventory Every Part
Read the whole instruction sheet before you touch anything, even when it is eight pages of exploded diagrams with no words. What you are looking for is the order of operations, the tool list, and any step that says a part goes in face down or face up.
Then tip the box out and count everything against the parts diagram: panels, cam locks, cam dowels, dowels, screws in each length, panel pins, drawer runners, hinges, handles and feet. Sort them into groups with a mug or a mug-and-a-plate for each step as you work. When a fitting is missing, you find out in minute ten rather than in hour two with the carcass half apart.
You will know the inventory is right when every part on the diagram has a physical match and the bag of fixings has more of each type than the diagram needs, because kits normally include spares. Count screws by length. Mixing 30 mm and 40 mm confirmats in one bag is the cause of the classic mid-build disaster where the short ones ran out and the long ones bottom out against the cam.
2. Prepare the Parts and Work Area
Lay the panels out flat on the floor in roughly the positions the finished piece will use them. This is the dry run, and it is the highest-leverage habit in this whole process because it catches orientation errors before any fixing is involved.
Orientation is the number one reported assembly failure. Two chipboard panels in the same piece often look identical until you notice the predrilled holes. Check for dowel holes, cam holes and fixing positions before you decide which way a panel faces. If both sides look genuinely identical, photograph the panel as it appears in the diagram, then compare.
Leave panel protection film on unless the instructions tell you to peel it. Film on the wrong face ends up on the finished surface, and peeling it late often takes the laminate with it. Clear the fixings away from the floor so nothing gets stepped on, and make sure you can get to all four sides of the build once it is standing up.
You will know the area is ready when you can lie the largest panel down, walk around it, and reach both ends without shifting your chair.
3. Assemble the Base or Main Frame First
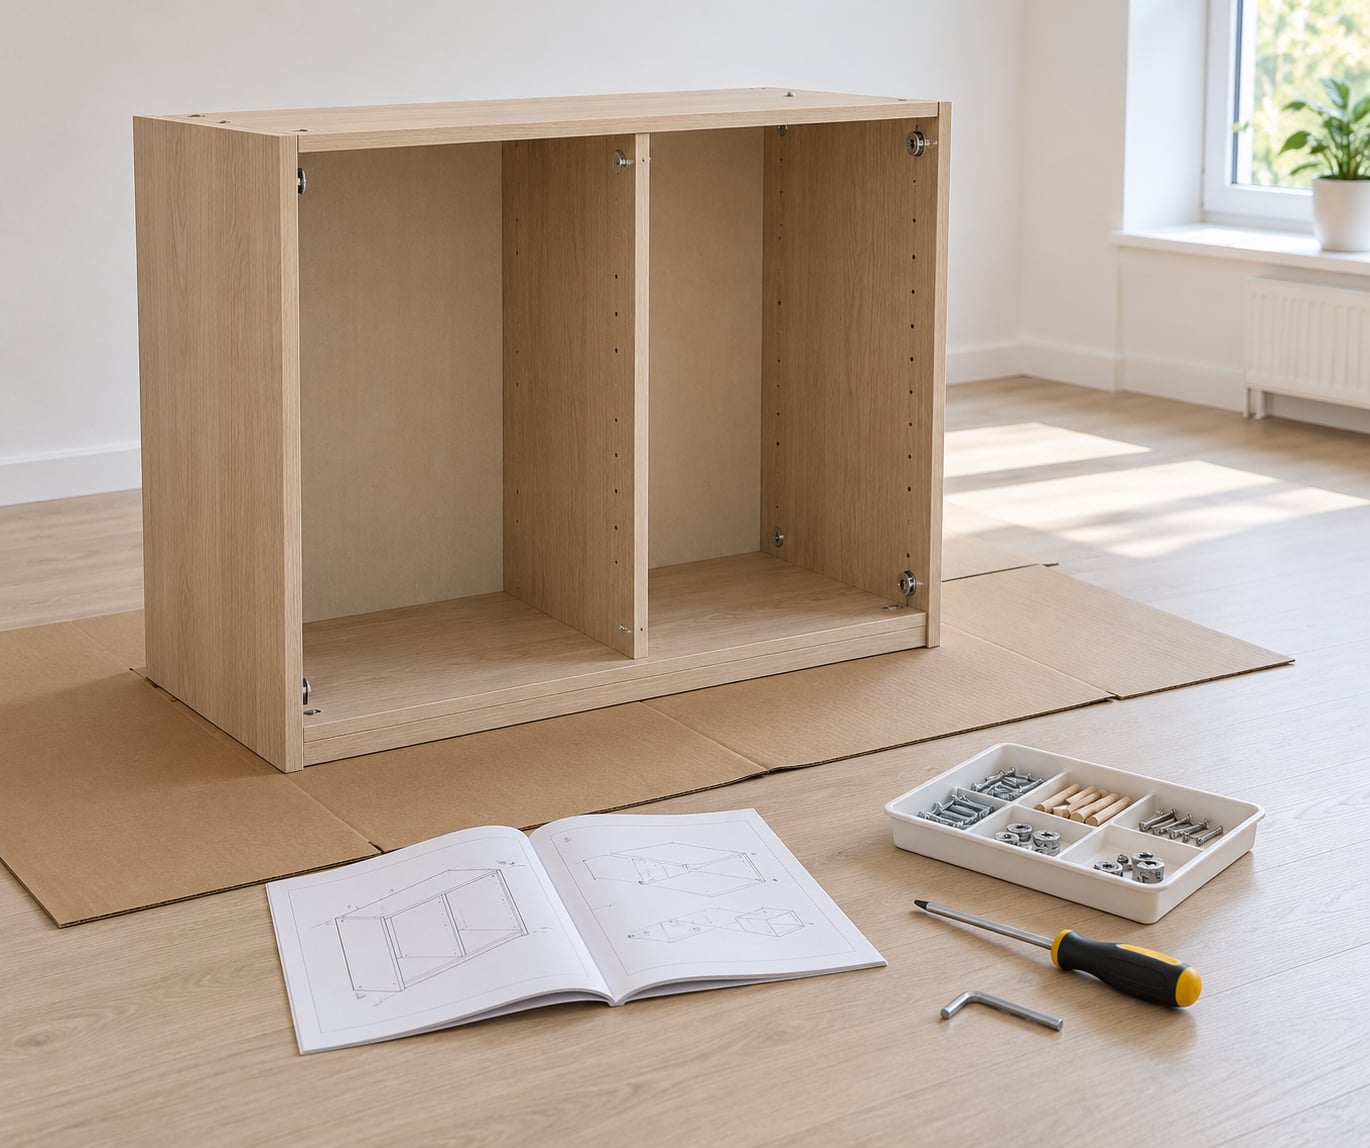
Build the structural carcass before any door, drawer or shelf goes on. Join the panels loosely at first: insert the dowels, drop the cam dowels into their holes, thread the bolts through by hand a few turns, and leave the cam locks barely finger-tight. You want the joint to exist but not to be closed.
Loose is the whole trick. A rigid frame built in the wrong order cannot be corrected, whereas a loose one can be squared by hand before anything is locked. Check each joint by pushing the two panels together and confirming the cam bolt is threading into the cam dowel rather than missing it. If the bolt turns freely and the joint stays open, the two parts are not the ones for each other.
Work from the largest reference panel outward, usually a side or a base, and confirm orientation at each step against the diagram. Hand-tightening cam locks in small quarter turns keeps the cam engaged with the dowel instead of jumping its teeth. You will know the frame is right when all four corners meet and the piece stands on its own without anyone holding it.
4. Add Shelves, Drawers, Doors, or Other Components
Only now do the fittings go on. Slide shelves onto their pins and check the pin is fully seated in the hole on both panels, because a shelf resting on one pin is a shelf that will tip under load. Backing boards and thin panels get their nails or panel pins, and the pin goes in dead centre because an off-centre pin bursts the laminate edge.
Drawer runners need checking early: slide each runner all the way in and confirm the drawer glides smoothly before you fit the front, and loosen the runner screws slightly if the drawer binds. Doors go on last with a blob of grease or a trace of soap on the hinge pins so they settle instead of grinding.
Adjustable feet screw in at the very end, once the piece is standing and you can see how it sits. Never force a component to make a hole line up. If a shelf or door will not sit properly, the frame underneath is out of square and the fix belongs there, not in the component.
5. Tighten Hardware and Check Squareness
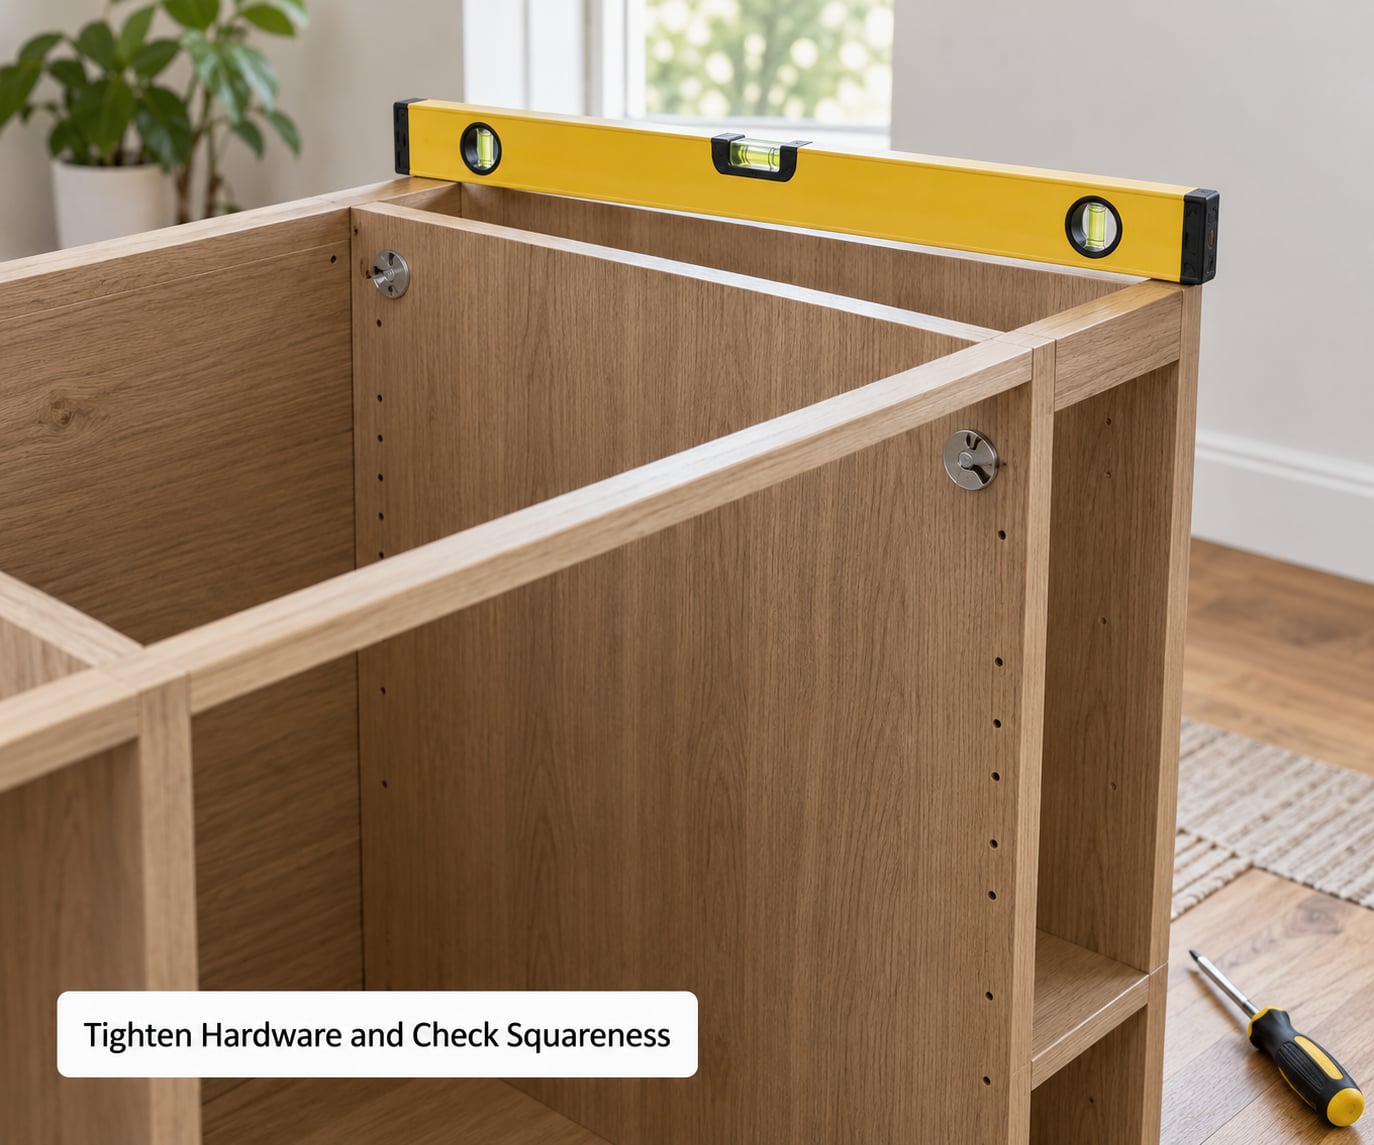
Now square the carcass. Measure diagonal from one top corner to the opposite bottom corner, then the other diagonal. If the two numbers differ, the frame is a parallelogram rather than a rectangle, and that is the moment to fix it while the joints are still loose. Push the long diagonal slightly shorter, or pull the short one, until the two measurements match within a few millimetres. This single check prevents most of the racked, wobbly complaints people have a year later.
Once the diagonals agree, tighten everything in small increments, going around the piece more than once rather than finishing one corner and moving on. Cam locks turn clockwise to close; stop when firm, not when they feel done. A cam lock is tightened, never screwed, and running one past firm damages the bore in the particle board and cracks the fitting.
Test everything before the last few fixings go in. Doors should close without a gap at the top, drawers should sit flush and run freely, shelves should be level, and the piece should not rock when you press a corner diagonally. Then secure the back panel and any remaining screws.
6. Finish, Stabilize, and Test the Furniture
Wall anchoring is not optional for any tall unit, and it is the step most often skipped. Wardrobes, bookcases and tall shelving are the main cause of tip-over injuries in homes with small children, because a wardrobe that leans is the tallest thing in the room and the easiest to pull.
Use the supplied anti-tip bracket and fix it into a stud where one is available, not just into plasterboard. Before drilling, check for cables and pipes with a detector, and keep well clear of sockets. Where no bracket is supplied, a purpose-made furniture restraint fixed into a stud is the safe option.
Finally, load it gradually rather than all at once. Put your heaviest items on the lowest shelves, stand a wardrobe empty for a few days, then re-check every cam lock for tightness. Panel joints settle as the unit takes load, and a second tighten after a week costs you two minutes and stops the piece developing a wobble.
Common Mistakes and Their Fixes
Most of the movement toward how to assemble flat pack furniture without frustration comes from avoiding what follows, not from better tools. These are sequence errors rather than skill errors, and every one of them has a simple fix attached.
- Skipping the inventory check. Count every part and fixing against the diagram before the first bolt. Fix: sort hardware into per-step groups and label them.
- Building in the wrong room. Flat-built wardrobes will not fit up stairs or around corners later. Fix: measure the finished piece and the doorway, staircase and ceiling clearance before starting.
- Mixing bolt lengths. Using all the short confirmats first leaves long ones that bottom out against the cam. Fix: sort screws by length into separate cups before you begin.
- Forcing holes to line up. Predrilled holes that refuse to meet mean the panels are twisted or the wrong orientation, not that you need more force. Fix: back everything off, recheck orientation, re-square.
- Over-tightening cam locks and screws. Going past firm splits particle board, cracks fittings and strips heads. Fix: quarter turns in a circle, stop when firm.
- Putting panels in face down by mistake. Identical-looking sides get swapped constantly. Fix: photograph each panel against the diagram before fitting it.
- Leaving out the panel pins. Skipped backing boards let carcasses rack and doors drop out of alignment. Fix: fit every pin, dead centre, before the back goes on.
- Not checking squareness. A racked frame cannot be corrected once everything is tight. Fix: match both diagonals while the joints are loose.
- Skipping wall anchoring. Unanchored tall units tip. Fix: fit the supplied restraint into a stud, clear of cables and pipes.
- Building alone when a second pair of hands helps. Holding a carcass upright while reaching for a spanner is where projects stall. Fix: book a helper for wardrobes and beds, and agree who does what first.
- Losing the instruction sheet. Turning the page over and back mid-step is where sequences get skipped. Fix: prop the sheet somewhere you can read it from the floor, or photograph each diagram as you finish it.
- Discarding packaging before the build is finished. A missing part discovered late is unfixable without the box. Fix: keep the packaging until the piece is complete, and photograph the fittings before you do.
Two recovery moves cover most of what remains. To release a cam lock, turn the cam with an Allen key so its arrow points toward the nearest panel edge; it disengages and the cam dowel pulls straight out rather than being forced. To free a cam dowel jammed in a panel, back the bolt out fully, then lever the cam to its release position and withdraw the stud at a slight angle. A stripped screw head usually grips again with a rubber band between the bit and the head, or with a wide flat blade pressed firmly.
Frequently Asked Questions
How long does flat pack furniture take to assemble?
A small side table or TV unit usually takes 15 to 30 minutes. A chest of drawers takes 45 minutes to an hour and a half. A desk is around an hour, a bed frame 45 to 90 minutes, and a two-door wardrobe runs two to four hours with two people. Add 30 minutes per item for unpacking and inventory, and expect tall units to take longer than the box suggests.
What do I do if a part is missing from the box?
Stop before you build around the gap. Photograph the fittings bag and the packaging, then check whether the kit contains spares of the part you need. Contact the manufacturer or retailer with the model number and photos, since replacement fixings are often supplied free. Keep the original packaging until the piece is finished, because many retailers will not accept a return without the box.
How do I remove a cam lock that will not come apart?
Do not unscrew it. With an Allen key, turn the cam so its arrow points toward the nearest panel edge, which disengages it from the cam dowel. The stud then slides straight out. If the bolt has spun or stripped, back it out fully with pliers or vice grips first, then withdraw the stud at a slight angle rather than driving it further in.
Why is my assembled furniture wobbly?
A wobble almost always means the carcass was tightened before it was squared. Loosen the cam locks or back panel, measure both diagonals from opposite corners, and push or pull until the two measurements match, then retighten in small turns. If the piece still rocks, check the adjustable feet, then whether every back panel screw and panel pin is actually in place.
Do I need two people to assemble flat pack furniture?
You can manage anything small alone if you build it on the floor and lift it up afterwards. You want a second person for wardrobes, beds and any tall shelving, mostly to hold the carcass upright while you fit the last joints. Agree roles before you start, one person building and one turning bolts, because coordinating mid-build is where the whole thing stalls.
When should I hire someone instead of building it myself?
Hire help when the piece is tall and must be built upright, when the instructions have been lost or are for a different unit, when a predrilled hole set is damaged or misaligned, or when a structural component is cracked. It is also reasonable on time alone once a wardrobe runs past three hours of your time. A professional will also handle wall anchoring correctly.
Conclusion
Start with the four actions that decide whether the build goes well: read the whole instruction sheet, count every part and fixing against the diagram, lay the panels out for a dry run, and build the frame loosely. Square it by matching both diagonals, then tighten the hardware in small turns and stop when it is firm.
Everything after that is fittings and patience. If you only take one habit from this guide, make it the diagonal check before the last tightening pass, because that is what separates a piece that stays square for years from one that racks and wobbles within months.