If you want to know how to set up a home wifi network properly, the whole job is shorter than most guides make it sound: connect your modem to a router with an Ethernet cable, open the router’s admin page, name your network, set a strong WPA2 or WPA3 password, update the firmware, and place the router somewhere central and elevated. Then test it. Budget 45 to 90 minutes for a first-time setup, and most of that is waiting for firmware.
The reason it feels confusing is usually one of two things. Either the box your internet provider supplied is doing double duty and nobody has told you which part is which, or you have a router and a modem stacked in a hallway closet doing a job neither was placed to do.
This guide works whether you rent your equipment or bought your own, and it assumes you are starting from an outlet with internet already arriving.
Table of Contents
- 1What You Need to Set Up a Home Wifi Network Properly
- 2Step-by-Step
- 3Step 1: Connect Your Modem and Router
- 4Step 2: Open the Router Setup Interface
- 5Step 3: Set the Network Name and Strong Password
- 6Step 4: Choose the Right Wi-Fi Band and Channel
- 7Step 5: Position the Router for Better Coverage
- 8Step 6: Update Firmware and Enable Security
- 9Step 7: Test Speed, Coverage, and Connections
- 10Common Mistakes
- 11Frequently Asked Questions
- 12Where should I put my home wifi router for the best coverage?
- 13Should I use 2.4 GHz or 5 GHz Wi-Fi at home?
- 14Do I need a mesh system or can a regular router work?
- 15How do I fix Wi-Fi that works in one room but not another?
- 16What security settings should I enable after setting up my router?
- 17How often should I update my router firmware?
- 18Conclusion
What You Need to Set Up a Home Wifi Network Properly
Three things carry the entire setup:
- A modem, or an internet connection that already reaches a router. The modem converts your provider’s signal into something a router can use. Cable and DSL services need one. Fiber providers often supply a router that already contains the modem inside it.
- A Wi-Fi router. This is the box that broadcasts your network name and handles everything wireless. Many provider-supplied units are router and modem combined.
- A device to administer from. A laptop, a desktop, a phone or a tablet. Something with a browser you can type an address into.
Worth having nearby: an Ethernet cable (Cat5e or Cat6, five feet is plenty for a first setup), the paperwork or email with your provider login, and a phone for scanning the QR code your router usually prints. Many routers now come with a pre-printed sticker showing the default network name and password. That sticker is also your fallback if you forget the admin address later.
Before starting, check the equipment you were given. Look at the label for a model number and a default admin address, usually printed on a sticker on the bottom. If the router was included free with your service and has been sitting in a closet for three years, it still works, but you may be replacing it within a year anyway. Running the rest of this guide first tells you whether the hardware is the problem.
Step-by-Step
- Connect the modem to the router.
- Open the router’s setup interface and create your administrator account.
- Set your network name and a strong password.
- Choose the right band and let the router pick the channel.
- Move the router somewhere central and elevated.
- Update the firmware and turn on security.
- Test speed, coverage and connections.
Step 1: Connect Your Modem and Router
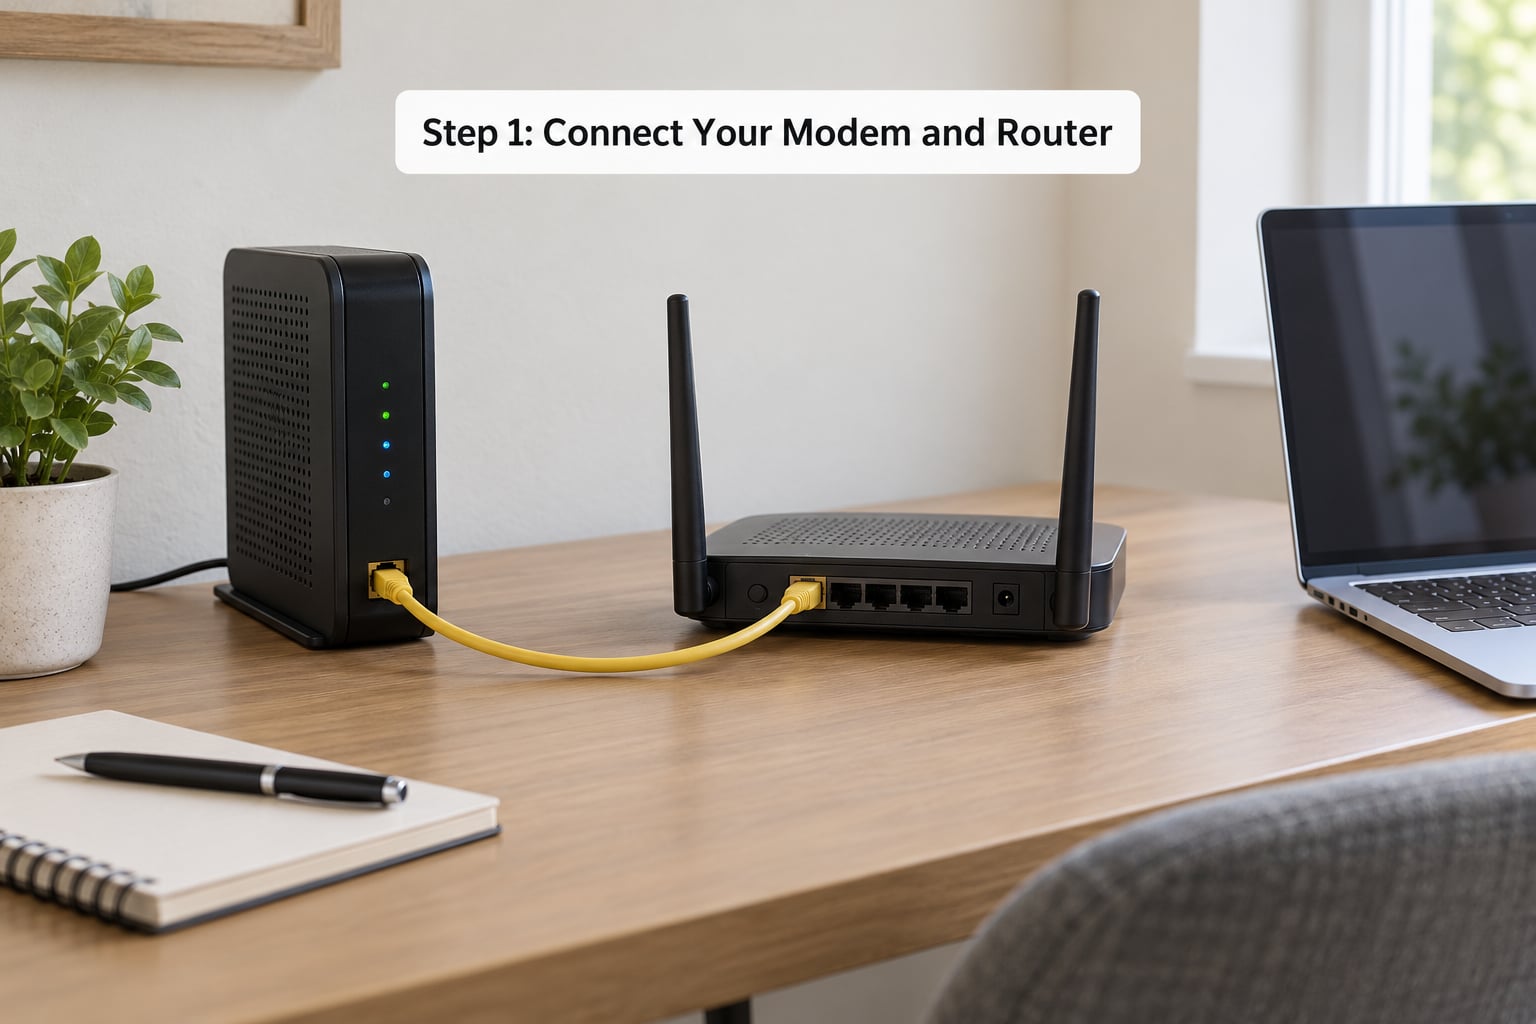
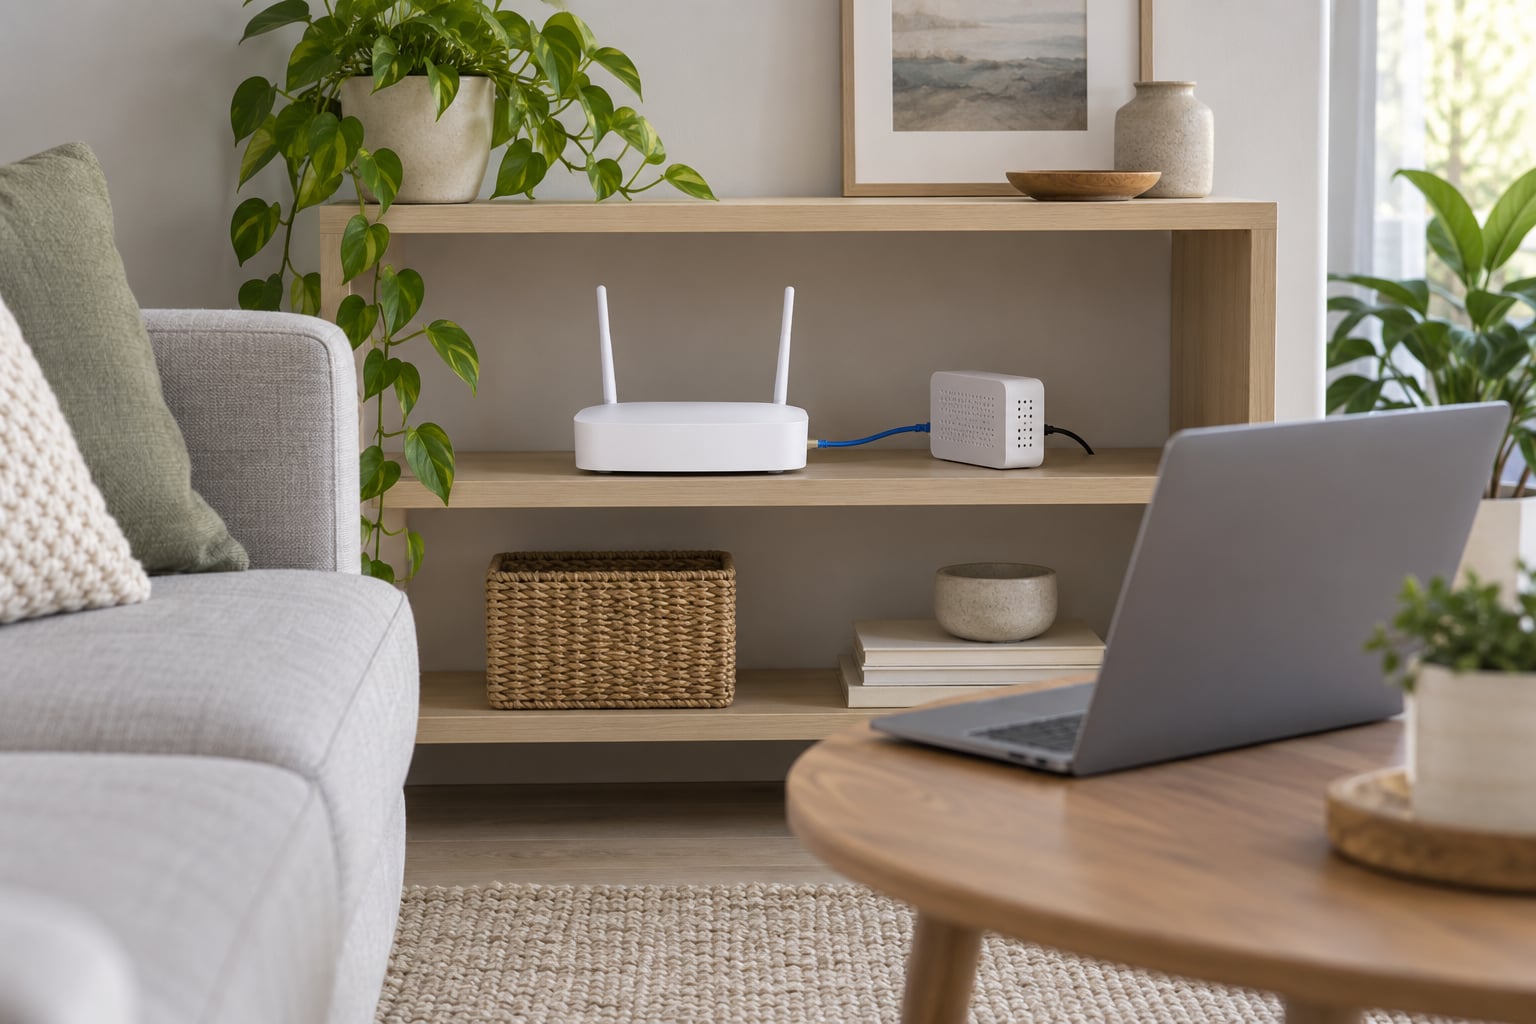
Plug one end of the Ethernet cable into the modem’s Ethernet port and the other into the router’s WAN port, usually labelled Internet, WAN, or coloured differently from the rest. Then power both boxes on.
Give it five minutes. The router’s internet light blinks while it negotiates a connection with the modem, and then settles to a steady state. A light that never stops blinking after ten minutes usually means a loose cable, a cable in the wrong port, or a service outage rather than a settings problem.
Port labels vary between manufacturers, and a combined modem-router has just a row of identical-looking ports. The manual settles it in a page. If the label is unreadable, connect to the port marked Internet first, and move the cable if nothing comes up.
Step 2: Open the Router Setup Interface
On your phone or laptop, join the default network printed on the router’s sticker. Then open a browser and type the router’s local admin address into the address bar. Common ones are 192.168.0.1 and 192.168.1.1, and some brands use a word-based address such as a model name followed by a dot and a domain suffix. The sticker or the quick-start guide will list yours.
The first page asks you to create an administrator account. Pick a username and a password you will remember and store them somewhere other than the browser. This account controls the router itself, which is separate from the password people use to join your Wi-Fi.
Most brands now push a mobile app instead. The web interface and the app change the same settings, so use whichever you can follow. You will know setup worked when the admin page loads and shows a list of connected devices.
Step 3: Set the Network Name and Strong Password
Your network name is the SSID, the label your devices show when they list nearby networks. Pick something short and recognisable. Avoid names that include your street address, your full surname, or the router’s model number, because anything you broadcast is visible to your neighbours.
For the password, use WPA3 where your devices support it and WPA2 as the fallback, and never WEP, which is broken. Sixteen characters or more beats complexity substitutions every time. A short memorable phrase with a couple of numbers is easier to type on a TV remote than a random string, and far stronger than Password123.
While you are in there, change the administrator password too. The factory default for your exact model is published on the internet, and an unchanged default is the most commonly exploited hole in a home network. A successful change shows up as your new credentials working at the next login and the old ones failing.
Step 4: Choose the Right Wi-Fi Band and Channel
Modern routers broadcast on more than one band at once, and you can turn each one on or off. Here is how the three common ones differ.
| Band | Range | Speed | Interference | Best for |
|---|---|---|---|---|
| 2.4 GHz | Farthest | Slower | Crowded in apartments | Smart home devices, cameras, sensors, long-distance connections |
| 5 GHz | Middle | Faster | Less crowded | Laptops, phones, streaming, video calls, online gaming |
| 6 GHz | Shortest | Fastest | Nearly empty | Wi-Fi 6E and Wi-Fi 7 equipment within a few metres of the router |
Leave the default setting of both bands enabled unless you have a reason not to. Your router will then move capable devices to the faster band and keep the older, longer-reaching one for sensors and smart bulbs. Band steering, which is that automatic switching, is worth leaving on.
On the channel setting, choose Automatic and let the router pick. In dense housing, 2.4 GHz has only three channels that do not overlap with each other: 1, 6 and 11. Picking anything else means your network fights itself. Most current routers measure interference and switch channels on their own, which is good enough for nearly every home.
You will know the band setting worked when a modern phone shows the connection as 5 GHz or Wi-Fi 6 in its network details, and a smart bulb still connects at all.
Step 5: Position the Router for Better Coverage
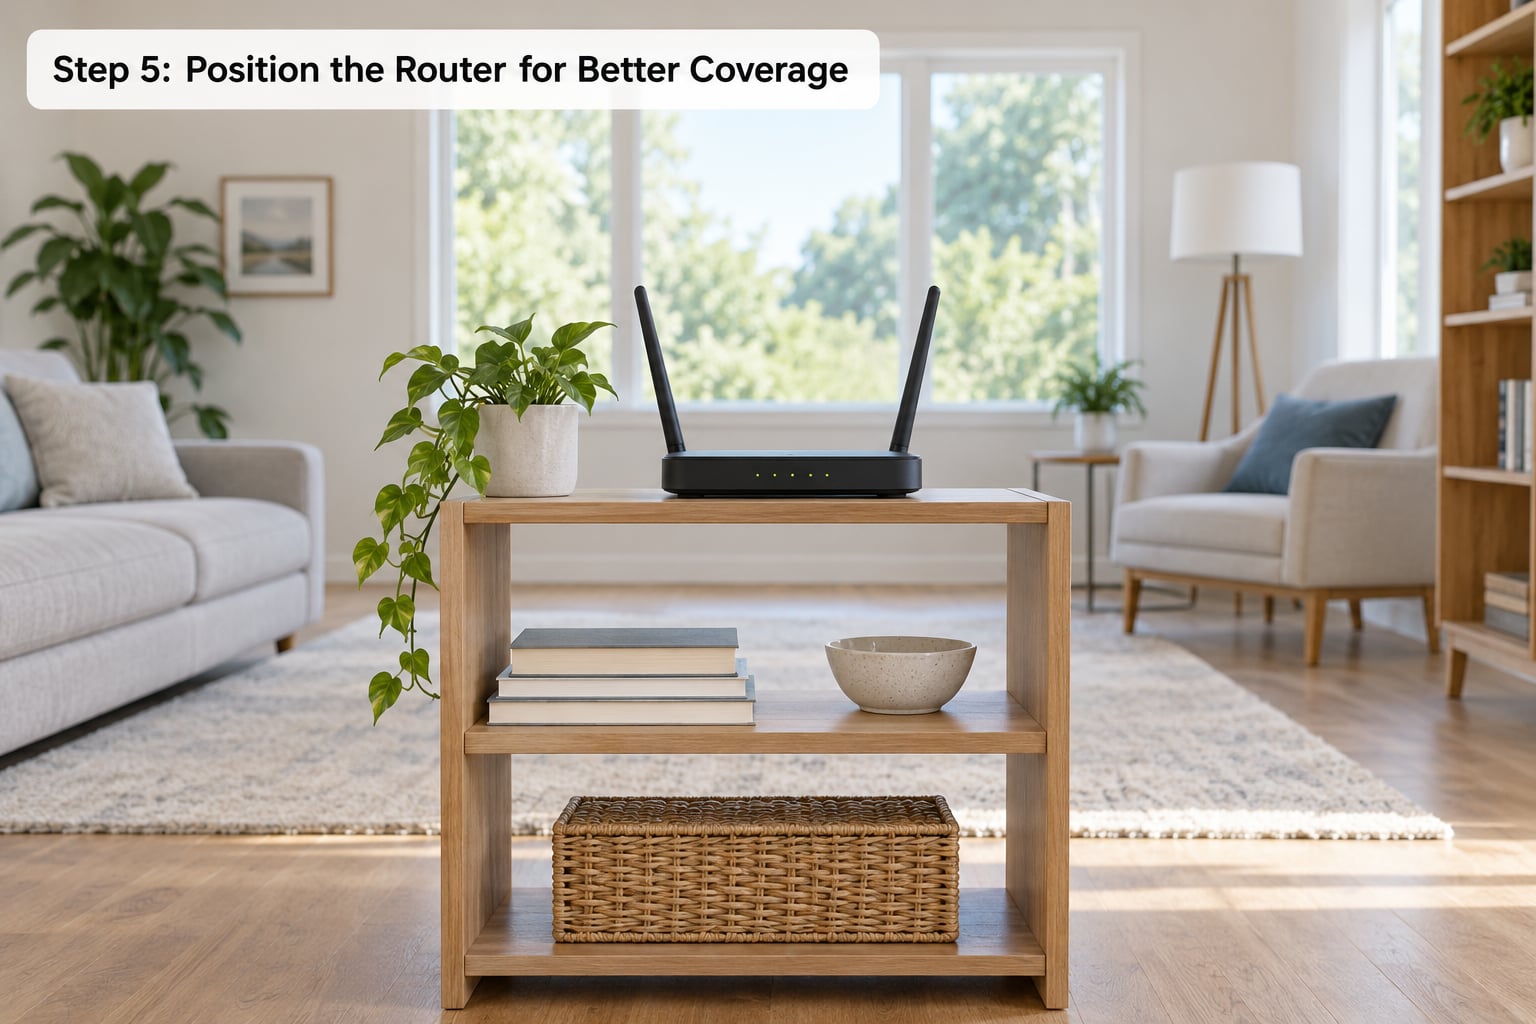
Most disappointing Wi-Fi is a placement problem, not a hardware problem. The fix usually costs nothing.
- Raise it. Two to three metres off the floor, on a shelf or stand, not in a cupboard.
- Centre it. Somewhere roughly equidistant from the rooms that need coverage, even if that is a hallway ceiling.
- Keep it in the open. Away from metal, closed cabinets, and interior walls that contain wiring or insulation.
- Keep it away from interference. Microwaves, baby monitors, cordless phones and large TVs are the usual troublemakers. A metre of clearance helps.
- Avoid the internet closet. If your provider installed everything in a utility cupboard by the front door, the router will only ever cover that cupboard well.
Try repositioning before you buy anything. Run a speed test in the worst room, move the router, and run it again. If that fixes it, you are done. If the problem is a single far-off room in a large house, a mesh system or a wired Ethernet run is the next step. If you are seeing slow speeds right next to the router, position is not your problem and you should look at firmware and channel congestion instead.
Step 6: Update Firmware and Enable Security
Firmware is the software running inside your router. Updating it closes security holes that are already documented, and occasionally fixes connection bugs. Manufacturers ship some current models with an automatic updater you should switch on, under System, Maintenance, or a similarly named menu.
To check manually, look for Firmware Update in the admin page and run the check. Download any update to a USB stick or straight from the manufacturer’s site if the router asks you to. Never install firmware from a third-party download site. An update takes five to fifteen minutes and the router reboots more than once, so start it when you are not relying on the connection.
On the security side, confirm three things: encryption is set to WPA3 or WPA2 rather than anything open or WEP, WPS is turned off, and remote management from outside your home is disabled unless you specifically need it. WPS was designed to make pairing easy and does the opposite today. A router that reconnects fully after the update, with WPS showing as disabled, is the confirmation you want.
Step 7: Test Speed, Coverage, and Connections
Do not assume it worked. Plug a laptop into the router with an Ethernet cable and run a speed test, then run the same test on Wi-Fi a few metres away. Both numbers tell you something different. A wired result far below the speed your plan promises points at the modem, the cable, or the provider. A good wired result with a poor Wi-Fi result points at the wireless side.
Next, walk the house with a phone and watch the signal reading. Most systems show a number like -50 to -70 dBm, where a lower number is stronger; anything below about -67 dBm is thin but usable. Note which rooms drop off, because that map tells you whether you need repositioning, a second access point, or nothing at all.
For a device that refuses to connect, forget the network on the device, restart it, and join again with the new password. If the router’s device list shows a device with an odd name or an unfamiliar MAC address, that is a sign someone joined your network. When speed, coverage and connections all check out, the setup is done.
Common Mistakes
Putting the router where the internet enters. The installer ran a line to that wall, not to the middle of your home. Fix the position before anything else.
Leaving default passwords in place. There are two of them, the Wi-Fi password and the administrator password, and people usually change only the first. Change the second.
Switching 2.4 GHz off. It feels like a slower, pointless band, but it is the one your smart bulbs, cameras and doorbells can actually reach. Keep both on.
Turning off automatic updates. Not deliberately, usually by answering a prompt at setup and not looking again. The router stops fixing its own security problems.
Adding a range extender before moving anything. An extender halves throughput and repeats on the same radio. Relocation is free and usually works better.
Expecting one router to cover a large house. Walls and floors win eventually. Two access points, or a mesh system with a wired backhaul between nodes, is what fixes stubborn dead zones.
Running a second router alongside the first without thinking. Two routers both handing out addresses is a genuine mess, and the fix depends on which one stays in charge.
Frequently Asked Questions
Where should I put my home wifi router for the best coverage?
Put it in the open, roughly in the middle of the area you need covered, and two to three metres off the floor. Avoid closets, metal, interior walls, microwaves and large televisions. If one far room still drops off after moving, that is a coverage limit rather than a placement error.
Should I use 2.4 GHz or 5 GHz Wi-Fi at home?
Use both, and let the router decide. Laptops, phones, TVs and consoles belong on 5 GHz for speed. Smart bulbs, cameras, sensors and anything older should stay on 2.4 GHz, which reaches further and survives walls better. Band steering handles the switching as long as both bands are enabled.
Do I need a mesh system or can a regular router work?
A regular router is usually enough for a flat or a small house under roughly 1,500 square feet. Mesh earns its place in larger homes, thick construction or split levels where one router leaves real dead zones. Extenders are the budget option, but they halve throughput and do not fix a badly placed router.
How do I fix Wi-Fi that works in one room but not another?
Move the router first. Put it central, elevated and in the open, then test again with a speed test in the weak room. If a wired connection is fast in that same room but Wi-Fi is not, you have a coverage problem and need a second access point or a mesh node. If wired is slow too, the issue is upstream.
What security settings should I enable after setting up my router?
Set encryption to WPA3, or WPA2 if a device refuses WPA3. Change the administrator password away from the factory default. Turn off WPS, which has a long history of being exploited. Disable remote management from the internet, and switch on automatic firmware updates so security patches arrive without you.
How often should I update my router firmware?
Turn on automatic updates and let the router handle routine patches. Check manually every few months as well, especially if you rent an older provider-supplied unit. Most manufacturers release updates quietly, so a quick look under Firmware Update in the admin page is enough. Never install firmware from a third-party download site.
Conclusion
Knowing how to set up a home wifi network properly comes down to a short sequence: connect the modem to the router, open the admin page and create secure administrator credentials, update the firmware, move the router somewhere central and elevated, then test speed and coverage room by room.
Start with the cable and the placement, because those cost nothing and cause most of the disappointment. Everything else on this list takes minutes once you know where the setting lives.