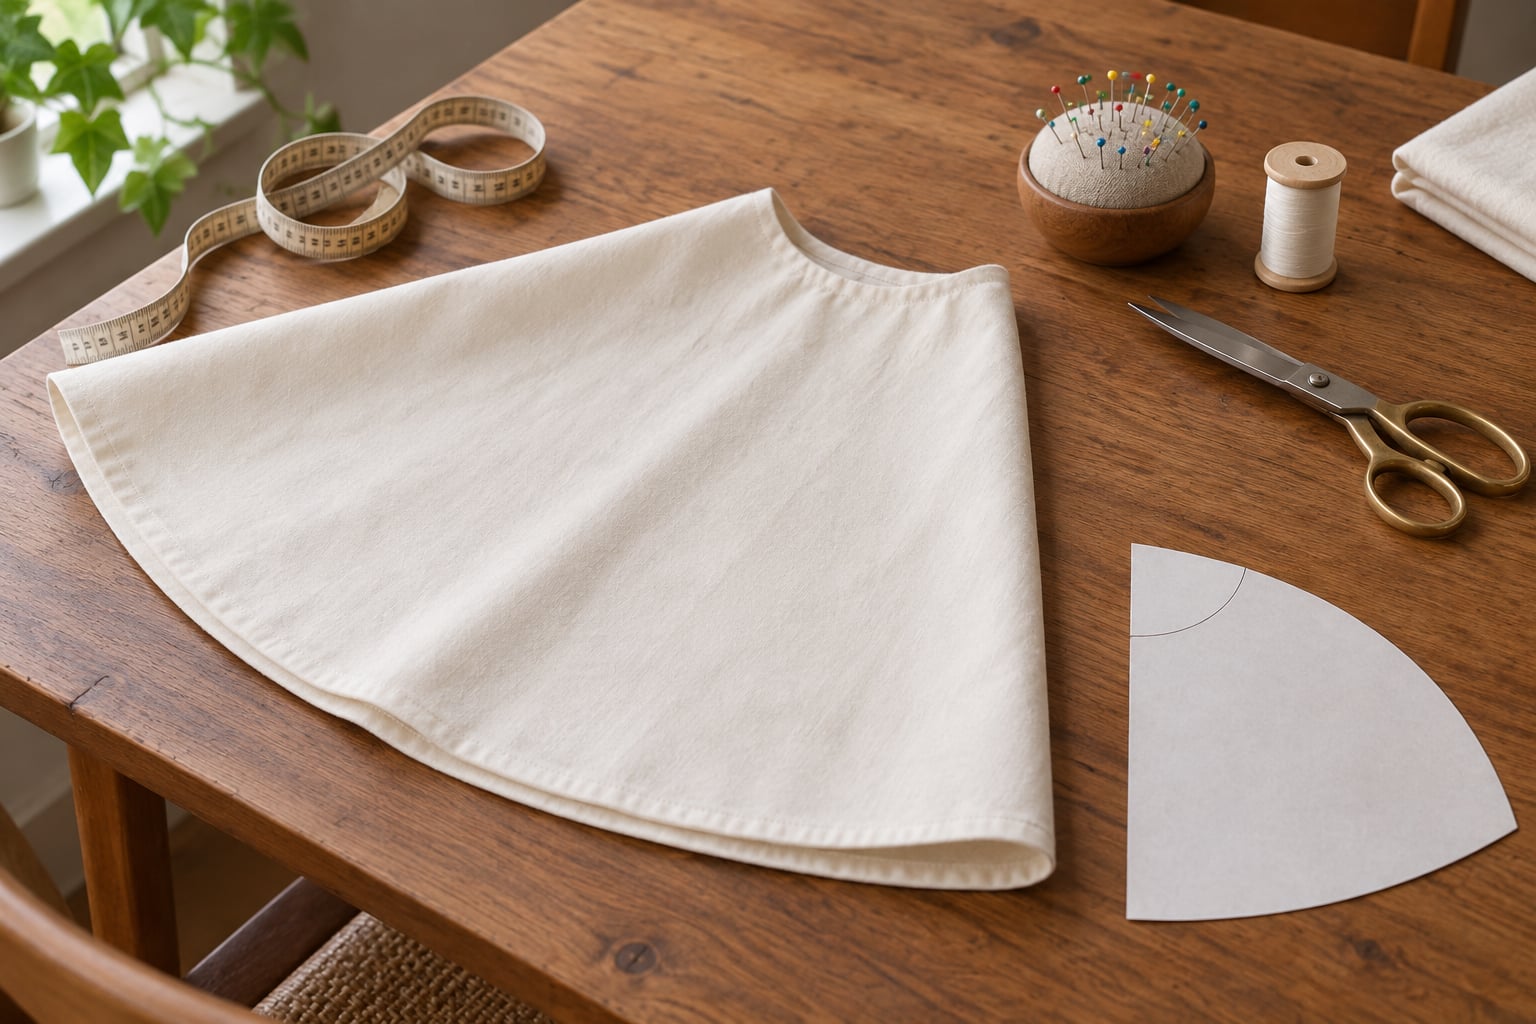
How to sew a simple cape without a pattern comes down to a single circle of fabric with a small opening at the top. You measure your neck and your desired length, fold the fabric into quarters, cut two quarter-circle arcs from the folded corner, remove the wedge between them, then finish the neck with ribbon or bias tape. No drafting, no paper, no fitting. A confident beginner can make one in an evening.
This is the project I’d hand anyone who says they want to learn to sew. There are no sleeves, no darts, no zipper, no set-in anything. The whole shape falls from the shoulder, so nearly all the work is careful cutting and tidy edge finishing.
A word on what a cape is not. A cloak is the full-length, hooded, front-opening garment. A cape is shorter, usually collarless, and often closes with a single tie or a hook-and-loop tab at the throat. A cape is the easier of the two, which is why it’s the one worth learning on.
Table of Contents
- 1What You Need to Sew a Simple Cape Without a Pattern
- 2How to choose the fabric weight
- 3Which method should you use?
- 4How much fabric do you need?
- 5Step-by-Step
- 61. Choose Your Cape Size and Measure the Fabric
- 72. Cut the Main Cape Piece
- 83. Finish the Raw Fabric Edges
- 94. Shape and Attach the Neck Opening
- 105. Add the Fastener or Closure
- 116. Hem the Cape and Finish the Edges
- 127. Press or Style the Finished Cape
- 13The no-sew version for absolute beginners
- 14How to add a simple hood without a pattern
- 15Common Mistakes
- 16Frequently Asked Questions
- 17What is the easiest fabric to use for a beginner cape?
- 18How wide and long should the fabric be for a simple cape?
- 19Can I sew a cape with just a straight stitch?
- 20How do I make a cape neckline without a pattern?
- 21Do I need a commercial sewing pattern to make a cape?
- 22How do I stop the cape from fraying?
- 23Conclusion
What You Need to Sew a Simple Cape Without a Pattern
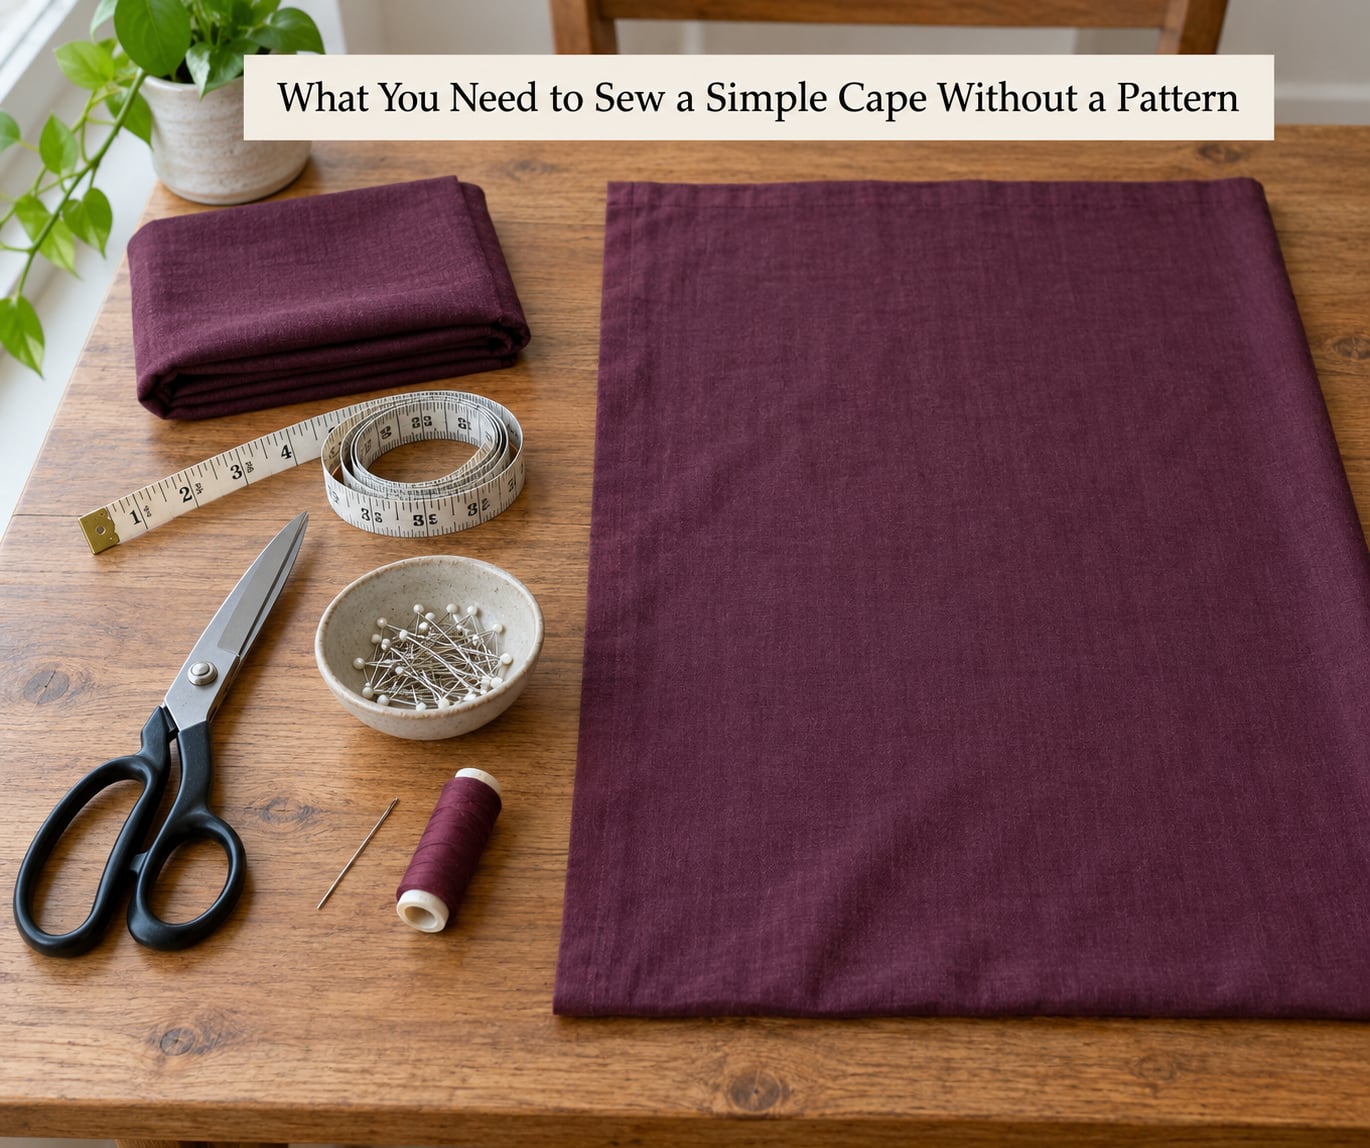
You need fabric, thread, and about six notions. Everything else is optional. Here’s the short list, kept deliberately plain so you can gather it in one trip.
- Fabric in the weight and width you want the cape to drape in
- Matching polyester or all-purpose thread
- Fabric scissors or a rotary cutter with a clear ruler
- Tailor’s chalk or a washable fabric marker
- Straight pins, roughly a dozen
- Measuring tape
- Iron and a pressing cloth
- 1 inch wide ribbon or bias binding for the neckline
- A large dinner plate or a length of string for drawing the cutting arc
- Optional: hook-and-loop tape, a small button, or fabric glue for a no-sew version
How to choose the fabric weight
Fabric weight decides how the finished cape hangs, and beginners usually pick wrong here. The rule I give people: start with a medium-weight woven. Cotton lawn, cotton voile, quilting cotton and lightweight canvas all behave predictably under a needle.
Avoid silk velvet, satin, slipper polyester and anything with elastane for your first attempt. Experienced sewists on forums call these misery fabrics — stretchy, slippery and unforgiving of pinned seams. If you have a piece of velvet and your heart is set on it, save it for the second attempt.
Burlap, wool flannel, felted wool and midweight cotton are good choices if you want structure. Velvet and velour work beautifully for cosplay, but treat them as a second project, not a first one.
Which method should you use?
Three pattern-free methods show up constantly in sewing forums, and beginners get confused because tutorials rarely say which one they are showing. Pick by the tools you actually have.
| Method | Tools needed | Time | Skill level | Result |
|---|---|---|---|---|
| Folded quarter-circle | Sewing machine | 1 to 2 hours | Confident beginner | Full circle drape, cleanest edges |
| Straight rectangle with gathers | Sewing machine | 45 to 60 minutes | True beginner | Shorter, softer cape with a ruffled top |
| Slit and weave | No machine, just ribbon | 20 minutes | Absolute beginner | Loose, unstructured drape |
The rectangle with gathered top edge is the one I’d start on if you have never touched a machine. Experienced sewists still recommend the circle-skirt approach for a sharper result, but nothing about it is hard — it just has more steps.
How much fabric do you need?
This is the question readers ask most and tutorials answer least. You need a square of fabric measuring twice your outer radius on both dimensions, because the circle is folded into quarters before cutting.
| Wearer | Finished length (shoulder to hem) | Fabric square needed | Usable width |
|---|---|---|---|
| Toddler, 2 to 4 years | 14 to 18 inch (35 to 45 cm) | 40 x 40 inch (1 m square) | 45 to 60 inch (115 to 150 cm) |
| Child, 5 to 9 years | 20 to 24 inch (50 to 60 cm) | 60 x 60 inch (1.5 m square) | 60 inch (150 cm) or wider |
| Teen, 10 to 15 years | 26 to 30 inch (66 to 76 cm) | 72 x 72 inch (1.8 m square) | Join two widths |
| Adult, short shoulder cape | 16 to 20 inch (40 to 50 cm) | 48 x 48 inch (1.2 m square) | 54 inch (140 cm) or wider |
| Adult, full-length | 40 to 45 inch (100 to 115 cm) | 90 x 90 inch (2.3 m square) | Join two widths |
That width column is the one tutorials skip, and it is where people get caught. A full circle of radius R needs a square of fabric two R across on both dimensions. A 40 inch adult cape therefore needs fabric at least 80 inches wide, which no single bolt gives you.
Your options are to join two widths with a running stitch down the middle, to make the gathered rectangle cape instead, or to settle for a shorter shoulder cape that fits one width. Sewists describe the gathered rectangle as their standard answer for long capes, for exactly this reason.
If you’re sewing for a child and want it to grow with them, buy the adult yardage. A cape is one of the few garments where a too-large result is genuinely useful.
Step-by-Step
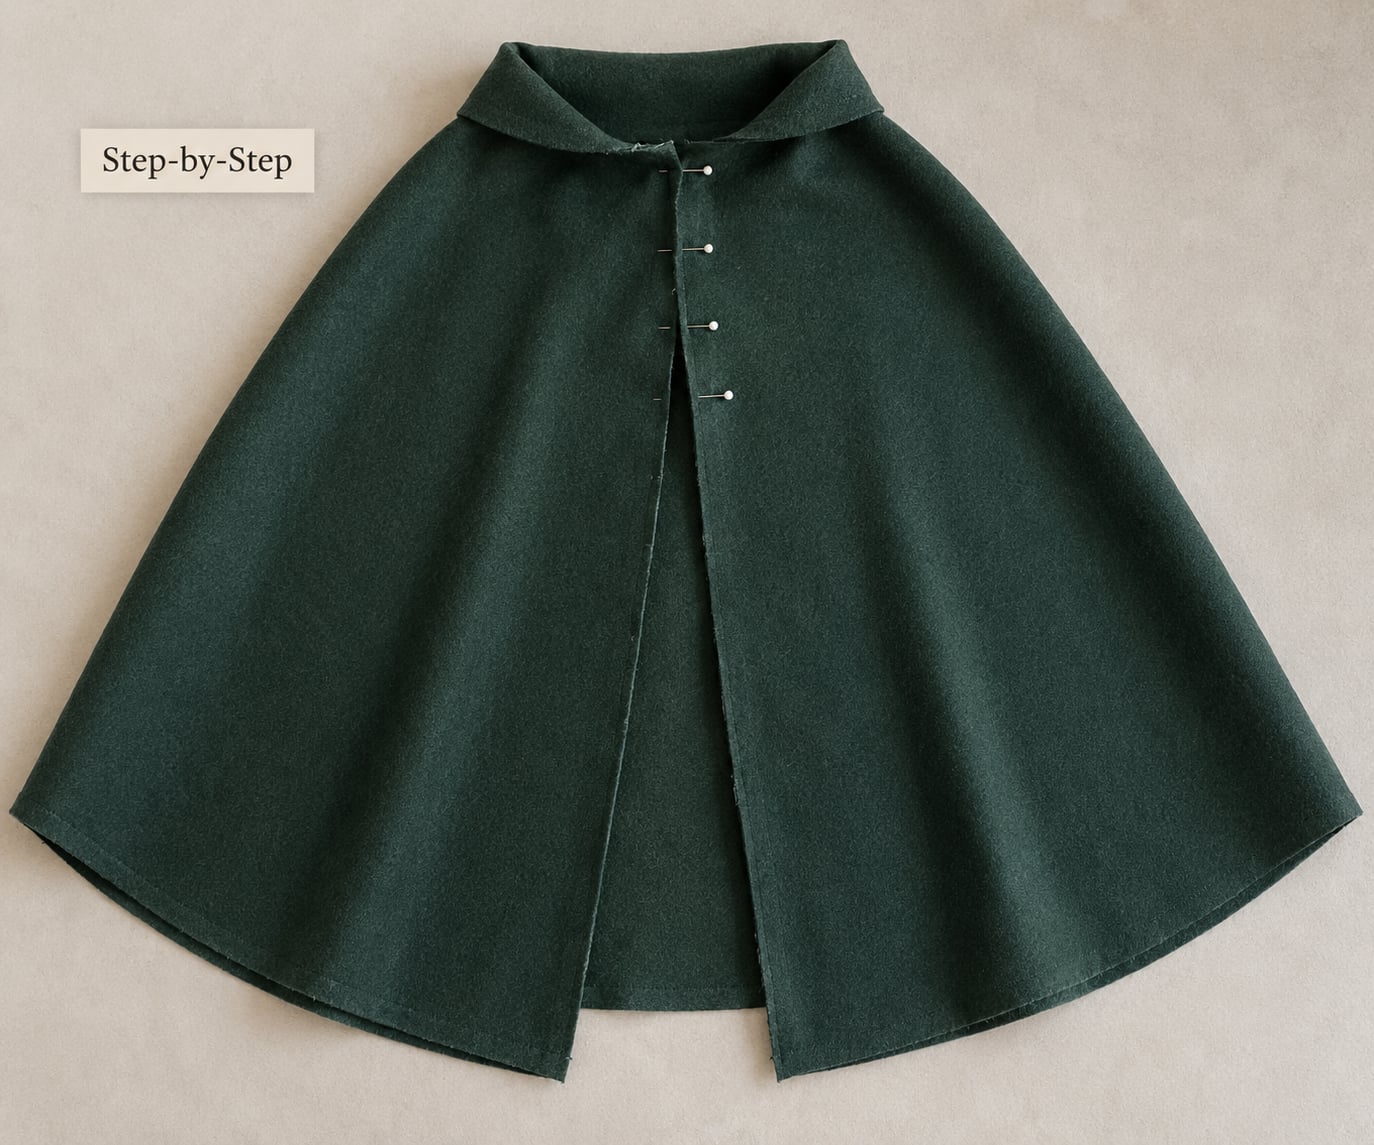
Seven steps take you from a piece of flat fabric to a wearable cape. Work through them in order and check the cape at each stage before moving on.
1. Choose Your Cape Size and Measure the Fabric
Measure your neck circumference and your desired length, then convert both into a cutting radius. Here is the direct method most experienced sewists use, because it comes from the same maths as a circle skirt.
Measure around the base of your neck where the cape will sit, keeping the tape snug but not tight. For most adults this lands between 14 and 18 inches (35 to 45 cm). Write that number down as your neck circumference.
Measure from the top of one shoulder, down the side of the body, to where you want the hem to fall. A child’s superhero cape usually sits 20 to 24 inches from shoulder; an adult full-length cape runs 40 to 45 inches.
Now you have two numbers, and they do different jobs. Your length becomes the cutting radius. Your neck circumference becomes the small inner opening at the centre of the circle, and it works out neatly: divide it by 6.28 to get the inner radius, and that opening will fit your neck with no gathering at all.
Add 2 inches (5 cm) to your length for the hem. That is your outer cutting radius.
Worked example for an adult with a 16 inch neck wanting a 40 inch finished cape. Inner radius: 16 divided by 6.28 is 2.55 inches, so round up to 2.75 inches. Outer radius: your 40 inch length plus 2 inches for the hem gives 42 inches. You cut both arcs from the same folded corner, which sits at the exact centre of the finished circle.
Here is why that inner division matters. The finished cape’s neck opening has a circumference equal to 2 x 3.14 x 2.75 inches, which is 17.3 inches. Your neck measures 16. That 1.3 inch difference is your seam allowance and a little ease, which is exactly what you want.
For a child instead: a 13 inch neck gives an inner radius of 2 inches, so 2.25 inches with allowance. A 22 inch finished cape needs an outer radius of 24 inches. Both arcs fit inside a folded 48 inch square, which comes out of a yard and a half of 45 inch wide fabric.
2. Cut the Main Cape Piece
Cutting is where most tutorials lose people who are learning how to sew a simple cape without a pattern, so slow down at this stage. Fold the fabric into quarters so you have four layers, with the corner that becomes the neck sitting at the fold intersection. Then cut two arcs and remove the wedge between them.
Lay your fabric right side up. Fold it in half widthwise, then fold it in half again lengthwise. You now have a four-layer square or rectangle with one corner sitting at the exact centre of the finished circle.
Check that your fabric is at least twice your outer radius on each folded edge before cutting. For the worked adult example, that is an 84 inch square, which means joining two widths of 54 inch fabric.
From that folded corner, measure your inner radius along both folded edges and mark a point on each. Mark your outer radius further out on both edges too. Then draw two quarter-circle arcs: the inner one becomes the neck opening, the outer one becomes the finished hem.
You do not need a purchased compass. A dinner plate works for the inner arc on a small child cape; a length of string is more accurate for anything larger. Tie a loop of string between the two marked points, anchor one end at the corner with a pin, and swing the pencil in a smooth arc.
Cut the outer arc first, then the inner arc, then cut straight out along the two folded edges to remove the wedge. That wedge is what opens up and becomes the front opening of the cape.
Unfold the fabric and you have a full circle with a wedge missing at the centre. Measure the outer edge: it should be roughly 3.14 times your outer radius. For the adult example, a 42 inch radius gives an outer edge of about 132 inches, or 11 feet. If your measurement is much smaller, your radius was too small; recut rather than hem your way out of trouble.
The straight rectangle alternative skips the arc entirely. Fold your fabric in half lengthwise, mark a top edge and a bottom edge, add a 6 inch gather at the top, and cut straight down. When you pull the gathers with a long basting stitch, the top edge puckers into a neckline. It’s less dramatic, faster, and much easier on a first attempt.
Whatever shape you cut, check the grainline. Keep the fabric’s selvedge running straight down the front and back of the cape. A cross-grain cape drapes oddly and stretches out of shape after a few wears.
3. Finish the Raw Fabric Edges
Finish every raw edge before you assemble, and the simplest method for beginners is a double-fold hem on the outer arc and the two side seams.
Fold each raw edge under about 1/4 inch (6 mm), press it flat, then fold it under again another 1/4 inch to 3/8 inch. Stitch along the inner fold with a straight stitch. This is a standard hem, it hides the fray completely, and it works on any fabric weight.
For a visible topstitch finish instead, run a zigzag stitch with a wide setting along the single-folded edge. Set the stitch width wider than the edge is thick and change the needle to a ballpoint if you’re sewing jersey or knit.
An overcast stitch is the third option and the least beginner-friendly. It loops thread over the raw edge and locks it, but it takes practice to keep even. Don’t start here.
Do this step before assembly. Trying to hem a finished circle means wrestling a large, slippery, four-layer piece on a sewing machine bed, which is exactly where beginners give up.
One exception: leave the outer arc open for now if you plan to line the cape, because you’ll be sewing two layers together along that edge instead.
4. Shape and Attach the Neck Opening
The easiest no-pattern neckline is a small casing stitched along the straight top edge of the folded circle, threaded with ribbon.
Fold the neck edge down about 1 inch (2.5 cm) to the right side and press. Measure 6 inches (15 cm) in from one side of that folded edge and mark it — this is the opening your head goes through. Fold the edge under again so the opening edges meet at the mark.
Pin the fold and stitch along the raw lower edge of the casing, leaving the opening between the marks unstitched. Turn the fabric right side out through the opening and press the casing flat with the seam allowances running along the top.
Turn the casing to the inside along both short ends and stitch them closed. Test it on the wearer now, before you go further. The neckline should sit at the base of the neck and let you turn your head freely.
The facing strip method gives a crisper edge. Cut a strip of fabric 4 inches (10 cm) wide and as long as the neckline plus 1 inch. Fold it right sides together along the long edge, sew the short ends to make a ring, then attach the ring to the neckline with right sides together. Trim, clip the curve, turn right side out and press.
Either way, the neck opening is the only place the cape meets the body, so fit it early. A cape that’s too tight pulls across your shoulders; one that’s too loose slides off and drags on the floor.
5. Add the Fastener or Closure
Four closures work well on a pattern-free cape, and all of them attach in the neck opening you just made.
Ribbon tie. This is the classic. Thread a 1 inch wide ribbon through the casing with a bodkin or a safety pin, leaving an equal tail on each side. It’s the most forgiving option and the easiest to adjust.
Hook-and-loop tape. Buy 3/4 inch tape, sew one strip to each end of the neck opening on the right side, and the cape closes with a press. Best for kids who won’t tie bows. Trim the corners so nothing snags.
Buttons. Sew one small button above the neck opening on the left side and cut a matching buttonhole on the right. Simple, but it needs a buttonhole foot or a hand-worked buttonhole stitch.
Left open. Many capes just drape and are held closed by the wearer’s hand or by a brooch. If you want this, skip the fastening step entirely and finish the neck edges with bias binding instead.
Place the closure so a child’s fingers can reach it. Test it by fastening and unfastening twice before you trim any thread, because adjusting after the hem is done means taking the whole hem out.
6. Hem the Cape and Finish the Edges
Create a clean lower hem on the outer arc, then secure every remaining raw edge. Do this last, after the cape is assembled and pressed.
Fold the outer arc under 1/2 inch (12 mm), press, then fold again to your finished hem depth. For a child that’s usually 1 inch; for an adult, 1.5 inches gives a weighted swing.
Stitch the hem from the right side along the inner fold. On a circle this large you’ll want to pin every few inches and reposition the fabric often. Work in quadrants and don’t stretch the edge as you go, because pulling fabric to fit is what creates a wavy hem.
Then go back and check the two side seams and the front opening edges. If you hemmed at step 3, they’re already done. If not, catch them now with a narrow zigzag or a strip of bias binding.
Careful here: never sew across the neck opening or the closure. Stitching the casing shut at the ends removes the entire closure and there’s no unpicking your way back to it.
The finished fabric should lie flat against the body with no ripples. Hold the cape up by the neck and look at the hem from the side. If it swings unevenly, the hem is off — unpick that section and redo it with the fabric relaxed, not stretched.
7. Press or Style the Finished Cape
Press the seams according to the fabric type, and the difference between crisp and slumped is mostly about pressing. Hang the cape on a hanger and press each seam from the inside out, using a pressing cloth for anything dark or shiny.
Cotton and linen take a hot iron with steam. Polyester and nylon blends need a warm setting, because a hot iron melts them and leaves a permanent shiny mark. Wool and felted fabrics want steam and a cloth, pressed from the wrong side so you don’t flatten the nap.
If the fabric is still holding stiff folds from the fold-and-cut stage, hang it overnight and press again the next day. Most creases drop out on their own after a night on a hanger.
Then put it on over normal clothes and move around. A cape that catches under your arms when you reach forward needs a wider neck or a deeper arm curve cut into the side seam. One that swings below your knees was cut too long, and no amount of pressing fixes that.
Optional next steps from here: add a fabric applique emblem for a superhero version, edge the hem with fur trim for a royal look, or line the whole thing in a second fabric so it reverses for a different costume look.
The no-sew version for absolute beginners
If you don’t own a machine, you can still make a wearable cape in about 20 minutes with fabric glue and ribbon. Cut a rectangle roughly 30 by 45 inches (75 by 115 cm). Fold the top edge down and glue it flat. Cut a small opening at the centre for the head, with two smaller slits on either side.
Cut a length of ribbon and weave it in and out through the slits, starting and ending at the neck opening. Tie the ribbon ends together at the front. That’s the whole garment.
This method shows up constantly in children’s costume capes, and it works well on burlap or fleece for a Frodo-style cloak. It won’t survive washing, so treat it as a costume piece.
How to add a simple hood without a pattern
A hood is a second circle cut the same way as the cape body. Fold your fabric into quarters again, but this time the folded corner is the top of the head, not the neck.
Measure from the base of the neck to the top of the head, or use roughly half the wearer’s head height plus 2 inches. Cut a quarter-circle arc at that distance from the corner for the hood’s outer shape. Cut straight across for a simple flat hood.
Trim the hood so it’s slightly smaller than the neckline you already made. An oversized hood is the most common mistake here, and it’s worth measuring twice before you cut.
Attach the hood to the neckline with right sides together, sew, clip the curve every half inch, turn right side out and press. If your cape is lined, attach the lining hood first, then sandwich both between the outer cape and lining at the neckline.
Common Mistakes
Almost every failed first cape comes down to one of six things. Here’s what goes wrong, why, and the specific correction.
| What went wrong | Why it happened | How to fix it |
|---|---|---|
| Cape is far too short | Radius taken from the neck measurement instead of the desired length | Length plus 2 inches is the outer radius; cut a square twice that radius on both sides |
| Wavy or rippling hem | Hem stitched with the fabric stretched or pulled to fit | Unpick the hem, let the fabric relax, re-pin in quadrants, stitch without tension |
| Neck opening too small for the head | Inner radius cut tight to the neck measurement with no allowance | Add 1/2 inch to the inner radius, or use the gathered rectangle instead |
| Fabric frays at every edge | Cut edges left raw and never hemmed | Hem or zigzag every raw edge before assembly, not after |
| Bulky, lumpy seams | Seam allowance wider than 5/8 inch, or fabric not pressed between seams | Trim to a consistent 5/8 inch and press each seam open as you go |
| Fighting the machine | Large slippery fabric circle under the presser foot | Cut the fabric in half, sew each half, then join the side seams |
That last one is the fix I’d hand to anyone who abandons a cape halfway through. Cutting a large circle in quarters and sewing it flat on the machine bed is awkward even for experienced sewists. Cut it in half along the front opening, hem the edges, then sew the two straight sides together with right sides facing. Same result, far less wrestling.
Two more worth naming. First, if your neck ribbon keeps slipping out, the casing is wider than the ribbon — widen the casing slightly or use flat bias binding instead of a round cord. Second, if the cape sits oddly on the shoulders, you almost certainly skipped the arm curves; cut a gentle inward curve into each side seam so your arms can move.
A few quick finishing tips while you’re here. Hang the cape for a day before the final press so gravity does some of the work. Use a contrasting lining to make the inside as nice as the outside. And if you’re making it for a child, add a loop of ribbon at the top to hang it up afterwards rather than living out of the coat hook.
Frequently Asked Questions
What is the easiest fabric to use for a beginner cape?
A medium-weight woven cotton is the easiest choice for a first cape. Quilting cotton, cotton lawn, lightweight canvas and cotton voile all cut cleanly, press well and take a straight stitch without shifting. Avoid silk velvet, satin, slipper polyester and anything with elastane, because those fabrics stretch and slide under the needle. Burlap, wool flannel and felted wool are good if you want a cape with more structure.
How wide and long should the fabric be for a simple cape?
You need a square of fabric measuring twice your outer radius on both sides, because you fold it into quarters before cutting. A 40 inch adult cape therefore needs an 84 inch square, so plan to join two widths together. A toddler cape of 18 inches fits neatly into a 1 m square. The neck measurement divided by 6.28 sets the size of the inner arc, which for most adults lands near 2.75 inches. Measure your own numbers rather than trusting a fixed width.
Can I sew a cape with just a straight stitch?
Yes. A standard straight stitch at the default length, about 2.5 to 3 mm, handles every seam in an unlined cape. Set it slightly longer if you are sewing through quilting cotton or two layers. You only need a zigzag for raw edges if you skip hemming, and a shorter stitch length for topstitching near a curved edge. No special feet or decorative stitches are required.
How do I make a cape neckline without a pattern?
Fold a 1 inch casing along the straight top edge of the circle, measure and mark a 6 inch opening for your head, then stitch along the raw lower edge leaving the opening unstitched. Turn the fabric right side out and press the casing flat, then close the short ends. Thread ribbon through the casing. Test it on the wearer before you hem anything so you can adjust the gathering.
Do I need a commercial sewing pattern to make a cape?
No, and that is the point. Because a cape has no sleeves, no darts and no shaping, the shape falls entirely from the shoulder. You need two numbers: your neck circumference and your desired length. Divide the neck by 6.28 for the radius, double your length for the cutting rectangle, and you have everything a paper pattern would have given you. This is the same maths behind a circle skirt block.
How do I stop the cape from fraying?
Hem every raw edge before you assemble the cape, which is far easier than trying to hem a large finished circle. Fold the edge under 1/4 inch twice and straight stitch, or run a wide zigzag over a single fold. Both work on woven cotton and stop the fray completely. For knits, use a ballpoint needle and a zigzag with a wide setting so the seam can stretch instead of popping.
Conclusion
Start by measuring. Wrap the tape around the base of your neck, write the number down, then measure from shoulder to where you want the hem to fall. Those two figures are the entire pattern, and everything after that is cutting and edge finishing.
Your length plus 2 inches for the hem gives the outer radius. Your neck measurement divided by 6.28 gives the inner one. Fold your fabric into quarters, mark both arcs from the folded corner, cut them, remove the wedge, then make a casing at the neck, thread ribbon through it, hem the outer arc, and press.
There is nothing in there that needs a pattern, a dress form or a fitting. Basic straight stitches, a hem and a few careful minutes with an iron will get you a cape you can wear to a costume party, a school play, or a cold walk home. The same fold-and-cut logic runs a circle skirt too, since the identical 6.28 division drives that pattern as well.