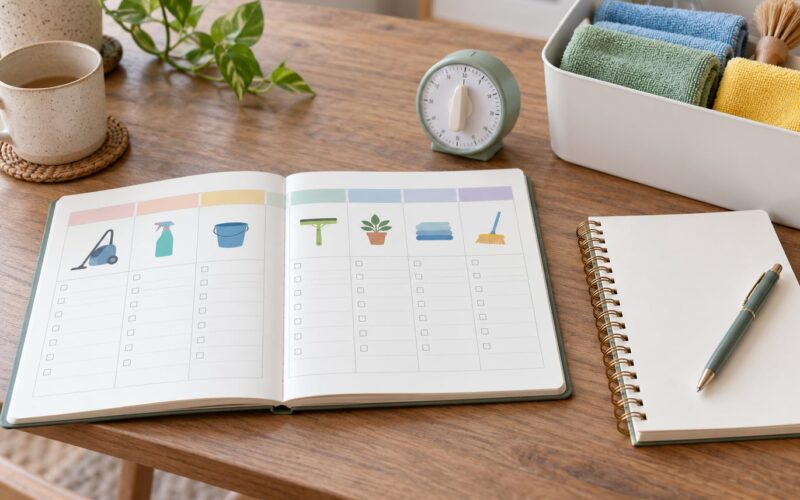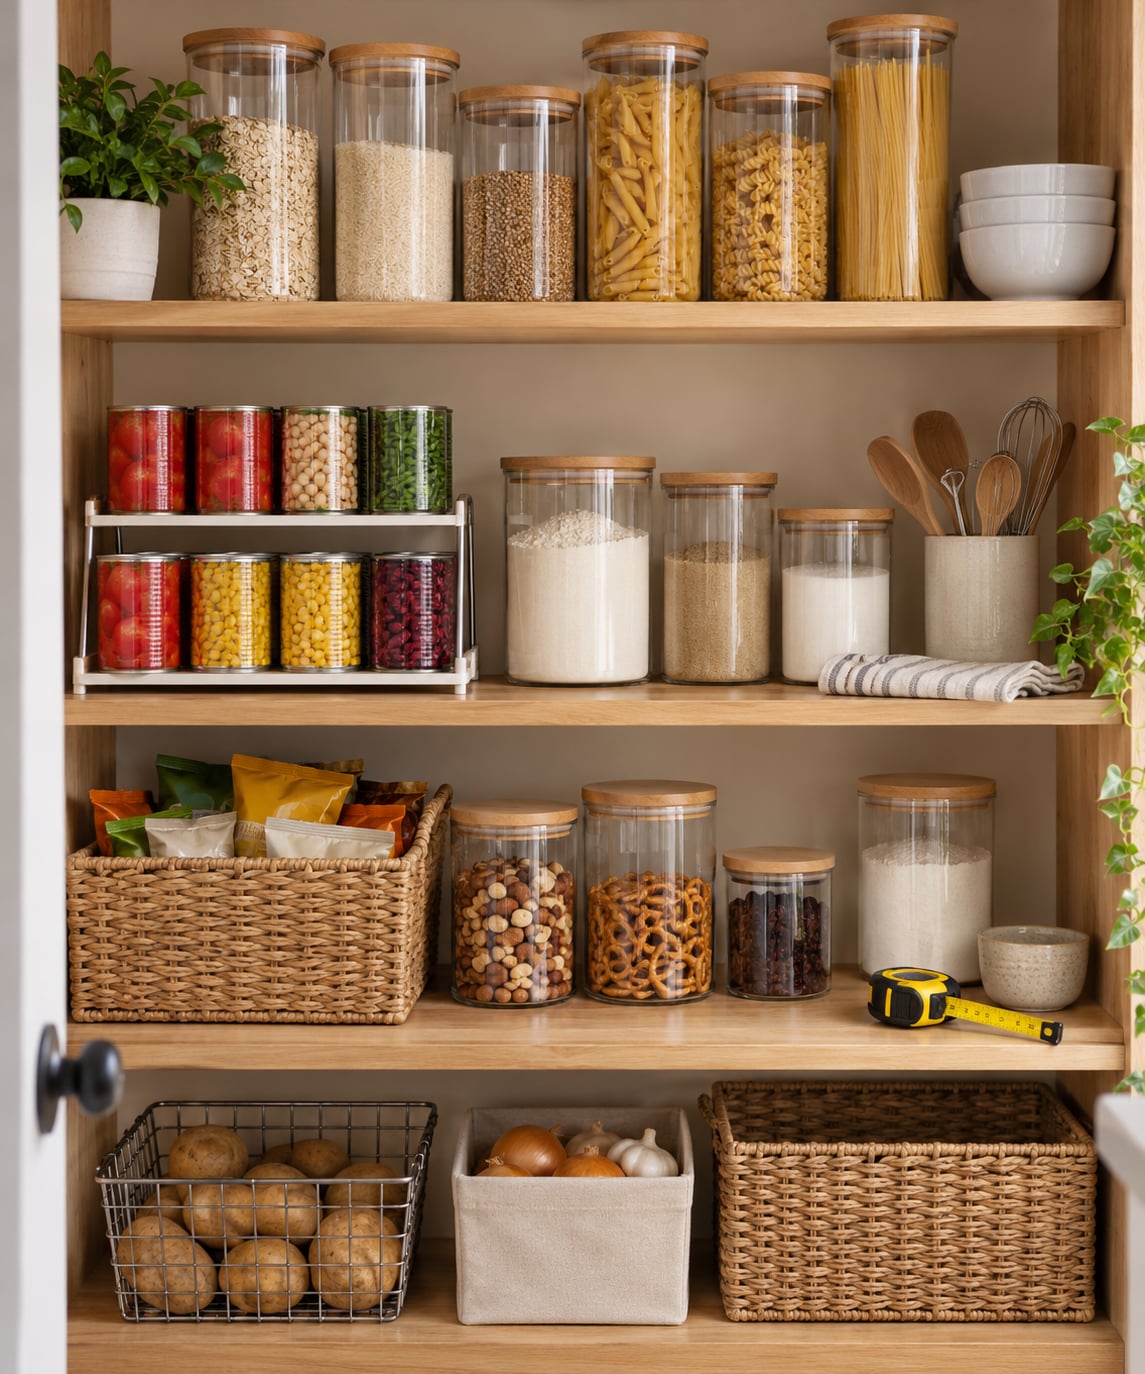
The fastest way to organize a kitchen pantry is to empty it completely, throw out anything expired or unused, then rebuild it in zones based on how often you cook. Put breakfast and snacks at eye level, back up the tall cans, decant the dry grains into clear containers, label them, and spend two minutes a week restocking. Most of it takes one evening.
I’ve done this reset with my own pantry more than once, and the same failure keeps repeating: buying baskets and canisters first, then discovering nothing fits. So this plan puts the measuring tape before the shopping. If you only have an hour, work through one shelf group at a time rather than trying to do the whole room in a night.
Table of Contents
- 1What You Need
- 2Step-by-Step
- 31. Empty and Assess the Pantry
- 42. Sort Food by How You Use It
- 53. Clean and Measure the Shelves
- 64. Create Simple Pantry Zones
- 75. Choose Containers That Fit
- 86. Label and Arrange Everything
- 97. Build a Restocking Routine
- 10Common Mistakes
- 11Frequently Asked Questions
- 12How do I organize a small kitchen pantry?
- 13What containers are best for organizing a pantry?
- 14Should pantry food be decanted into airtight containers?
- 15How do I keep a kitchen pantry tidy?
- 16Where should the most-used pantry items go?
- 17How do I organize a pantry without buying organizers?
- 18Conclusion
What You Need
The honest answer is very little. Sorting and labeling do most of the work here, and almost everyone has enough on hand to start tonight.
- Cardboard boxes or laundry baskets to carry everything out to the floor or a table.
- A permanent marker, masking tape or index cards for labels.
- Measuring tape and a pencil.
- A flashlight or phone light for checking corners and the back of deep shelves.
- Cleaning supplies and a damp cloth for the shelves.
- A trash bag and a box for donations.
- Optional: clear airtight containers, shallow baskets, a tiered shelf riser or a lazy susan. These help, but buy them after step 3, not before.
A timer helps more than people expect. Setting a 30-minute purge keeps you moving and stops you from reading the back of every jar.
Step-by-Step
1. Empty and Assess the Pantry
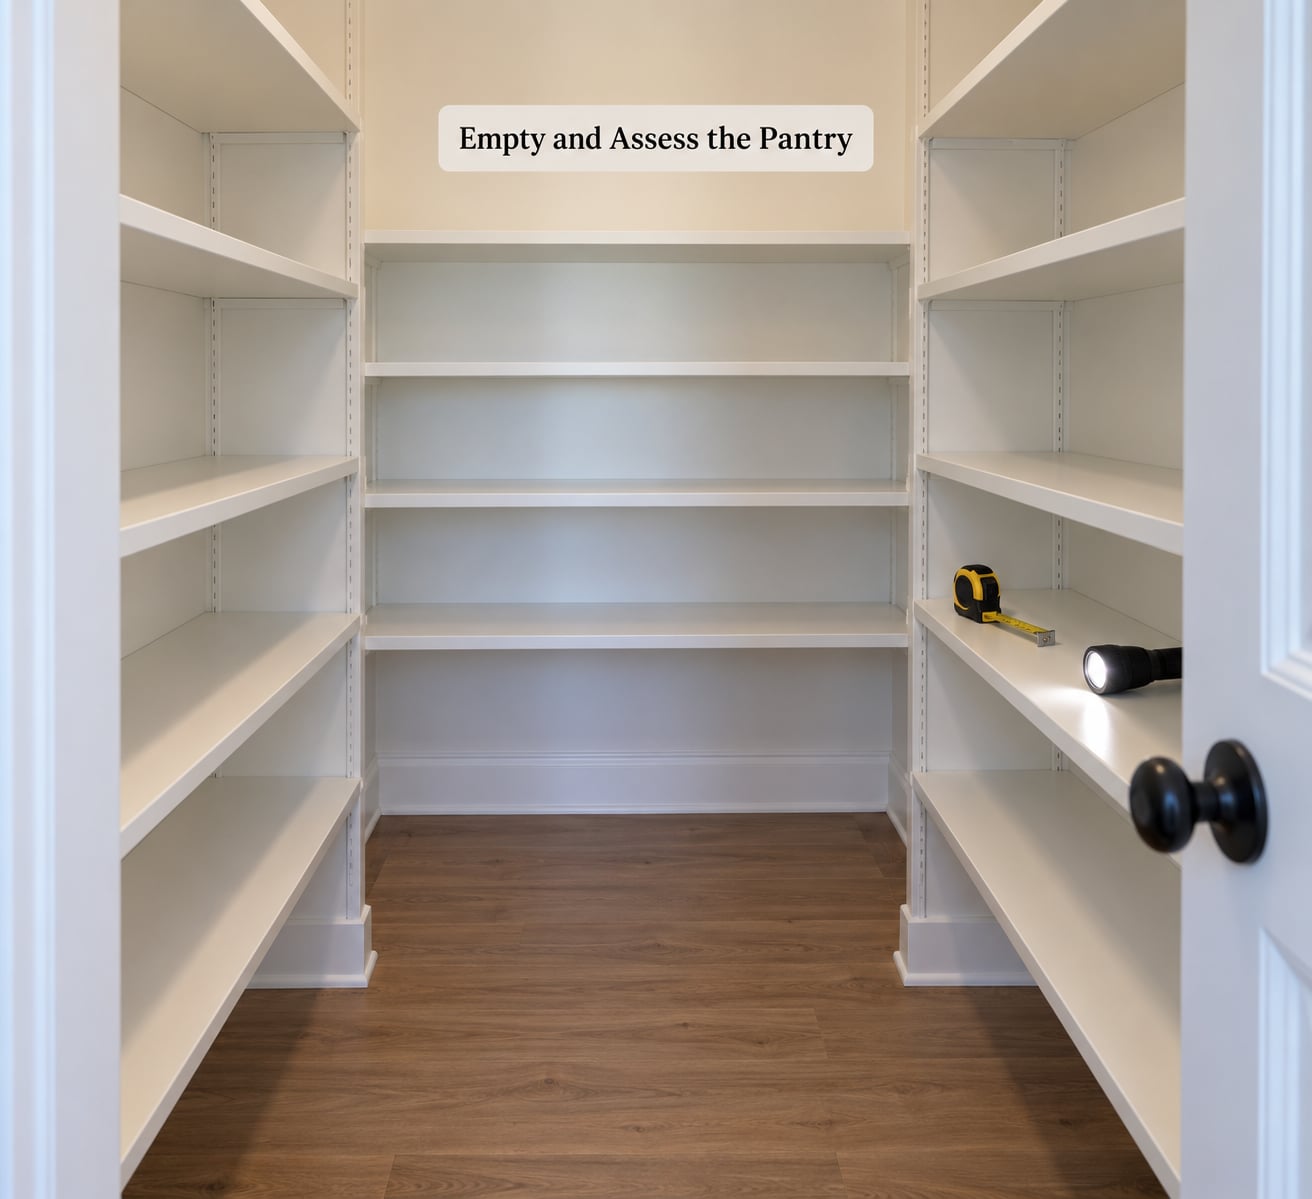
Take everything out and put it on the floor or a table in one big spread. You cannot see what a pantry actually holds while it’s still full, so this is the step people skip and regret.
Now go through it item by item and make three piles: toss, donate and keep. Toss anything past its date, anything that smells off, and the half-open bag of something nobody has touched since last winter. Donate sealed boxes and cans your local food pantry or shelter will take.
Be honest about the aspirational shelf: the fancy vinegar, the specialty pasta, the taco seasoning bought for a recipe you never made. Those quietly expire in the back of the pantry and then go in the bin. If it hasn’t been used in six months, it will not be used next month either.
You’ll know step 1 worked when the items on the floor fit in fewer boxes than the shelves did. That’s the clearest signal that you had more than you needed.
2. Sort Food by How You Use It
Sort by usage, not just by product type. Line up six groups: everyday ingredients you use several times a week, backups and bulk cans, snacks, baking supplies, beverages, and specialty items like specialty vinegars or oils.
Keep refrigerated and frozen food out of this entirely. Anything that needed cold storage when you bought it still needs it, and anything perishable belongs in the fridge or freezer where it belongs.
Watch for duplicates while sorting. Two nearly empty bags of rice or three open spice jars of the same thing are why reorganized pantries look organized for a month and then collapse.
3. Clean and Measure the Shelves
This is the step that prevents the most wasted money, and it takes about ten minutes. Wipe every shelf, then look closely for moisture, crumbs, webbing or droppings. A flashlight helps here.
Measure the usable shelf space and write the numbers down: width, depth, and the clearance under the shelf above. Note the depth carefully, because that’s the number that decides whether a container fits. If the back row is unreachable past about 12 inches deep, plan for pull-down baskets or risers.
Also measure your door. A door-mounted wire rack multiplies your usable space by a surprising amount in a narrow pantry, but only if the door clears the shelves when it swings.
4. Create Simple Pantry Zones
Zones are the whole trick. Instead of one chaotic shelf of mixed cans, give each kind of food a fixed shelf and a label. Most working pantries land on seven: breakfast, snacks, baking, canned goods, grains and pasta, sauces and oils, and household extras.
Place the most-used items between waist and eye level. That single rule is repeated constantly in real pantries because it’s what makes the system usable: the things you grab daily are the things you should not have to stoop or stretch for. Rarely used extras go up high or down low.
You’ll know the zones worked if you can answer “where does the pasta live?” without looking. If it takes more than a few seconds, the zone is too crowded or not labeled clearly enough.
5. Choose Containers That Fit
Now, and only now, look at your measurements. Decant the dry goods that benefit from it: flour, sugar, rice, pasta, oats, beans, and anything already in a crinkled bag that’s leaked before. Clear airtight containers make the volume obvious, which stops you buying a second bag of something you already finished.
Leave everything else in its original packaging. Canned goods, boxed mixes, condiments and snack bags stack better that way, and packaging keeps the expiry and the nutrition panel right where you need them.
Match container depth to shelf depth, not the other way around. Shallow containers you can see all the way through beat deep ones, and square or rectangular shapes stack more reliably than round jars in a narrow pantry. If you’re repurposing what you own, cleaned peanut butter jars and coffee creamer bottles work well for dry goods, just leave anything that held liquid for dry goods only.
6. Label and Arrange Everything
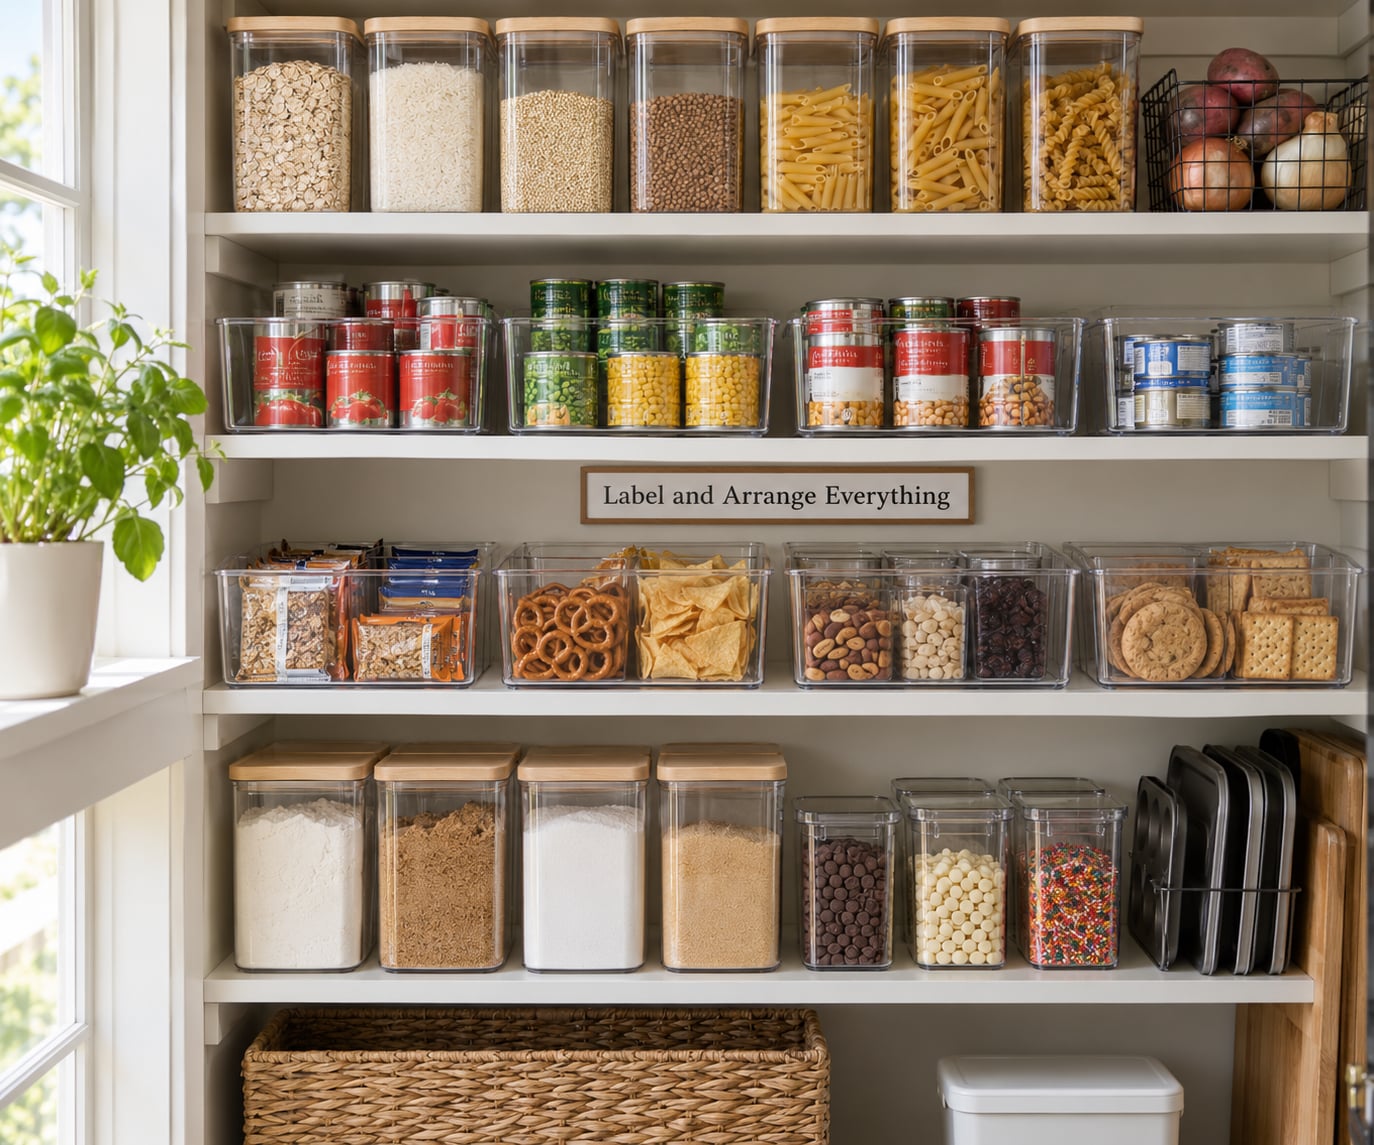
Label the zones on the shelf edge and label only what needs it. Look-alike items, meaning flours, grains and similar-shaped bags, always get labels. Clear containers of cereal or pasta don’t need one, and skipping those labels keeps the whole job from becoming an afternoon of handwriting.
On the containers you do label, write the contents and the ratio. A jar marked “Farro 1:3” tells you the water amount at the moment you’re cooking rather than after a Google search at 6pm.
Arrange by age now: older products toward the front, newer stock behind them. This is first in, first out, and it is the single habit that most reduces waste, because the thing you grab first is the thing that leaves the pantry first. Cans that roll are the exception, so give cans a riser or a can rack instead of stacking them freely.
For labels that survive a humid pantry, use masking tape or a waterproof label rather than cheap adhesive, and use an oil-based marker on glass and metal, not on paper or plastic where it smears.
7. Build a Restocking Routine
A pantry organization system falls apart without a maintenance habit, and the habit can be very small. Twice a month, take a quick inventory while you’re already in the room: what’s running low, what’s been sitting since last time, what’s about to expire.
Add those to your shopping list and use one in, one out for the things that keep disappearing. When the last jar of the cereal runs out, buy one, not two.
For bigger resets, a monthly date check catches things moving to the back, and a quarterly fifteen-minute purge handles the slow drift. It keeps you from reopening the whole project every time the shelf starts to look tired.
Common Mistakes
Most unhappy pantries share the same handful of problems, and each one has a straightforward fix.
- Using opaque containers for everything. If you cannot see it, you will buy a duplicate. Keep clear containers for the dry goods you decant and leave the rest in packaging.
- Stacking food too deep in one bin. A single 12-inch bin holding 40 cans turns into archaeology. Use shallower containers so you see the front row without pulling everything out.
- Labeling everything. A label on every container looks tidy and takes twice as long, which is why it never gets finished. Label look-alikes and zone edges instead.
- Grouping only by product type. Grouping by type is useful for shopping but useless at 6pm. Add the layer of “how often do I use this,” which is what puts breakfast near the door.
- Buying organizers before emptying the pantry. This is the most expensive mistake, because the containers you bought will not fit the shelves you have. Measure first.
- Using wicker or wire baskets for everything. They look good and they leak, flake and drip when used for flour, rice or anything oily. Basket liners or clear tubs inside the basket fix that.
- Skipping maintenance. Even a tidy system drifts in six to eight weeks without anyone putting things back where they came from. The two-minute check twice a month is what makes it stick, and it’s worth telling everyone in the house where things live.
Frequently Asked Questions
How do I organize a small kitchen pantry?
Measure the shelf space first, then pick one zone per shelf and stick to fewer, shallower containers. On narrow shelves, square containers stack better than round jars, and a tiered riser uses the vertical space above a shelf. Keep daily items between waist and eye level and put back-stock high or low.
What containers are best for organizing a pantry?
For dry grains, flour and pasta, clear airtight containers are the most useful thing you can buy because you can see both the contents and how much is left. Match the container depth to the shelf depth. For canned goods, boxes, condiments and snacks, the original packaging stacks better than almost anything you would replace it with.
Should pantry food be decanted into airtight containers?
Decant the things that leak, crumble or go stale in a crinkled bag: flour, sugar, rice, pasta, oats and beans. Leave canned goods, boxed mixes, condiments and snacks in their original packaging, since the box keeps the date visible and usually stacks tighter. Decanting everything is also a repackaging chore that many people abandon.
How do I keep a kitchen pantry tidy?
Give every category one fixed shelf and one label, and put the things you use daily between waist and eye level so they are easy to grab and easy to put back. Do a two-minute inventory twice a month and add what is running low to your shopping list. Most pantries only drift when nobody restocks them on purpose.
Where should the most-used pantry items go?
Between waist and eye level, on the shelf closest to the door. Breakfast items, snacks, pasta and the sauces you reach for most should live there. Rarely used extras and bulk backups go on the highest shelf or the floor of the pantry, where they are still reachable but out of the way of daily traffic.
How do I organize a pantry without buying organizers?
Work with what you already own: cleaned jars for dry goods, labeled boxes for zones, baskets from around the house for shelves that are hard to reach, and index cards taped to shelf edges. Grouping and labeling do most of the work, so a tidy pantry is achievable before you spend anything at all on containers.
Conclusion
Start with one shelf group rather than the whole pantry. Empty it, toss what is expired or unused, sort by how often you use it, measure what is left, and give it a labeled zone at eye level. Repeat across the shelves, and the full pantry falls into place without a single trip for new organizers.
Then keep it with a two-minute inventory twice a month, older items in front and newer ones behind. That is the whole system: sorting, zoning, labeling and a short recurring habit. Updated for 2026, and it works the same whether you have a walk-in closet pantry or three shelves beside the fridge.