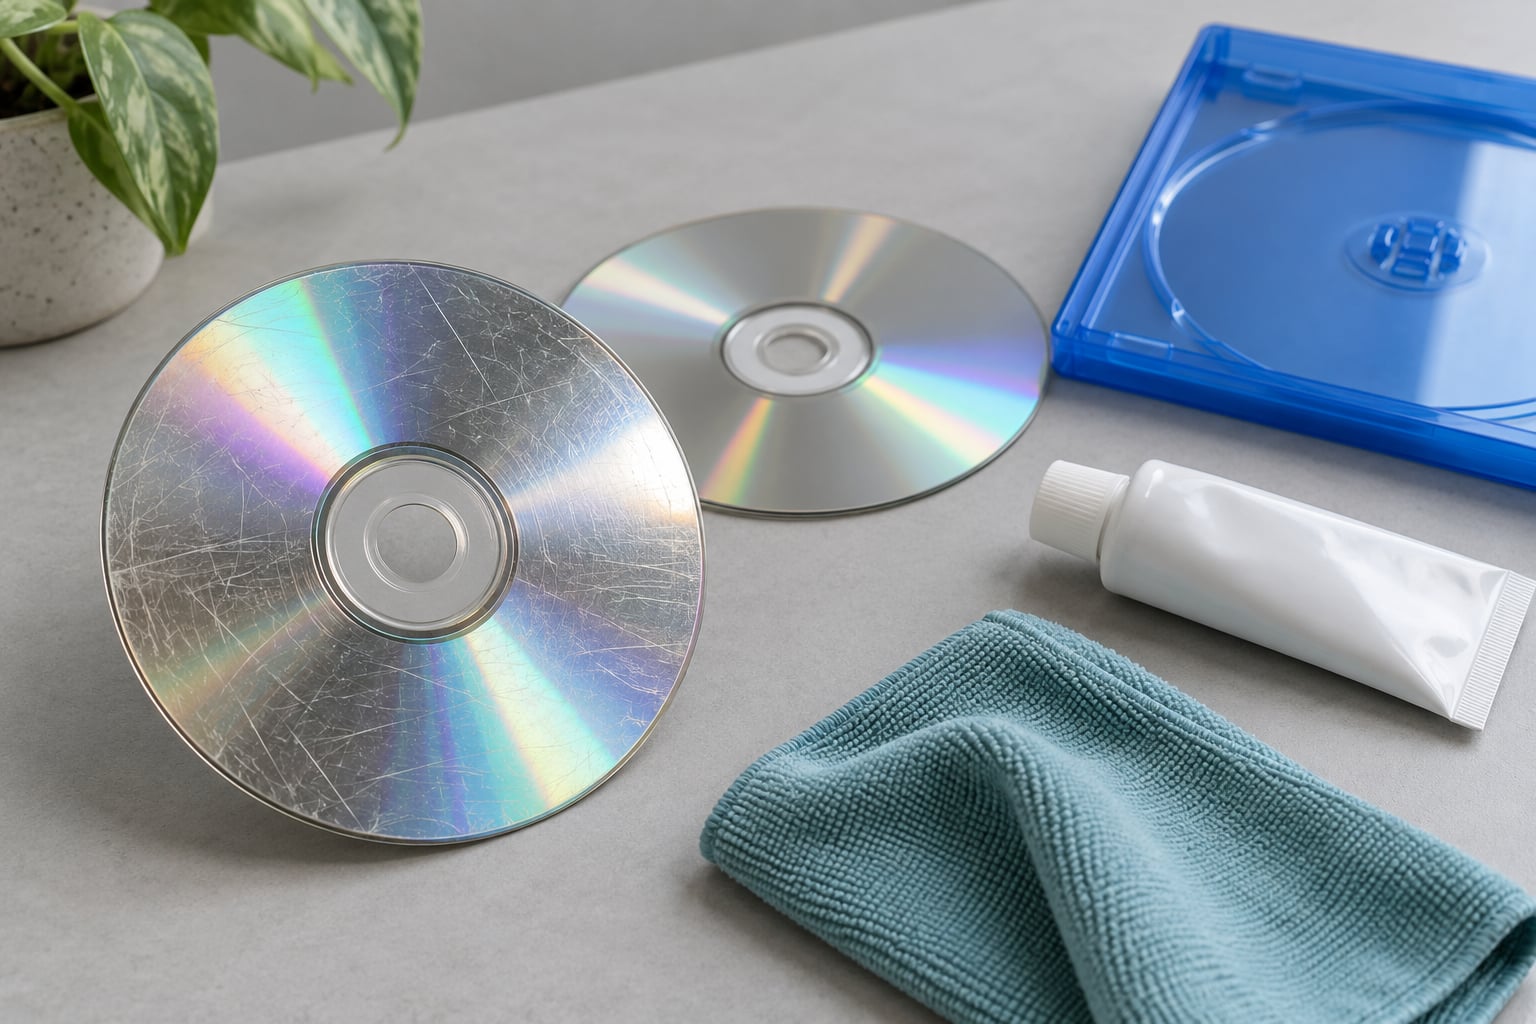
Most scratched discs clean up with plain white toothpaste, a soft lint-free cloth, and straight strokes from the center hole out to the edge, followed by a rinse under cool water. That works because the laser reads around a surface defect rather than through it, so a shallow scratch filled or smoothed back to optical flat barely matters.
The honest part is knowing when to stop. A cracked disc, a scratch that goes through the reflective foil, or an old burned disc going milky inside is not a cleaning job. Those need different treatment, and no amount of scrubbing brings them back. It is still the case in 2026 that most scratches people panic about are cosmetic.
Here is the order I would actually work in, and where each step stops being worth doing.
Table of Contents
- 1What You Need for How to Clean a Scratched Disc
- 2Step-by-Step
- 3How to Clean a Scratched Disc by Inspecting the Damage
- 4Cleaning the Disc Surface Gently
- 5Reducing Light Scratches Safely
- 6Drying and Testing the Disc
- 7Common Mistakes
- 8Scrubbing in circles
- 9Using household cleaners and sprays
- 10Touching the reflective surface
- 11Polishing a deep gouge
- 12Bending or heating the disc
- 13Frequently Asked Questions
- 14Can toothpaste remove CD scratches?
- 15How do I fix a disc that won’t read?
- 16What should I do if my disc has scratches?
- 17What is the best CD scratch remover?
- 18Can you repair a DVD after it gets scratched?
- 19Is it true that toothpaste can help get scratches off CDs?
- 20What to Do First
What You Need for How to Clean a Scratched Disc
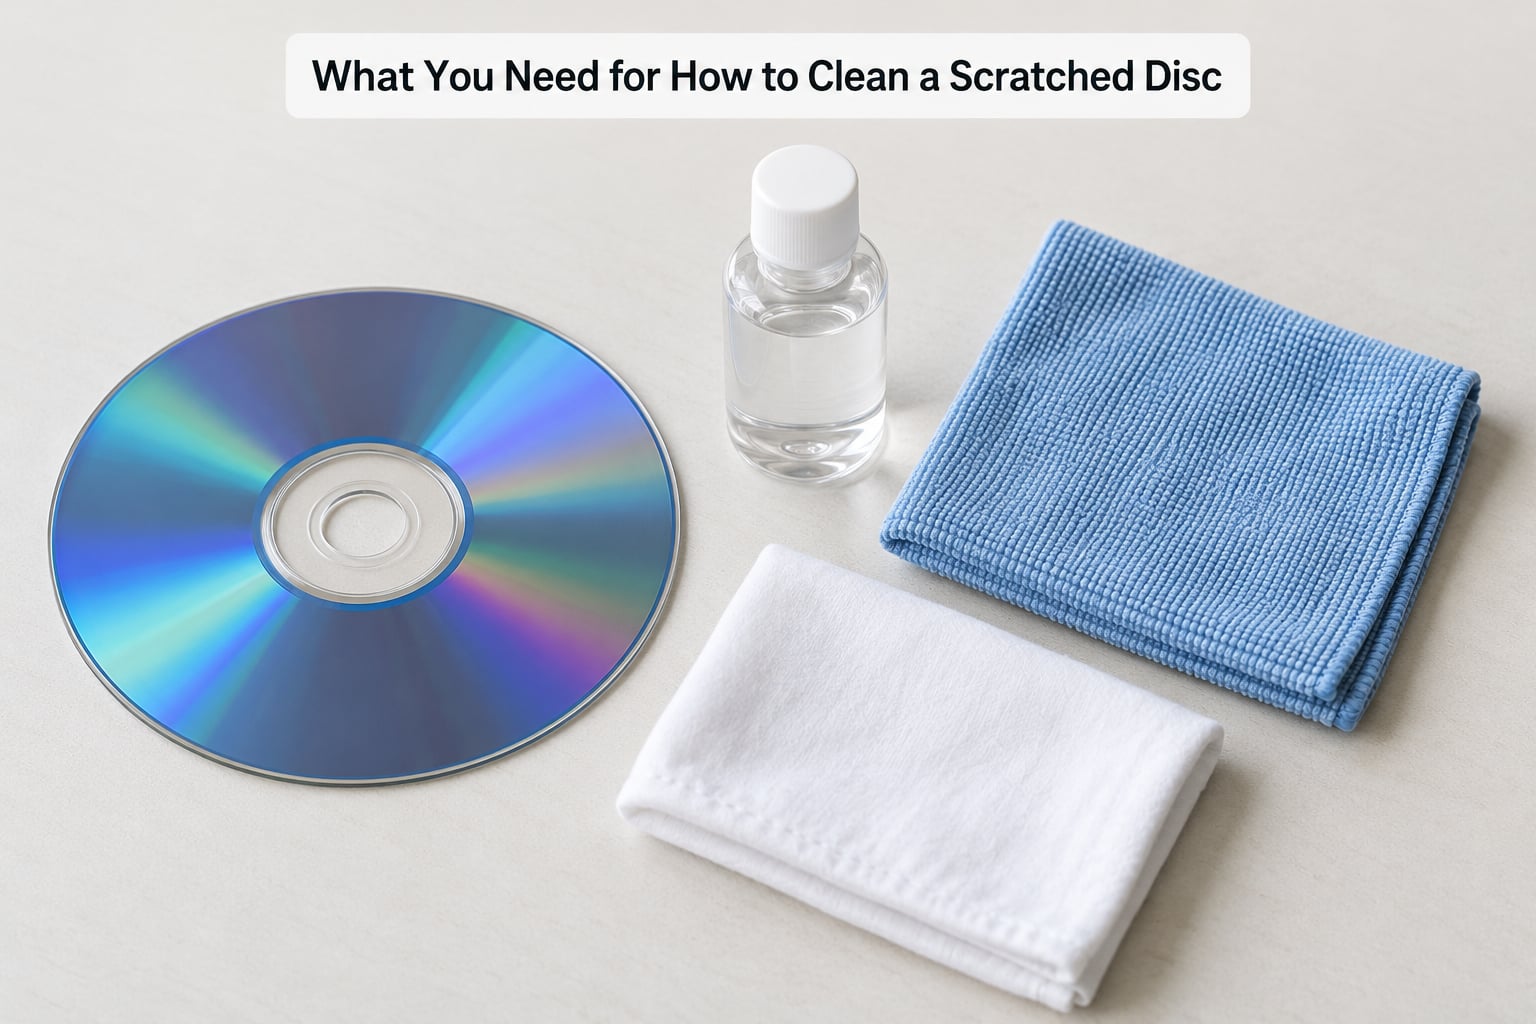
None of this is exotic, and none of it needs a machine.
- Plain white toothpaste, the old paste kind. No gel, no whitening, no crystal or chunky formulas.
- Lukewarm water and one drop of mild dish soap.
- Two soft lint-free cloths. A microfiber cloth works well; a clean cotton handkerchief is a fine second option.
- A soft brush such as a clean paintbrush or a soft-bristled toothbrush for the edge and any grime in the label ring.
- Cool running water for rinsing, plus a clean dish rack or a spot you can lay the disc flat and dust-free.
- A bright lamp or a window with daylight so you can see what you are doing.
- Optionally, a very thin layer of plain petroleum jelly for haze that resists a water clean, and a soft pencil eraser for a disc that has picked up scuffs from a dirty surface.
Skip all of these: window cleaner, glass cleaner, alcohol applied straight onto the disc, vinegar, ammonia-based sprays, and any household powder cleaner. Abrasive kitchen powders leave fresh haze and can turn a readable disc into an opaque one. Paper towels and facial tissue shed fibers that end up on the reflective side, and a wool or synthetic pad on a rotary buffer will score the surface in concentric rings that are harder to see than the original scratch and just as damaging.
One more thing to get right before you start: which side is the data. For CD, DVD, and Blu-ray the printed label side is the side the laser reads from, under a thin reflective layer. Scratches there matter more than identical marks on the shiny side, which is only a protective topcoat. A scratch across a blank label is a scratch through the data layer.
Step-by-Step
How to Clean a Scratched Disc by Inspecting the Damage
Hold the disc up to a lamp or a window with the printed side facing you and turn it slowly. Marks that catch the light in a straight line running to the rim are radial scratches, usually the worst kind because the laser tracks along a spiral and a straight gouge sits across its whole path.
What you are looking for:
- Hairlines and haze: barely visible, no playback change. Cleaning alone will handle these.
- Fingerprints and smudges: cloudy, wipe off with a damp cloth, no fix needed at all.
- Clear scratches across the print: readable with light through them, the classic repairable case.
- Dull whitish patches: the abrasive has been scuffed into the surface, common on discs handled with a dry sleeve. Toothpaste polishing removes these well.
- Black pinholes or a line you cannot see through: the reflective layer is gone in places. Polishing will not restore it, though it sometimes smooths the surrounding surface enough to reduce errors.
- Cracks radiating from the rim, or a disc that is visibly warped or cloudy all the way through: stop. That is delamination or disc rot.
Checking for pinholes is easy. In a dark room with the light behind the disc, you see faint pinpricks. Any disc with a physical crack should go straight to a data recovery attempt, not a polishing kit.
Cleaning the Disc Surface Gently
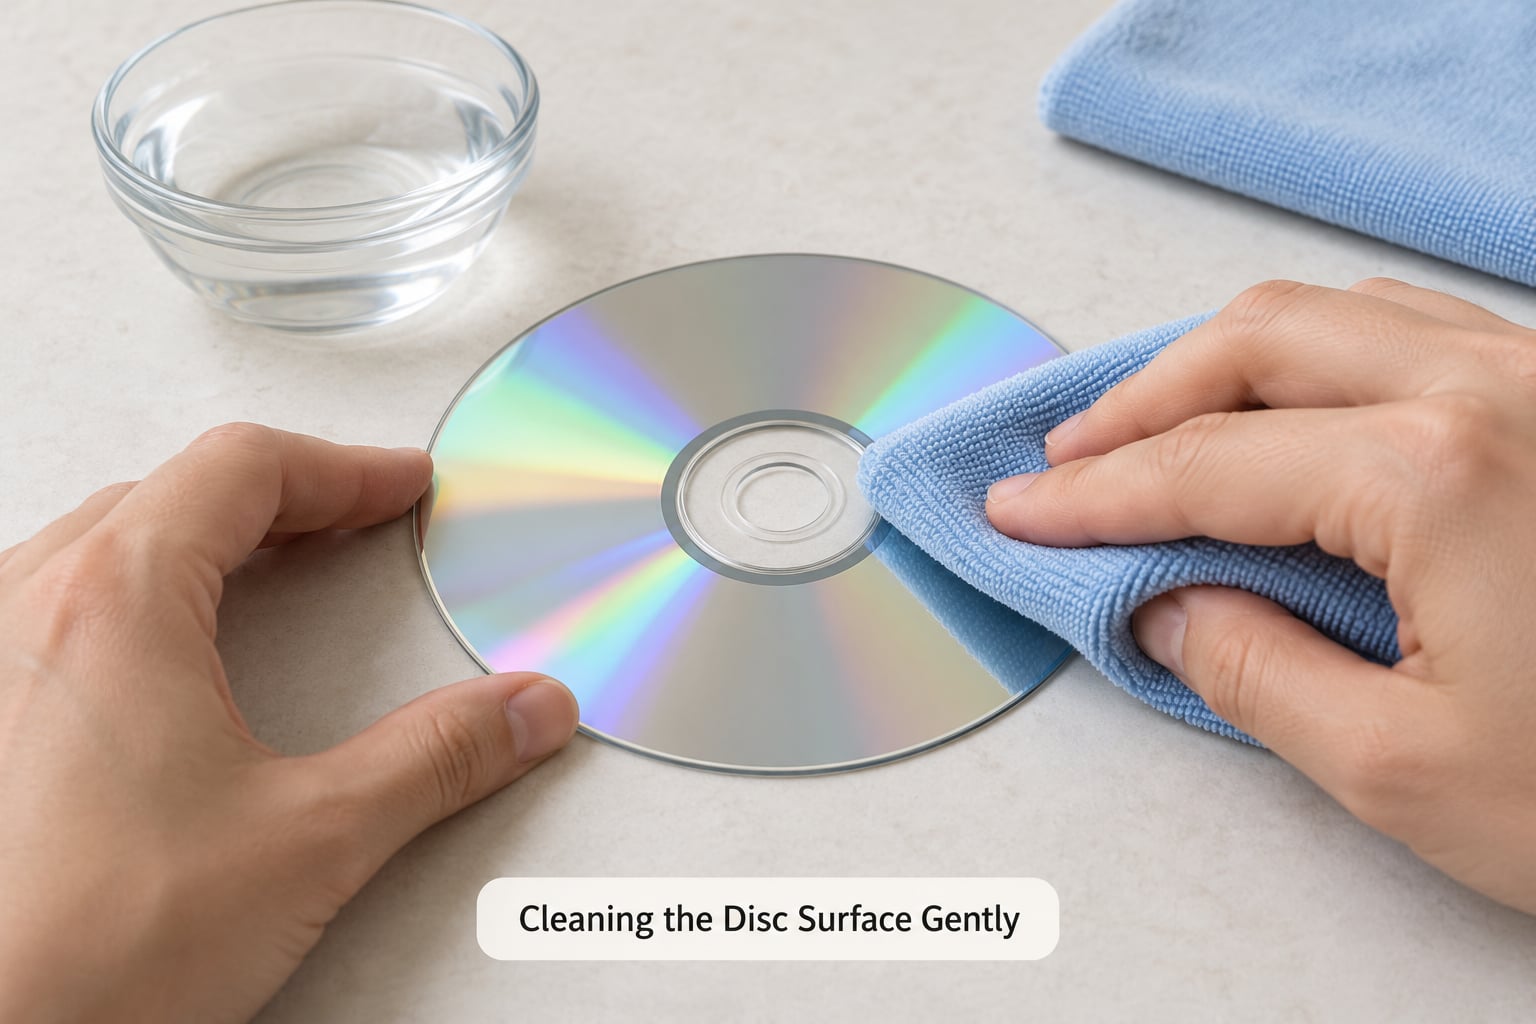
Cleaning always comes before polishing, and a surprising number of discs never need more than this.
- Lay the disc printed side up on a clean, soft towel. Working over a towel gives the disc a grip and stops it skidding when you press on the center.
- Put a drop of mild dish soap in your palm and mix it into lukewarm water until it is barely sudsy.
- Dip the microfiber cloth in the water and wring it out until it is damp, not wet. A dripping cloth puts water where you do not want it.
- Wipe from the center hole straight outward to the rim, following the direction of the disc’s rotation. One pass per stroke, lift, repeat. Cover the whole surface, then the outer data band, then the label ring.
- Repeat with the second dry cloth until nothing transfers to it.
Two things matter more than the soap. Wipe outward, because a circular motion grinds a ring of scratch around the whole disc and the laser has to cross it. And never touch the reflective side with your fingers, because the oils in skin print a fingerprint that scatters light exactly like a scratch does.
Test the disc now. Plenty of discs reported as damaged come back clean, because the fault was a single fingerprint near the outer edge, right where the drive calibrates. If it plays, you are done. If it still skips, move on.
Reducing Light Scratches Safely
Put a pea-sized blob of plain white toothpaste on the cloth, not on the disc, so you control the amount. Buff it in straight strokes from the center out to the edge, using light pressure, for two to five minutes. The paste has to stay damp the whole time, so re-wet the cloth when it starts drying out.
Then rinse under cool running water, working outward from the center, and dry by blotting rather than rubbing. Inspect under a lamp: the scratch lines will often still be visible, and that is fine. The disc can look scratched and play perfectly, because a smoothed groove scatters the same light as the original defect did but with a smoother, more consistent surface.
For haze that survives a polish, a thin film of petroleum jelly wiped on in the same radial strokes, then wiped back off with a dry cloth, often recovers a disc for a few more weeks. Treat that as a temporary fix. The wax fills a scratch optically; it does not remove anything, so the disc will fail again and you should back up anything on it that matters.
Now the warning. Consumer disc repair kits sold in discount stores and online vary enormously. Some contain only a better cloth and a bottle of cleaner, which is a harmless buy. Others ship a strong abrasive and a spinning buffing wheel, and those can remove the printed layer, thin the disc, or take a CD down to a warped shell. If a kit cannot tell you which side of the disc it expects you to work on, skip it. Professional resurfacing removes a measurable layer of material, so it is a last step for a disc that carries irreplaceable data, not a first move.
Drying and Testing the Disc
Let the disc air-dry standing on its edge in a clean, low-humidity spot rather than wiping it with a towel that can leave fibers. Ten minutes is usually enough. Check the surface under a light one more time and look at the label ring, where a missed smear of toothpaste will sit.
Then play it. Watch for the specific failure rather than the overall impression: does it freeze at the same scene, or does it still freeze at the same scene you remembered? Does the audio drop out, or only the picture? A disc that used to fail at chapter four and now reaches chapter five is improved, even if it is not perfect, and that is often as far as home treatment gets.
If it plays, copy the contents to a hard drive the same day. Scratched media is on a countdown, and a backup costs an evening while a dead disc costs the data.
Common Mistakes
Scrubbing in circles
This is the most common self-inflicted error, and it is why so much conflicting advice exists. Circles spread a scratch into a wide ring that crosses the entire data track, so you trade one defect for a long one. Straight strokes, always. The one time a disc buffing machine uses rotation is because its polishing pad is a full-surface rotating tool designed for it.
Using household cleaners and sprays
Spray glass cleaner on a disc and you are dissolving the polycarbonate surface. The chemistry changes, the plastic can go cloudy, and the disc stops being readable altogether. Damp cloth and dish soap only, and never spray anything directly onto the disc.
Touching the reflective surface
Handle discs by the rim, with both hands. Skin oils in a fingerprint scatter the laser light exactly like a scratch, and a print on the outer edge can stop a disc from loading when the surface is otherwise perfect.
Polishing a deep gouge
If the scratch goes through the foil layer, abrasive work cannot rebuild what is missing. You can spend an hour making it worse and thinning the disc in the process. Deep gouges, pinholes, and cracks are a data recovery or replacement problem.
Bending or heating the disc
Warmth from a hair dryer, a hot car, or a stack bent in a sleeve warps the polycarbonate permanently, and no amount of cleaning reverses it. A warp that starts as a small desync often ends as a disc the drive cannot spin at all. Store discs flat in jewel cases, never on edge in a leaning stack.
Frequently Asked Questions
Can toothpaste remove CD scratches?
Yes, for light surface scratches. Plain white paste contains mild abrasives that take the roughness off the polycarbonate so the laser tracks cleanly again. Buff in straight strokes from the center to the rim for two to five minutes, keep the paste damp, then rinse under cool water. Whitening, gel, and crystal formulas are too gritty or too abrasive and will haze the surface instead. Deep gouges and pinholes through the foil layer will not respond to any amount of polishing.
How do I fix a disc that won’t read?
Clean it first, always. A damp microfiber cloth and a drop of dish soap, wiped outward from the center, clears fingerprints and grime in about two minutes. If it still will not read, buff it with plain white toothpaste, rinse, and dry. If the disc still fails, hold it to a light and look for pinholes, cracks, or a cloudy interior. Pinholes and cracks mean the reflective or data layer is damaged and no home method will fix it. Rip the data from a salvaged disc, or replace it.
What should I do if my disc has scratches?
Identify the disc type and the depth of the damage before touching anything. Hairline marks and smudges need a damp cloth. Straight scratches that catch the light need a toothpaste polish. Pinholes, cracks, or a disc that is milky and cloudy on the inside are beyond home repair, and polishing a warped disc will thin it without restoring the data. Handle every disc by the rim, work on a soft towel so it does not skid, and test playback after each attempt rather than repeating the same method five times.
What is the best CD scratch remover?
For most scratches, plain white toothpaste and a lint-free cloth beat anything you can buy. It is gentle, widely available, and takes two to five minutes. A disc repair kit is only worth it if the disc is valuable and the scratches are stubborn; check that it does not include a powered abrasive wheel, which can strip printing and thin the disc. A dedicated disc cleaner liquid helps with grime, not scratches. For wedding videos, hard-to-find titles, or anything you cannot replace, professional resurfacing or a digitizing service is the safer call.
Can you repair a DVD after it gets scratched?
Usually, yes, if the damage is limited to the surface. DVDs, Blu-rays, and game discs use the same polycarbonate-and-foil structure as CDs, so the toothpaste-and-cloth method applies to all of them, though a polished disc can still look marked and play fine. DVDs record more data closer together than CDs, so they are a little less forgiving of a large gouge. What you cannot repair is a crack through the data layer or disc rot, where the layers separate inside the plastic and the disc turns cloudy from within.
Is it true that toothpaste can help get scratches off CDs?
It is true, with conditions. The paste does not remove the scratch, it flattens the abraded surface around it so the laser reads the data underneath as clearly as before. That is why a disc can still look scratched under a lamp and play without a single error. What is not true is the idea that a hard scrub with a gritty formula will fix a deep gouge, or that circular scrubbing helps. Plain white paste, straight outward strokes, and a rinse is the whole method; anything harsher risks hazing the surface you were trying to save.
What to Do First
Identify the format, then hold the disc to a lamp before you touch it. Fingerprints and haze get a damp cloth, straight scratches get a short white-toothpaste polish worked outward from the center, and anything cracked or cloudy from the inside gets replaced rather than buffed. Test playback before you try a second method, and copy the contents off the disc the day it starts playing again.