The fastest way to improve streaming video quality is to stop the app from guessing. Every streaming service runs adaptive bitrate streaming: it measures what your connection can sustain and quietly steps down from 4K to 1080p, 720p or lower the moment it thinks you cannot keep up. Two fixes cover most cases — get the playback device onto a steady connection, Ethernet if you can manage it, then open the app settings and set the quality to High instead of Auto.
Last updated: October 2026
Every trouble starts with one of four causes: not enough bandwidth, a weak or contended network, a setting that is capping quality on purpose, or a source that never had the detail in it. This guide walks through those in order, cheapest check first, so you can fix blurry streaming video without buying anything.
Table of Contents
- 1What You Need
- 2How to Improve Streaming Video Quality Step by Step
- 3Run a speed and buffering test first
- 4Set the streaming app to the highest available quality
- 5Check whether the source itself is high quality
- 6Restart the app, device, router and modem in the right order
- 7Improve streaming video quality by fixing Wi-Fi or going wired
- 8Update software and shut off background traffic
- 9Adjust TV picture settings without oversharpening
- 10Test another title, service or device
- 11Common Mistakes
- 12Quick tips for smoother streaming
- 13If you are broadcasting your own stream
- 14Frequently Asked Questions
- 15Why does my streaming video look blurry even when I select HD?
- 16How much internet speed do I need for reliable HD or 4K streaming?
- 17How can I improve streaming quality on a smart TV?
- 18Does upgrading my streaming subscription always improve video quality?
- 19How do I know whether buffering is caused by Wi-Fi or the streaming service?
- 20Conclusion
What You Need
You do not need tools for the first four checks. You need patience and somewhere to tell the causes apart, which means having these to hand:
- A working internet connection on the same network the device uses
- Access to the streaming service account, so you can open its playback or quality settings
- The device you actually watch on — smart TV, streaming stick, phone, tablet, game console or laptop
- Access to the original source of the video, which might be the camera it was shot on or the channel that uploaded it
- Optional but useful: access to your router, and a free speed test you can run
You do not need to know your exact bandwidth number before you start. The steps below produce it.
How to Improve Streaming Video Quality Step by Step
Run a speed and buffering test first
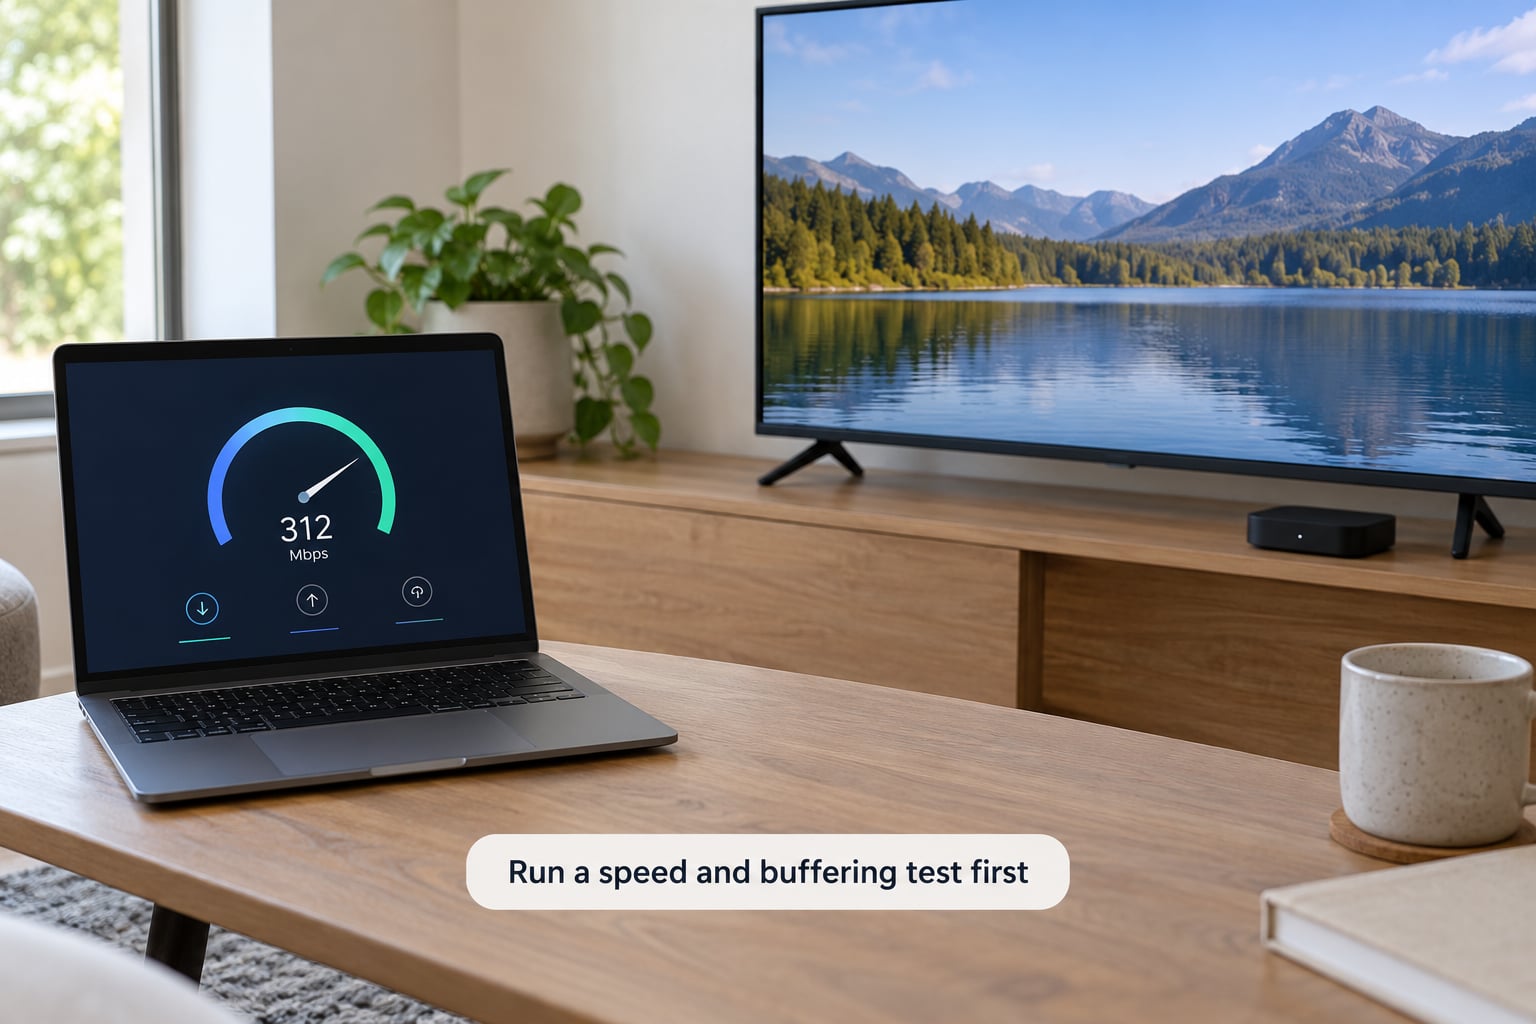
Before you change anything, pause downloads and uploads on the same network, then sit near the router or plug the device in directly. Run a speed test a few times at the hours you normally watch, because evening congestion is the usual culprit people miss at 11am.
Read four numbers, not one. Download speed decides how much video can arrive. Upload speed matters only if you are broadcasting. Latency is response time, and a figure under roughly 50 ms is healthy. Jitter measures how much that latency wanders, and high jitter causes stalls even when the speed number looks fine.
Here are the download speeds one steady stream wants, with the upload figure you would need if you also broadcast:
- SD (480p): about 3 Mbps down, about 2 Mbps up.
- HD (720p): about 5 Mbps down, about 3 Mbps up.
- Full HD (1080p): about 10 Mbps down, about 6 Mbps up.
- 4K UHD: about 25 Mbps down, about 12 Mbps up.
These are floors for steady playback, not targets. Every stream on the network divides the same pipe, so two 4K streams need roughly double. If you want to improve streaming video quality without pauses, aim for steady speed well above these figures rather than one impressive headline number. A momentary spike of 300 Mbps that collapses to 40 every twenty seconds will still buffer at 4K.
Set the streaming app to the highest available quality
This is the step almost nobody does, and it is the answer to most searches for why my video streaming quality is so bad. Apps default to Auto or Data Saver, which is designed to be gentle on mobile data. Menu names shift between app versions, and some options only appear while a title is playing, so follow the shape of the menu rather than the exact wording.
- Netflix: profile icon > Manage Profiles and Parental Controls > Playback Settings > Quality > High. On a TV browser this is not available, so use the native app.
- YouTube: while the video plays, tap the gear icon > Quality > 1080p, 1440p or 4K. Turn Data Saver off in the app menu on mobile.
- Prime Video: gear icon during playback > Quality > High, or Settings > Streaming & downloads > Video quality.
- Disney+: profile icon > Settings > Playback > Streaming quality > High.
- Apple TV app: Settings > Playback > Video Quality.
Set it to High, then play the same title for two or three minutes. If the quality indicator shows 4K or the highest tier and the picture holds, that setting was the problem. One detail worth knowing: apps often fall back to Auto or a lower tier after you navigate away and come back, so check the quality indicator again rather than trusting the setting you set once.
Check whether the source itself is high quality
A 1080p file played on a 4K screen still looks softer than native 4K, and no setting in the app will add detail that was never captured. Original resolution, the camera or phone that shot the footage, the quality of the upload and the service’s own encoding ceiling all set the ceiling before your TV is involved.
How to tell the difference: a network or app problem looks unstable, with the picture dropping tiers mid-scene or showing blocky macroblocking that comes and goes. A weak source looks consistently soft from the first second, with fine detail like grass, hair or fabric texture missing everywhere. If the same account looks sharp on a phone and soft on the TV, the source is not your problem.
Restart the app, device, router and modem in the right order
A restart clears the buffer, closes stuck sockets and reloads the decoder. Order matters because the playback device has to reconnect after the network is ready.
- Close the streaming app completely, not just the playback screen.
- Turn the TV or display off and unplug it, plus the streaming stick, box or console.
- Unplug the router, then the modem if you have one, and wait 30 seconds.
- Power the modem first and wait for its sync lights to settle, then the router.
- Power the streaming device, then the TV, and open the app again.
Clearing the app cache is the next rung and it is worth doing: a corrupted cache is a real cause of repeat buffering, not a placebo, though it fixes symptom-level stalls more often than it fixes blurry picture. On Android, Settings > Apps > the streaming app > Storage > Clear cache. Clearing data logs you out, so expect to sign in again.
Improve streaming video quality by fixing Wi-Fi or going wired
Wi-Fi speed and Wi-Fi strength are different problems. A gigabit connection in a far room can still struggle at 4K, and no plan upgrade fixes weak signal. Move the playback device nearer the router, or better, run an Ethernet cable to it if the wall allows.
On Wi-Fi, pick the 5 GHz or 6 GHz band where your router offers both, since 2.4 GHz has more range but far more congestion and neighbours. Wi-Fi 6 and Wi-Fi 7 routers handle multiple devices better than older dual-band models, and a mesh unit in a large house fixes dead zones that repeaters often do not. Cut down on obstructions too: walls, mirrors and closed doors between router and TV cost more signal than people expect.
Update software and shut off background traffic
Outdated apps carry old decoders and old adaptive bitrate logic. Update the streaming app, the TV or stick firmware and the streaming device’s operating system, since some fixes only land in the system update rather than the app itself.
Then cut the competition. Console game downloads, cloud photo backups, video calls on another screen and several browser tabs streaming audio all share the same connection. On a laptop, browser extensions, VPNs and ad blockers can slow or block playback outright, and Chrome is often the weakest path of all: it decodes video in software instead of hardware. If the same account looks sharp on a phone or a stick and soft in a laptop browser, the browser is the bottleneck.
Casting is the same problem in a different shape. When you cast from a phone, the picture is re-encoded and sent over the network before the TV displays it, so it arrives softer than the same title played by a native app on the TV itself. When quality matters, open the native app.
Adjust TV picture settings without oversharpening
Only touch these after the app side is fixed, because picture controls cannot restore detail that was never in the stream. Start with the service’s Auto or maximum quality option and leave it there.
- Switch the picture mode to Cinema, Custom or Movie rather than the vivid retail default, which over-saturates and adds edge enhancement.
- Turn motion smoothing off if films look like soap opera; the frame interpolation it adds is the most common cause of a stream looking processed.
- Check overscan if the edges of the frame are cut off, since a mismatched aspect setting crops and scales the image.
- Leave sharpness at or near the default, or raise it one or two steps at most.
Cranking sharpness creates halos around edges and makes noise obvious. It looks like more detail while being less of it. Many modern TVs and projectors also have AI upscaling or super resolution, which genuinely helps a soft 720p source on a large screen. Nothing recovers detail from a badly encoded stream, so treat upscaling as a help, not a fix.
Test another title, service or device
One short isolation test tells you who is at fault. Play something on the same Wi-Fi that you know is stored on the device, such as a downloaded film or a local video file. A file that plays perfectly proves the display, the cable and the decoder are fine, which points the finger at the network or the service.
Then try one title on a phone on the same Wi-Fi. Sharp on the phone and soft on the TV means the TV, its settings or the app on that TV is the limit. Soft on both means the network or the source. A second service that plays cleanly means nothing is wrong with your setup and the first service is throttling or encoding the title poorly.
Contact your provider when measured speeds sit far below the plan you pay for during off-peak hours, when a wired connection with downloads paused still stalls, or when the lines drop on a schedule. Restarting your own gear first means the call is useful when it happens.
Common Mistakes
These come up over and over, and each one sends people down the wrong path.
- Changing TV picture controls first. Sharpness and contrast sliders make a soft stream look different without improving it. Fix network and app settings first.
- Assuming more pixels always look better. A stable 1080p stream looks far better than a 4K stream that drops to 720p every minute.
- Leaving the app on Auto. Auto is a safety net, not a quality setting. Lock it to High once you have a network that can hold it.
- Testing Wi-Fi from one room. A speed test on a phone in the kitchen says nothing about the TV in the living room.
- Leaving downloads running. A game console quietly pulling hundreds of megabytes will undo everything else.
- Blaming the service before checking the source. If the title was published at 480p, no amount of bandwidth changes it.
- Casting to the TV instead of using its app. Casting re-compresses the video and softens the picture.
- Buying a faster plan before measuring. Speed tests take a minute and tell you whether more speed would help at all.
Quick tips for smoother streaming
- Ask for 4K only when the source, the service tier, the device and the network can all sustain it. Any one of the four limits the result.
- Pick a Wi-Fi band and stay on it. Networks that band-steer between 2.4 GHz and 5 GHz cause exactly the moment-to-moment drops people blame on the provider.
- Restart the component that misbehaves before changing anything you pay for. A restarting stick fixes a surprising share of quality complaints.
- Use Ethernet for the device in the room where you watch most.
- Leave some headroom. Steady speed well above what the stream needs is what prevents rebuffering.
If you are broadcasting your own stream
If your question is about OBS rather than playback, the logic reverses: your upload speed sets the ceiling and everything else has to fit under it. Set the bitrate first and drop the preset until the encoder can hold it, instead of forcing a bitrate the upload cannot sustain, which is the single most common cause of viewer-side buffering.
- 720p: roughly 2,500 to 4,000 kbps, with about 3 Mbps of upload.
- 1080p: roughly 4,500 to 6,000 kbps, with about 6 Mbps of upload.
- Use a hardware encoder such as NVENC for H.264 or H.265 rather than software x264, which frees CPU for the frame itself.
- Use standard resolutions. 1280×720 and 1920×1080 are supported as intended, while a custom size such as 1366×768 gets downscaled by the platform and looks worse than 1080p.
- Check dropped frames before you go live, not after.
Frequently Asked Questions
Why does my streaming video look blurry even when I select HD?
High only caps the ceiling. Three things usually pull the picture below it: the app sitting on Auto or Data Saver, a network that cannot hold the requested bitrate so adaptive streaming steps down, and a source that was published at a lower resolution. Set quality to High, run a speed test during your normal viewing hours, and compare the same title on a phone to see whether the source itself is soft.
How much internet speed do I need for reliable HD or 4K streaming?
Roughly 5 Mbps for 720p, 10 Mbps for 1080p and 25 Mbps for 4K UHD, per simultaneous stream. Add about 12 Mbps upload if you are broadcasting at the same time. Treat these as floors for steady playback rather than targets: two 4K streams need around double, and speed that spikes and collapses will buffer even when the headline number looks impressive.
How can I improve streaming quality on a smart TV?
Work down the chain in order. Use the TV native app rather than the built-in browser or casting, set playback quality to High inside that app, connect by Ethernet or a strong 5 GHz or 6 GHz signal, then update the TV firmware. If the picture is still soft, check that the TV is not overscanning and that motion smoothing is off, because those two settings are the usual reasons a clean stream looks processed.
Does upgrading my streaming subscription always improve video quality?
Not always. A higher tier usually unlocks a higher maximum resolution and removes the caps that ad-supported tiers apply, but it cannot add detail that the source never contained or rescue a device that cannot decode what you are asking for. Check your plan unlocks 4K, confirm your device supports it, and rule out a weak connection before paying for an upgrade that changes nothing on your screen.
How do I know whether buffering is caused by Wi-Fi or the streaming service?
Compare the same title on two networks. If it plays cleanly on mobile data but stalls on Wi-Fi, the network is the problem. If it stalls on both, the service or the title is. Then play a downloaded file stored on the device: smooth playback there proves the display and decoder are fine. Two different services behaving differently on the same network points clearly at one provider rather than your setup.
Conclusion
Start with a speed test during the hours you actually watch, set playback quality to High inside the app, then restart the playback chain in order: app, device, router, modem. That is how most people improve streaming video quality for good.
After that, work outward: network quality, then the source, then TV picture settings, then another title or device to isolate the cause. Call your provider only when a wired connection with downloads paused still falls short of your plan.