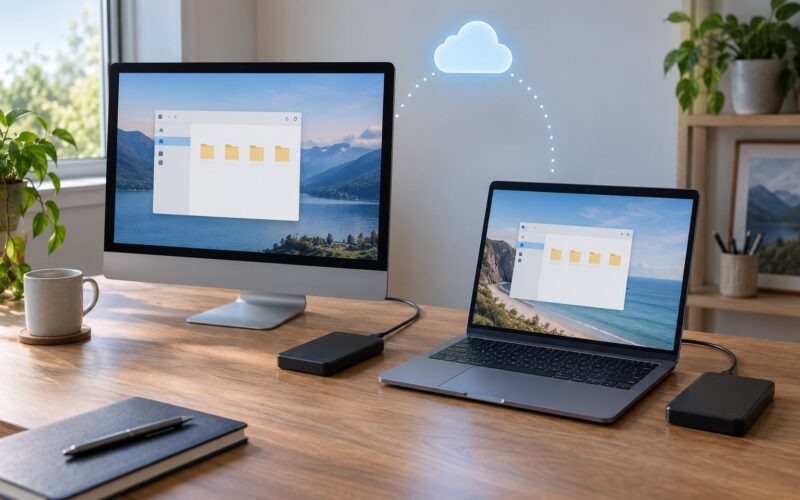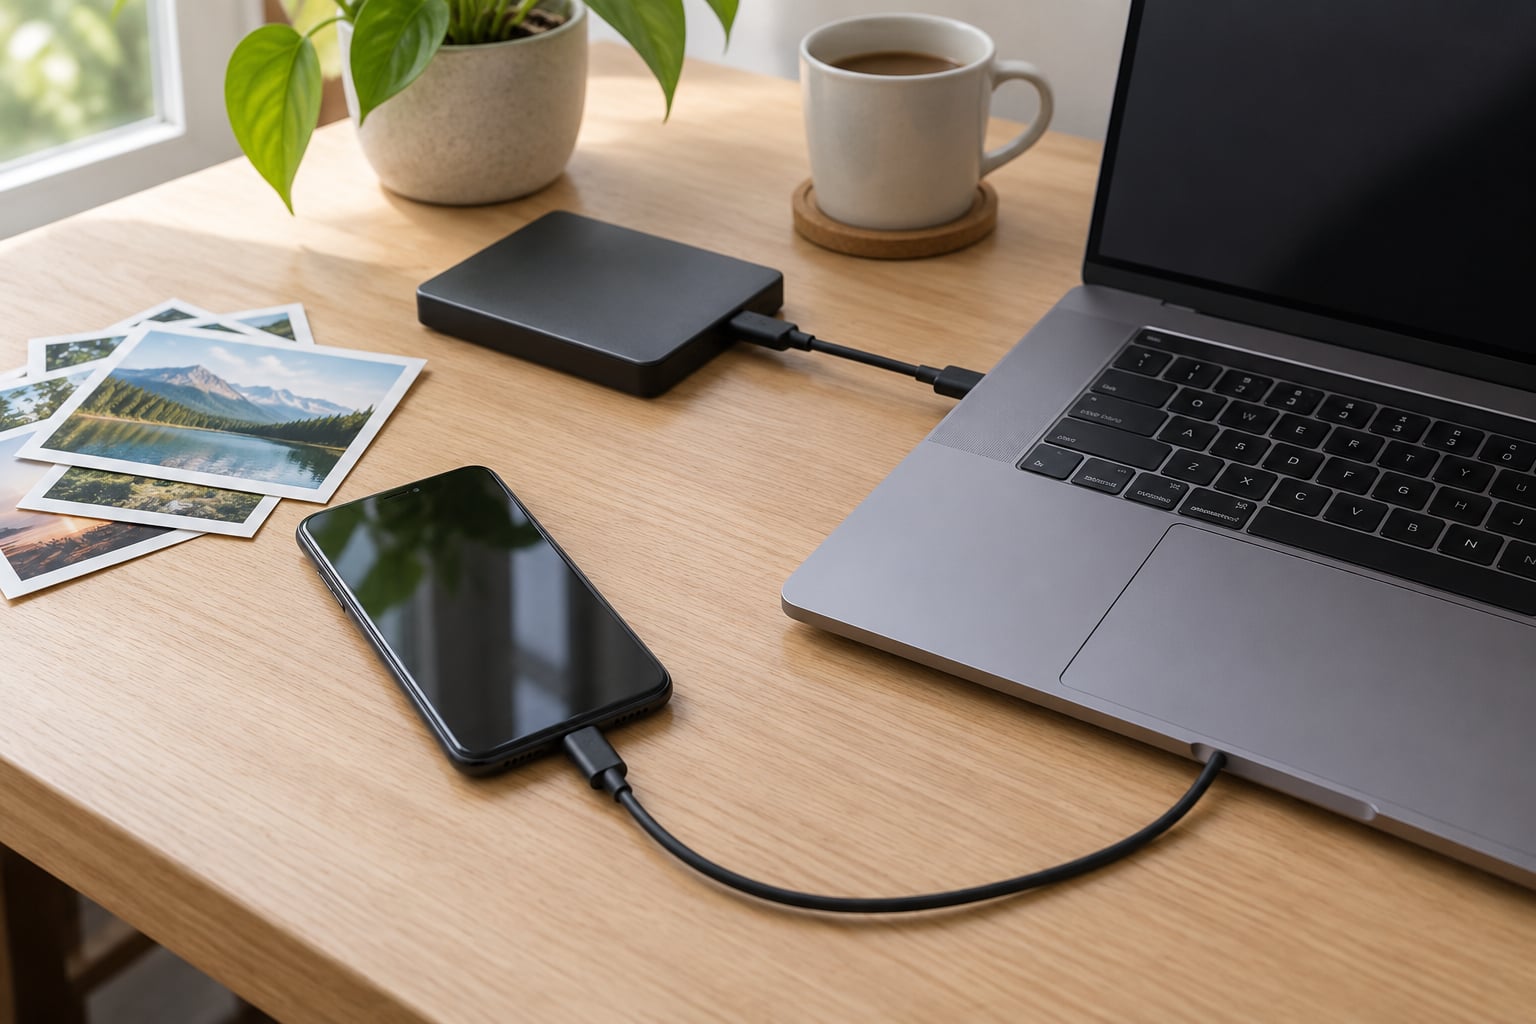
To transfer photos from phone to computer, connect the two with a USB data cable, unlock the phone, and switch its USB mode to File Transfer (MTP). On Windows the phone then appears as a drive in File Explorer; on Mac, iPhone photos arrive through Image Capture or Finder. Cloud options like iCloud Photos and Google Photos work too, just slower.
That takes about five minutes once you know which cable you have. Most of the frustration people hit comes down to two things: a cable that only charges, and deleting photos off the phone before checking the copy actually landed.
I have moved camera rolls between phones more times than I would like to admit, and the routine has not really changed. Plug in, pick the folder, copy, verify the count. Everything below is the same flow written out for each combination of phone and computer, plus what to do when the computer refuses to see the phone at all.
Last updated for October 2026.
Table of Contents
- 1What You Need to Transfer Photos from Phone to Computer
- 2Which transfer method should you use?
- 3Which app to use, by phone and computer
- 4Step-by-Step
- 5How to Transfer Photos from Phone to Computer with a USB Cable
- 6iPhone to Windows PC
- 7iPhone to Mac
- 8Android to Windows PC
- 9Android to Mac
- 10Samsung Galaxy: one extra step
- 11Straight to a USB flash drive
- 12Transfer Photos Without a USB Cable
- 13Use iCloud or Google Photos to Sync the Whole Library
- 14iCloud Photos on a Mac
- 15iCloud Photos on Windows
- 16Google Photos
- 17Transfer a Small Number of Photos by Email or Messaging
- 18Organize and Verify the Photos
- 19Common Mistakes and the Fix for Each
- 20Tips for Faster, Safer Photo Transfers
- 21Frequently Asked Questions
- 22How do I transfer photos from an iPhone to a Windows PC?
- 23Where are Android photos stored on a computer?
- 24How do I transfer photos from an Android phone to a Mac?
- 25Does transferring photos to a computer reduce their quality?
- 26Can I delete photos from my phone after transferring them to a computer?
- 27Conclusion
What You Need to Transfer Photos from Phone to Computer
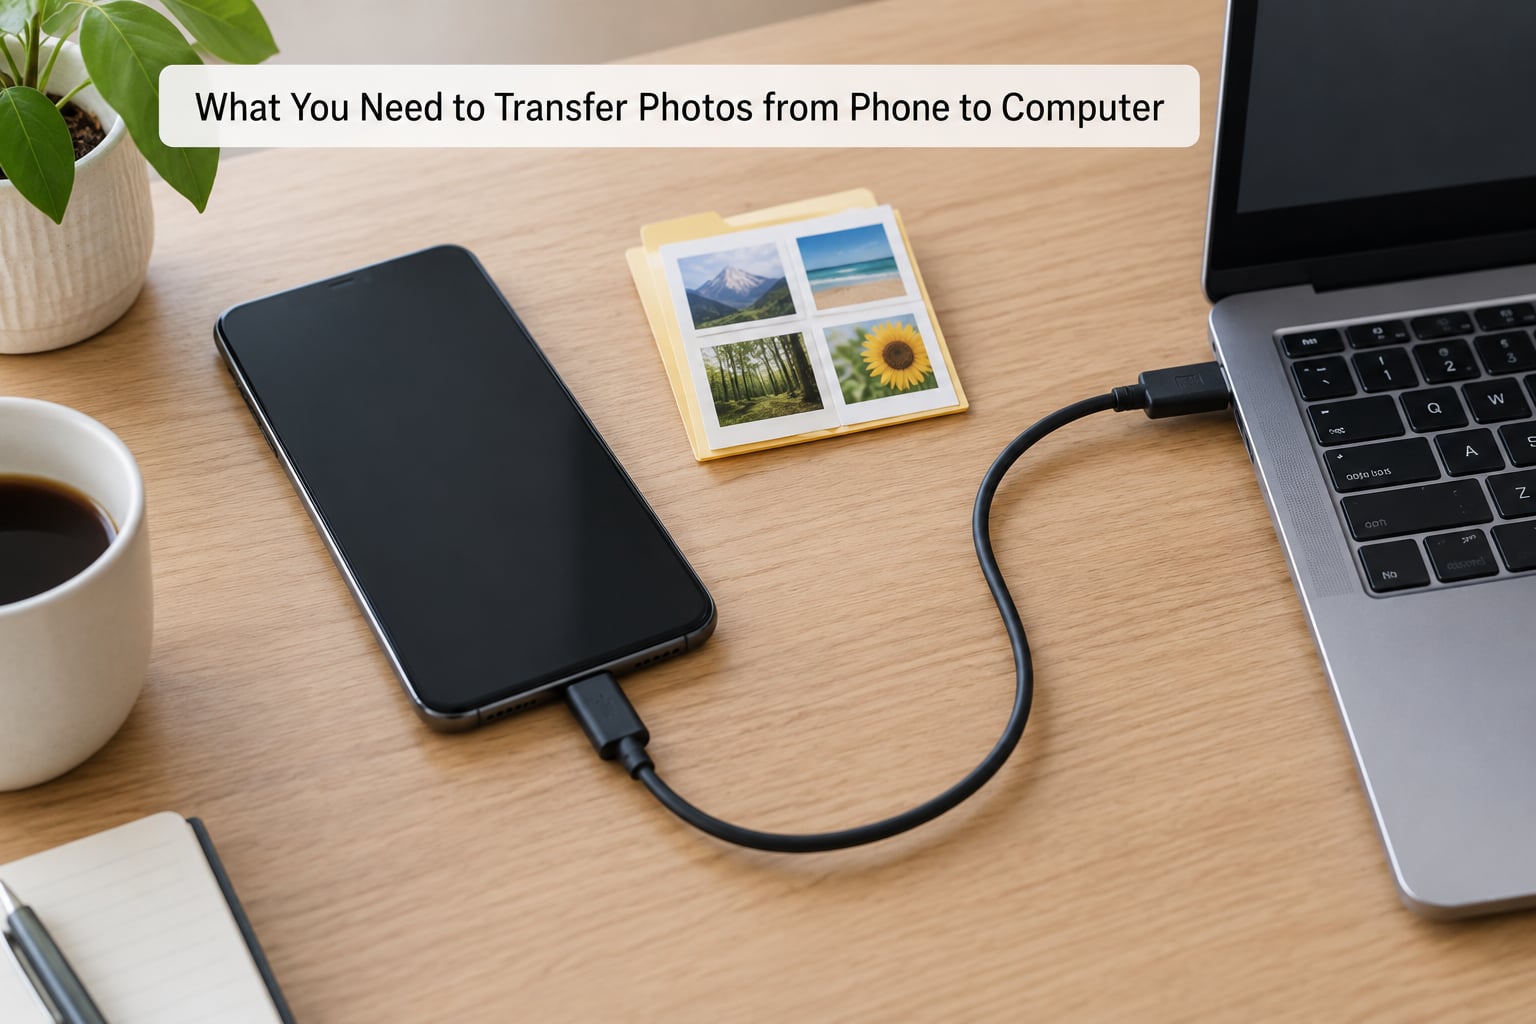
Four things, and only one of them trips people up.
- A USB data cable. Not the one in the box on some budget phones, and never the little charging-only cable that came with a speaker or a power bank. A data cable has the USB trident symbol on it; a charge-only cable does not. This single check resolves most failed transfers.
- A free USB port on the computer. On a desktop, the ports at the back often run faster than the ones on the front panel.
- Enough free space on the computer. A rough rule: 10,000 photos taken on a modern phone can run anywhere from 15 GB to 80 GB depending on whether video is included. Check before you start, not halfway through.
- Your passcode. iPhones refuse to expose photos to a computer until they have been unlocked at least once since the last connection. Keep the phone awake for the whole transfer too.
That is it for the cable route. Wireless and cloud methods add one requirement: an Apple or Google account with enough iCloud or Google Photos storage to hold the library.
Which transfer method should you use?
| Situation | Best method | Speed | Needs internet |
|---|---|---|---|
| Whole camera roll, offline, one time | USB data cable | Fastest | No |
| Backup you never have to think about | iCloud Photos or Google Photos automatic backup | Slow but continuous | Yes |
| iPhone to Mac, already on the same Apple account | AirDrop or iCloud Photos | Very fast over Wi-Fi and Bluetooth | Only for iCloud |
| Android to Windows | File Explorer, then Internal Storage > DCIM > Camera | Fast | No |
| A handful of photos, right now | Email or a messaging app | Instant | Yes |
| No cable nearby | Nearby Share, Bluetooth file transfer, or LocalSend | Moderate | No for LocalSend |
Which app to use, by phone and computer
| Phone | Windows | Mac |
|---|---|---|
| iPhone | Apple Devices app (replaced iTunes), or File Explorer as a read-only drive | Image Capture, or drag straight from Finder |
| Android | Photos app import, or File Explorer to DCIM > Camera | Android File Transfer, or Google Photos |
| Samsung Galaxy | File Explorer, plus the Smart Switch prompt in the notification shade | Android File Transfer |
One quick note before you scroll: iTunes is gone from Windows. It was replaced by the Apple Devices app, and any guide telling you to install iTunes in 2026 is three years out of date.
Step-by-Step
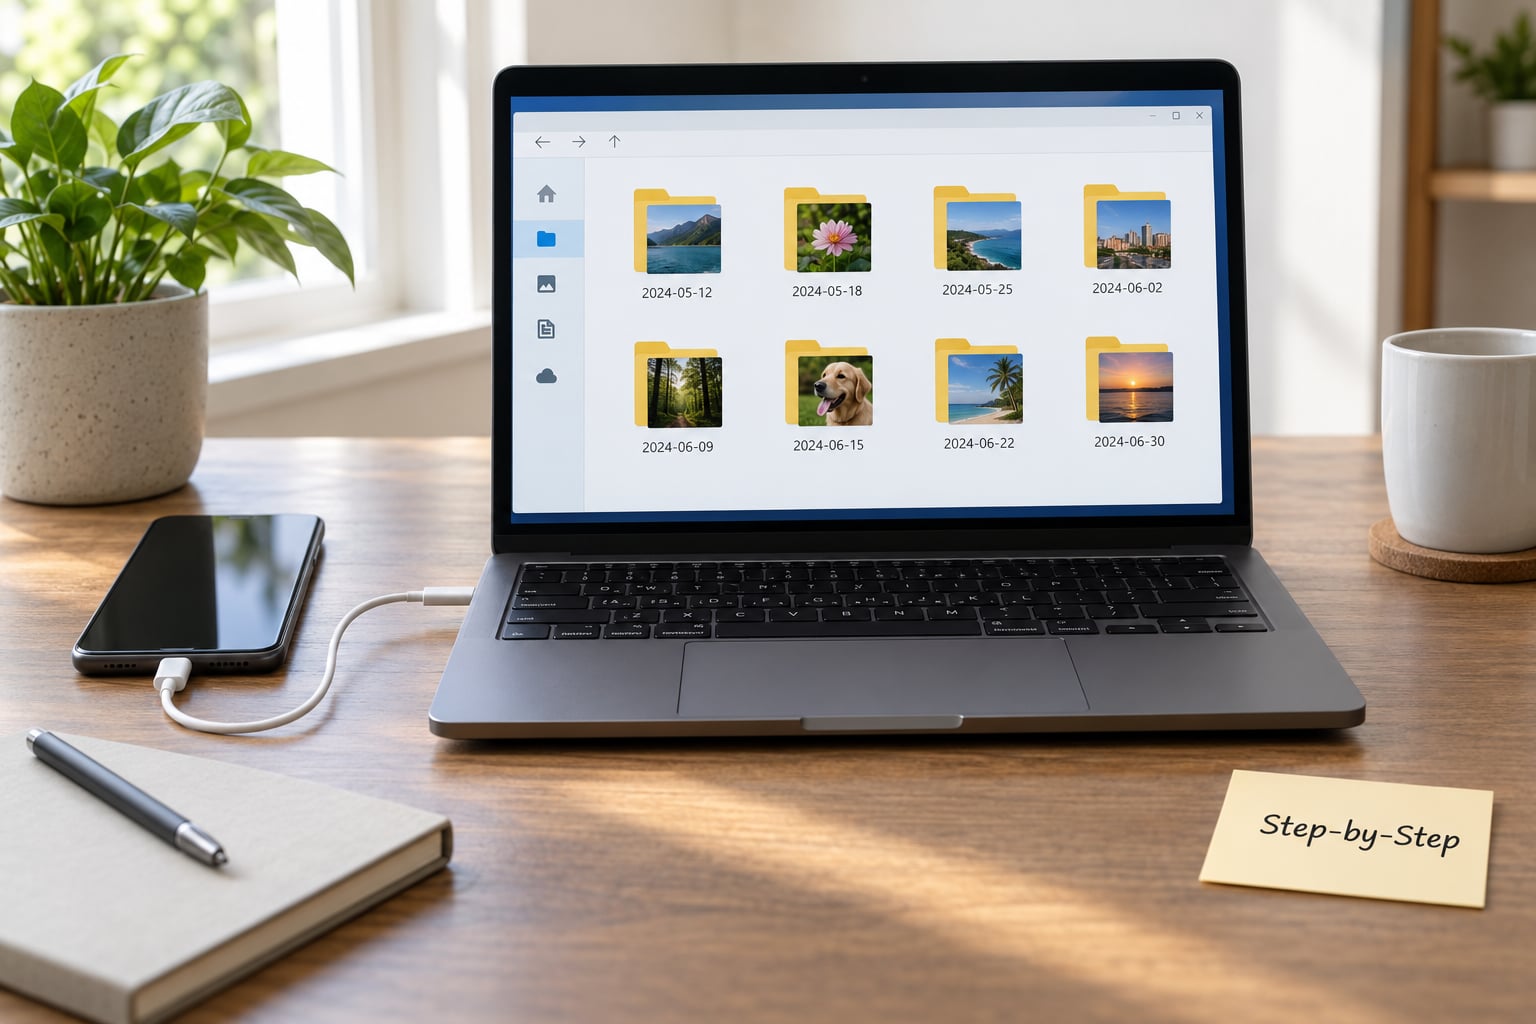
There are four routes to a photo library on your computer: a cable, a direct wireless connection, cloud sync, and messaging. The cable wins on speed and reliability, so start there.
How to Transfer Photos from Phone to Computer with a USB Cable
iPhone to Windows PC
- Unlock the iPhone, then plug it into the PC with a data cable.
- On the phone, tap Allow when the “Trust This Computer” prompt appears. Tap Trust if it asks for a passcode. Nothing shows until you do this.
- On the PC, open the Apple Devices app from the Start menu.
- Select your iPhone in the sidebar. The device entry shows “Photos and Videos” next to a Sync or Transfer button.
- Choose the destination folder and tick All Photos, or select specific albums.
- Click Sync and leave both devices alone until the progress bar finishes.
If the Apple Devices app is not installed, or you would rather not install anything, File Explorer still works. Open This PC, click the iPhone drive, and browse Internal Storage > DCIM > 100APPLE. You can copy files out, but not back in, so this is a one-way door.
iPhone to Mac
The easy path is Finder. Connect the cable, unlock the phone, click Allow, then open Finder and pick your iPhone from the sidebar. Under Photos, drag the thumbnails you want to a folder on the Desktop. Drag all of them at once for the whole library.
For more control, open Image Capture from Applications > Utilities. Pick your iPhone from the dropdown, choose a destination folder, tick Create albums for each event if you want the dates preserved as separate folders, then click Import All.
Android to Windows PC
- Unlock the Android phone and connect it with a data cable.
- Swipe down from the top to open the notification shade. Tap the charging notification and set USB preferences to File Transfer (MTP). If it is stuck on Charging Only, the computer will see nothing to copy.
- Open File Explorer from the taskbar, or press Windows key + E.
- Click This PC, open the phone drive, then Internal Storage > DCIM > Camera.
- Select the files you want with Ctrl + A, copy them with Ctrl + C, then paste into a folder on your computer.
The Photos app on Windows 11 does the same job in fewer clicks: open Photos, click Import in the top right, choose From connected device, pick the phone, select the photos, and hit Import. It drops them into PicturesImported Date, which is handy when you are importing in batches.
Videos live alongside the photos in the same DCIM > Camera folder. Screenshots and saved images go to Pictures and Download instead, so check there too if something seems missing.
Android to Mac
macOS does not read MTP drives natively. Install Android File Transfer from the Mac App Store, open it, connect the phone, unlock it, and pick Open. The app behaves like a window with a drag-and-drop target.
If the Mac App Store version does not work, use Google Photos instead, or copy to a USB flash drive first and then move the files from the drive on the Mac.
Samsung Galaxy: one extra step
Samsung phones put a different notification in the shade. Look for Connected to a PC or a Smart Switch prompt rather than a plain USB toggle, and choose Transfer files (MTP) inside it. Samsung also pushes a Smart Switch desktop app for full phone-to-PC backups, which is worth using if you want messages and apps too. It is not needed for photos.
On a Galaxy connected to a desktop, Android DeX can turn the phone into a small desktop and give you drag-and-drop file management, but that is a detour for a simple photo copy.
Straight to a USB flash drive
Yes, you can skip the computer. On Android, plug a flash drive into a USB-C OTG adapter, then open the Files app, tap Internal Storage and pick the drive name. Copy DCIM > Camera onto it.
iPhone does not work this way for the camera roll. The closest equivalent is the Files app saving individual items, which is a slow, partial workaround rather than a real bulk transfer.
Transfer Photos Without a USB Cable
Wireless is the right answer when the cable is across the room, or when you want the backup to keep running after today.
AirDrop (iPhone to Mac) is the fastest wireless route there is. Open the share sheet on a photo, tap AirDrop, choose your Mac, and it lands in Downloads in seconds. It works reliably between Apple devices; older Intel Macs sometimes refuse AirDrop, and on those you are better off with iCloud Photos or a cable.
Nearby Share (Android to Windows) is Android’s answer to AirDrop and now works with Windows natively. Open the share sheet on the photo, tap Nearby Share, and pick your PC from the list. Both devices need to be on the same Wi-Fi.
Bluetooth file transfer works in a pinch for a few photos, and it is slow enough that I would not use it for a full library. Pair your phone to the computer first, then send the image from the share sheet or the Bluetooth app on Windows.
LocalSend is a free file transfer app for Windows, macOS, Linux and both phone platforms. It works over your local Wi-Fi with no account and no upload to anyone’s server, which makes it the nicest option when the computer cannot install anything. Both devices run the app, they find each other on the network, and you drag the DCIM folder across.
Use iCloud or Google Photos to Sync the Whole Library
Cloud is the only option here that keeps working after you close the lid. It is also the slowest and it needs storage space on the cloud side, which is why most people use it alongside a one-time cable backup rather than instead of it.
iCloud Photos on a Mac
- Open System Settings > Apple Account > iCloud > Photos and switch on Sync this iPhone.
- On the Mac, open System Settings > Apple Account > iCloud > Photos and turn on Sync this Mac.
- Wait for the download. On a fast connection you can set Optimize Mac Storage so full-resolution files stay on the phone and only smaller previews sit on the Mac.
- For originals, open Photos, select what you want, and use File > Export > Export Unmodified Original.
iCloud Photos on Windows
Install the iCloud app from the Microsoft Store, sign in with your Apple Account, and turn on Photos. The library syncs into a folder under My iCloud Drive Photo Library.
Google Photos
On the phone, open Google Photos > Profile icon > Backup and turn on Backup. On the computer, go to photos.google.com or install Google Photos for desktop and sign in with the same account.
If you want full-resolution files rather than the web-sized previews, use Google Drive for desktop instead, or export a batch with Download originals in the web app. Google Photos normally limits non-Google accounts to compressed 16-megapixel uploads, which does compress a 48-megapixel original.
OneDrive does the same job if you already pay for Microsoft 365: point your phone’s camera or Photos app at OneDrive as the save location, and everything syncs to the Windows machine automatically. This is the route people on locked-down work phones are usually told to use, and it is the one that works when USB access is blocked by policy.
Duplicate warning: syncing to iCloud or Google Photos and then importing the same photos through a cable puts two copies on your computer. Pick one method for a given batch, or your folder count check will never match your phone count.
Transfer a Small Number of Photos by Email or Messaging
For three or four pictures, this is by far the quickest. Open the photo, tap Share, choose Mail or your messaging app, and send.
There is a size limit worth knowing: most mail services cap attachments around 20 MB to 25 MB, and messaging apps compress aggressively beyond about 1,000 pixels. A photo sent this way is usually a smaller, recompressed copy.
If you need the original file, use Share > Options > All Files on iOS, or attach the file rather than pasting the image, and check the received file’s dimensions against the original.
Organize and Verify the Photos
This is the step people skip, then regret. Ten minutes here saves a lost camera roll.
Compare the counts. On an iPhone, open Photos, tap Select in the top right, tap Select All, and read the count. Compare that number to the number of files on your computer. If they differ, find out why before touching the phone.
Spot-check three full-size photos. Open one on the phone, note the resolution, then open the copy on your computer and check the same. A USB copy of a photo taken in ProRAW format is a large file; if yours arrived as a small JPG, something got in the way.
Dates and folders. When you drag from Finder or use Image Capture with Create albums for each event, photos land in date-named folders. The File Explorer copy route keeps the phone’s DCIM structure, and Windows Explorer reads the capture date, so files sort by day automatically.
Location data. Copying files directly preserves the geotag, because it lives in the file’s EXIF metadata. Converting through iCloud, Google Photos or a messaging app can strip it, and moving photos from an iPhone to an Android phone is the usual moment people notice they have lost their map pins. If geotags matter, transfer with a cable or export unmodified originals from the Photos app.
Eject properly. In Windows, look for the device in the notification area, right-click, choose Eject. On Mac, click the eject icon next to the drive name in Finder. Pulling the cable while it is still writing is how you get half-copied photo files.
Common Mistakes and the Fix for Each
Why can’t you transfer photos from your phone to your computer? In order of how often it turns out to be the cause:
Fix 1: Swap the cable. Charge-only cables are everywhere and most people cannot tell them apart. Try a cable you know charges your laptop, or a cable with the USB data symbol on it.
Fix 2: Try another USB port. Front-panel ports on desktops and unpowered hubs are often the slow or dead ones. Use a port directly on the motherboard, and on a laptop avoid the port on the far side if you have a choice.
Fix 3: Set the right USB mode and stay unlocked. On Android, swipe down, tap the USB notification and choose File Transfer (MTP), not Charging Only. On iPhone, tap Allow on the trust prompt, and do not lock the screen mid-transfer.
Fix 4: Restart both and replug. Genuinely fixes more cases than people expect. Quit File Explorer or Finder, restart the phone, restart the computer, reconnect.
Fix 5: Update the software that handles the phone. On Windows with an iPhone, install the Apple Devices app from the Microsoft Store. On Mac with an Android phone, make sure Android File Transfer is updated. For Android on Windows, a stale USB driver from a previous phone can block the connection; Device Manager usually offers an update right there.
Fix 6: Close the Windows preview pane. The preview pane in File Explorer talks to the phone constantly and is a known cause of MTP transfers failing midway. Turn it off in the View menu and try again.
Fix 7: Check free space on both devices. A half-finished transfer usually means the computer’s drive filled up. Move the partial folder somewhere else and restart.
Fix 8: Update the operating system. A phone and a computer that have drifted apart by a year or more often refuse to negotiate a connection at all.
The one confusing case: your phone charges from the computer, so the connection is clearly live, but the computer shows no drive. That is almost always the USB mode, not a hardware fault. If File Explorer shows the phone but throws errors when you copy, that is Fix 5 or Fix 6.
Two more situations that come up a lot. A managed work phone or a locked work PC often blocks USB storage entirely, and no amount of troubleshooting will change that; cloud sync through OneDrive or Google Photos is the intended route. And pulling photos off a cracked, water-damaged or non-booting phone is a recovery job rather than a transfer job: if the screen is unusable but the USB port works, a MTP computer can still read the storage, and if the port does not, you are looking at data recovery.
Tips for Faster, Safer Photo Transfers
Back up twice before you delete once. Your phone, your computer, and one more place. A copy on the same laptop you use every day is not a backup if the laptop dies.
Move the original, not a screenshot. A screenshot is a compressed screen grab. If you took a photo with the camera, transfer the file the camera made.
Use your fastest port. USB 3.0 and newer move data several times faster than USB 2.0, and the difference is obvious on a 20,000-photo library.
Select what you need. Importing an entire DCIM folder with years of videos is slower than picking this year’s photos. The Photos app on Windows can select by date range.
Never clear the phone before you have counted the files. This is the rule. Check the count on both devices, open a few full-size photos, confirm the backup exists somewhere safe, and only then free up storage. On iPhone, deleted photos go to Recently Deleted for 30 days before they are truly gone.
Set up automatic backup so you stop doing this by hand. One-time manual transfers are the reason people have no backup at all. Turn on automatic backup in Google Photos or iCloud, or sync your camera folder to OneDrive, and let it run in the background.
Frequently Asked Questions
How do I transfer photos from an iPhone to a Windows PC?
Connect the iPhone with a USB data cable, unlock it, and tap Allow when the trust prompt appears. Open the Apple Devices app from the Start menu, select your iPhone in the sidebar, and click Transfer. Choose a destination folder and start the sync. iTunes is no longer the tool for this on Windows. You can also copy files manually through File Explorer at Internal Storage and DCIM and 100APPLE, though that route is read-only.
Where are Android photos stored on a computer?
Photos taken with the camera land in DCIM and Camera inside the phone’s internal storage. On a Windows PC, open This PC, click the phone drive, then follow Internal Storage, DCIM, Camera. Screenshots go to a Pictures folder and downloads land in Download, so check those too. Some camera apps create extra subfolders there, named after the app or the camera mode.
How do I transfer photos from an Android phone to a Mac?
Install Android File Transfer from the Mac App Store, connect the phone with a data cable, unlock it, and set the USB mode to File Transfer or MTP. Open the app and click Open, and the phone appears as a drive you can drag files from. If the app misbehaves, sign in to Google Photos on the Mac instead, or copy to a USB flash drive first and move the files across.
Does transferring photos to a computer reduce their quality?
A direct cable copy does not. Copying the file moves it byte for byte and keeps full resolution, capture date and location data. Quality loss happens when photos travel through email, messaging apps, or non-Google cloud accounts, which recompress images to fit their limits. If you want guaranteed originals from iCloud or Google Photos, use the export unmodified original option rather than downloading the previews.
Can I delete photos from my phone after transferring them to a computer?
Only after you confirm the copy is complete and safe. Compare the photo count on the phone with the number of files on your computer, open a few full-size photos to check resolution and date, and make sure a second backup exists somewhere other than that laptop. Deleting on iPhone sends photos to Recently Deleted, where they stay for 30 days, so there is a short window to change your mind.
Conclusion
If you are moving a whole camera roll, start with a USB data cable and the steps for your phone and computer above. Check the cable is a data cable, set Android to File Transfer (MTP), and leave the phone awake while it copies.
If you want the backup to keep running without you thinking about it, set up iCloud Photos or Google Photos automatic backup and let it run in the background. Either way, count the files on both devices and open a few full-size photos before you clear anything off the phone.