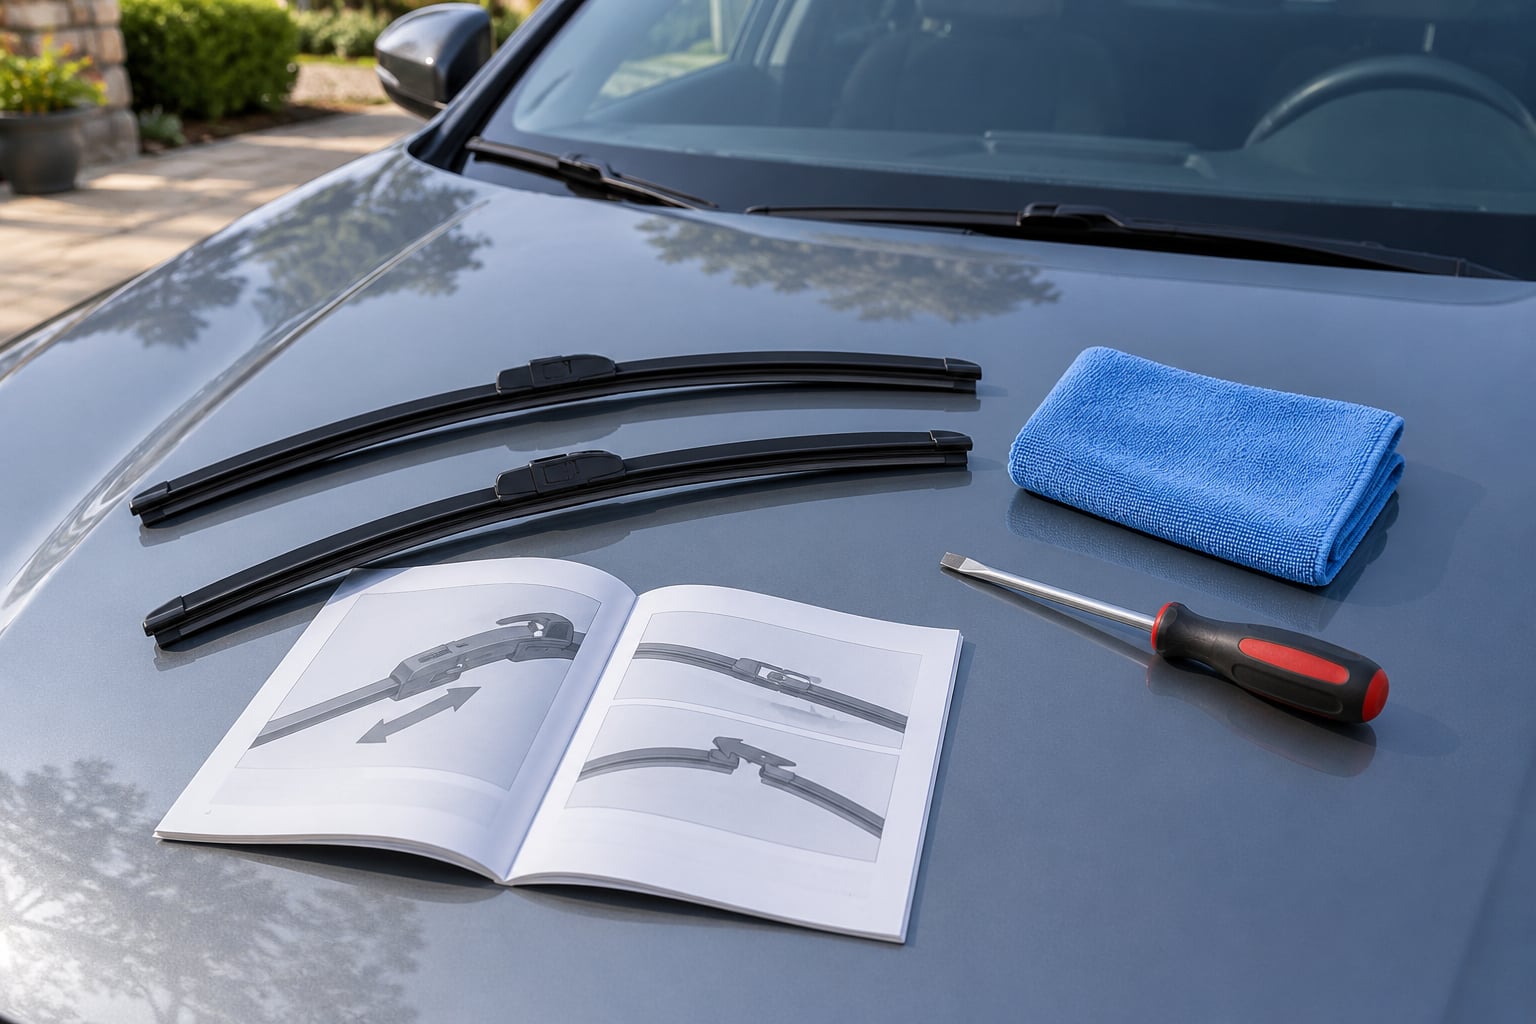
Learning how to replace windshield wiper blades yourself takes about 10 to 15 minutes for the pair, and all you really need is a flat-head screwdriver and a clean rag. Most people find it easier than expected once they know which connector style their car uses.
One caution before you start: wiper arms are spring-loaded and they can slam down onto the glass hard enough to crack or chip a windshield. Keep the towel under the bare arm whenever it is raised, and never leave the car running with an arm up.
Table of Contents
- 1What You Need
- 2Step-by-Step: How to Replace Windshield Wiper Blades Yourself
- 31. Park Safely and Check the Correct Blade Size
- 42. Identify the Wiper Blade Connection Type
- 53. Lift the Old Blade Away from the Arm
- 64. Attach the New Wiper Blade
- 75. Lower the Wipers and Test Them
- 8Common Mistakes
- 9Frequently Asked Questions
- 10How do I know what size windshield wiper blades I need?
- 11Can I replace windshield wiper blades without a screwdriver?
- 12Why is my new windshield wiper blade leaving streaks?
- 13Should I replace both windshield wiper blades at the same time?
- 14What do the letters H, L, and LL mean on a wiper blade?
- 15Why does my wiper blade keep coming off the arm?
- 16Conclusion
What You Need
Gather everything before touching an arm, because a half-finished swap with the hood up is where scratches happen.
- The replacement blades — matched to your vehicle by size and connector, which are two separate things to check.
- Your owner’s manual or the blade-size chart — usually in the glove box, sometimes printed on the visor or the driver-side door jamb.
- A flat-head screwdriver — needed only for hook-style blades with a metal clip.
- Needle-nose pliers — helpful for pin-type adapters and for a blade that has seized from corrosion.
- A clean microfiber cloth or old towel — protects the glass and gives you a grip on the arm.
- Windshield washer fluid — you need it for the wet test at the end.
Blade length must match the arm and the connector, not just look similar. A 26-inch blade will bolt onto a 20-inch arm and then leave a strip of glass unwiped at the edge, which is the most common sizing complaint after a swap. Driver and passenger sides are frequently different lengths on the same car, so check each side separately.
Step-by-Step: How to Replace Windshield Wiper Blades Yourself
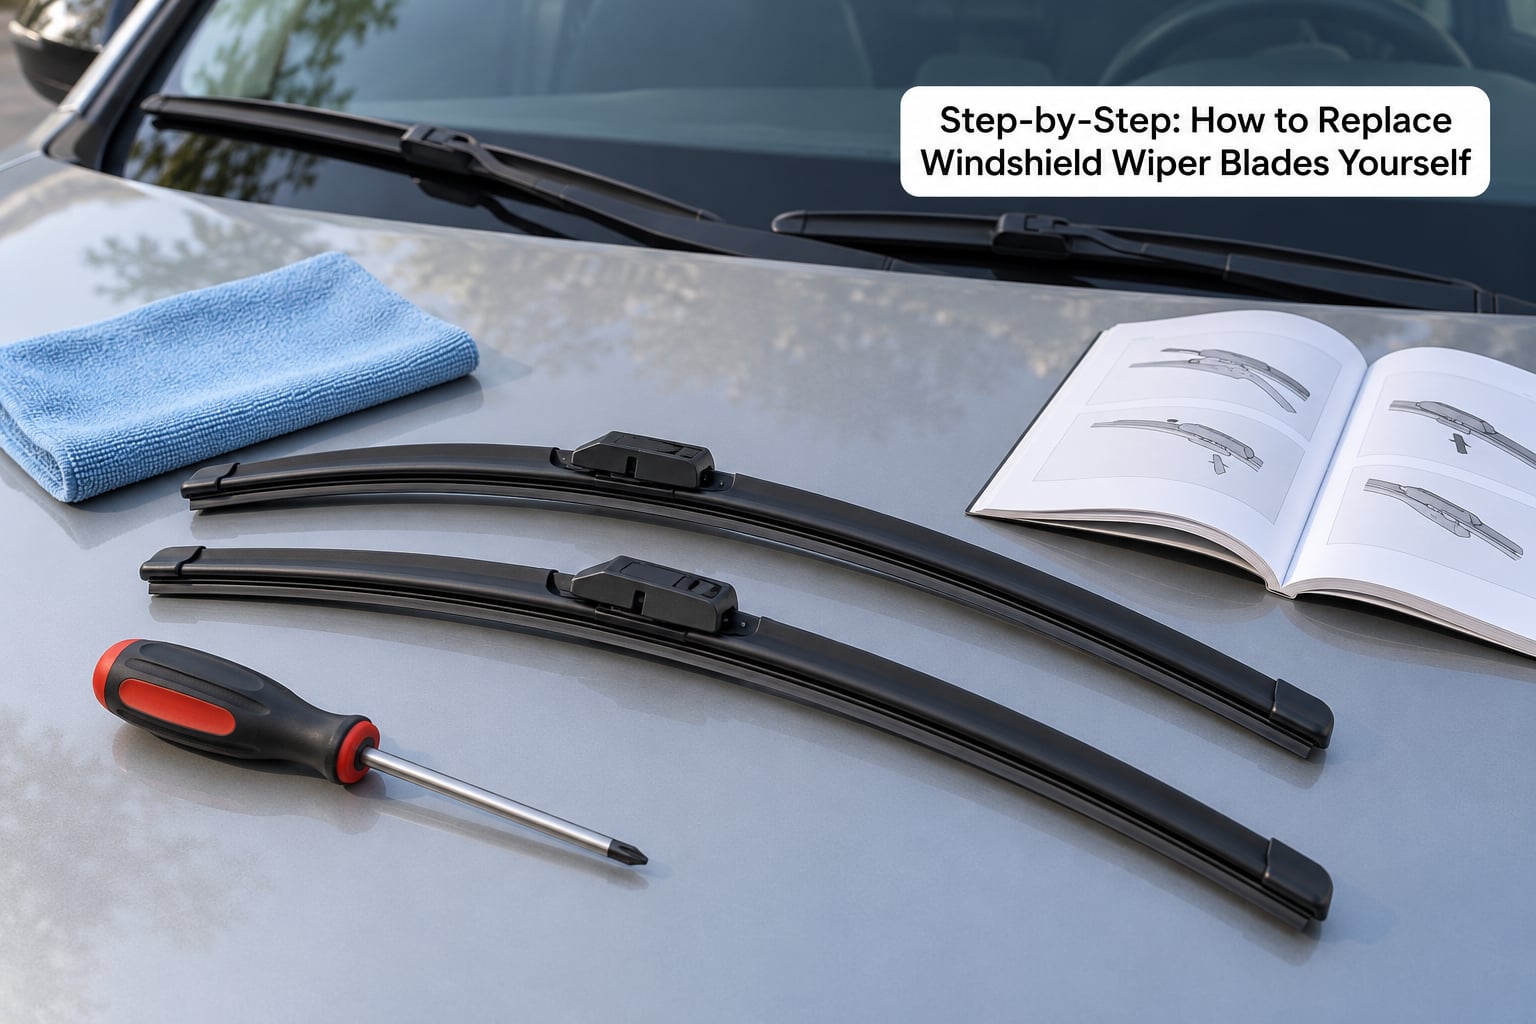
1. Park Safely and Check the Correct Blade Size
Park on level ground, switch the ignition off, and set the parking brake. Open the hood only if your car requires it for access, then lay your towel across the cowl at the base of the windshield.
To raise an arm without a tool, switch the ignition to accessory mode and let the wipers sweep once, then switch off mid-sweep. The arms stop partway up. Hold the blade itself and lift the rest of the way until the arm stands nearly vertical.
Now check the size. Read the number printed on the old blade’s adapter or measure from the tip of the arm to the spline at the base with a tape measure. Compare that with the chart in your owner’s manual. The blade length printed on the frame is the number the store wants.
2. Identify the Wiper Blade Connection Type
Look at the metal arm end while the blade is still attached, and match it to one of four common connectors.
- J-hook — a curved hook with a slot running through the middle. This is the easiest type to work with and the one you will find on most older cars.
- Bayonet — looks like a hook but has a small release button on the back of the adapter. Press the button, then slide.
- Side pin — two pointed pins on the sides of the arm that poke into holes in the adapter. Press the two tabs together and pull straight up.
- Push button — a single button on the top of the connector that you press, then slide the blade toward the base of the arm.
If the fitting resists before you understand how it releases, stop. Forcing an unfamiliar connector bends the arm or snaps the plastic adapter, and a replacement arm costs far more than a few minutes of reading.
3. Lift the Old Blade Away from the Arm
The motion differs by connector, but the rule is the same: the arm stays where it is and the blade does all the moving.
- J-hook: Lift the arm until the blade is perpendicular to the windshield. Press the retaining tab on the adapter and slide the blade down the back of the hook until the slot clears, then pull it free.
- Bayonet: Squeeze the release button and slide the adapter off the end of the arm without lifting.
- Side pin: Press both spring tabs on the adapter at once and draw the blade straight up off the pins.
- Push button: Press the button and slide the blade toward the base of the arm until it releases.
Rest the bare hook or pin on your towel before you go any further. A seized blade on a corroded pin usually needs a drop of penetrating oil, a few minutes of patience, and gentle pressure on the tabs — not pliers used as a lever against the glass.
4. Attach the New Wiper Blade
Slide the new blade on in the reverse order, with the rubber edge facing the glass. For a J-hook, feed the slot into the open end of the hook and push until the adapter seats fully, then slide the blade back up toward the tip of the arm until the retaining tab clicks into place. The same back-and-forth movement is how you confirm it is locked: if it slides freely in both directions, it is not engaged.
On side-pin and push-button fittings, you will feel the click as the adapter seats onto the pins or into the channel. Hold the blade and pull firmly outward once, because a blade that slides off under hand pressure was never locked in.
Take the plastic transport sleeve and any protective tab off the new blade first. Owners on car forums report streaking straight after installation that turns out to be a sleeve left on the rubber or a paper card taped across the edge.
5. Lower the Wipers and Test Them
Lower each arm slowly with your hand until the blade rests on the glass. Turn the key to accessory mode, run the washer at low speed, and watch the full sweep.
Look for four things. Streaks that skip sections mean the glass needs cleaning, not a new blade. Chatter or a stutter means the blade is installed backwards or the rubber is warped. A blade that lifts off the glass mid-sweep was not locked on. Uneven movement with no visible blade usually means the arm sits in the wrong position on its spline.
If anything looks wrong, lift the arm again and reseat it rather than driving on it. Wipers that chatter will grind the rubber off within a few miles.
Common Mistakes
Buying by look instead of by number. A blade can look right and still be wrong for the arm. Read the length printed on the frame and confirm both sides separately before you open the box.
Forcing a connector you have not identified. Every connector has a release, and the release is always a button, a tab, or a slide direction. If you cannot see it, take the blade back and check the vehicle’s fit chart again.
Pulling on the wiper arm instead of the blade. The arm is a lever attached to a spring. Lift the assembly by gripping the blade frame and let the arm rise with it.
Installing the blade backwards. On most frameless and beam-style blades the rubber profile is directional. A blade fitted upside down chatters within minutes. Check that the rubber lip faces the windshield.
Forgetting to lock the adapter. Slide the blade to the far tip of the arm until it stops, then tug. A blade that moves toward the base of the arm is not seated and can fly off at speed on the motorway.
Cleaning the windshield badly, or not at all. Wipers drag every speck of grit across the glass. Wipe the swept area with glass cleaner and a microfiber cloth before you fit the new blades, and change the paper towel on your last pass.
Leaving the plastic sleeve on. It makes the first few swipes streak and it scratches the coating when it finally comes loose.
Two habits extend blade life. Wipe the rubber strip with a damp cloth or alcohol wipes every few months, and lift the blades off the glass overnight during freezing weather so ice cannot set between the rubber and the windshield. Run the wipers over a light frost, never a thick one — forcing a frozen blade tears the rubber. Most blades last 6 to 12 months, and closer to 6 in dusty or arid conditions.
Frequently Asked Questions
How do I know what size windshield wiper blades I need?
Check the size printed on your current blade, or measure from the tip of the wiper arm to the spline at the base. The owner’s manual has a chart by year, make and model, and most auto parts stores will look it up by your vehicle at the counter. Measure both sides separately, because the driver and passenger blades are often different lengths on the same car.
Can I replace windshield wiper blades without a screwdriver?
Usually yes. Side-pin and push-button connectors release by hand, and most modern beam-style blades need no tool at all. A flat-head screwdriver is only required for J-hook and bayonet adapters with a metal retaining clip. Keep one nearby anyway, because an old blade that has seized from corrosion is much easier to free with a thin blade inserted under the tab.
Why is my new windshield wiper blade leaving streaks?
In order of likelihood: the plastic transport sleeve is still on the rubber, the windshield has grit on it, the blade is installed backwards, or the rubber itself has a permanent set. Take the blade off, clean the swept area of the glass properly with glass cleaner and a microfiber cloth, confirm the rubber lip faces the glass, and try again. If streaks persist with a clean windshield and a new blade, the blade is the wrong profile for that glass.
Should I replace both windshield wiper blades at the same time?
Yes, as a rule. Blades that are the same age wear at roughly the same rate, and mismatched new and old blades will clean the windshield differently and look odd in daylight. If only one is torn or torn-looking, replacing the pair is still worth doing. Replacing one at a time is useful if you want a correctly fitted blade on the car as a reference while you learn the fitting.
What do the letters H, L, and LL mean on a wiper blade?
They label the arm the blade fits: H is the hook-style or J-hook arm, L is the side-pin or pin-type arm, and LL is the push-button or straight-end locking arm. The letter sits on the connector and matches a diagram on the packaging. Buying for the letter alone is not enough, because the blade length still has to match, so use the letter together with the inch measurement printed on the blade.
Why does my wiper blade keep coming off the arm?
The locking clip or adapter did not fully engage, which is common with a J-hook blade that was pushed on without sliding back to the seat point. Lift the arm, slide the blade toward the tip of the arm until it stops, and pull outward to confirm the tab has clicked into the slot. If it still releases, the plastic adapter is likely worn and needs replacing along with the blade.
Conclusion
Start by confirming two things: the connector type on your arm and the blade length for each side. Once those match, the swap itself is a lift, a release, a slide, and a click, and the wet test tells you straight away whether it worked.
Replace worn or torn blades in pairs, even if only one looks bad, and clean the glass before you fit the new ones. That single habit removes more streaks than the blade swap does.