You cannot read a PSI number without a gauge, and neither can anyone else. What you can do in about two minutes is screen all four tires for significant under-inflation using the contact patch, the sidewall, a tire-to-tire comparison and your dashboard TPMS, then get a real reading before you set off.
That is the honest version of how to check tire pressure without a gauge: a screen, not a measurement. These methods catch a tire that is dangerously low, a slow leak, or damage you should not drive on. They will not tell you the tire sits at 32 PSI instead of 35, and a tire that looks perfectly normal can still be underinflated.
Useful if your gauge is broken, stuck in another car, or you’re parked on a back road with nothing in the trunk. None of it costs money and none of it takes longer than a walk around the car.
Table of Contents
- 1What You Need
- 2Step-by-Step
- 3How to Check Tire Pressure Without a Gauge Visually
- 4Compare the Door Placard With the Tire Sidewall
- 5Use the Tire Pressure Monitoring System as a Clue
- 6Find an Accurate Gauge Before Driving Further
- 7Common Mistakes
- 8Frequently Asked Questions
- 9Can I check tire pressure without a gauge?
- 10Is the number on my tire sidewall the correct pressure?
- 11How accurate is a tire pressure monitoring system?
- 12Where can I check tire pressure if I do not own a gauge?
- 13Conclusion
What You Need
The useful item here is the target number, not a tool. Get that first and every other check makes sense.
- Your owner’s manual or the driver door jamb placard — the tire information label listing the recommended cold pressure for front and rear.
- Tire sidewall markings — the maximum cold pressure, tire size, and load and speed ratings moulded into the rubber.
- TPMS information — whether your vehicle shows a live pressure readout for each tire or only a warning light.
- A flashlight — cracks, bulges and cord showing through the rubber are much easier to spot at night or in a garage.
- Access to an accurate gauge — a service station, tire shop, auto-service center or roadside assistance, so you can finish with a real number.
If you want to hunt for a leak, add dish soap, warm water and a spray bottle. That costs nothing and turns a guess into a diagnosis.
Step-by-Step
Work through these four steps in order on level ground. Steps one to three take a couple of minutes and tell you whether a tire is safe to drive on; step four is where you convert a suspicion into a number.
How to Check Tire Pressure Without a Gauge Visually
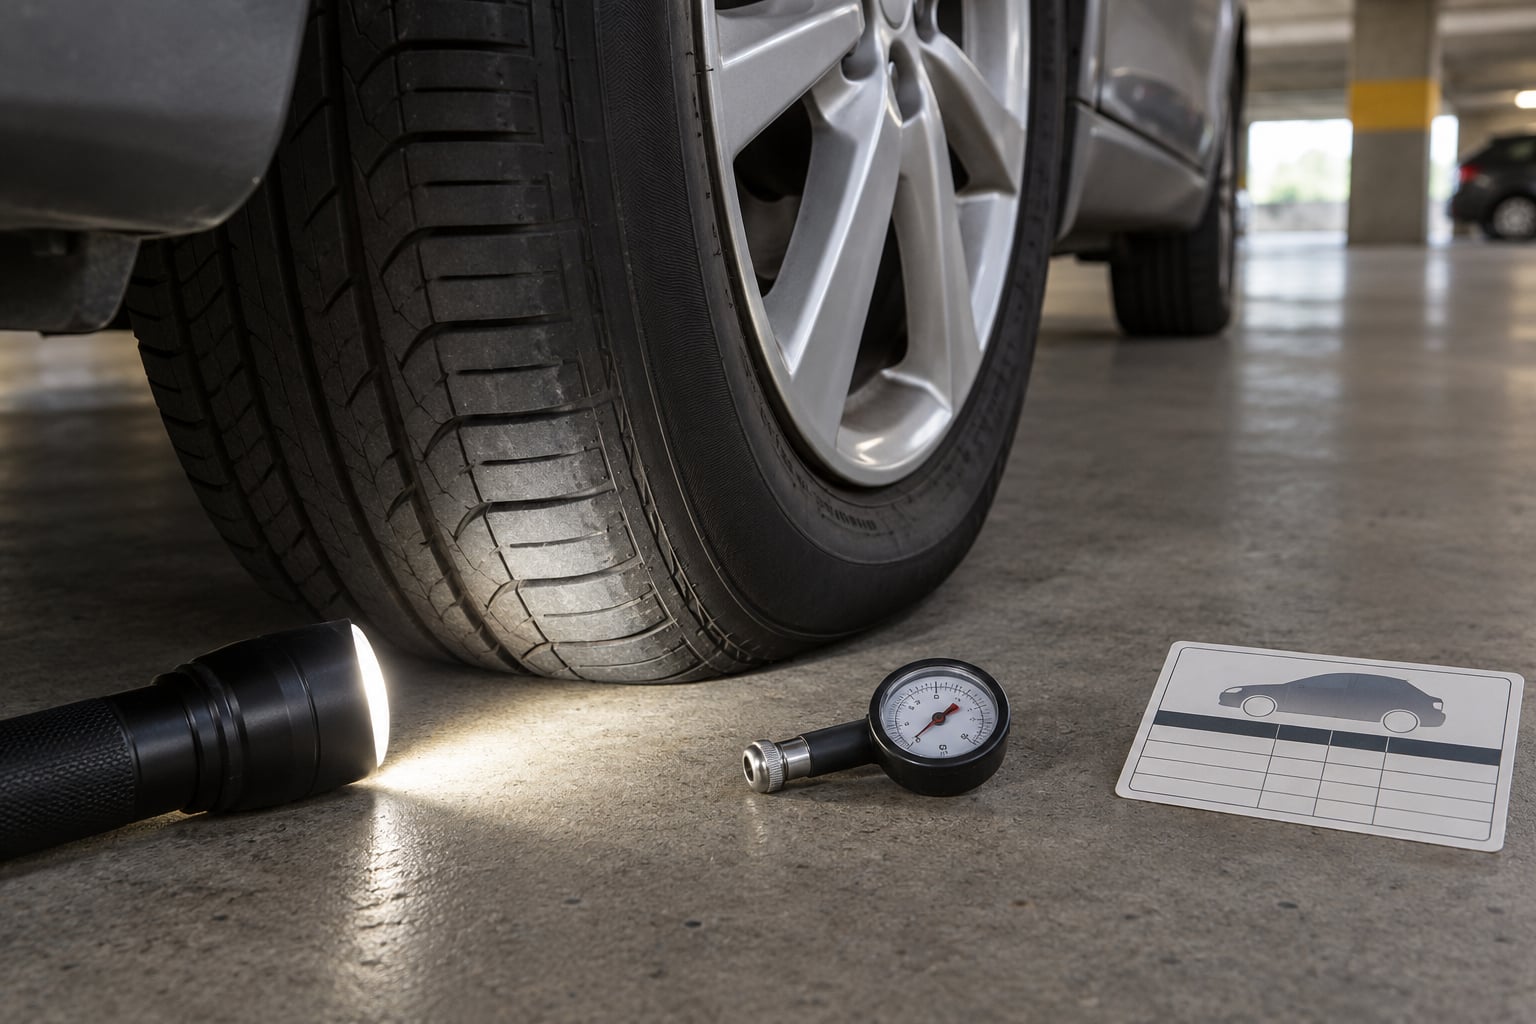
Park on flat pavement, switch on your flashlight and crouch down at one corner. Look at the band of rubber where the tire meets the road — that’s the contact patch — and note how wide it looks and whether it sits evenly across the tread.
A tire at the correct cold pressure shows a narrower patch with the shoulders of the tread just barely rounding into the road. Under-inflated, the patch spreads wide and squashed, and you can see more tread on the shoulder than you expect.
| Visual cue | Correctly inflated | Under-inflated |
|---|---|---|
| Contact patch | Narrow, even across the tread | Wide, squashed, shoulders sagging |
| Tire height | All four sit level with each other | One corner visibly sits lower |
| Sidewall under thumb | Firm, no give | Soft, dents under pressure |
| Sidewall surface | Flat and evenly shaped | Bulge, concavity, cracks, exposed belt |
| Shoulder tread | Little to no tread on the edge | Obvious band of shoulder tread showing |
Next, walk the perimeter and compare tire to tire. Look down the side of the car from each corner: a tire sitting a visibly lower distance from the arch than its partner on the other side of the vehicle is the classic sign of a leak on one wheel only.
Then push your thumb hard into the sidewall, about halfway between the bead and the shoulder. A properly inflated tire barely moves. Deep ruts and a soft, hollow feel mean it is low — this walk-around is the method most drivers end up using by default.
Finish by running your hand around the sidewall looking for bulges, ripples, cracks, or cords showing through the rubber, and check the tread for uneven wear across the width. A tire worn only at the center has almost always been over-inflated; one worn at both shoulders has usually been under-inflated for a long time.
To locate an actual leak, mix dish soap with warm water in a spray bottle and spray the bead area and the sidewall seam. Steady bubbles mean escaping air, and that tire needs a shop, not more air.
What this tells you: a tire that looks or feels wrong. A tire that looks fine can still be several PSI under. Any visible bulge, crack, exposed belt or cord means stop driving on that tire.
Compare the Door Placard With the Tire Sidewall
The number on the tire sidewall is not your target. It is the tire’s maximum allowable cold pressure, a strength limit set by the tire manufacturer, and running at that number on a normal car gives you a smaller contact patch, harsher ride and shoulder wear.
Your target is the cold pressure range, or the individual front and rear values, printed on the driver’s door jamb placard. Open the driver’s door and look at the door frame post or the edge of the door where the label is stuck. A sticker in the owner’s manual or on the fuel flap may carry the same figure.
Typical labels read something like 32 PSI front and 35 PSI rear. If the sidewall says 40, that is the ceiling, not the goal.
Once you know the target, remember pressure moves with temperature — roughly 1 PSI for every 10 degrees F of change. A tire filled to spec on a warm afternoon can read 5 PSI under on a cold morning without leaking a drop.
Use the Tire Pressure Monitoring System as a Clue
The TPMS is a genuine clue and a poor substitute. A direct system has a sensor in each wheel and often displays a live pressure figure per tire; an indirect system infers problems from wheel speed sensors and cannot tell you which tire is affected.
Most systems warn you when a tire falls roughly 25% below its recommended pressure. Until that threshold is crossed, a slow leak may not show any sign at all, which is why a tire can look fine and still be quietly losing air every week.
Treat the warning light as a prompt to measure, not a verdict. It can also stay on with a dead sensor battery and nothing wrong with the tire itself.
Find an Accurate Gauge Before Driving Further
Once the screening is done, get a real reading. Service stations, tire shops, auto-service centers and roadside assistance all have accurate air hoses and gauges, and many have no charge for the use of it.
Measure cold: before the car has been driven more than about a mile, or after it has been parked for at least three hours. A hot tire reads high, and a hot reading checked against a cold specification gives you the wrong answer in both directions.
Check all four tires plus the spare, and compare every figure against the door jamb placard rather than against each other. Read the units on the gauge carefully so you are not mixing kPa, bar and PSI. If the hose display looks worn, or one tire reads far lower than the other three, confirm it on a second gauge before acting.
Recall that a normal tire still loses roughly 1 to 2 PSI per month through the rubber and valve, and air thins as you drive up into mountains. Losing noticeably more than that between checks is a leak, and a tire that needs air every week needs a shop, not another fill-up.
Common Mistakes
Almost every gauge-free mistake comes down to treating a screening clue as a measurement.
- Inflating to the sidewall maximum. It is a strength limit, not a recommendation. Use the door jamb placard value for your vehicle and load.
- Checking hot tires against a cold specification. Pressure rises with heat, so a hot tire will always look over-inflated against a cold target and you will bleed air you needed.
- Topping up only the tire that feels lowest. A leak usually affects one tire, but under-inflation wears all four. Walk the whole car and measure every corner plus the spare.
- Relying on the TPMS light as the only check. It alerts around 25% below target, which is a long way below where a tire starts working harder than it should.
- Reading the wrong units on a public gauge. Know whether the dial shows PSI, kPa or bar before you decide a tire is fine.
- Driving on a visibly damaged tire. A bulge, a crack down to the cord, or a tire that has lost most of its shape gets replaced, not filled with air.
Two safety habits cover most of the rest. Check pressure after any sharp temperature drop, because cold hides under-inflation and warms reveal it. And if a tire is seriously low or damaged, pull over and call roadside assistance rather than limping to the next town on a bare rim.
Frequently Asked Questions
Can I check tire pressure without a gauge?
Only as a screen, never as a measurement. Inspect the contact patch, compare tire heights and sidewall firmness, read the TPMS, and check the sidewall for bulges or cracks. Those cues reliably reveal significant under-inflation, a leak or damage. Nothing you do by eye or by hand will tell you the tire sits at 32 PSI instead of 35.
Is the number on my tire sidewall the correct pressure?
No. The number moulded into the sidewall is the tire’s maximum allowable cold pressure, a strength limit set by the manufacturer. Your target is the cold range or value printed on the driver’s door jamb placard. Running at the sidewall maximum on a normal car shrinks the contact patch, sharpens handling and wears the shoulders.
How accurate is a tire pressure monitoring system?
A TPMS warns you when pressure falls roughly 25% below the recommended level, and some vehicles show an approximate live reading for each tire. It may not flag a gradual or moderate loss until that threshold is crossed, and an indirect system cannot identify the tire at all. Use it as a clue, then confirm with a real gauge.
Where can I check tire pressure if I do not own a gauge?
Gas stations, tire shops, auto-service centers and roadside-assistance providers all have accurate air hoses and gauges. Measure when the tires are cold, read all four plus the spare, and compare every figure against the driver’s door placard. A worn public gauge can drift, so if one tire reads much lower than the rest, verify it elsewhere.
Conclusion
Eyes, thumbs and the TPMS can tell you a tire is dangerously low, leaking or damaged. Only an accurate gauge can tell you the pressure, and the door jamb placard is the only place that number comes from. So do the two-minute walk-around, then measure every tire cold before you drive, and get low or repeatedly losing tires sorted first.