Most people learn home repair the same way they learned to cook: a small job that forces their hand, a few mistakes, then confidence. You can learn basic home repair skills in a deliberate order instead, starting with orientation in your own house and ending with a short list of fixes you will actually need. The first weekend costs less than a takeaway order and the skills compound.
If you rented for years and never once changed a washer, that gap is normal and the repair skills you need are far fewer than you think. Here is the progression I would follow, in plain order:
- Find your main water shutoff and breaker panel before anything else.
- Buy a small hand tool kit and one cordless drill.
- Learn to find a stud and mark a straight line.
- Patch a small drywall hole and paint over it.
- Fix a running toilet by replacing one part.
- Replace a light switch plate after killing the breaker.
- Re-caulk a tub edge or a piece of trim.
- Unclog a sink drain properly instead of with harsh chemicals.
- Change an HVAC filter and a garbage disposal reset button.
- Set a weekly and seasonal maintenance rhythm.
Ten steps, and every one of them is inside beginner scope. None of them requires a permit or a licensed trade.
Table of Contents
- 1What You Need
- 2Hand tools that earn their place
- 3One power tool, not five
- 4Protection and consumables
- 5The home references nobody tells you to gather
- 6Step-by-Step: Learn Basic Home Repair Skills Safely
- 71. Set Up a Safe Work Area
- 82. Learn to Measure, Mark, and Level
- 93. Practice Driving and Removing Fasteners
- 104. Repair a Loose Screw or Small Drywall Hole
- 115. Replace a Leaky Sponge or Cabinet Pull
- 126. Fix a Running Toilet or Wobbly Shelf
- 137. Practice Painting, Caulking, and Surface Preparation
- 148. Keep a Home Repair Notebook — How to Learn Basic Home Repair Skills Faster
- 15Common Mistakes
- 16When to Stop and Call a Licensed Professional
- 17Frequently Asked Questions
- 18How can I learn basic handyman skills?
- 19What tools do I need for basic home repairs?
- 20What are some easy home repairs I can do myself?
- 21What house repairs should be done first?
- 22What is the most overlooked home maintenance task?
- 23What are the most common beginner mistakes to avoid?
- 24Conclusion
What You Need
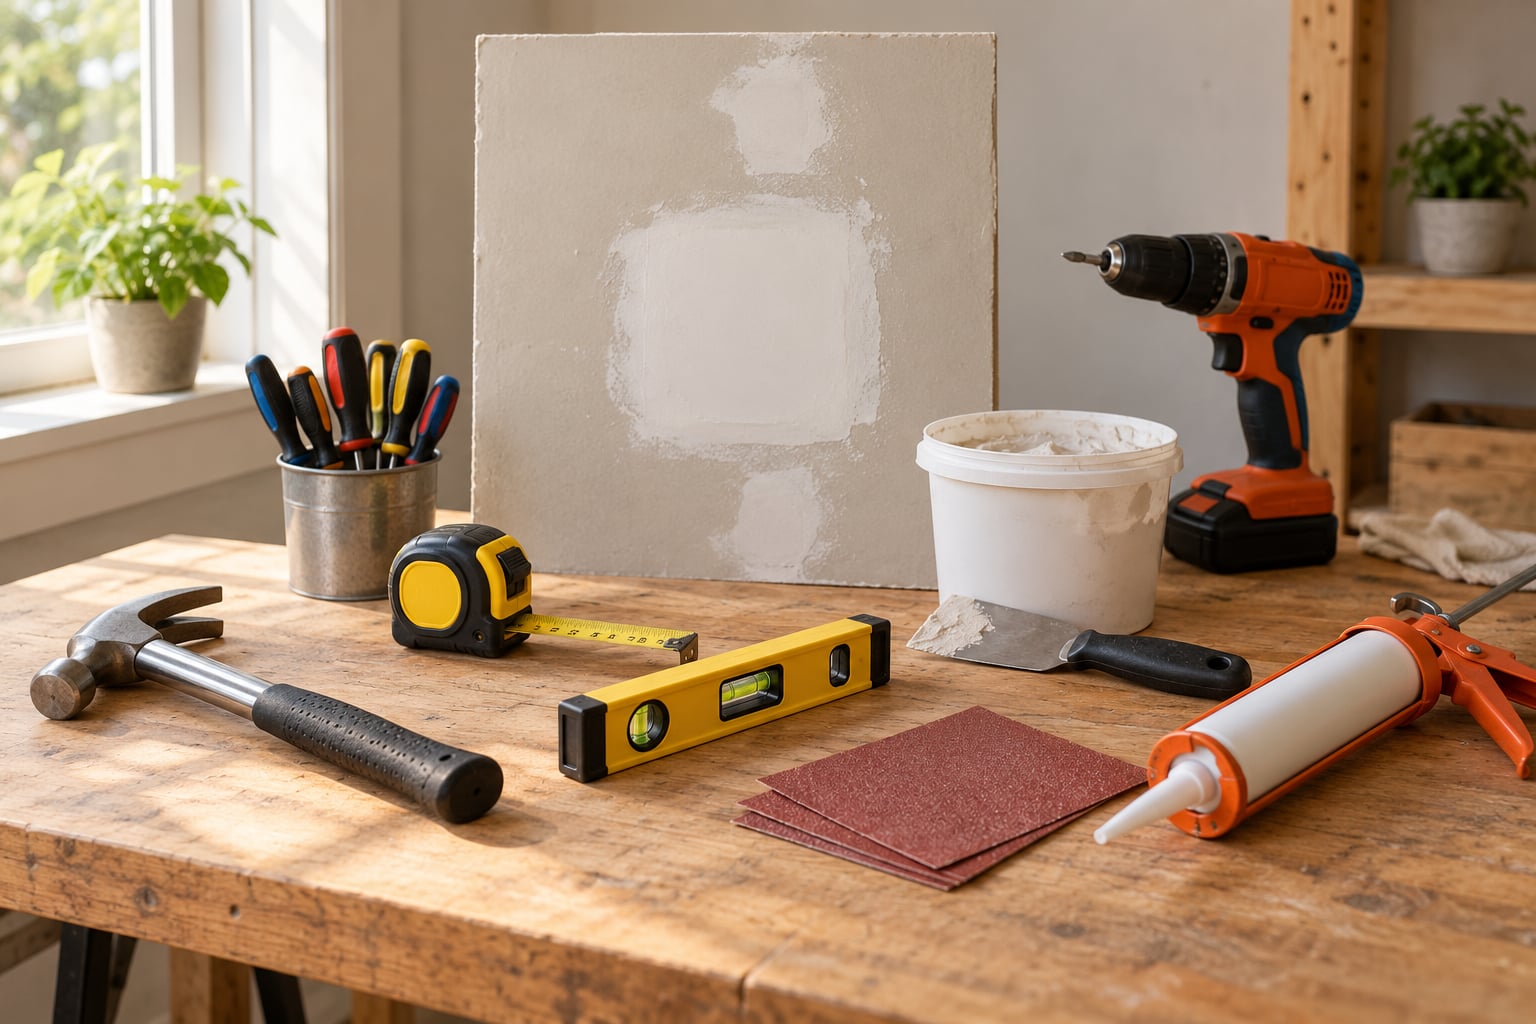
Buy tools as you need them, not as a wish list. A crowded pegboard feels like progress and mostly creates clutter. The list below is the honest starter set for a house you have just taken responsibility for.
Hand tools that earn their place
- Tape measure — a 25 foot one that stays partially extended. You will use it daily.
- Torpedo level — small, cheap, and the difference between a shelf that hangs straight and one that looks wrong.
- Claw hammer — for nails and light demolition.
- Phillips and flathead screwdrivers — a multi-bit driver covers most household screws and saves drawer space.
- Adjustable wrench and a pair of pliers — for supply lines and hardware swaps.
- Utility knife — for cutting tape, caulk, and drywall scoring.
- Stud finder — cheap versions work fine for finding the edges of a stud.
- Straightedge — a long ruler or an unbroken length of timber for marking.
One power tool, not five
A cordless drill and driver is the only power tool most beginners need for months. Everything beyond that is worth renting. A tile saw, a floor sander, a pressure washer and a carpet cleaner cost far more as a one-time purchase than the few hours you would actually use them.
Protection and consumables
- Safety glasses. Non-negotiable, and cheap enough that you own several pairs.
- Work gloves, nitrile coated for wet work and leather for splinter and heat protection.
- A dust mask or a respirator for sanding and for any work above a drop ceiling.
- Anchors rated for the load, assorted screws, spackle or joint compound, 120 and 220 grit sandpaper, painter’s tape, and a dappen brush or a cheap chip brush for joint compound.
- Silicone caulk labelled for kitchens and baths, plus a caulking gun. A gun is a one-time purchase you will keep for a decade.
- Raw screws are for securing things to a stud. Anything hanging weight out of drywall needs an anchor.
The home references nobody tells you to gather
Before any project, find and photograph these five things. Most first-time owners have no idea where any of them sit, which turns a small leak into a panic at midnight.
- The main water shutoff valve, usually at the front foundation or in a basement or garage.
- The breaker panel, with the breaker that serves the kitchen, bathrooms, and exterior outlets labelled in pencil.
- The HVAC filter and the furnace or air handler it slides into.
- The garbage disposal reset button at the bottom of the sink.
- The water heater, if you have one, and the label on it.
Photograph each one with your phone and note the date. When a pipe bursts at 11pm you want the angle of the handle, not a treasure hunt.
Step-by-Step: Learn Basic Home Repair Skills Safely
The order below matters more than the difficulty. Each step hands you a tool or a habit that the next step depends on, so skipping ahead means learning the same thing twice.
1. Set Up a Safe Work Area
Clear a table or a stretch of floor, open a window or two, and turn on every work light in the room. Ventilation matters most with paint, caulk, solvents and sanding dust. Drop a canvas or old sheet over whatever you are working near, and put masking tape around the edges if the surface is finished.
Move the kids, the dog and the phone charger out of the room. This sounds obvious and it is the single biggest cause of rushed, botched work. Then lay out your tools within reach on one side only, so you stop hunting for a bit with wet hands.
2. Learn to Measure, Mark, and Level
Measure twice and mark once, and treat the mark as the real instruction. Measure from the same reference point twice rather than once from each end, because that is where the numbers drift.
Check a level in two directions, not one. A shelf that reads level along the wall can still tilt front to back, and the tilt is exactly what you notice every day for a year. Verify your setup by measuring after the first mark, before you make the second.
3. Practice Driving and Removing Fasteners
Take a scrap piece of wood, a joist offcut, or a pallet board and spend twenty minutes driving screws and pulling them back out. Keep the drill on a low clutch setting so you can feel the screw bite wood before it buries itself.
Stripped screw heads come from three mistakes: too much torque, an over-sized bit, or driving into a wall without hitting anything solid. The practice board teaches all three in a minute, without a damaged door or a cracked plate.
4. Repair a Loose Screw or Small Drywall Hole
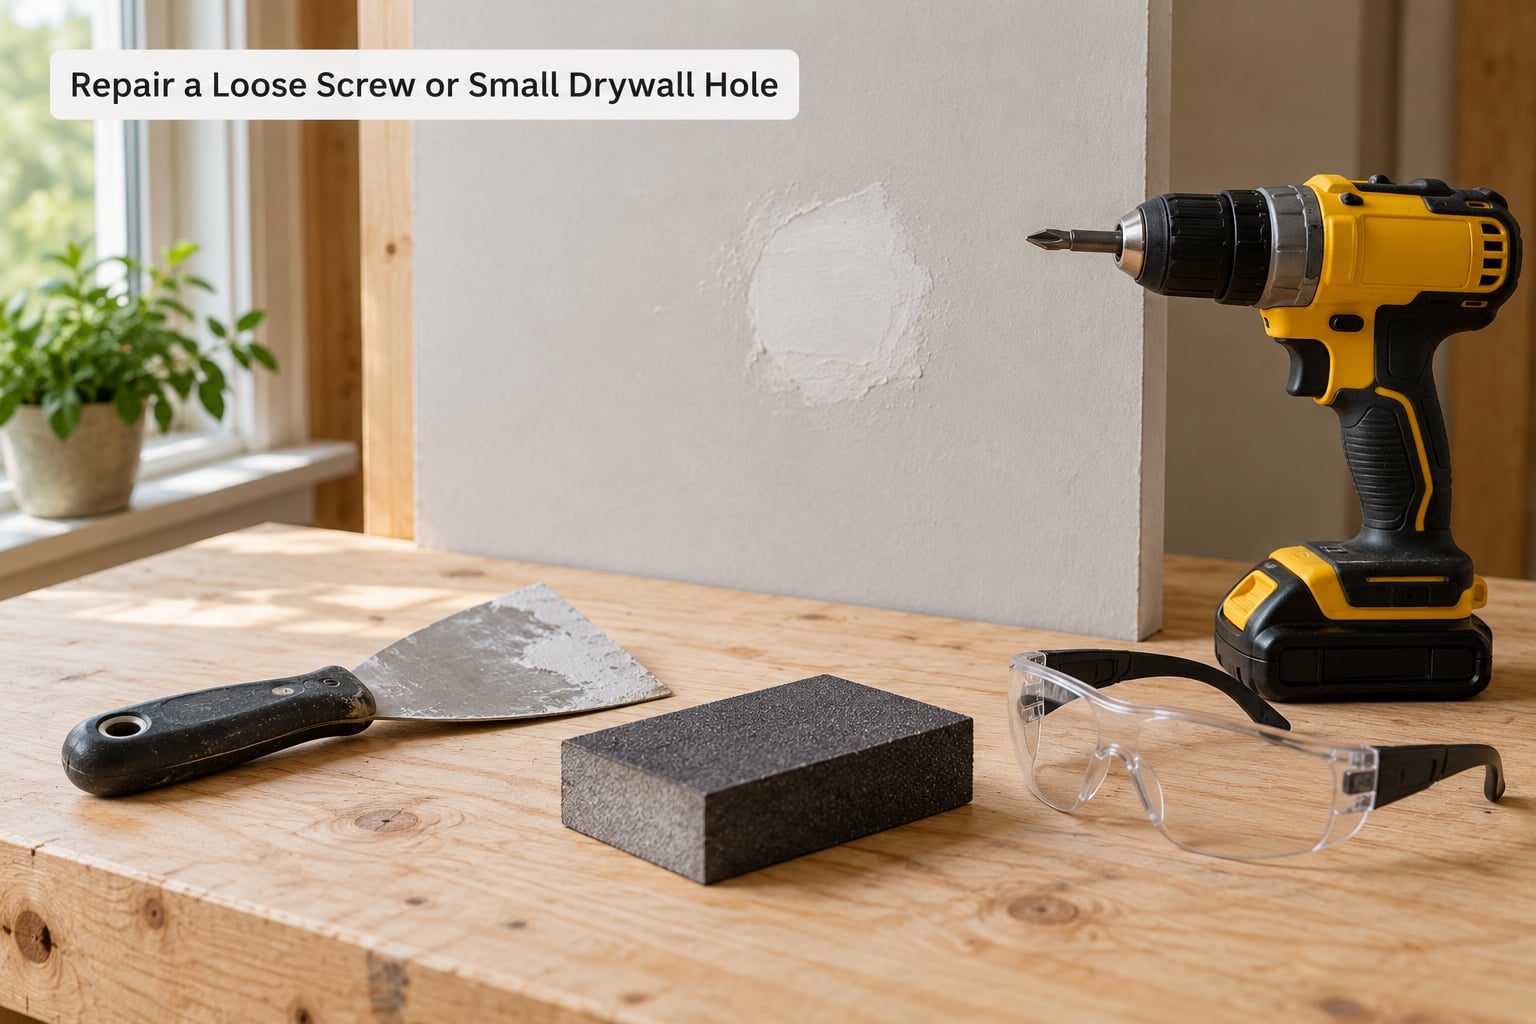
This is your first real repair, and it should be the smallest one you own. A loose screw gets a longer screw of the same diameter driven into it. If the hole is bigger than the head, stick a short length of wood into the cavity with construction adhesive and let it set before you drive a new screw into that.
For a small hole, cut a square of drywall slightly larger than the opening, press a thin layer of spackle around the edges first to make a shelf, set the patch in, then skim two coats, sanding at 120 grit between them and finishing at 220. A clean repair feels flush and takes paint without raising. If the patch edge shows as a shadow, you need another skim coat rather than a second attempt with the knife harder.
5. Replace a Leaky Sponge or Cabinet Pull
Dripping faucets are the most requested beginner plumbing job there is, and a washer or cartridge swap is a fair first one because the shutoff is right there. Close the hot and cold stops under the sink with a screwdriver or an adjustable wrench, then open a faucet to relieve pressure before anything comes apart. Put a towel down first.
Part compatibility is the whole game. Take the old part to the store and match the diameter and the brand, or take the brand name off the faucet base if the part is gone. Sink traps under the bowl are a similar fifteen-minute swap with a rubber washer sized to the pipe. Keep clear of anything behind a finished wall, and never cut into a supply line or move a drain.
6. Fix a Running Toilet or Wobbly Shelf
A running toilet is almost always a flapper or a fill valve. Shut the valve on the wall behind the bowl, flush to drain the tank, then swap the rubber flapper for one matched to the bowl brand. Fill the tank and let it run a few minutes. The repair worked if the tank refills and stops at the same level without a hiss continuing.
A wobbly shelf is a mounting problem, not a shelf problem. Check for a screw going into a stud, then either drive longer screws into the stud or pull the old anchors and use properly rated anchors for the wall type. Push the shelf hard and it should not move at all. Anything that rocks under a firm push is not finished.
7. Practice Painting, Caulking, and Surface Preparation
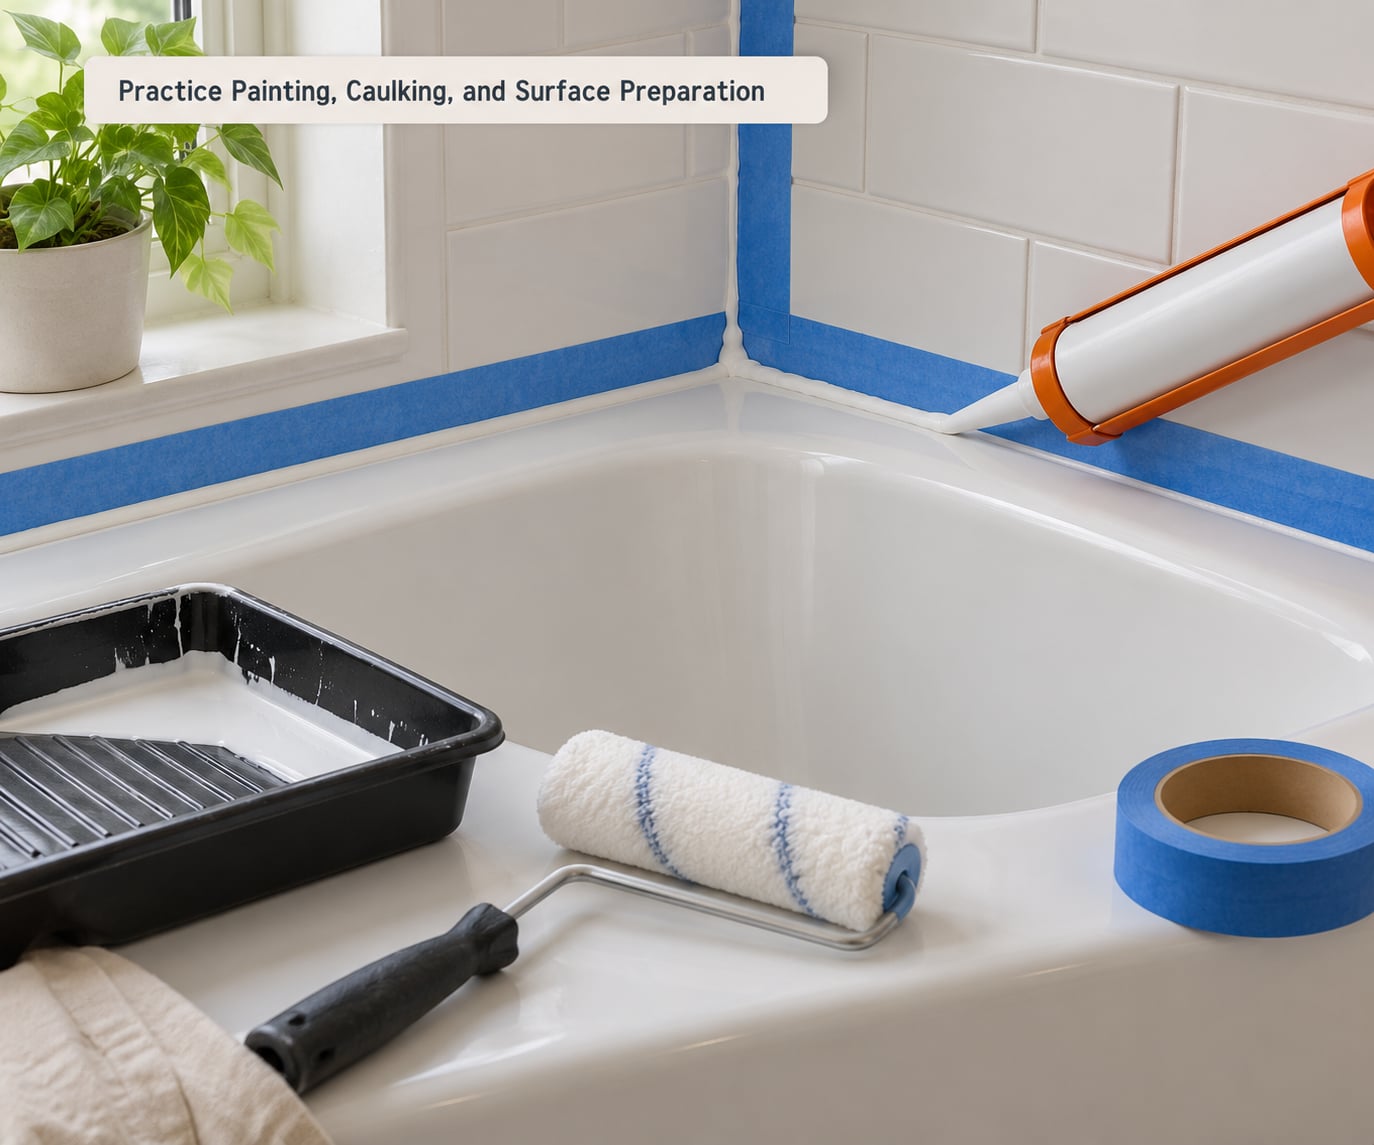
Preparation decides the result. Clean the surface, fill the holes, sand the edges flat, dust with a damp cloth, and only then tape. If the old caulk has hardened into a ridge, cut it out with a utility knife and a chisel rather than painting over it.
Cut the nozzle at forty-five degrees smaller than the gap, push the bead forward while you draw the gun, and release pressure before you lift so it does not ooze. Silicone needs air to cure, so give it the time printed on the tube before water hits it, and keep the room ventilated. Paint in thin coats with a roller, cutting in the edges with a brush first. Two thin coats beat one thick one every time, and a third touch-up on the patch edges is normal rather than a failure.
8. Keep a Home Repair Notebook — How to Learn Basic Home Repair Skills Faster
Keep one notebook, physical or digital, and write down five things after every job: the measurements you used, the exact part and its number, the steps in order, what went wrong, and how long it took. That log is the fastest route to real competence, because the second time you do a job you skip the whole thinking phase.
Photograph anything you take apart before you take it apart. A photo of how the wires, hoses or brackets were arranged is the only reference you will have at reassembly, and guessing is what turns a fifteen minute fix into an evening.
Common Mistakes
Nearly every beginner error has a simple fix, and the fix is usually one habit rather than a new tool.
- Skipping the measurement. Twice, from the same reference point. Guessing is how holes end up in the wrong place and pictures hang crooked.
- Using mismatched parts. Take the old part with you to the store, or at minimum photograph it next to a tape measure. Diameter and thread pattern matter more than appearance.
- Over-tightening fasteners. Snug is enough in drywall and plenty in cabinet hinges. If the head sinks below the surface and the material crumbles, you have gone too far.
- Hanging weight into drywall with raw screws. Find the stud or use an anchor rated for the load. A 20 pound shelf on a drywall screw will come down eventually.
- Ignoring the instructions on the part. Flash cure times, mixing ratios, dry times between coats and torque settings are not suggestions. Two minutes of reading saves a wasted evening.
- Skipping the shutoff. The water valve and the breaker come first, every time, even for jobs that seem too small to matter.
- Trusting the first tutorial you find. Watch two or three different sources before starting. If three of them disagree on the steps, the disagreement is your clue that this is a job for someone who does this daily.
- Starting with the most visible project. A bathroom renovation is a terrible first repair. Begin where failure is cheap and invisible, and build from there.
When to Stop and Call a Licensed Professional
Knowing the boundary is part of learning repair skills, not a failure of them. Call a licensed contractor for anything involving the electrical panel or new wiring, any gas line or gas appliance hookup, load-bearing framing or structural modification, main line plumbing and anything behind a finished wall, and any work needing a permit. Also step back for mold, rot, and any job where a mistake causes damage to a neighbour or a tenant.
Safety glasses, a shutoff, and a small test area are what make a beginner project reasonable. When any one of those three is missing, hand the job over rather than working around it.
Frequently Asked Questions
How can I learn basic handyman skills?
Start in your own house rather than in a project. Find the main water shutoff, the breaker panel, and the filter locations, then learn to use a tape measure, a level, a screwdriver set and a cordless drill on scrap wood. After that, work through a ladder of forgiving projects: a drywall patch, a running toilet, a switch plate, a re-caulked tub edge. Hardware store workshops give you the same lessons with the tools on hand.
What tools do I need for basic home repairs?
A tape measure, a torpedo level, a claw hammer, a multi-bit screwdriver, an adjustable wrench, pliers, a utility knife, a stud finder and a straightedge cover most hand work. Add one cordless drill with spare bits, safety glasses, work gloves and a dust mask. Keep drywall anchors, assorted screws, spackle, sandpaper, painter’s tape and a kitchen and bath silicone caulk on the shelf as consumables.
What are some easy home repairs I can do myself?
The reliable beginner list is: tightening loose cabinet hinges, patching a small drywall hole, replacing a light switch plate after killing the breaker, changing a faucet washer, fixing a running toilet flapper, replacing a pull or knob, clearing a slow sink drain, re-caulking trim or a tub edge, swapping weatherstripping, and changing an HVAC filter. Each of these has a visible before and after and a low cost if something goes slightly wrong.
What house repairs should be done first?
Order by consequence, not by effort. First, learn where your shutoffs and breaker panel are, since that is what limits damage later. Then handle active leaks, running toilets, and anything electrical that smells hot or sparks. Next come the cheap preventive items: clean HVAC filters, clear the dryer vent, check caulk around the tub, and replace a dripping faucet washer before it stains the cabinet below.
What is the most overlooked home maintenance task?
Dryer vent cleaning, most often. Lint builds up in a bendy duct behind the dryer where nobody looks, and it slows drying, adds heat and is a leading cause of dryer fires. Pull the duct out twice a year, check for kinks or crushed sections, and clear it with a vent kit. The second most overlooked item is the garbage disposal reset button, which fixes about half of all the calls that the disposal is broken.
What are the most common beginner mistakes to avoid?
Measuring once instead of twice, driving raw screws into drywall, using a mismatched washer or cartridge, tightening until the head sinks into the surface, and skipping the printed cure or dry time. Also common: cutting into a wall without locating plumbing or wiring first, and following a single tutorial video without cross-checking. Fix these habits and most beginner jobs go smoothly on the first attempt.
Conclusion
Start where the learning actually is: spend an hour finding your shutoffs, breaker panel and filters, then handle one genuinely small repair this week. A drywall patch or a running toilet teaches more than a month of tutorials. Practise a few of those, keep the notebook, and the larger jobs stop being intimidating and start being familiar.