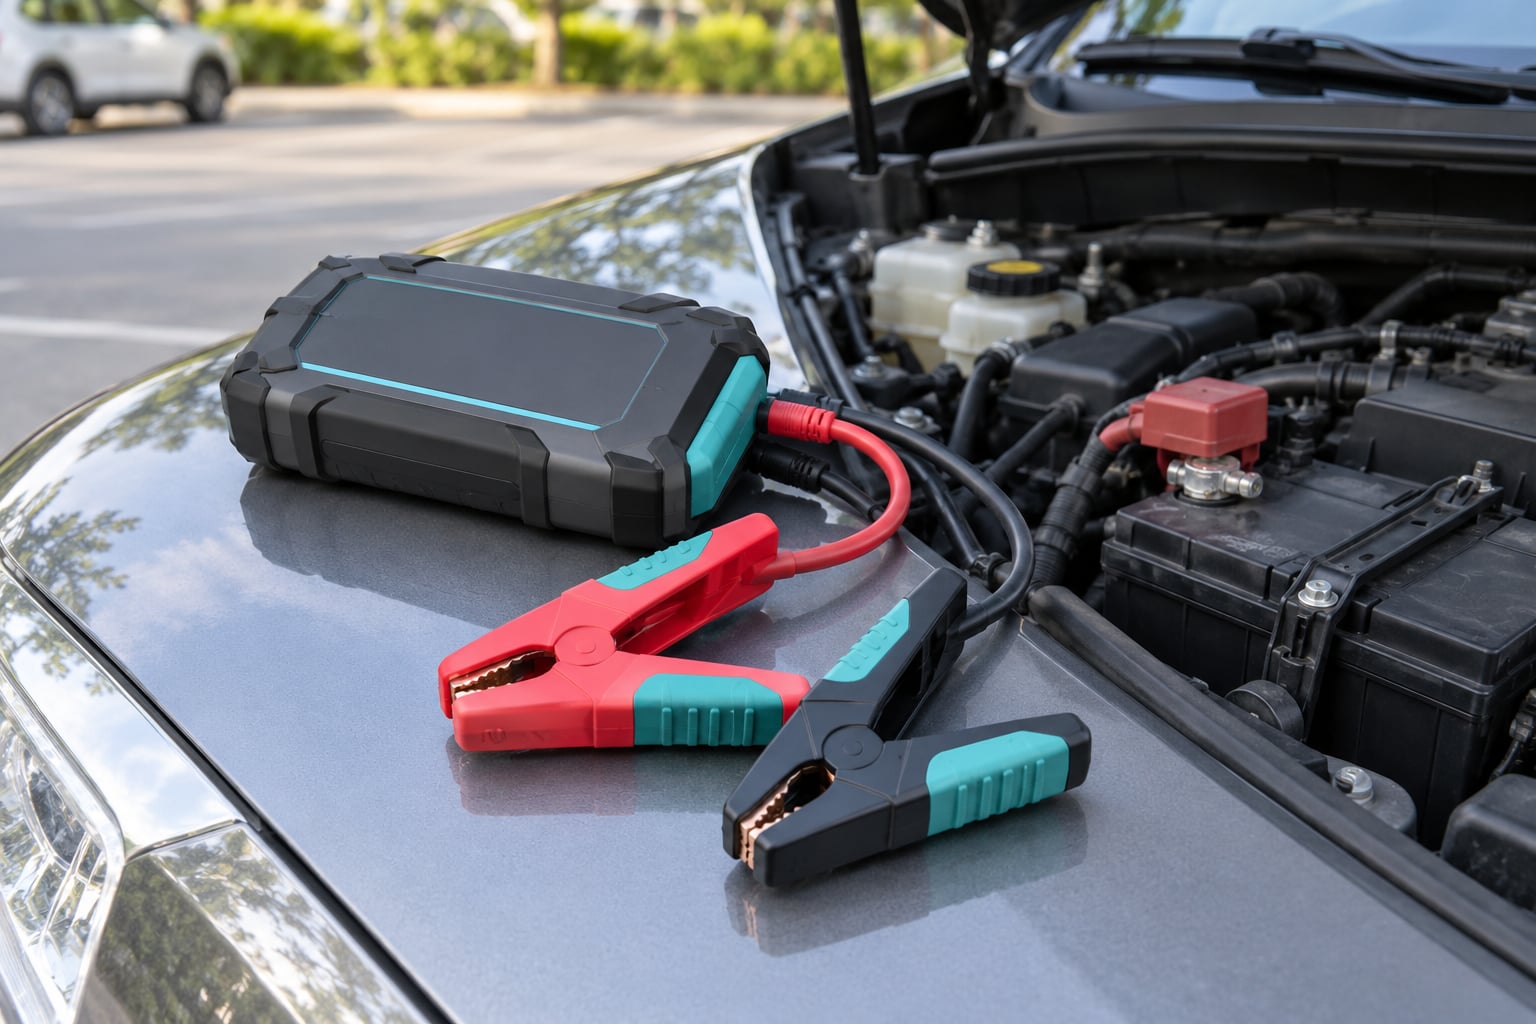
A dead battery in an empty parking lot is a much smaller problem when you have a portable jump starter in the trunk. Knowing how to jump a car with a portable jump starter takes about ten minutes to learn and about five minutes to do: connect the red clamp to the positive terminal, connect the black clamp to a ground point on the engine, power on the pack, and crank for no more than five seconds.
No second vehicle, no length of cable draped across a parking lot, no waiting on a tow truck. What you do need is a pack that has actually been kept charged, and a clear head about which clamp goes where.
This guide covers the whole procedure in order, the mistakes that cause most failed jumps, and what to check afterward if the car starts and then dies again a day later. I have talked through it with plenty of non-mechanics who were stuck on the side of a road with nothing but a dead battery and a charger-shaped box in the glove box.
Table of Contents
- 1What You Need
- 2Step-by-Step
- 31. Prepare the vehicle and the work area
- 42. Turn off the portable jump starter
- 53. Connect the positive clamp first
- 64. Connect the negative clamp to a ground point
- 75. Start the vehicle with the jump starter
- 86. Disconnect the clamps in reverse order
- 9What to do right after the car starts
- 10Common Mistakes
- 11Frequently Asked Questions
- 12Can a portable jump starter damage my car?
- 13How long should a portable jump starter be charged before use?
- 14Can I use a portable jump starter in the rain?
- 15Why won’t my car start even after using a jump starter?
- 16How often should I replace my car battery?
- 17Conclusion
What You Need
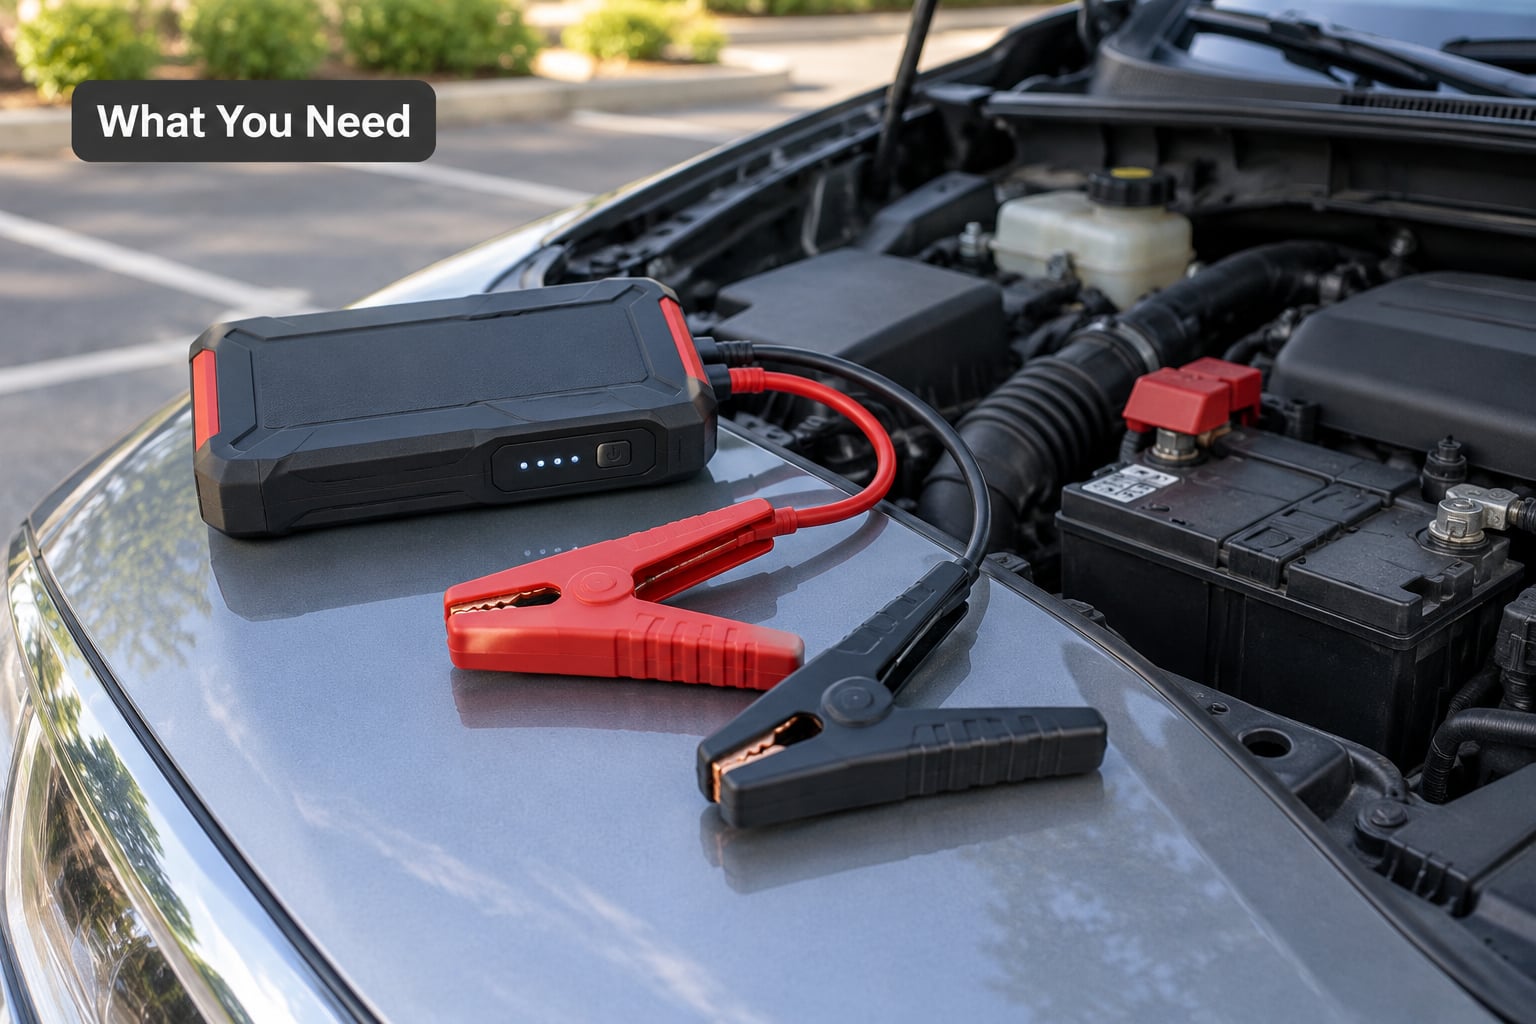
Gather these before you open the hood, because half of a bad jump comes from grabbing things with greasy hands in the dark.
- A charged portable jump starter. Check the battery-level indicator first. Four bars or a green ready light means go; one or two bars means recharge it on wall power before you touch the car.
- The clamps and any cable they attach to. Built-in clamp models are all-in-one; detachable models need both leads plugged into the pack before connection.
- Safety glasses and gloves. A lead-acid battery can vent hydrogen gas, and acid burns are slow to show up on skin.
- The vehicle owner’s manual. It tells you where the battery sits, whether it is under a cover, and the specified grounding point.
- A flat, ventilated, well-lit spot. Outdoors or in a garage with the door wide open. Never run a jump procedure in a sealed space.
- Optional: a wire brush or a damp cloth with baking soda and water, plus a small wrench, for crusty terminals.
Compatibility check: almost every passenger car, truck, and SUV uses a 12-volt lead-acid battery, which is what a standard jump pack is built for. Diesel engines, V8s, and large trucks simply draw more current, so they need a pack with a higher peak amp rating rather than a different chemistry.
Step-by-Step
Work through these in order. The sequence matters more than speed, and the pack stays switched off until both clamps are attached.
1. Prepare the vehicle and the work area
Park on level ground, in park or with the handbrake firmly set, and switch the ignition completely off. Turn off headlights, radio, climate control, and everything else electrical — a draw on a depleted battery can eat the charge you are about to add.
Open the hood and locate the battery. Most are in the engine bay, but some models tuck them in the trunk or under the rear seat, so check the manual if nothing jumps out at you. Remove any terminal covers and brush away corrosion so the clamp can bite metal.
Identify the terminals before you connect anything. The positive post is marked with a plus sign or a red plastic cap, the negative with a minus sign or a black cap. If the labels are gone, the positive cable runs from the battery toward the starter, which is the giveaway.
2. Turn off the portable jump starter
The pack should be switched off while you attach the clamps. Connecting a live pack is how people create a dead short across the terminals, and most units will trip their safety cutoff or alarm if it happens.
Check the charge indicator and read the unit’s instructions before you connect. Many packs have a separate boost button that must be held or pressed before the engine will crank, and skipping it is the number one reason a good pack does nothing.
3. Connect the positive clamp first
Attach the red clamp firmly to the positive terminal of the dead battery. Clamp it as far up the post as you can so the jaws grip bare metal rather than a rubber boot.
On a battery with a remote positive terminal — common on some German and Korean cars — the battery sits under a sealed cover and a fat red cable runs to a separate post in the fuse box. That remote post is the one you use, and the manual will show you where it is.
4. Connect the negative clamp to a ground point
Now find a clean, unpainted metal surface on the engine block or chassis, away from moving belts, fans, and hot exhaust parts. The strut tower bolt, a bracket near the alternator, or an engine block stud all work.
Read the manual on this one, because it is the step people get wrong. Some manufacturers specify the negative battery post as the correct ground, others explicitly forbid it and point to a dedicated grounding stud. When the manual allows the battery post, that is the simplest option and provides a stronger connection.
There is a reason the order is red first, black last: if the black clamp touches the body while the red is still loose, the circuit is not yet complete, so nothing happens. Do the reverse and you get a spark at the last possible moment, right next to a battery venting gas.
5. Start the vehicle with the jump starter
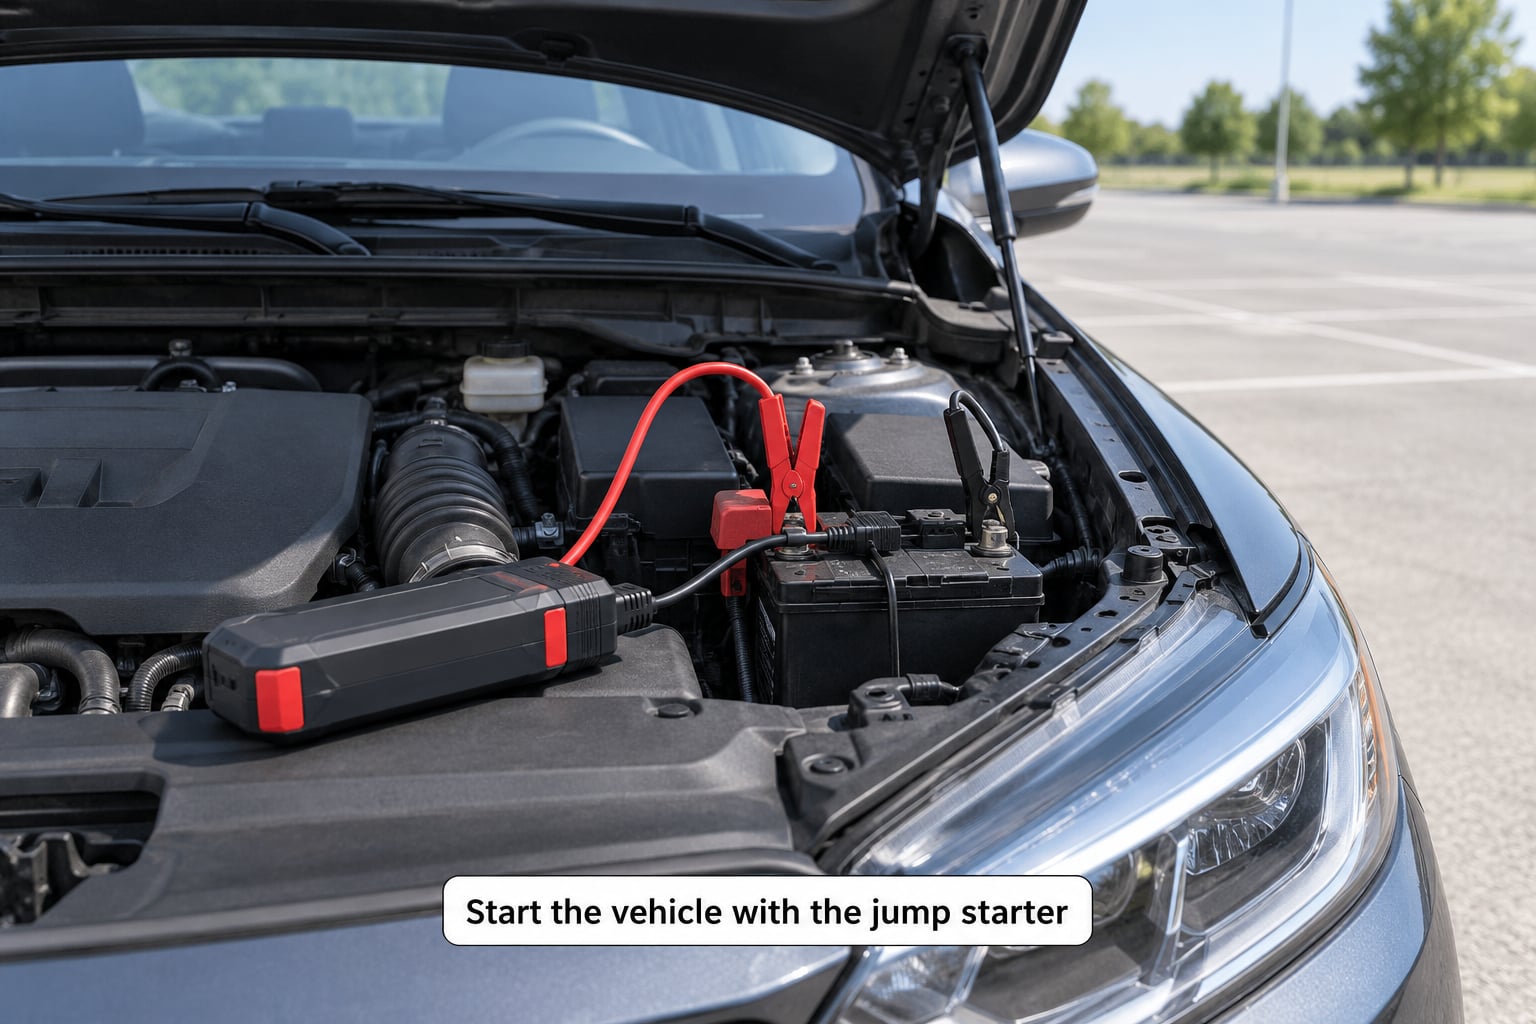
Switch the pack on. Most units show a ready indicator or beep once they detect a stable connection. Some ask you to press and hold a boost button, or to wait a few seconds while they negotiate with the clamps.
Get in the driver’s seat, put it in park or neutral with the handbrake on, and turn the key. Crank for no more than five seconds. A healthy jump sounds like a normal start — the engine catches within a turn or two of the starter and settles into an idle.
If it does not catch, release the key and wait 30 to 60 seconds before trying again, a few times at most. Continuous cranking drains both batteries and overheats the starter motor, and after a few attempts the pack may not have enough charge left for the next turn of the key.
Signs of a good connection: an audible click from the relay, the headlights coming on noticeably brighter while connected, and an engine that starts promptly. A pack with an audible alarm, flashing light, or a clamp that has heated up is signalling a polarity or connection fault — unplug it before you do anything else.
6. Disconnect the clamps in reverse order
Once the engine is running steadily, switch the portable jump starter off. Then remove the black clamp first, then the red clamp. Same reason as before: the last clamp off completes the circuit, and you want that moment to be harmless.
Do not leave the clamps attached while you drive. A clamp bouncing against metal under the hood can short the battery, and a loose clamp is a projectile the moment you pull away.
Then drive the car for 20 to 30 minutes. The alternator has to put real charge back into the battery, and a short trip around the block does not do it. If the battery was only partly flat, that drive usually restores it. If it was fully dead, the car will probably not start again tomorrow, and that is your signal to get the battery tested.
What to do right after the car starts
Watch the charge warning light on the dash during that drive. If it stays on, the alternator is not charging, and the car will strand you again as soon as you switch it off — head straight for a mechanic rather than driving further.
Modern cars sometimes log ABS or stability-control fault codes the moment the battery voltage spikes during a jump. Clearing them takes a scan tool or a few turns of the key, and they do not affect driving, but they explain a warning light that was not there before.
Common Mistakes
Reversed clamp polarity. Red on negative and black on positive will not start the car, and on a pack without reverse-polarity protection it can damage electronics. Most current packs beep and refuse to deliver power. Disconnect immediately, swap the clamps, and reconnect.
Attaching the black clamp to the dead battery’s negative post. This is the most common error in online discussions, and it is only sometimes wrong. If your manual permits the battery post, use it. If it calls for a ground point, use a clean bolt on the block. Connecting to the wrong place gives a weaker ground and, on some vehicles, a poor connection that simply will not crank.
Connecting while the pack is powered on. Turn it off first. A live connection can trigger the safety cutoff, and if the pack does not have protection, it can weld a jumper across your battery terminals.
Cranking for more than five seconds. Every extra second of cranking heats the starter and pulls the last of the pack’s charge. Short bursts with 30 to 60 seconds between attempts are far more effective than one long, frustrated hold.
Using a pack that has been sitting flat. Lithium-ion packs lose charge in storage, and they lose it faster in a car parked in summer heat or winter cold. Owners on forums overwhelmingly recommend topping the pack up every few months and storing it indoors between uses. The expected service life of the internal cells is short regardless of what the box claims.
Touching the terminals with metal tools. A dropped wrench bridging both posts is a violent spark and a ruined battery. Keep tools and loose hardware away from the battery while you work.
Relying on a thin cable to do the job. Budget packs with hair-thin leads cannot carry cranking current, and owners report leads that overheat or will not hold a clamp. The pack may read as fully charged and still fail on anything bigger than a small hatchback. A pack with a dedicated thick jump lead is the safer bet for large engines and diesel trucks.
Two more worth knowing. If your pack has an error light or a tripped safety cutoff, disconnect both clamps, wait 30 seconds, and reconnect with the polarity verified — most units reset themselves. And if the same battery dies twice in a few weeks, the culprit is usually a parasitic drain or a failing alternator rather than the jump pack.
Frequently Asked Questions
Can a portable jump starter damage my car?
A jump starter will not harm your car when it is used correctly, because it delivers the same voltage your alternator does. Damage happens from reversed polarity or from attaching clamps while the pack is powered on. Modern units have reverse-polarity and short-circuit protection and will beep or refuse to crank rather than push power the wrong way. Follow the manufacturer’s instructions and your owner’s manual, and the risk is minimal.
How long should a portable jump starter be charged before use?
A full charge from wall power usually takes three to six hours depending on the model and its internal battery size. Top it up every three to six months even when you have not needed it, because lithium-ion cells slowly lose charge in storage and lose it faster in a hot or freezing car. Check the battery-level indicator before every trip, and treat fewer than three bars as a sign to recharge.
Can I use a portable jump starter in the rain?
Yes. A sealed jump pack is designed to be used outdoors in bad weather, and a light rain will not hurt it. The bigger concern is you, since you will be leaning over an open engine bay with wet hands and metal clamps near a battery that can vent hydrogen gas. Park somewhere ventilated, keep water away from the open terminals, and dry your hands before handling the clamps.
Why won’t my car start even after using a jump starter?
Common causes include a pack with no charge, a bad clamp connection, corroded terminals, a pack too small for a large or diesel engine, or a fault in the car rather than the pack. Test the pack on a known-good battery, clean both terminals, and confirm the clamp is biting bare metal. If a charged pack on a healthy battery still will not crank the car, suspect a worn starter, a failing alternator, or a parasitic drain.
How often should I replace my car battery?
Most 12V lead-acid batteries last three to five years, and many die earlier in hot climates or with heavy short-trip driving. Replace yours if it needs repeated jumps, cranks slowly, shows swelling or corrosion, or measures under about 12.4 volts fully rested. Once a battery has gone completely flat more than once, testing it rather than replacing it blindly is the sensible move.
Conclusion
Before anything else, confirm the pack is actually charged and that your vehicle uses a standard 12-volt system. Then keep the pack off, connect red to the positive terminal, connect black to the ground point your manual specifies, and only then crank the engine for five seconds at a time.
A jump that works is a fix, not a diagnosis. If the battery was only partly flat, a 20 to 30 minute drive puts it back to normal. If the car dies again a day later, the pack has told you something useful: get the battery and the charging system tested rather than waiting for the next roadside.